

QCAD from Flatpak
This page guides you through installing QCAD from a Flatpak on Linux operating systems.
Open a terminal
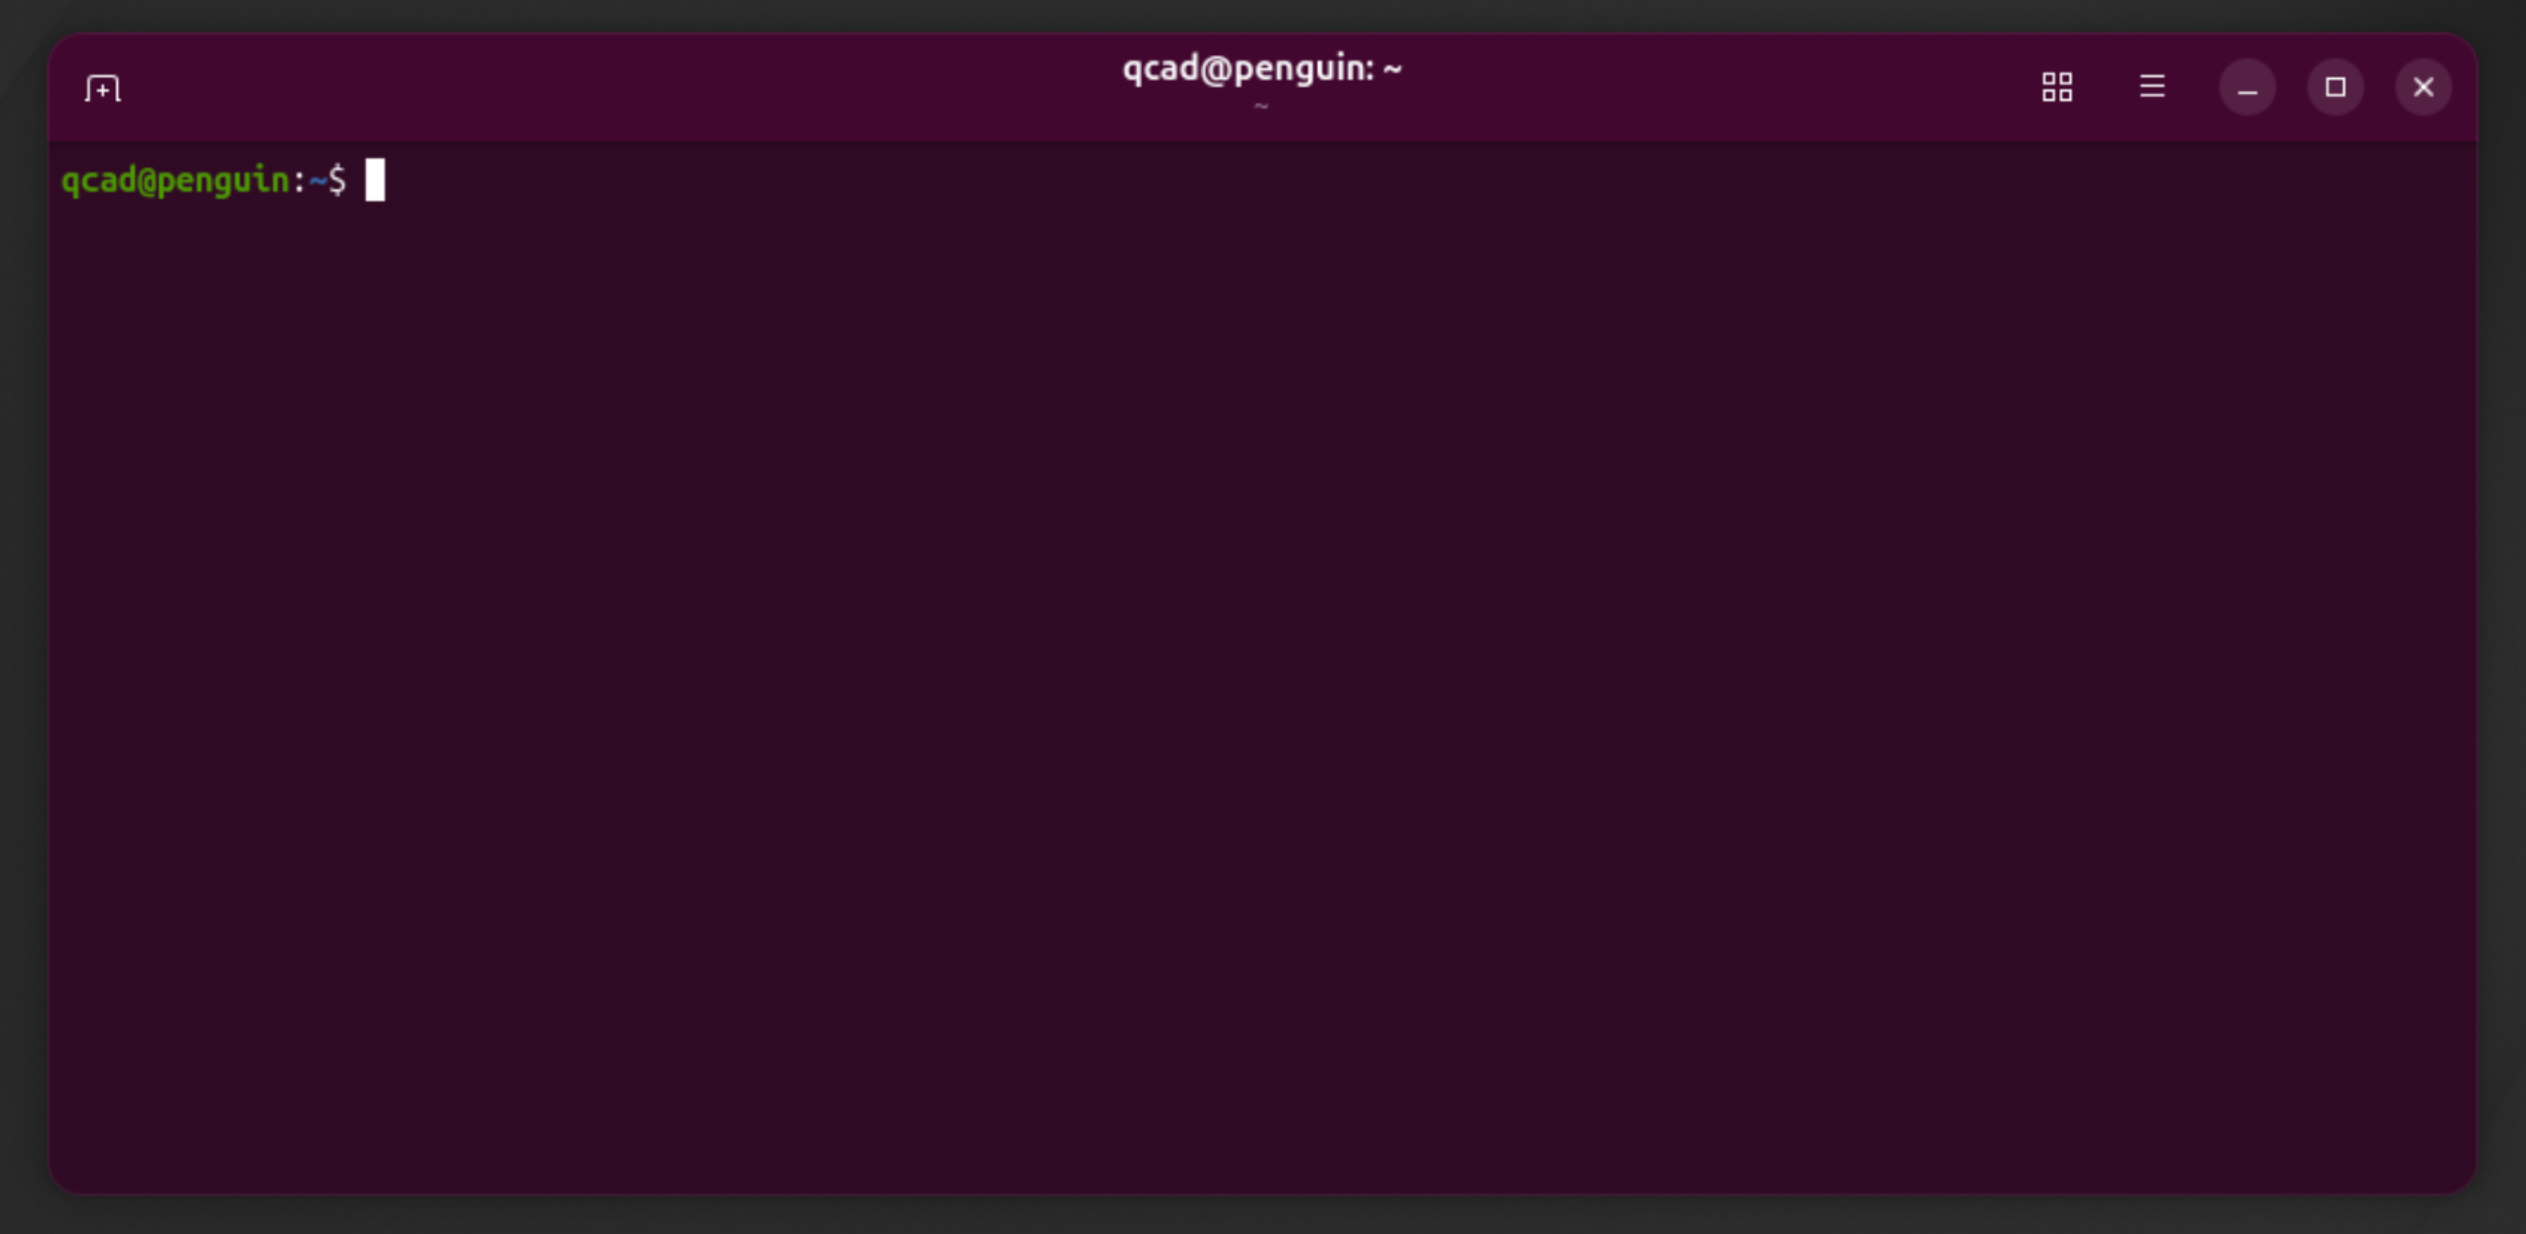
We will install QCAD using a terminal, as this is the preferred way to manage a Linux system. GUI applications for installing Flatpaks exist, but are not covered here. Open the Terminal application. A usually blackish window opens with text like username@host:~$, where username is your username (here qcad) and penguin is the host name:
Installing Flatpak
Copy the following into the terminal (right-click to paste) and hit Enter. This command is for distributions that use the apt package manager, such as Debian, Ubuntu, Linux Mint, Pop!_OS, elementary OS and Raspberry Pi OS:
sudo apt install flatpakIf the terminal answers that apt was not found, your distribution uses a different package manager. On distributions based on Fedora or Red Hat — Fedora, RHEL, CentOS Stream, Rocky Linux, AlmaLinux — use dnf instead:
sudo dnf install flatpak- If the terminal says Flatpak is already the newest version, skip to the next section.
- If it asks “Do you want to continue?”, hit Enter again.
- If it says you are not allowed to do this, ignore it for now — you might already have Flatpak installed.
- Wait for the installation to complete (typically a few minutes). When the
username@penguin:~$line appears in green again, it is done.
Adding the Flathub repository
Copy the following into the terminal and hit Enter:
flatpak --user remote-add --if-not-exists flathub https://dl.flathub.org/repo/flathub.flatpakrepoFinding out the CPU type
Type the following and hit Enter:
uname -mThis displays your CPU type, for example aarch64 or x86_64:
aarch64— a 64-bit ARM CPU.x86_64— a 64-bit Intel or AMD CPU.
Keep in mind which CPU type you have.
Installing the correct runtime
If your CPU is aarch64:
flatpak --user install flathub org.freedesktop.Platform/aarch64/25.08If your CPU is x86_64:
flatpak --user install flathub org.freedesktop.Platform/x86_64/25.08Hit Enter.
⚠️ Note: If you get an error “Unable to load summary from remote flathub: URI … exceeded maximum size of 10485760 bytes”, your Flatpak version is outdated. In this case run:
flatpak remote-add --if-not-exists --user flathub https://dl.flathub.org/repo/flathub.flatpakrepoand then try the install again with the command above.
Flatpak asks if you want to install a number of things. Confirm with Enter:
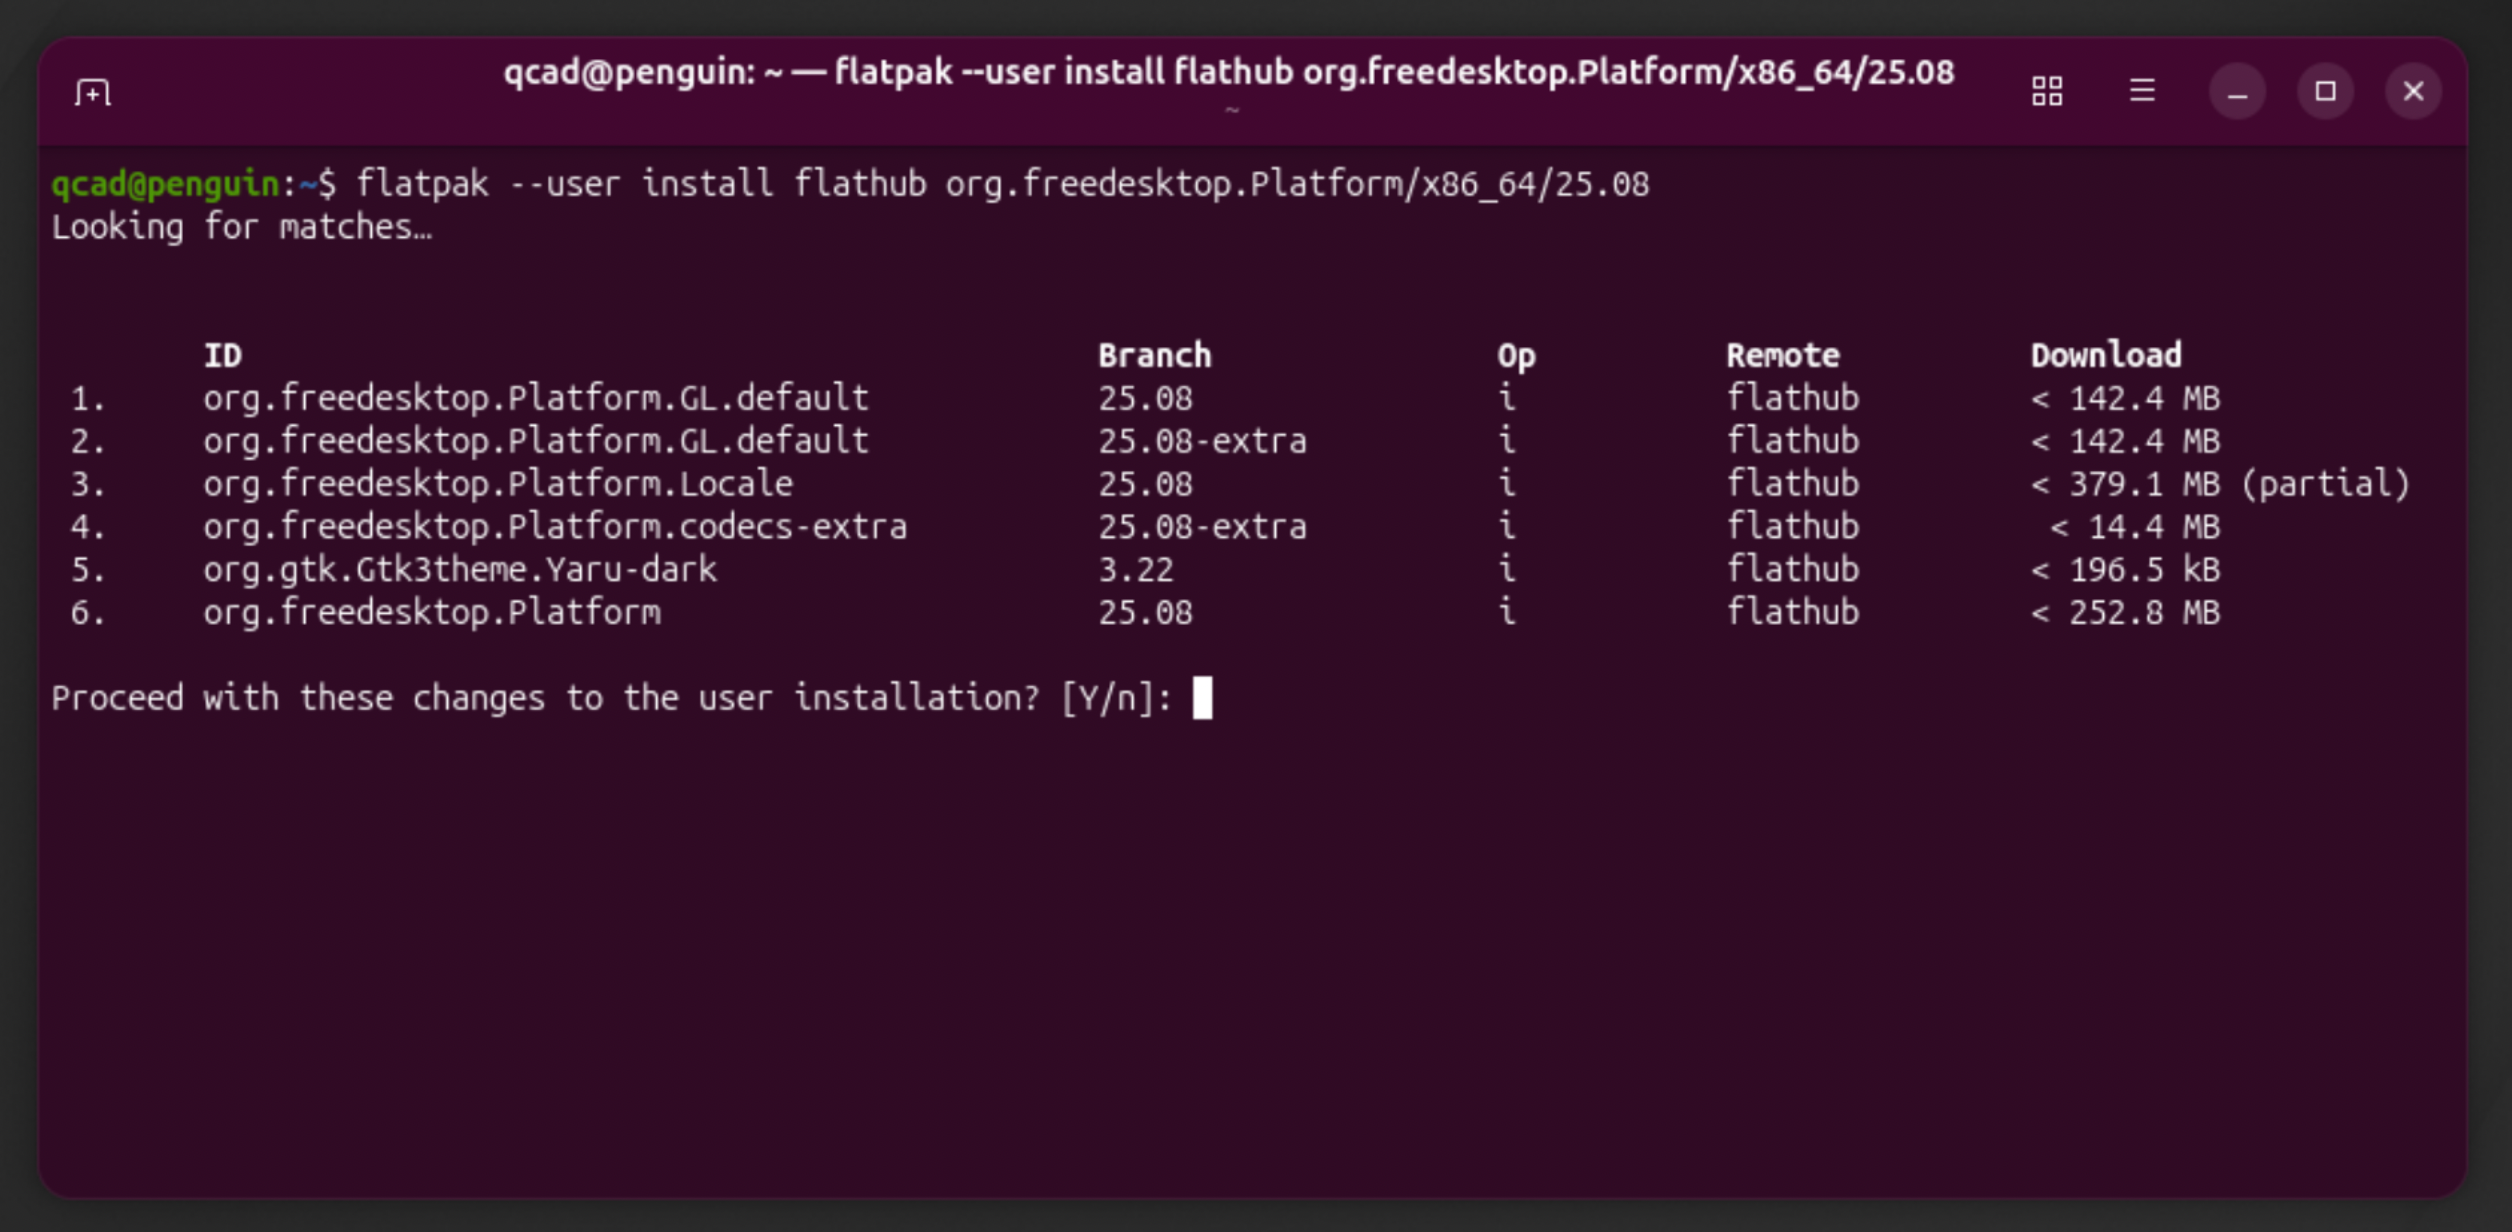
Flatpak installs these packages and shows “Installation complete” when done.
Downloading the correct QCAD package
Open the download area from the link you received after your purchase and download the Flatpak file for your CPU:
- 64-bit Intel or AMD CPU: scroll down to Linux > Qt 6 > 64-bit Intel.
- 64-bit ARM CPU: scroll down to Linux > Qt 6 > ARM (64bit).
Below the title you scrolled to, click the item with Flatpak in its name to download the Flatpak file to your Downloads folder. Wait for the download to complete.
Installing QCAD
Go back to the terminal and navigate to the Downloads folder:
cd ~/DownloadsIf you have an Intel CPU, type:
flatpak install --user qcad-3.x.x-pro-linux-qt6-x86_64.flatpakIf you have an ARM64 CPU, type:
flatpak install --user qcad-3.x.x-pro-linux-qt6-arm64.flatpak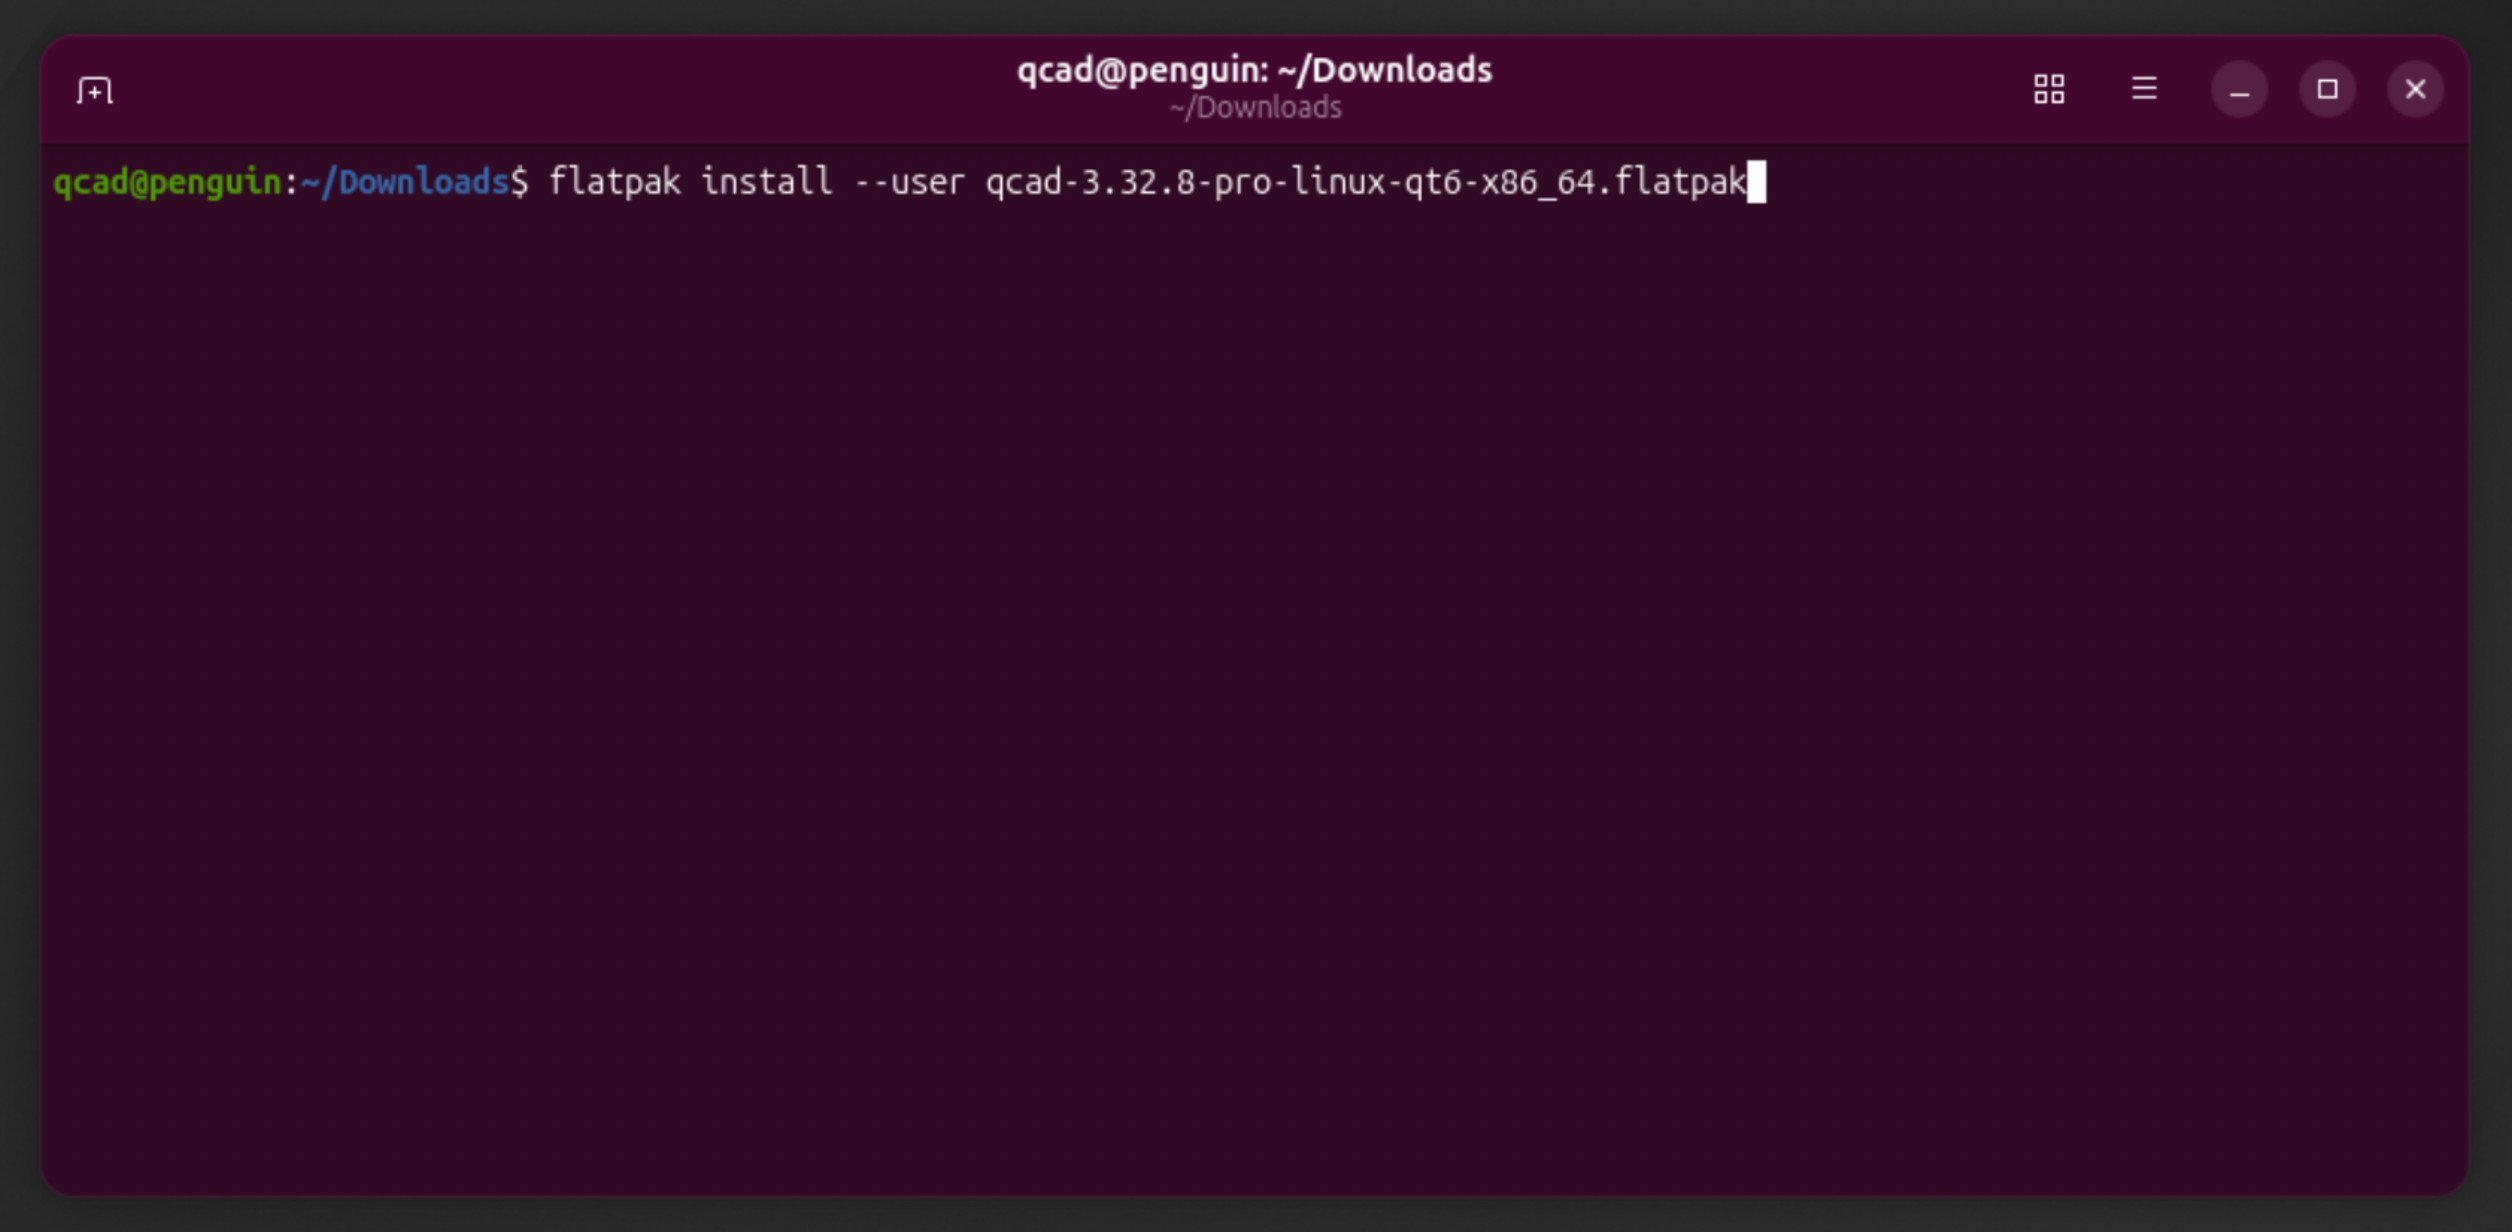
3.x.x above is the exact version number of the package you downloaded. The terminal asks if you want to proceed:
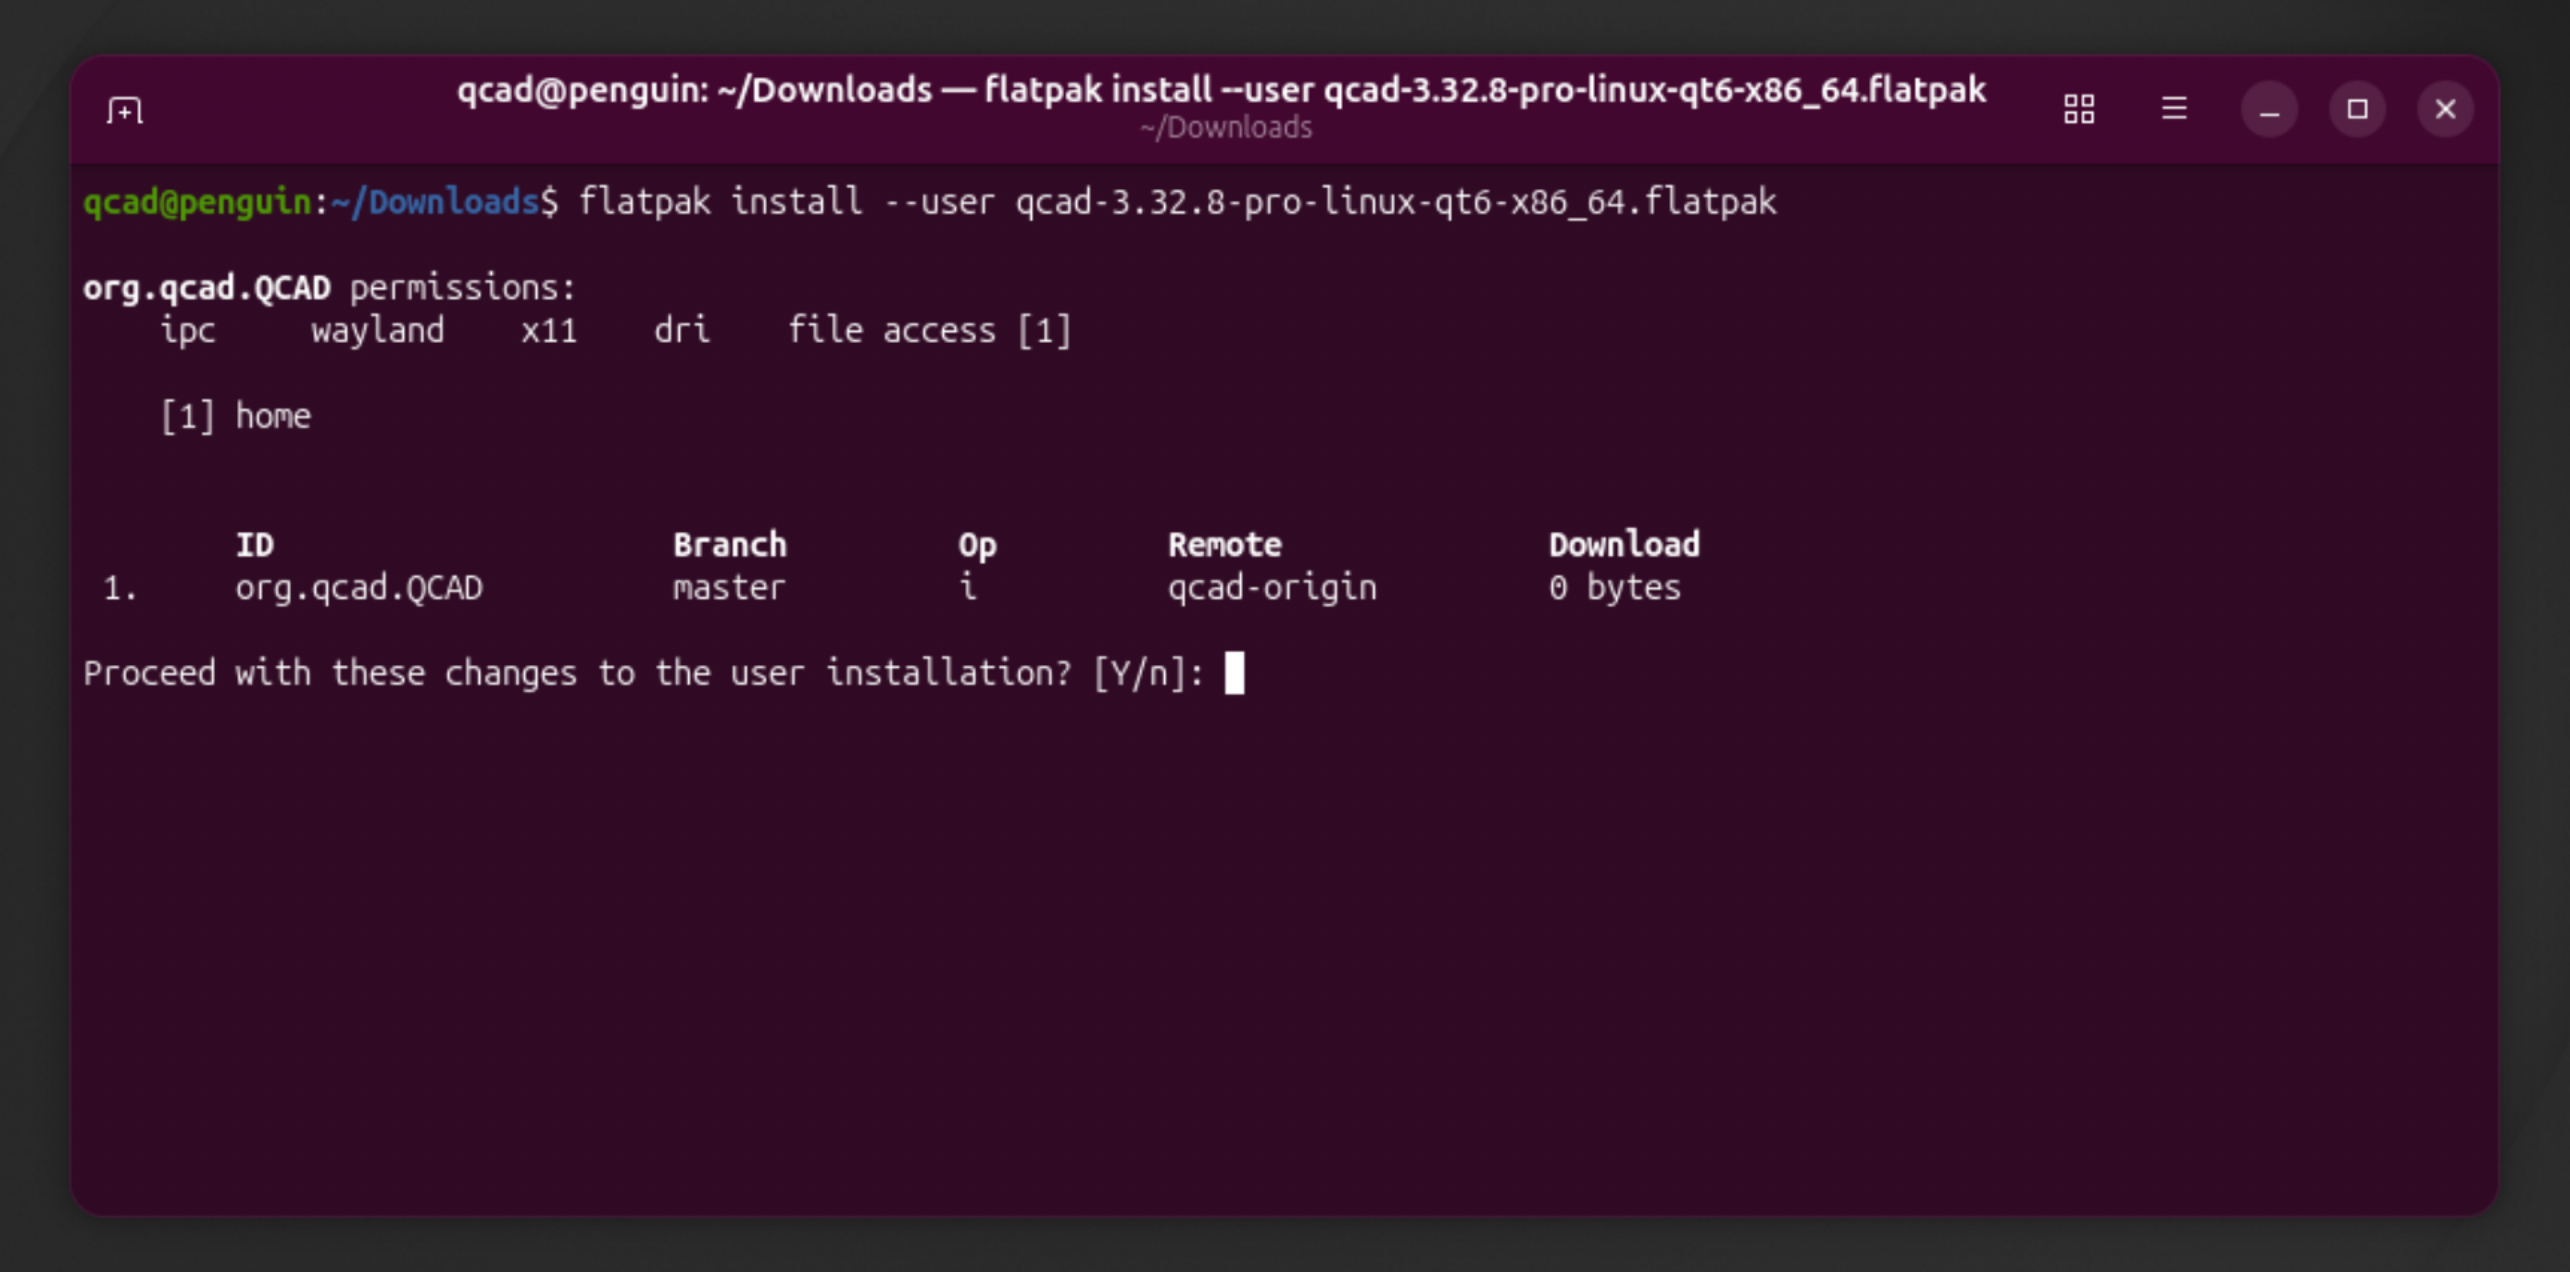
Hit Enter to confirm. When the installation has finished, the terminal shows “Installation complete.”
Running QCAD
To start QCAD, type:
flatpak run org.qcad.QCADOr use the launcher at the top left, where you can find QCAD:
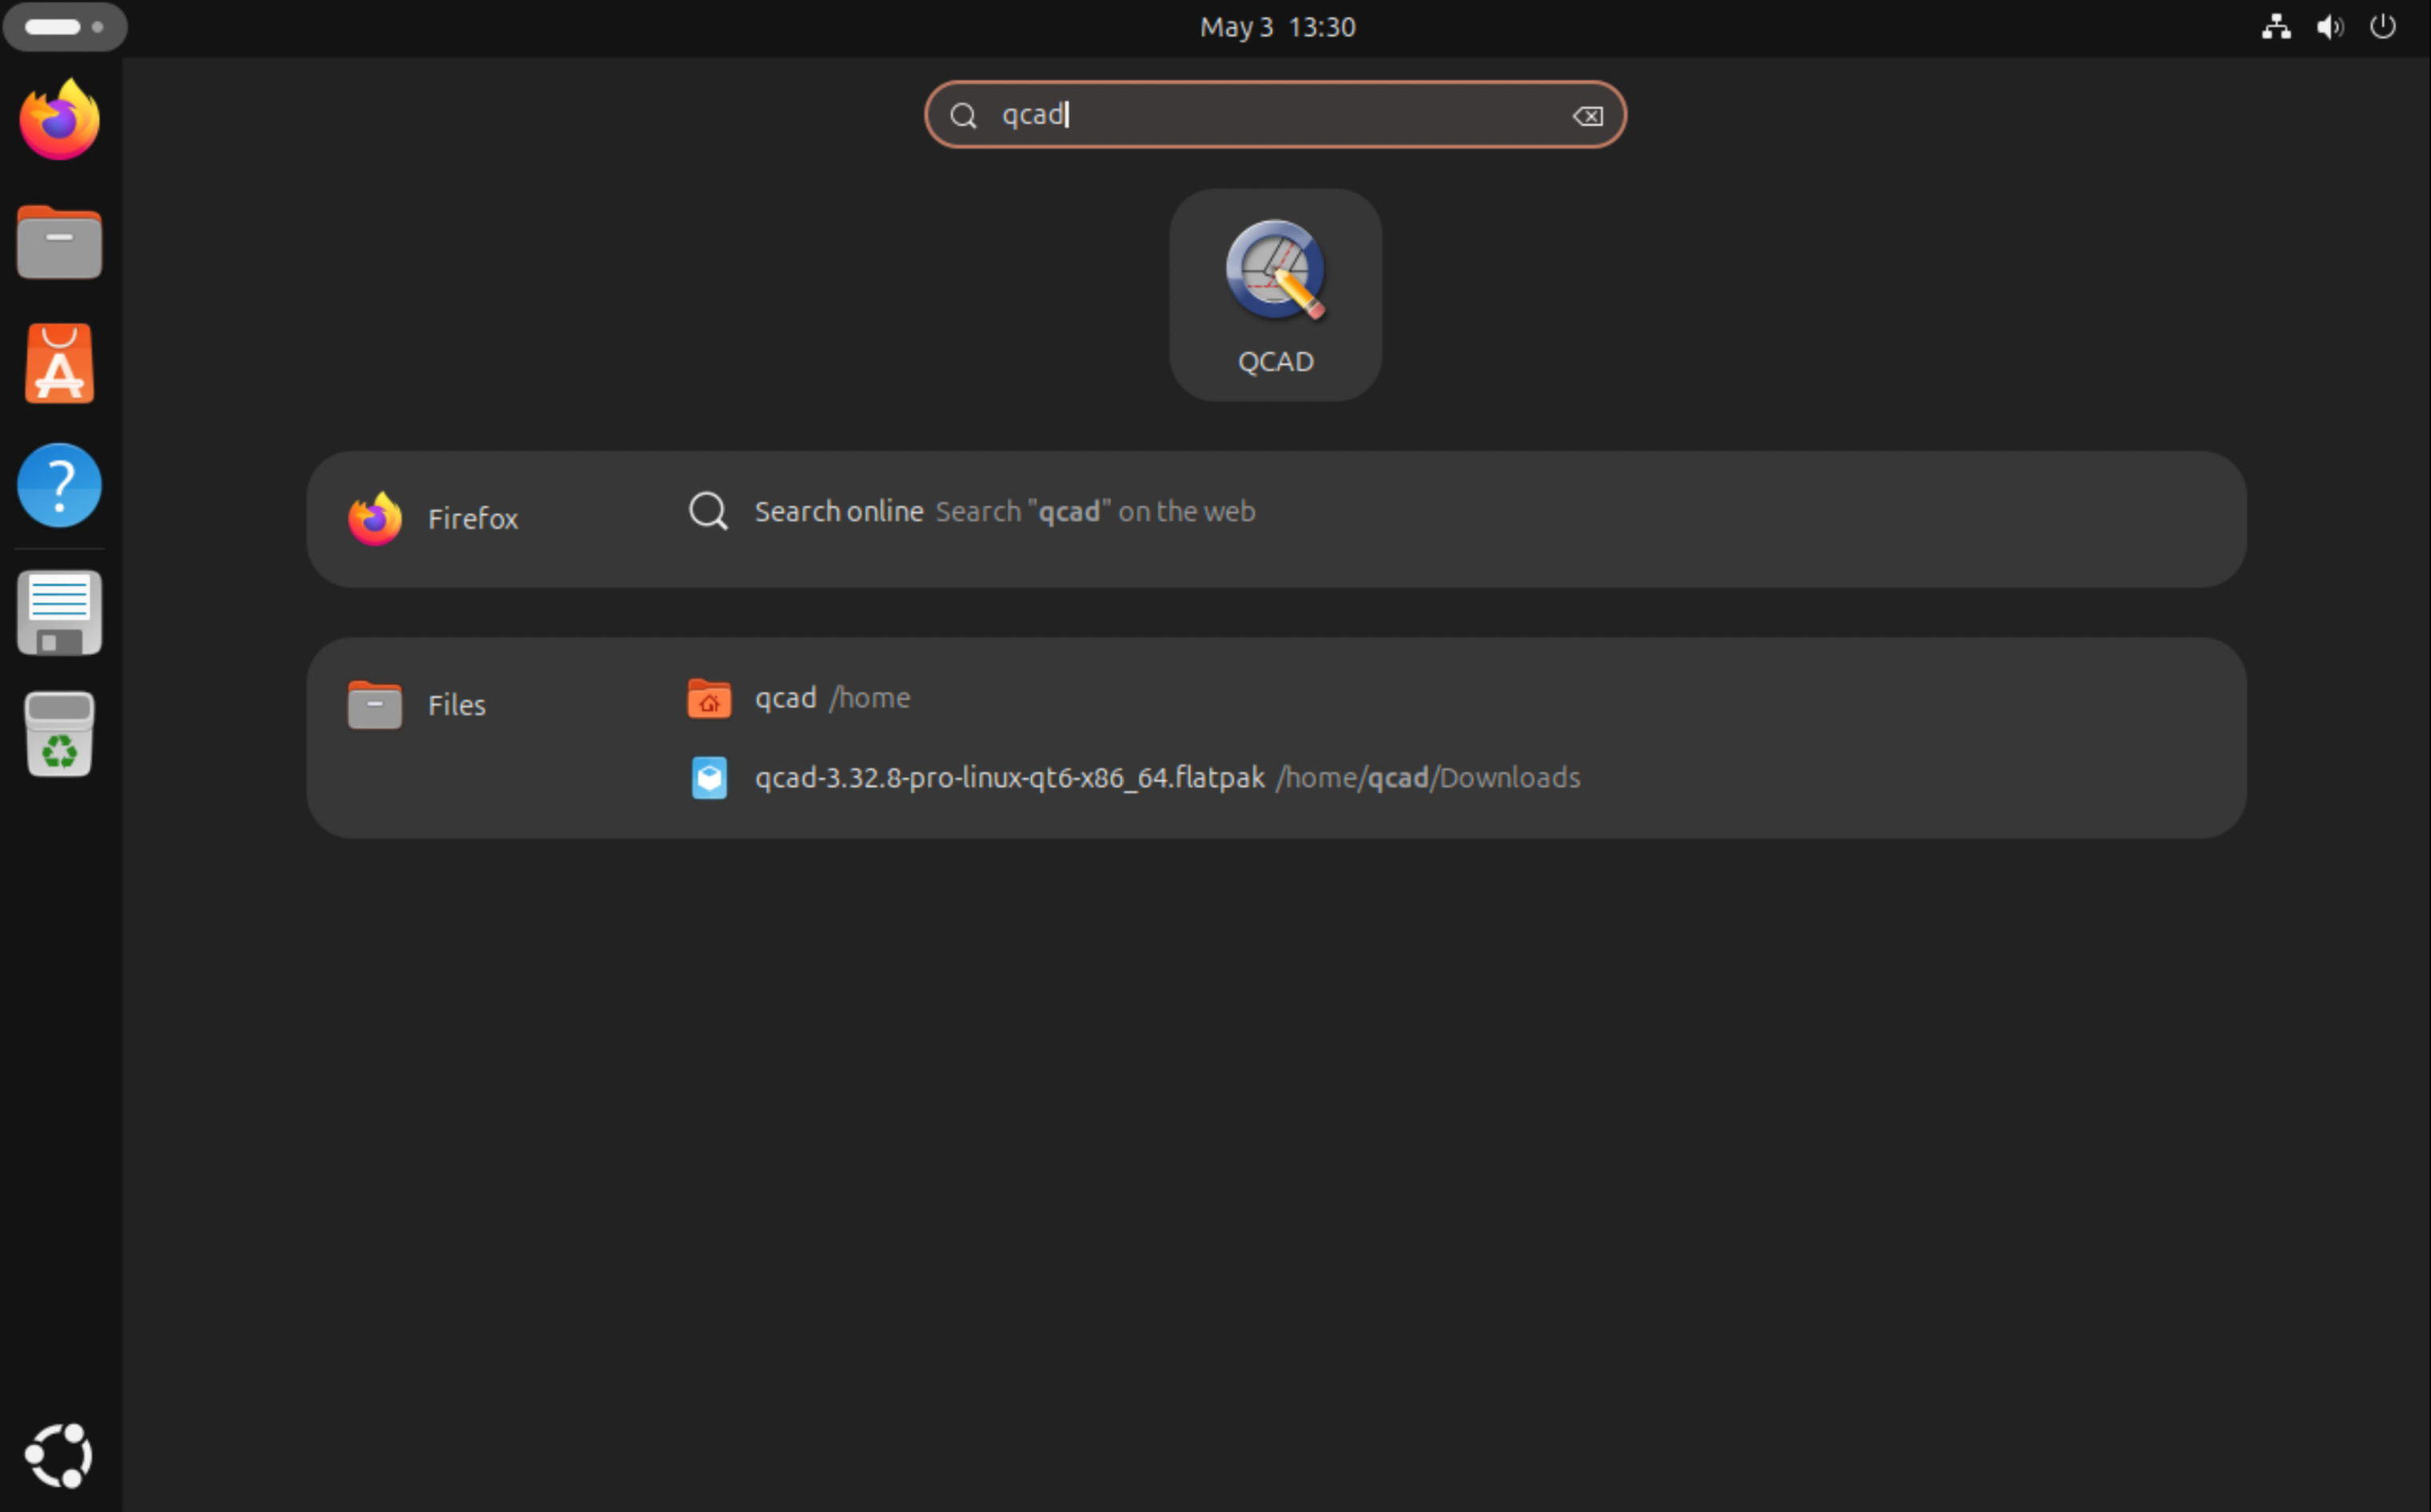
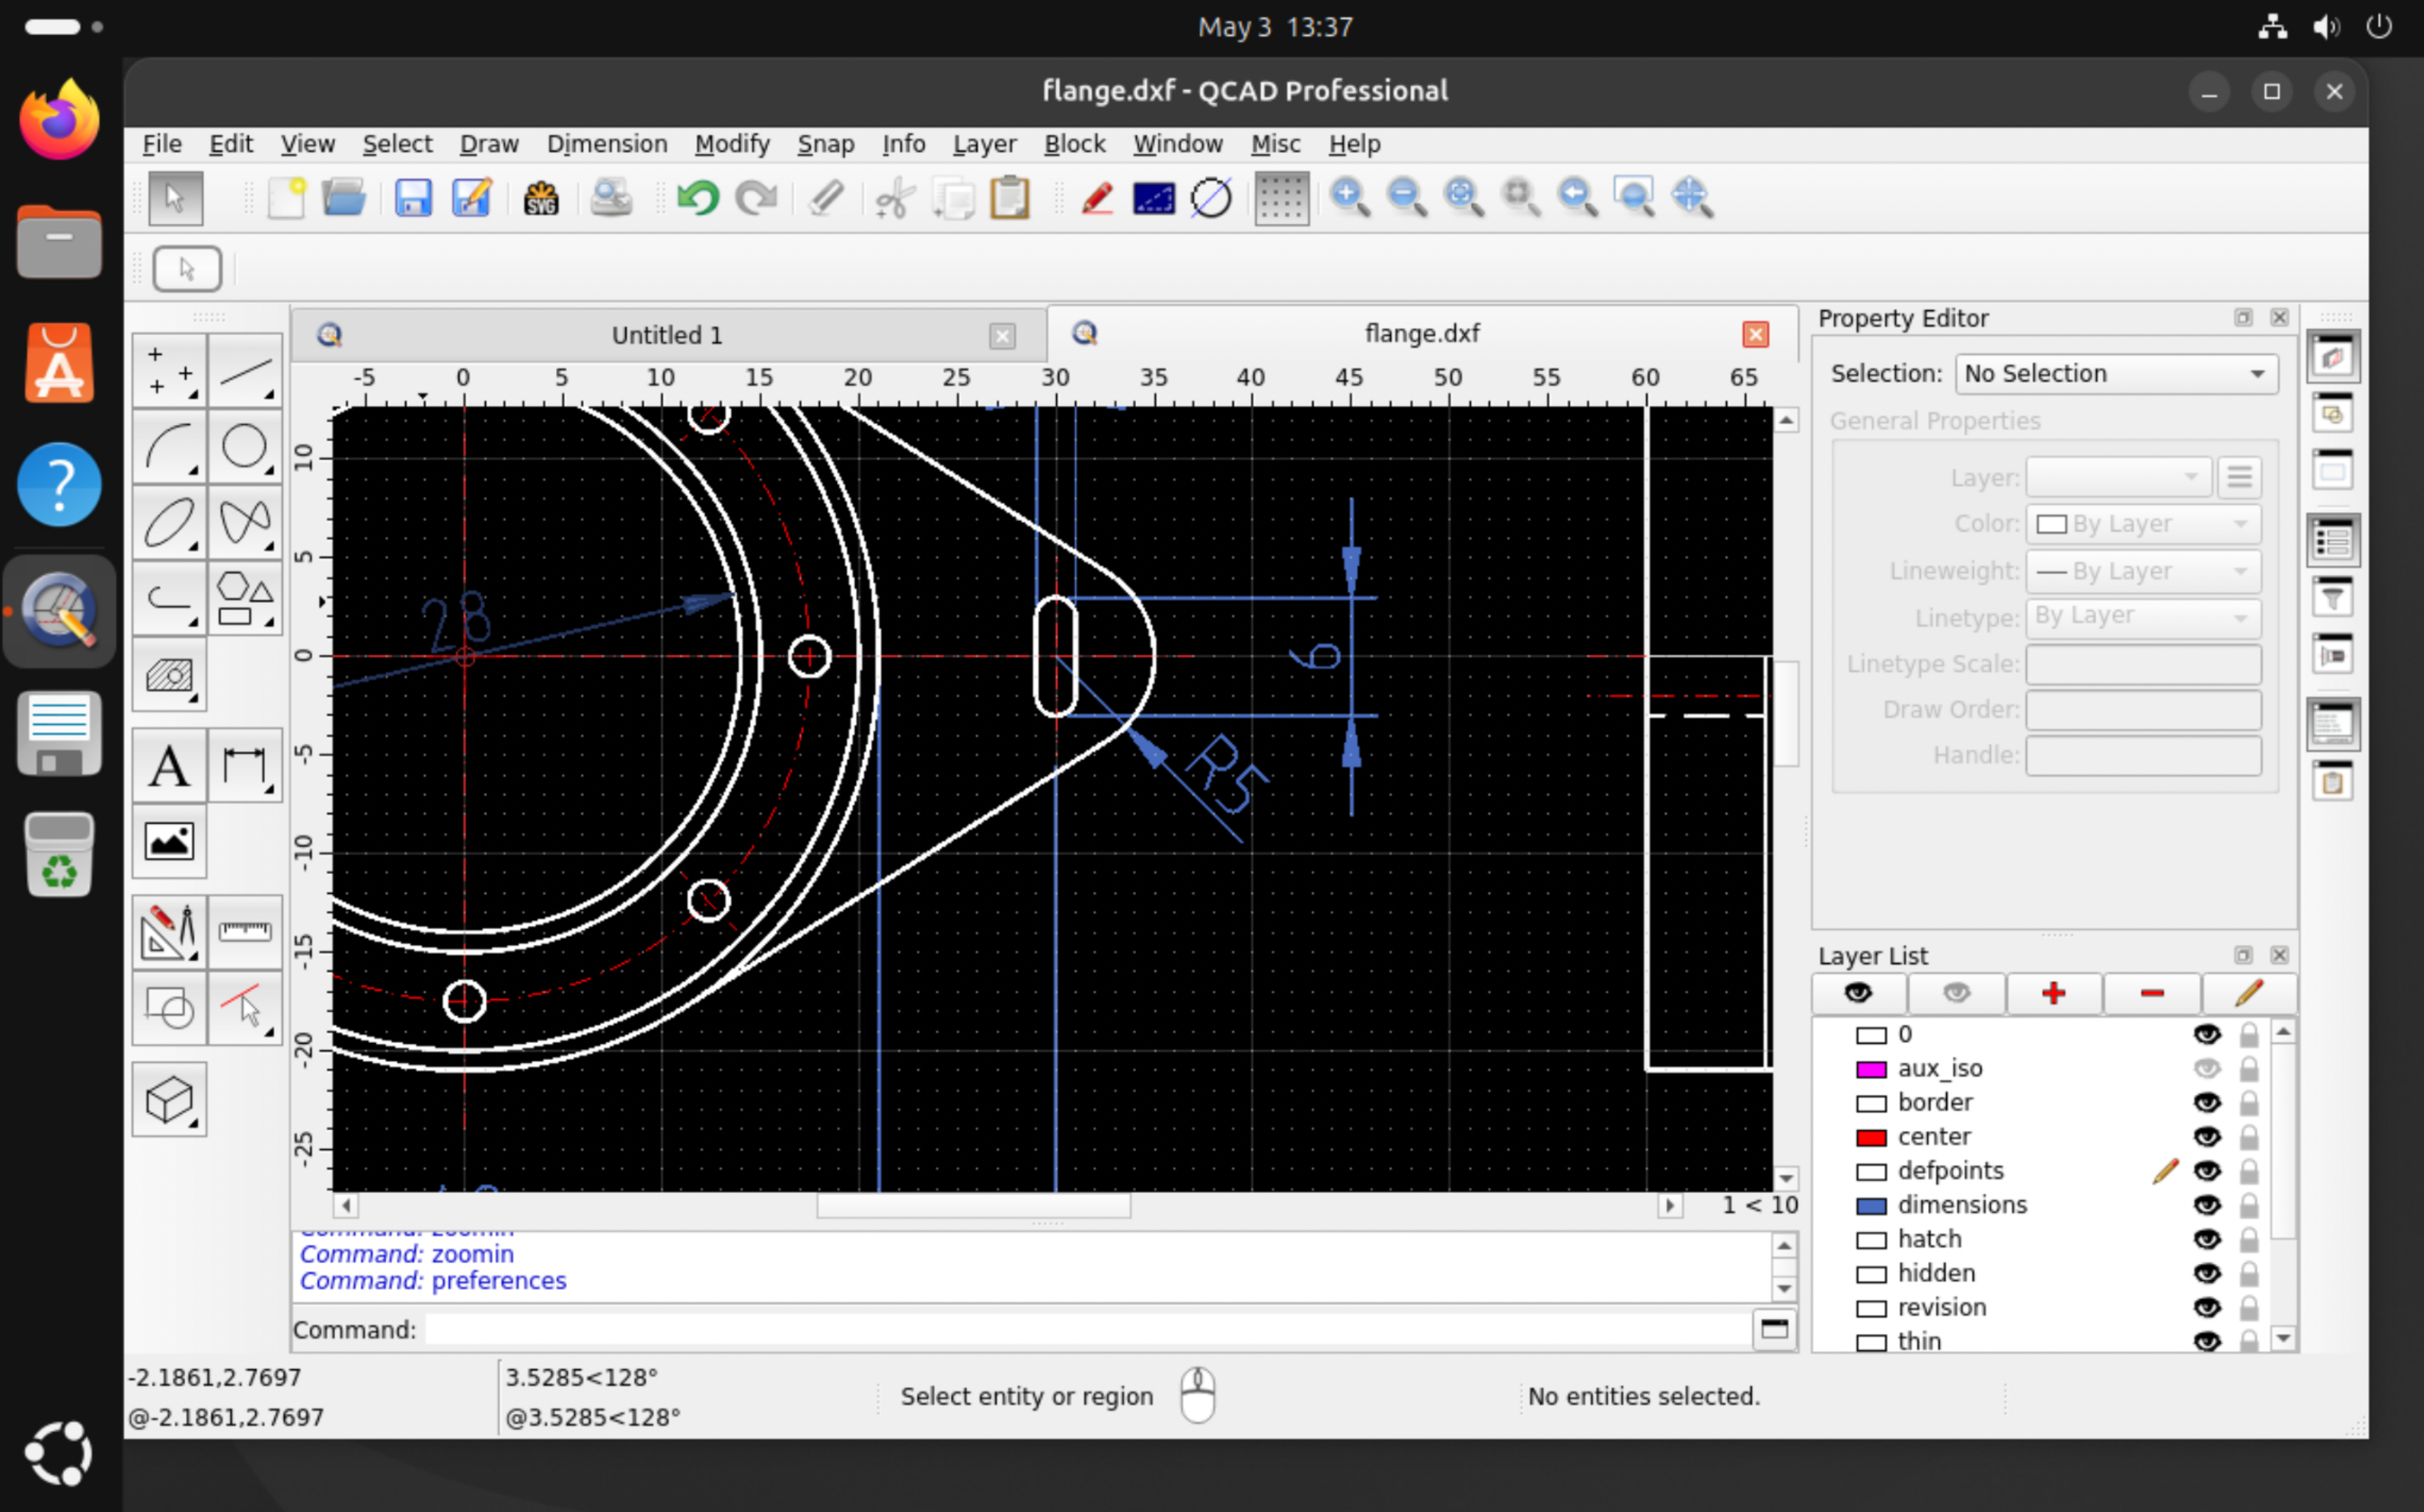
QCAD starts with its welcome screen, where you can choose some default settings. Once you confirm, the QCAD application window is shown and you can start working:
Running command line tools
After installing a Flatpak, you won't have access to the command line tool launcher scripts (dwg2pdf, dwg2bmp, …). One way to still run the command line tools is to pass the launcher scripts as arguments to Flatpak:
flatpak run org.qcad.QCAD -autostart scripts/Pro/Tools/Dwg2Pdf/Dwg2Pdf.jsThe launcher scripts for the various QCAD command line tools are:
- merge: scripts/Tools/MergeDrawings/MergeDrawings.js
- bmp2dwg: scripts/Pro/Tools/Bmp2Dwg/Bmp2Dwg.js
- bbox: scripts/Pro/Tools/BoundingBox/BoundingBox.js
- dwg2bmp: scripts/Pro/Tools/Dwg2Bmp/Dwg2Bmp.js
- dwg2csv: scripts/Pro/Tools/Dwg2Csv/Dwg2Csv.js
- dwg2dwg: scripts/Pro/Tools/Dwg2Dwg/Dwg2Dwg.js
- dwg2maptiles: scripts/Pro/Tools/Dwg2MapTiles/Dwg2MapTiles.js
- dwg2pdf: scripts/Pro/Tools/Dwg2Pdf/Dwg2Pdf.js
- dwg2svg: scripts/Pro/Tools/Dwg2Svg/Dwg2Svg.js
- dwgexplode: scripts/Pro/Tools/DwgExplode/DwgExplode.js
- dwghatch: scripts/Pro/Tools/DwgHatch/DwgHatch.js
- dwghatcharea: scripts/Pro/Tools/DwgHatchArea/DwgHatchArea.js
- dwginfo: scripts/Pro/Tools/DwgInfo/DwgInfo.js
- dwgmapconvert: scripts/Pro/Tools/DwgMapConvert/DwgMapConvert.js
- svg2dwg: scripts/Pro/Tools/Svg2Dwg/Svg2Dwg.js
- dwgnest (QCAD/CAM): scripts/Nest/Tools/DwgNest/DwgNest.js