

2.13 Block Attributes
In this QCAD tutorial, we learn how to work with block attributes.
Block attributes are texts that belong to a block reference and can have a different value for every block reference.
Example drawing:Bracket.dxf
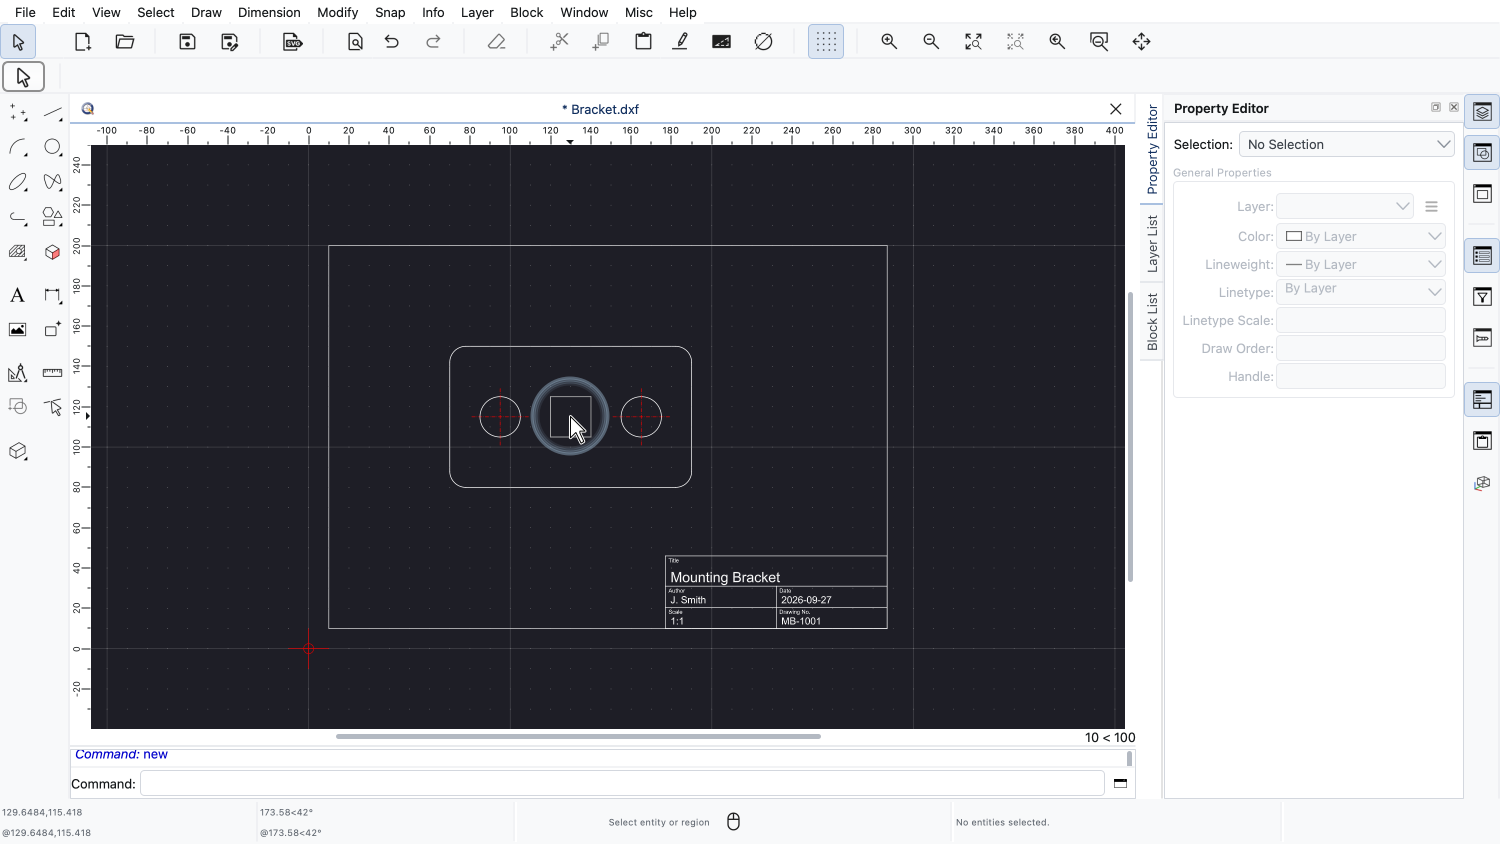
Let's first have a look at this example drawing of a simple mounting bracket.
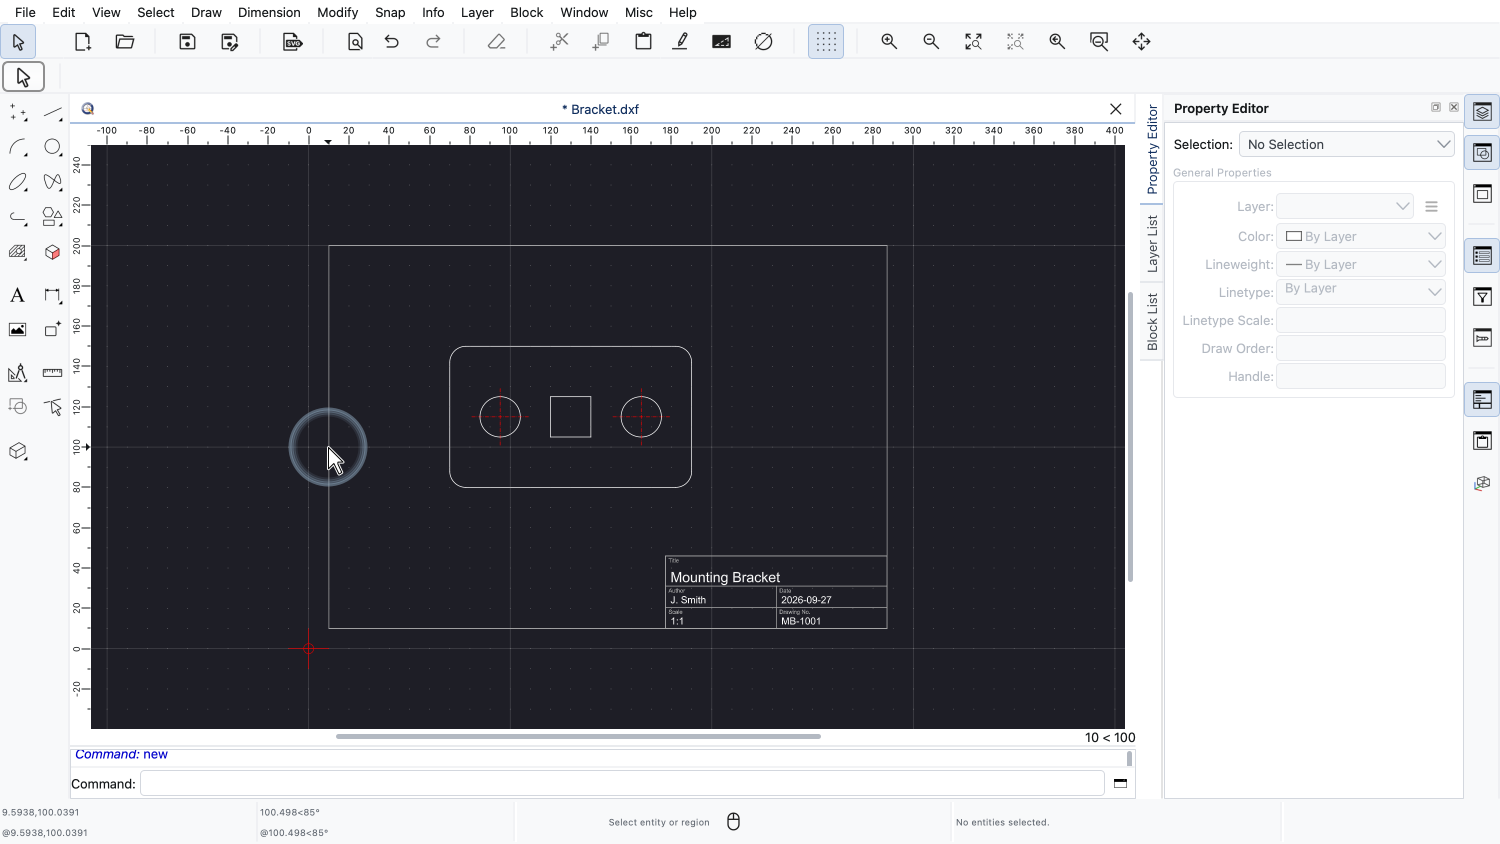
The drawing border around the part, including the title block at the bottom right, is a block reference.
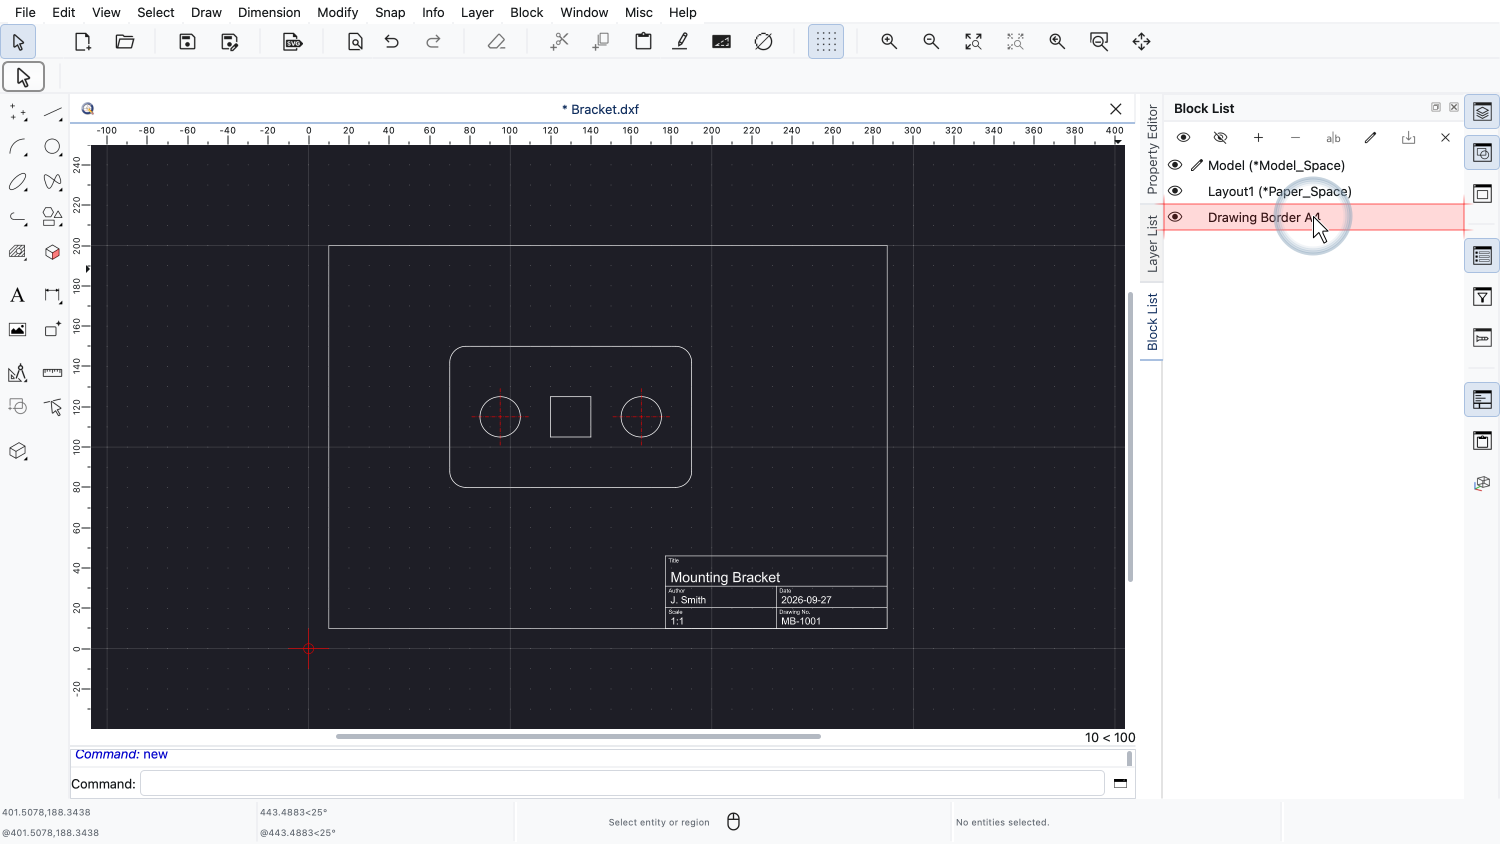
It refers to the block "Drawing Border A4" which we can see in the block list.
Using a block for the drawing border is very convenient, since the same drawing border can be reused in many drawings.
However, the title block of every drawing needs a different title, a different author, a different date, and so on.
This is where block attributes come into play.
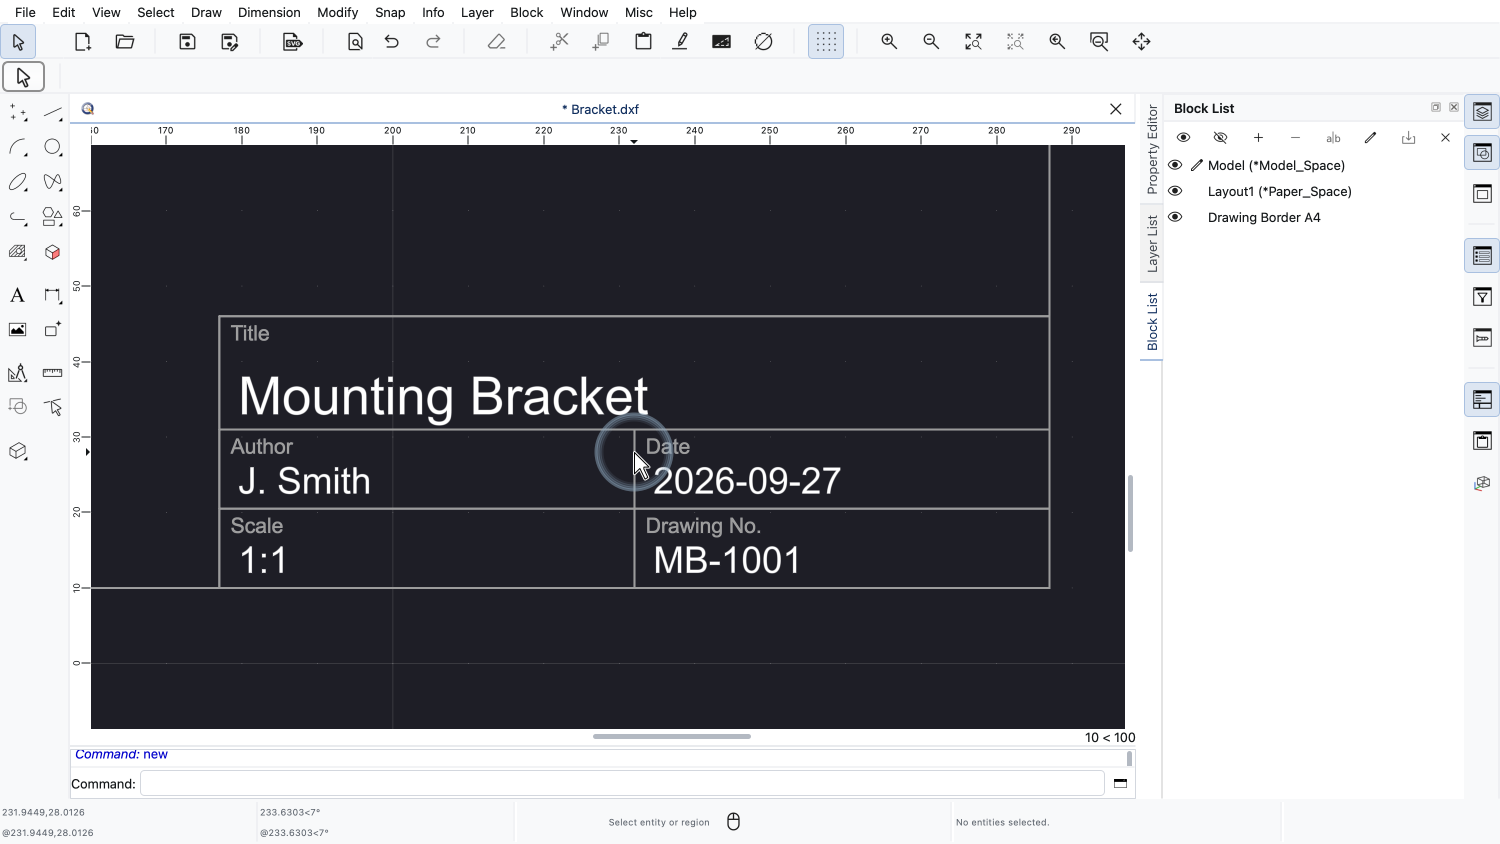
We zoom in to the title block to have a closer look.
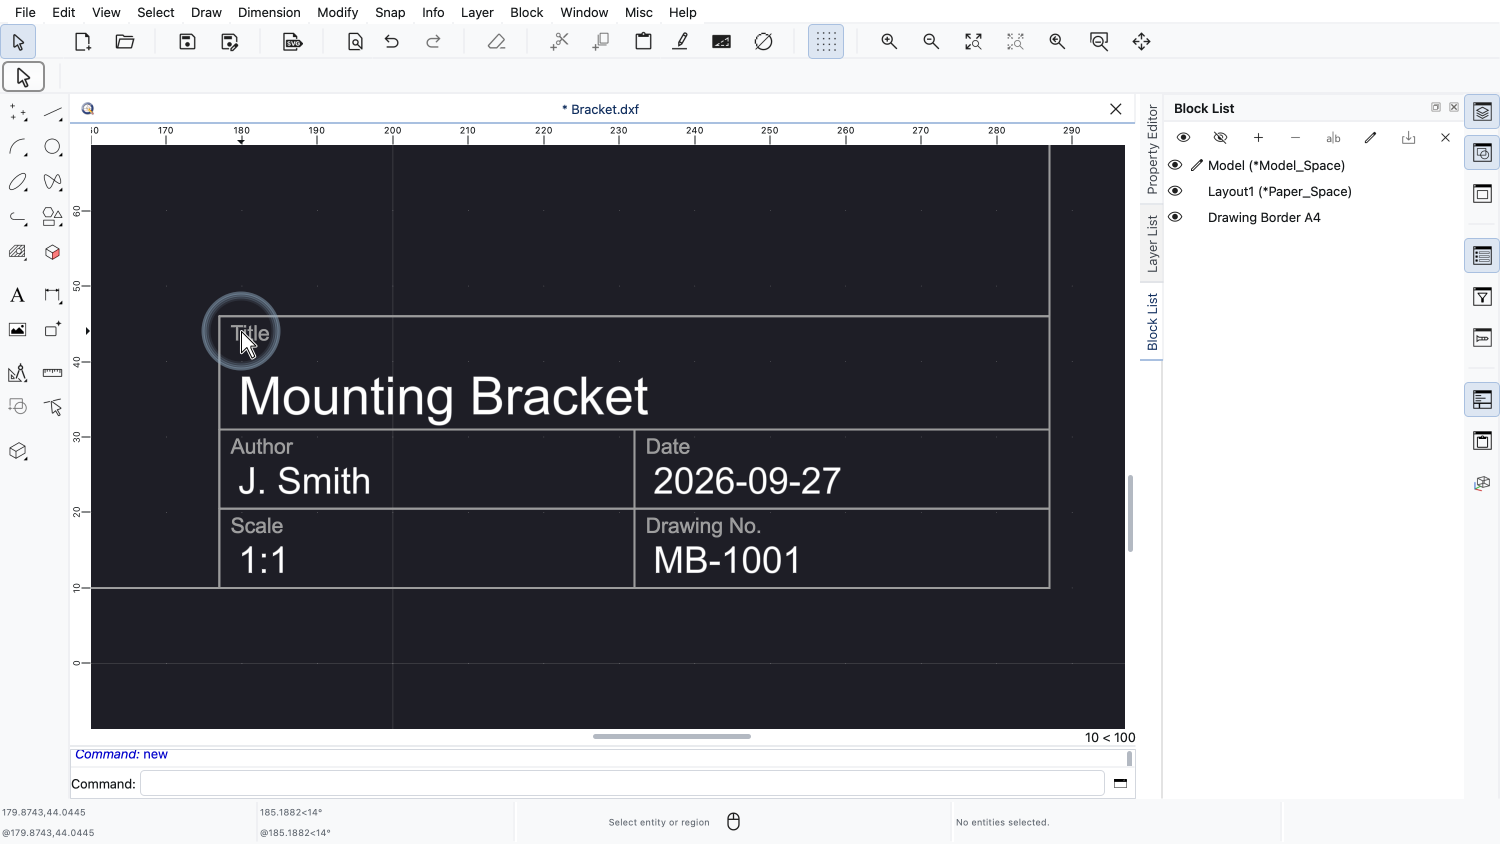
The labels, such as "Title", "Author" or "Date", are ordinary texts that are part of the block.
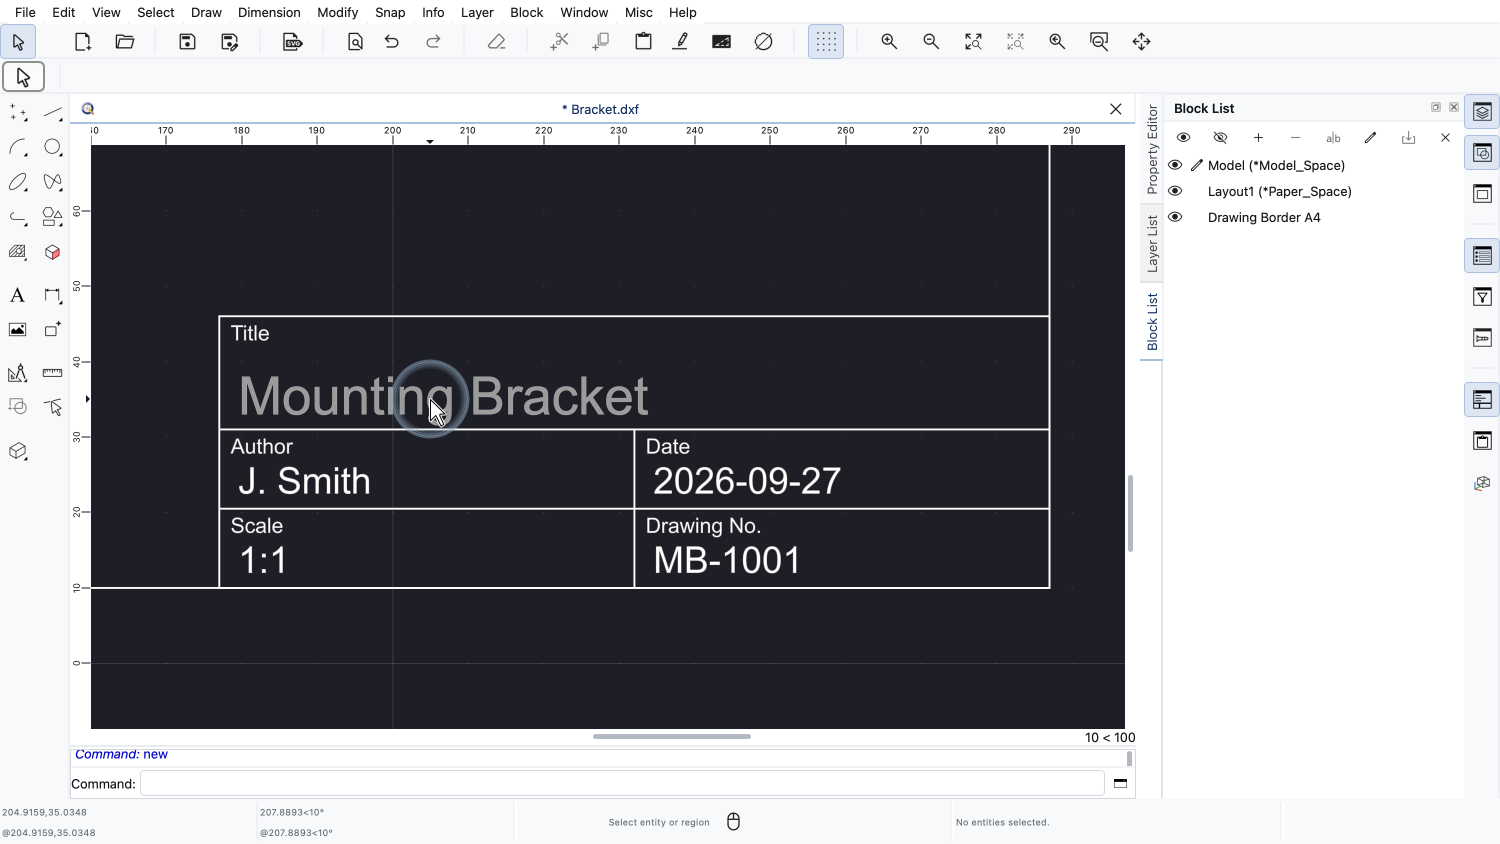
The values below the labels, such as the title of our drawing, are block attributes.
Each block attribute has a name, also called a tag, and a value.
The tag identifies the attribute, the value is the text that is displayed in the drawing.
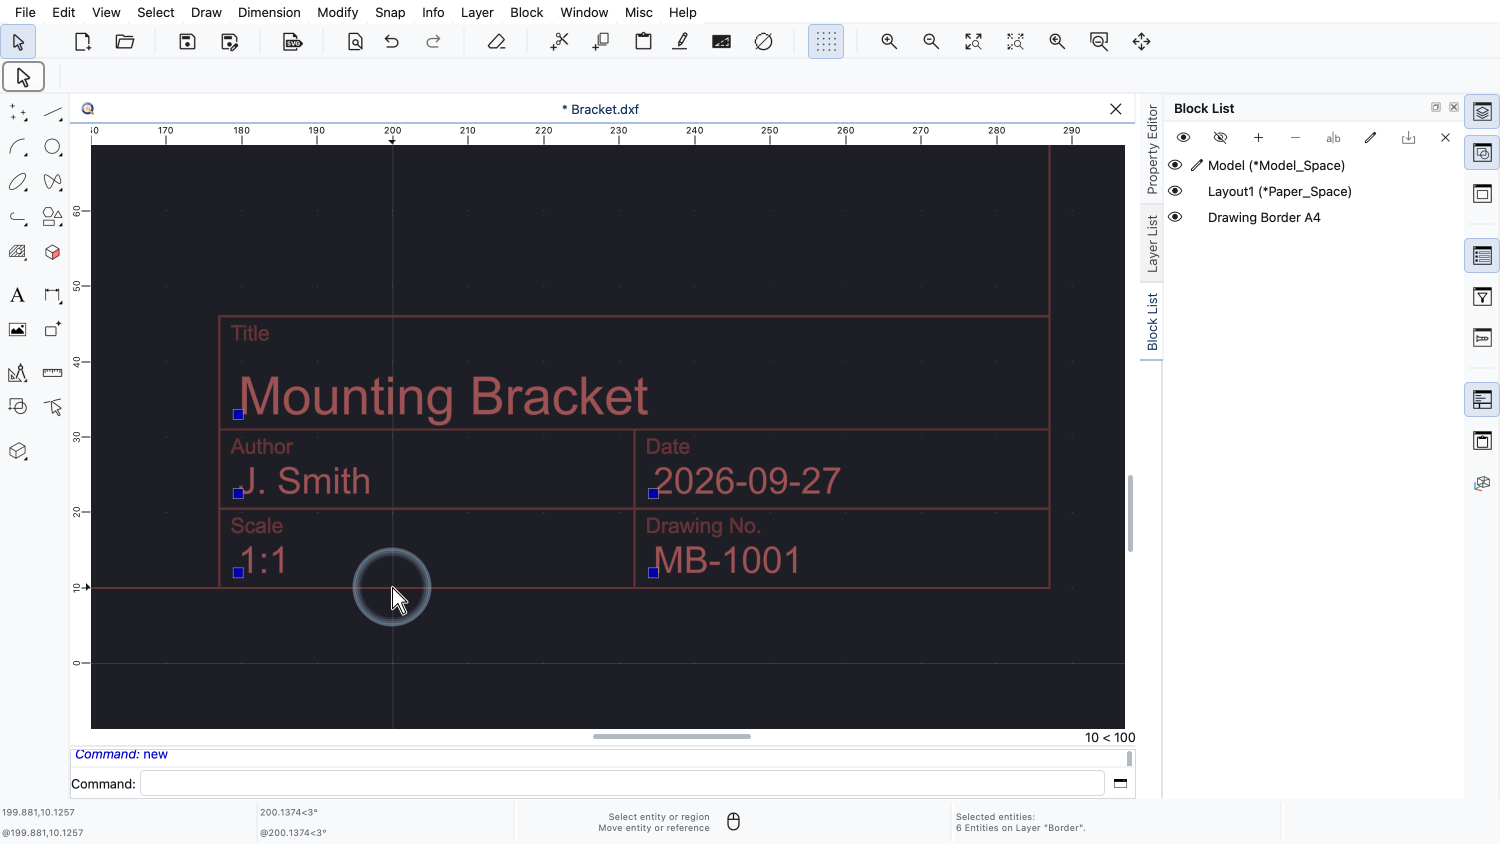
To change the values of the block attributes, we select the block reference by clicking on one of the lines of the drawing border.
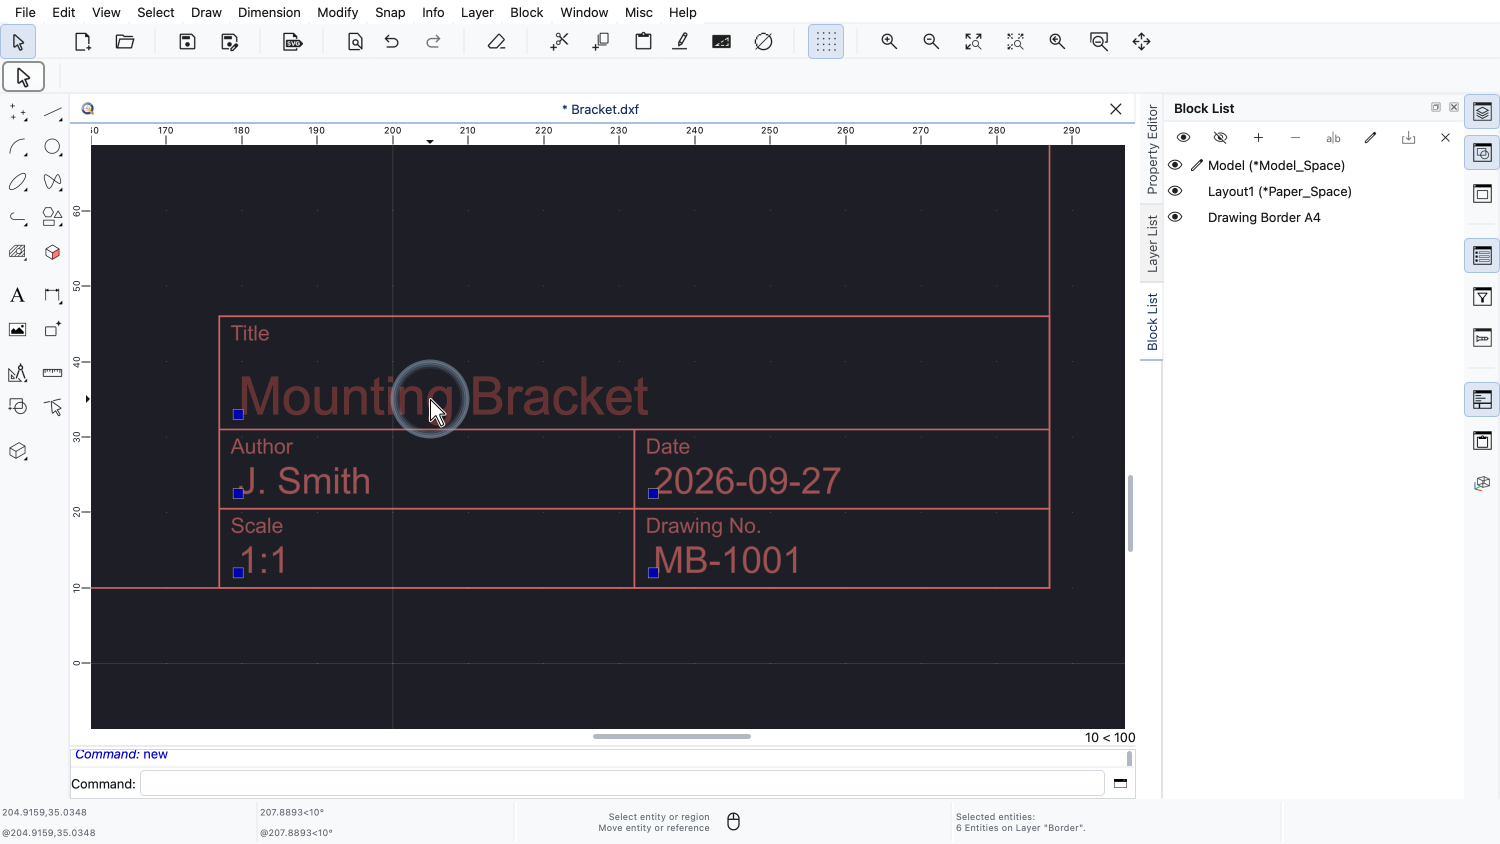
Note that the block attributes are selected together with the block reference.
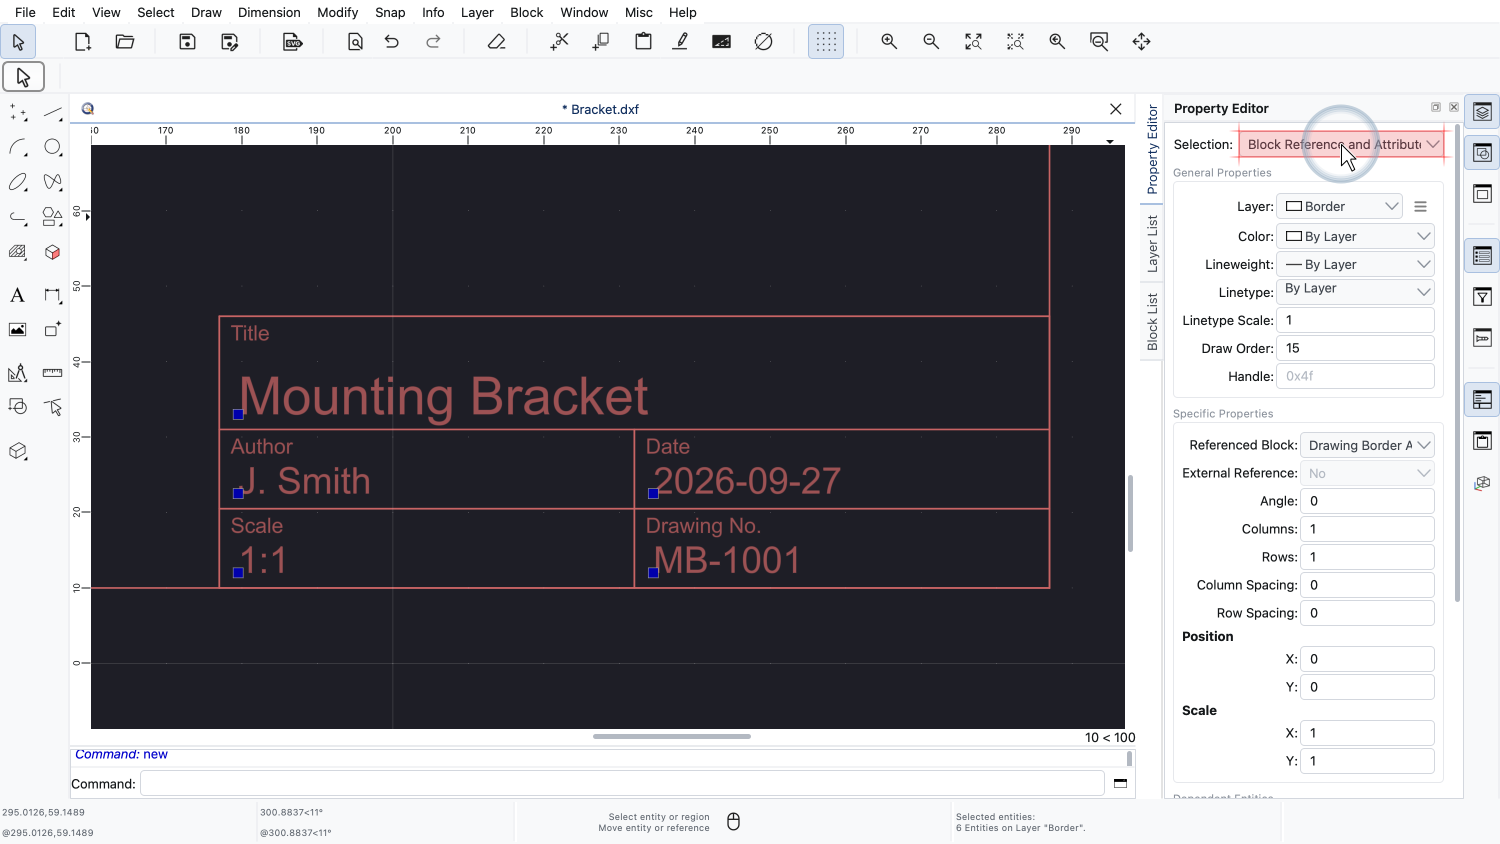
In the property editor, we can see the properties of the selected block reference along with its attributes.
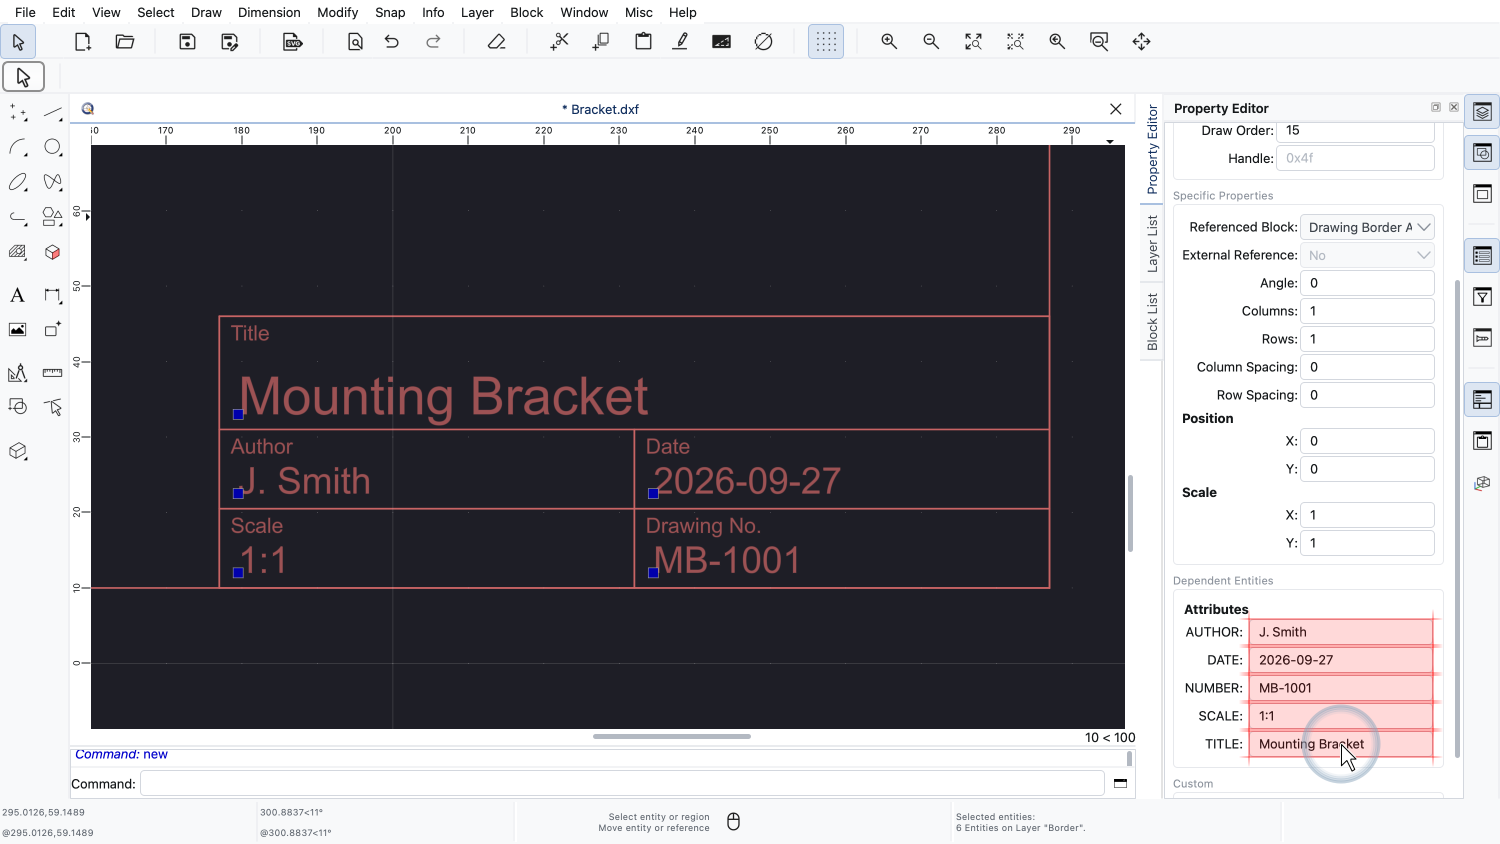
Further down in the property editor, we find the section "Attributes" with all block attributes of the block reference.
For every attribute, the tag is shown on the left and the value on the right.
Here, we can change the values of the attributes directly.
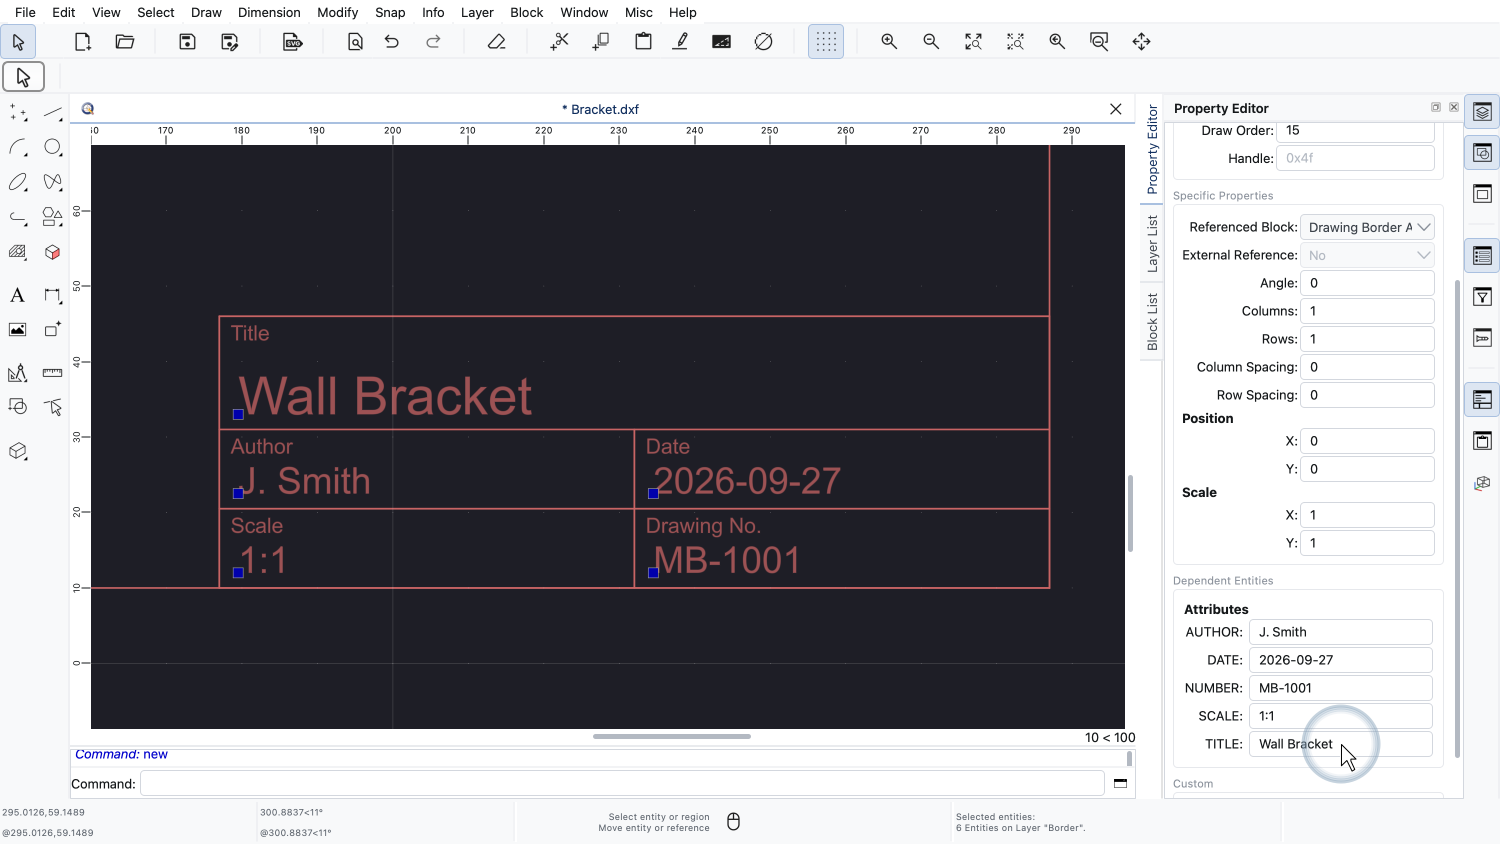
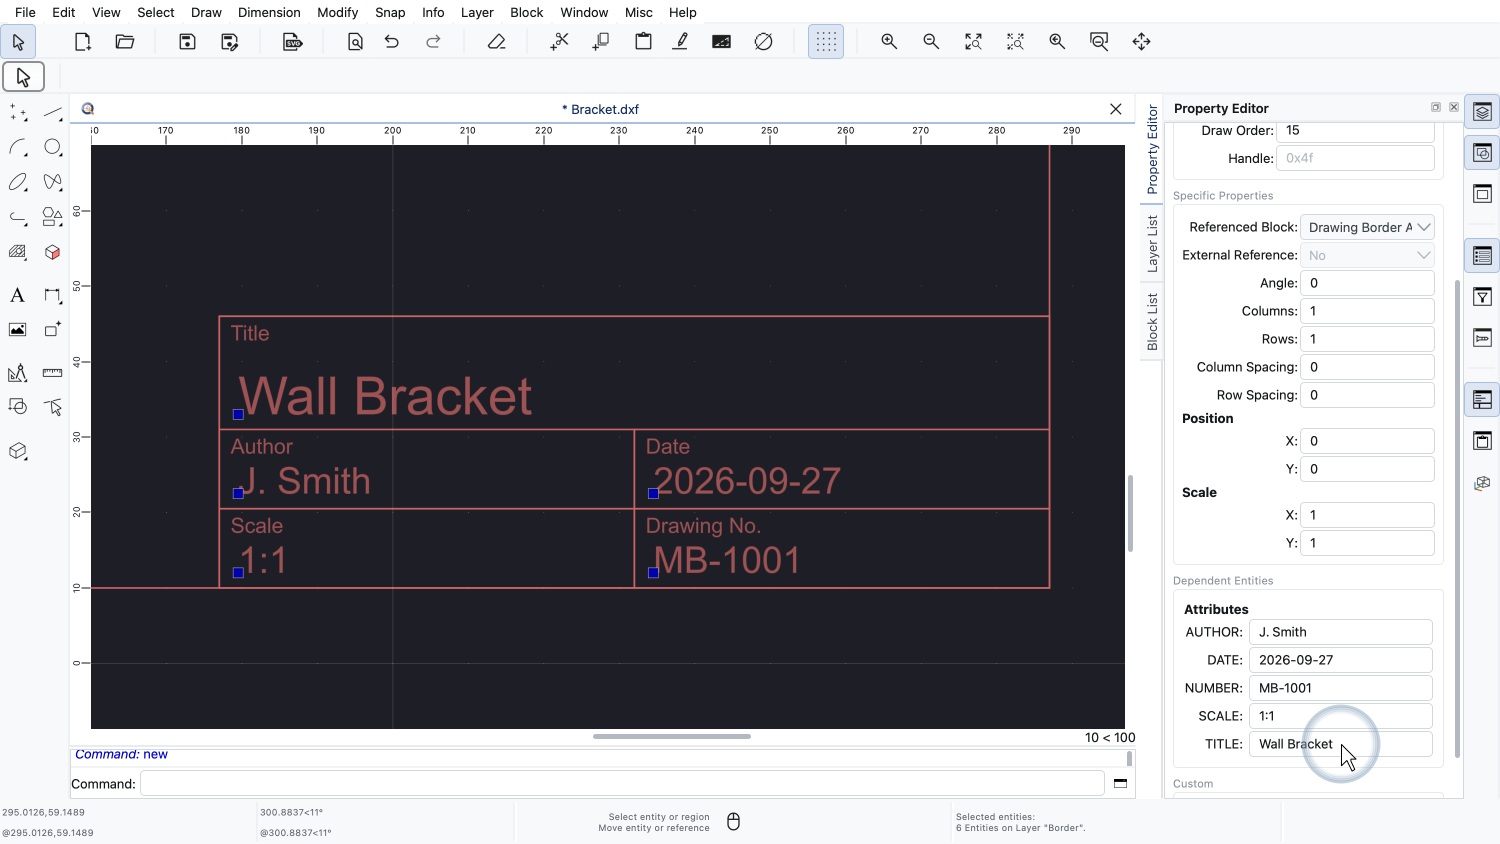
We change the title of our drawing to "Wall Bracket".
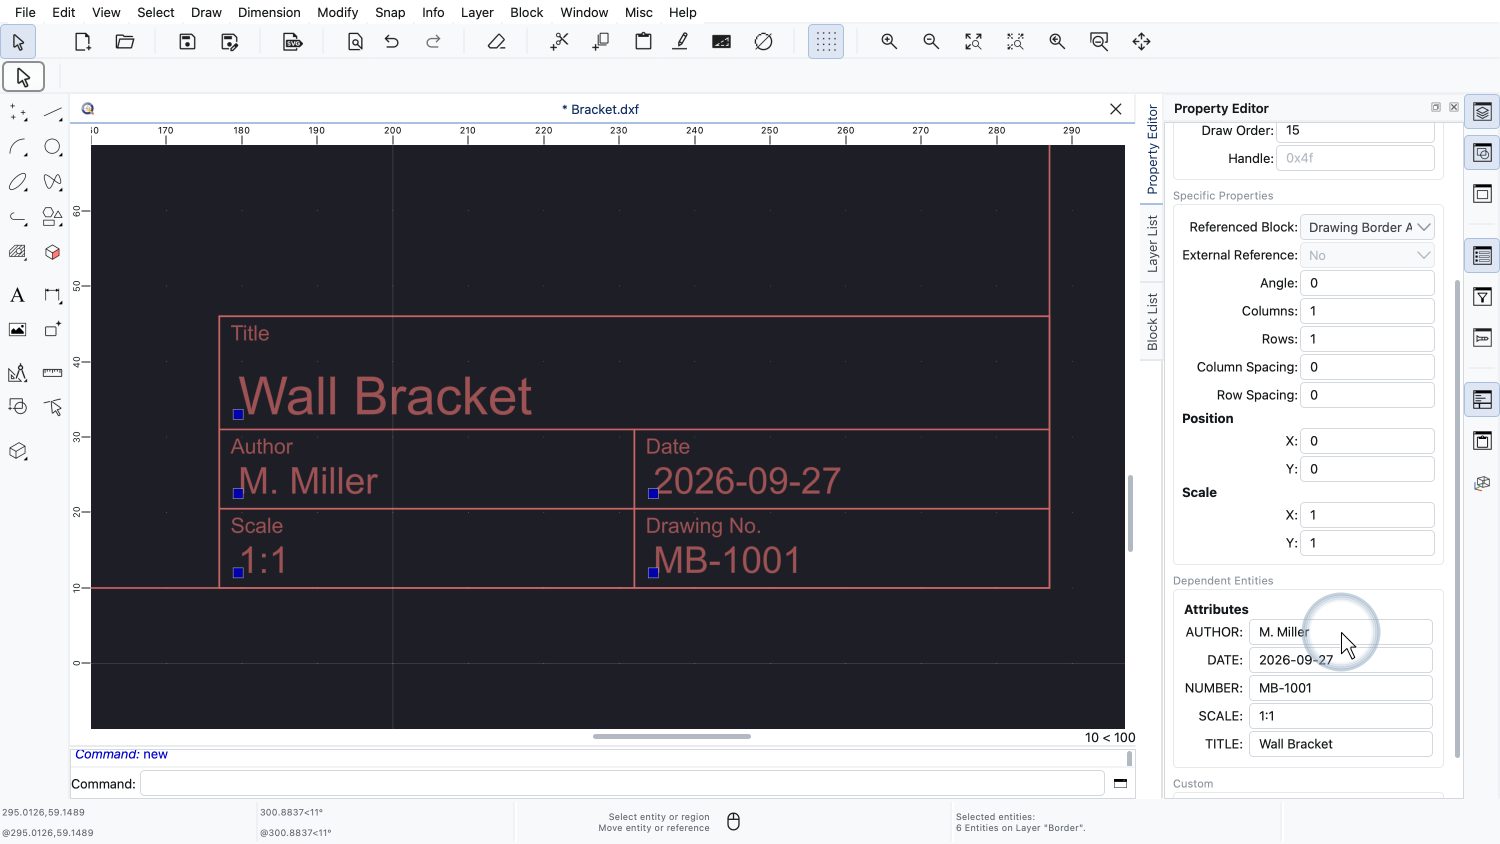
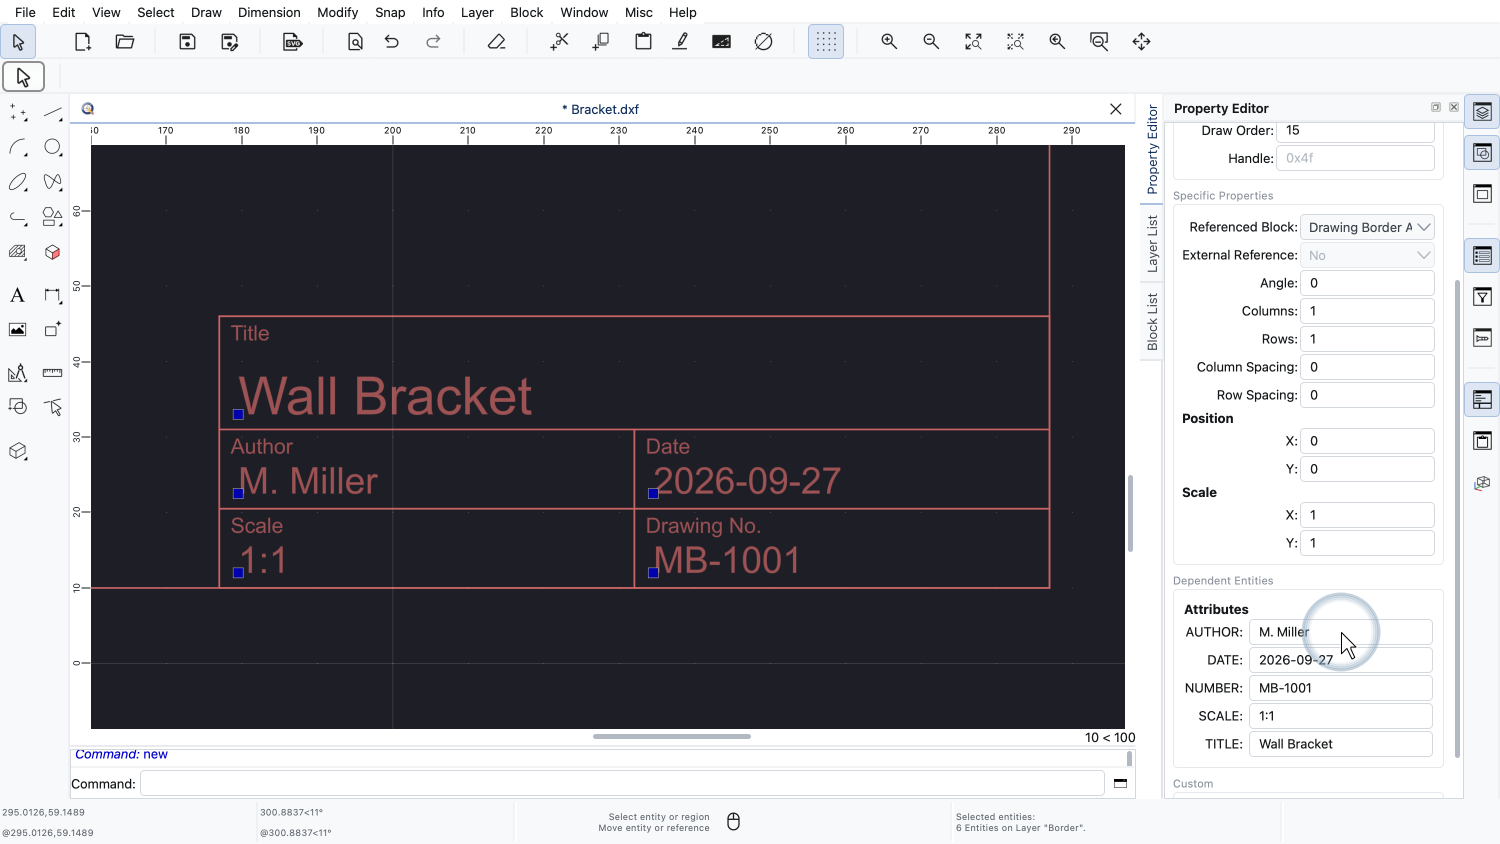
And the author to "M. Miller".
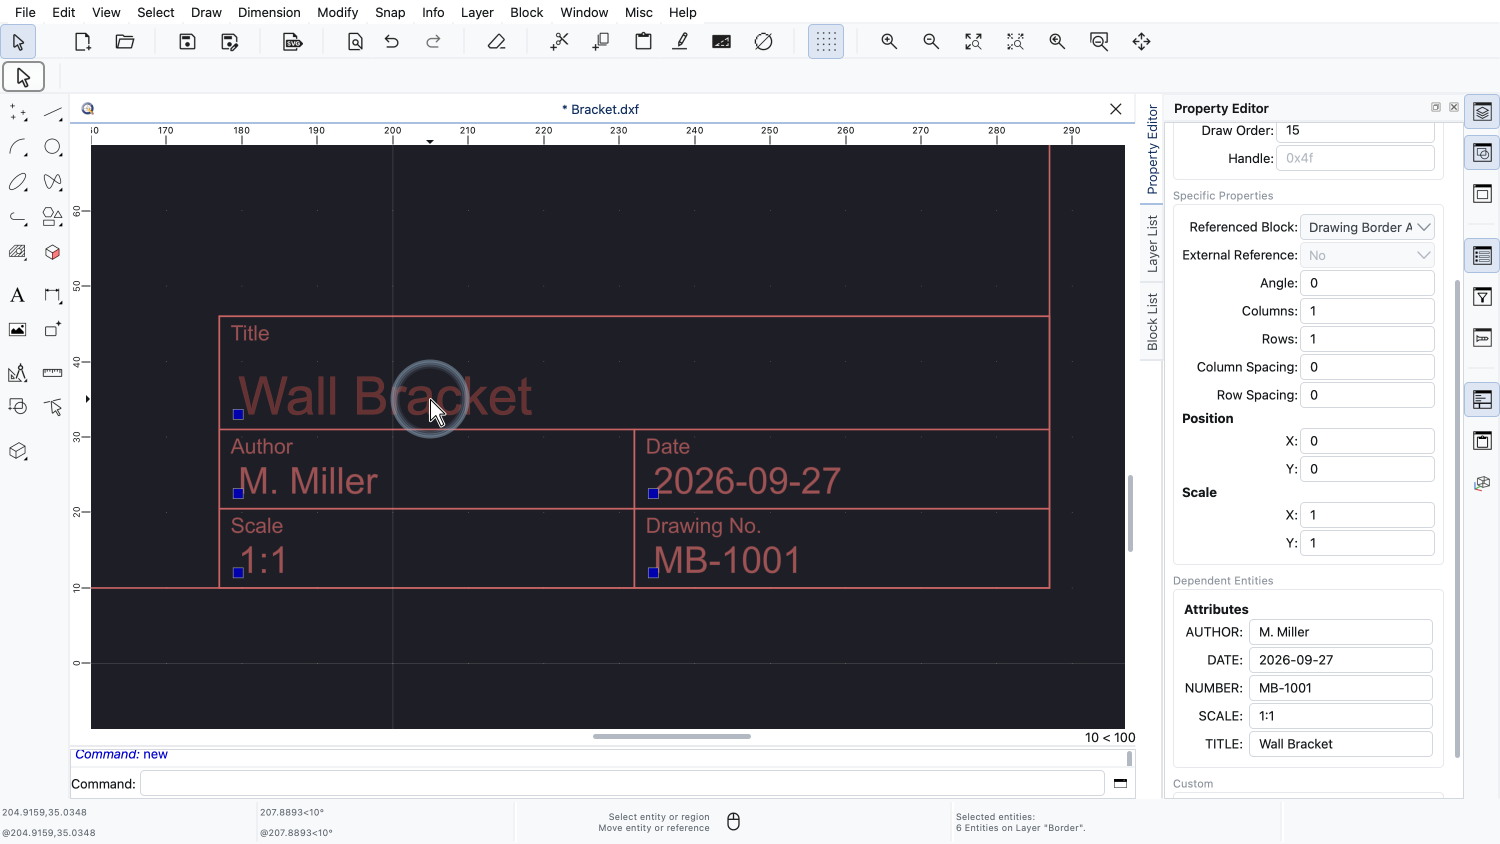
The title block in the drawing is updated immediately.
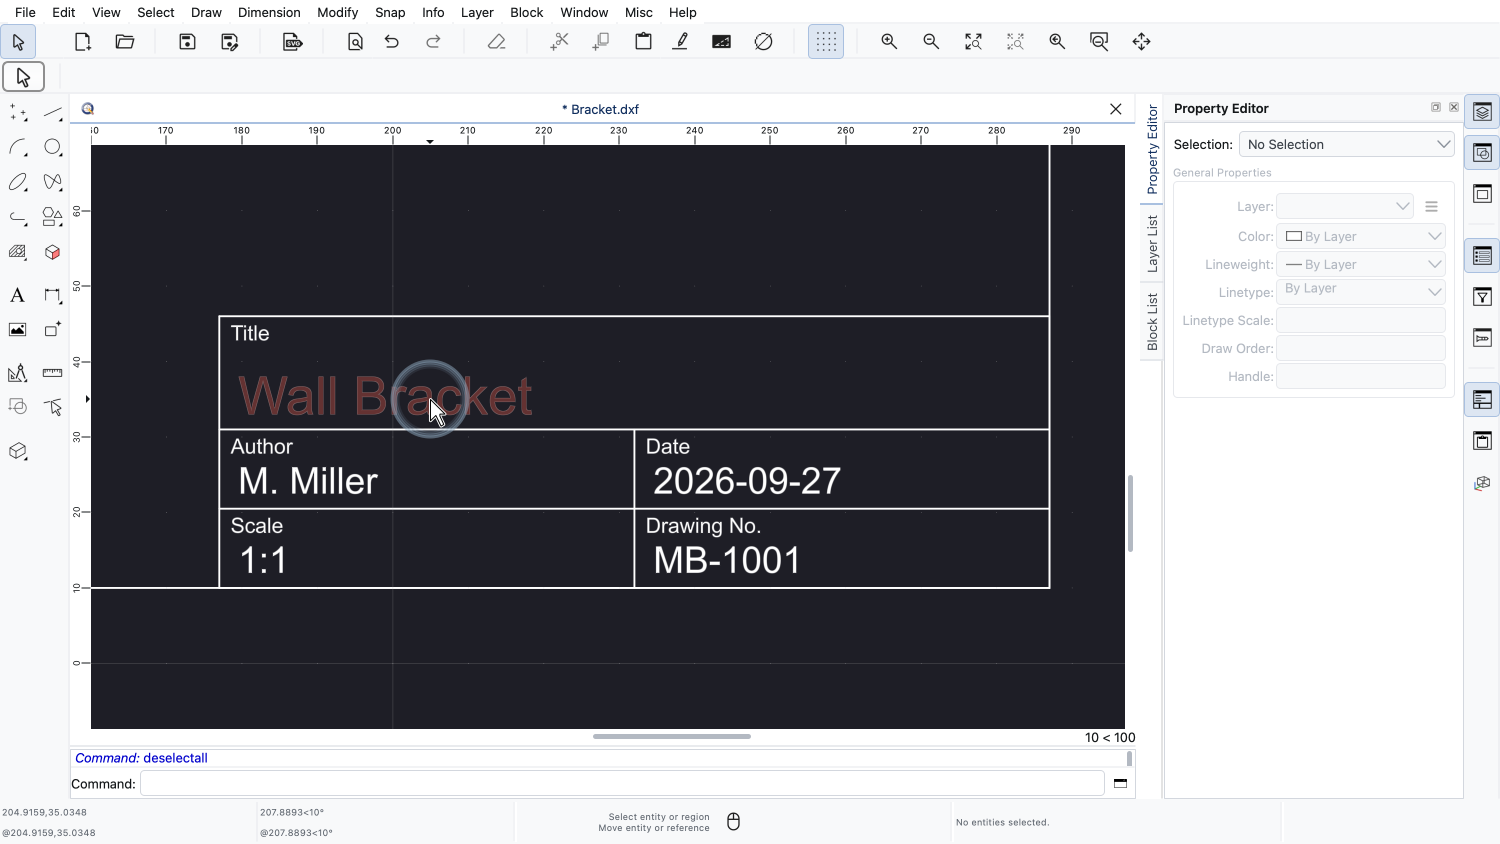
We deselect the block reference again.
Block attributes are displayed together with a block reference, but they are not a part of the block reference.
Every block attribute is an entity of its own.
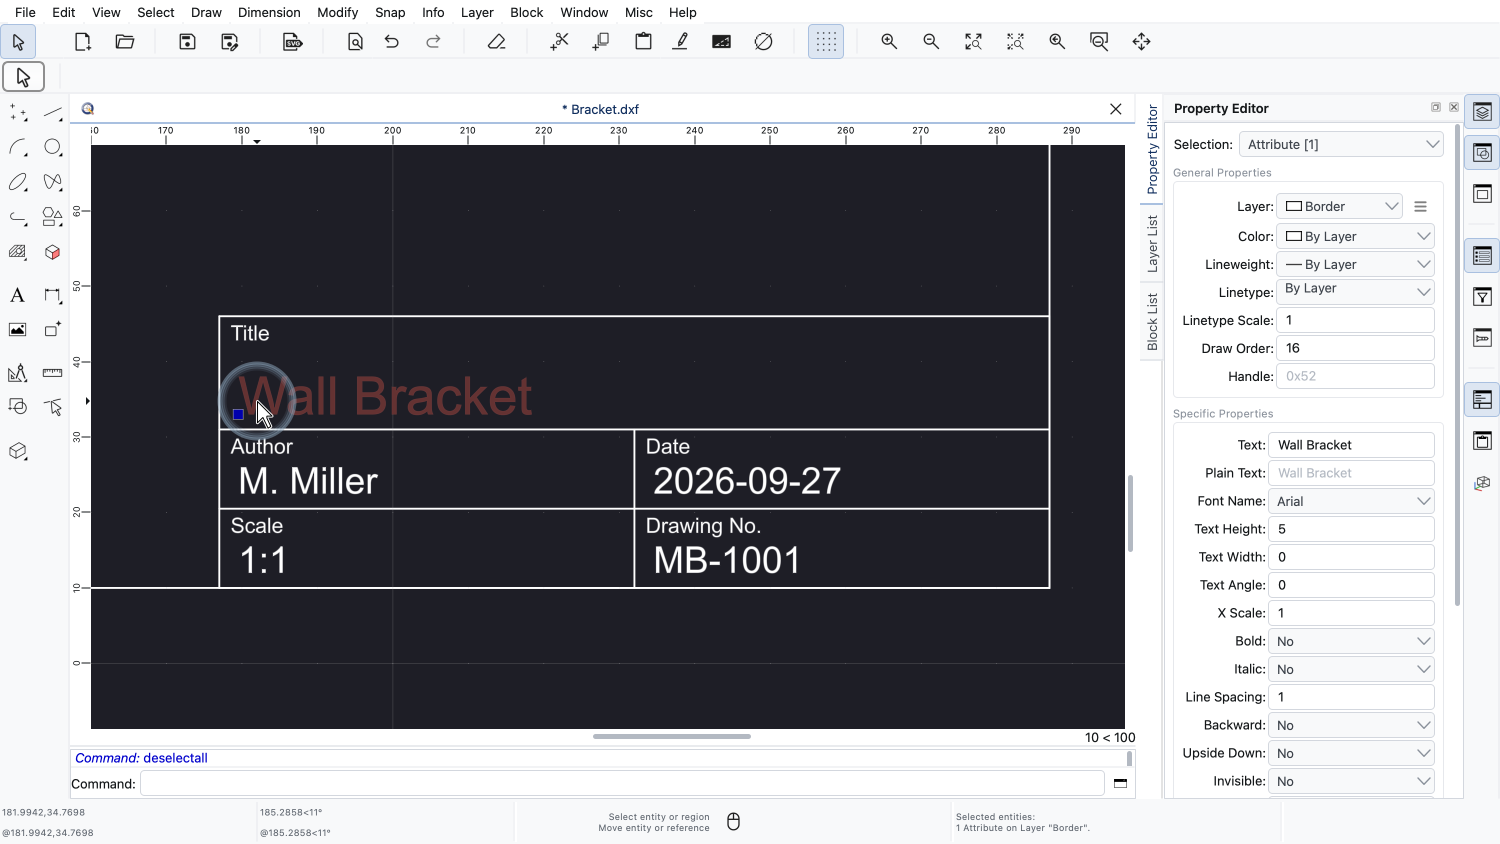
If we click on the title, only the title attribute is selected, without the block reference.
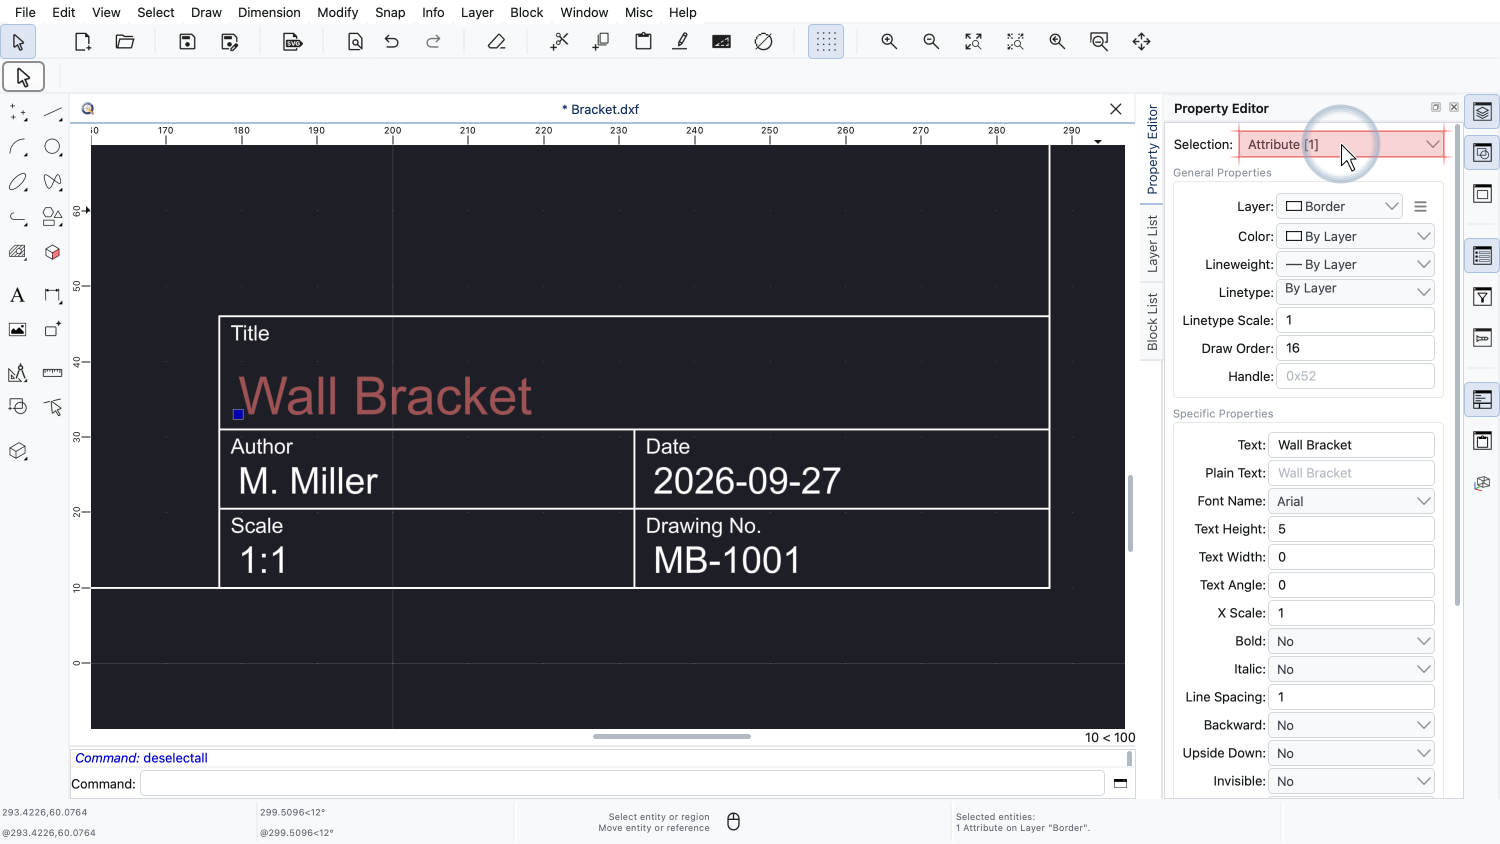
The property editor shows that we have selected a single attribute.
Since the attribute is an entity of its own, it can be moved or otherwise edited independently of the block reference.
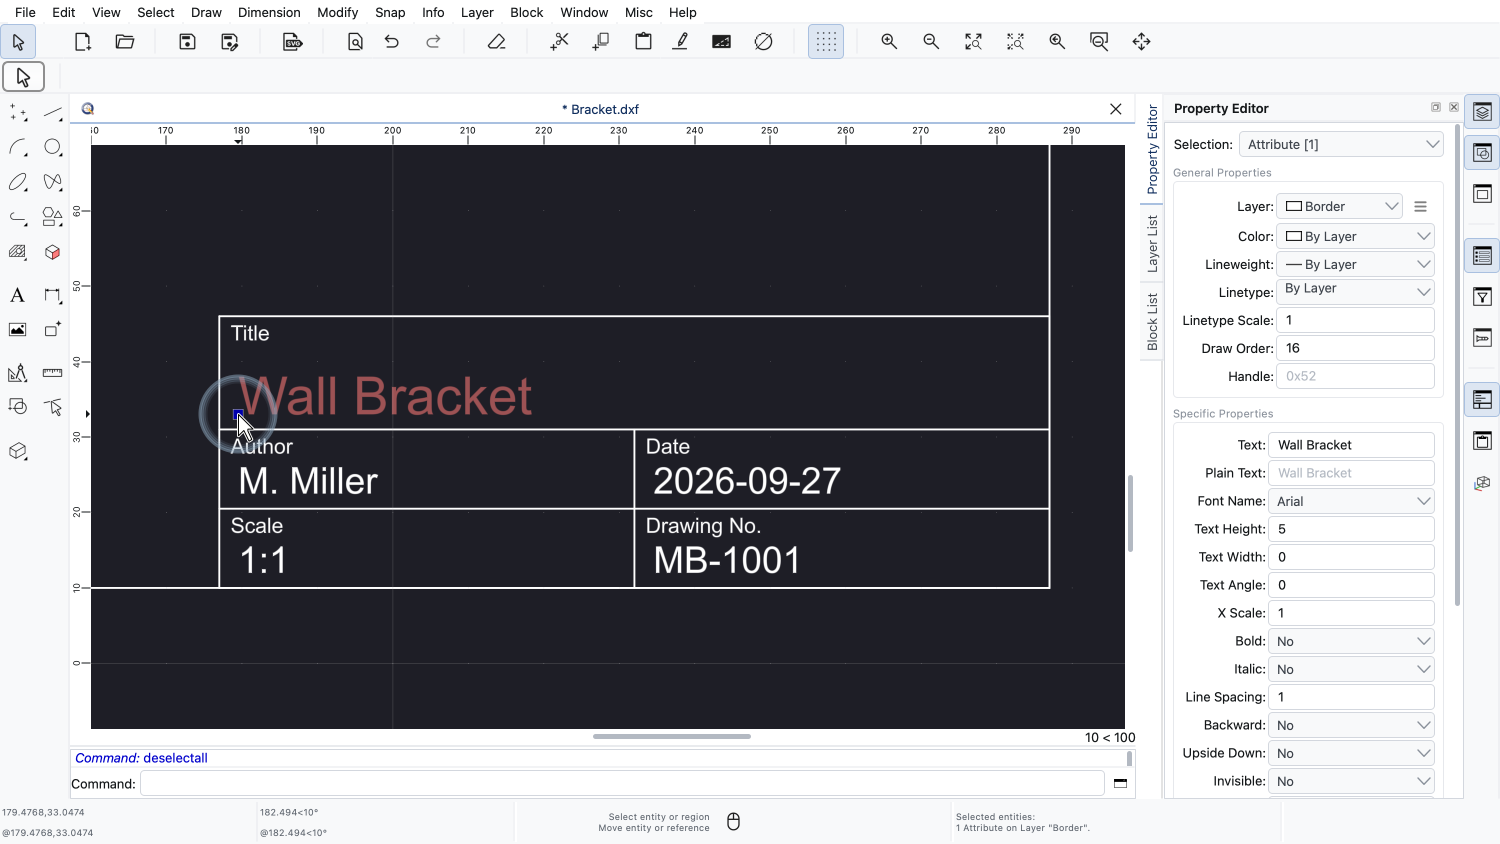
We press the left mouse button on the reference point of the attribute, at the start of its text.
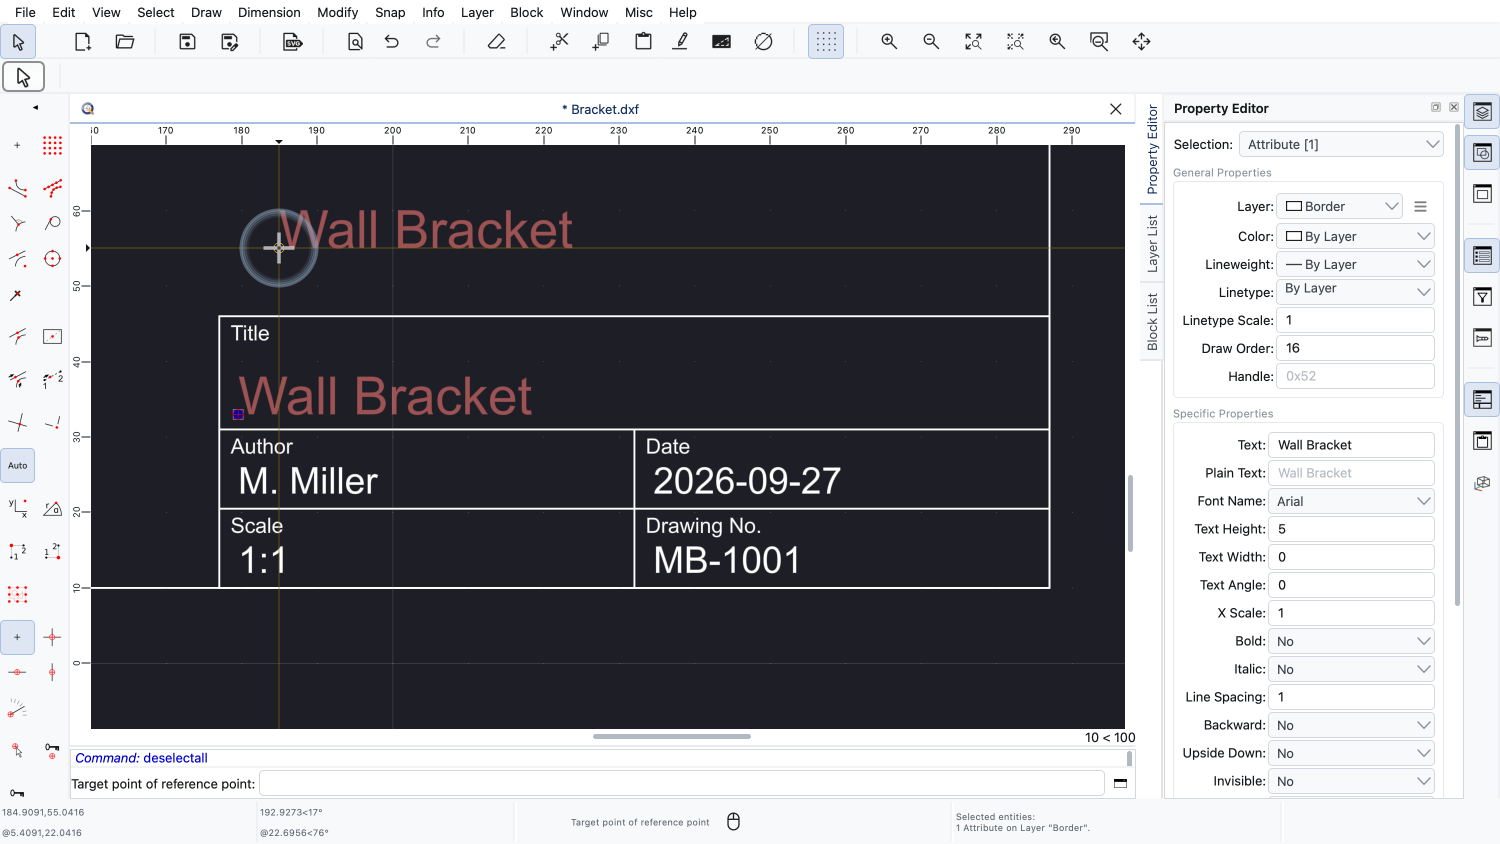
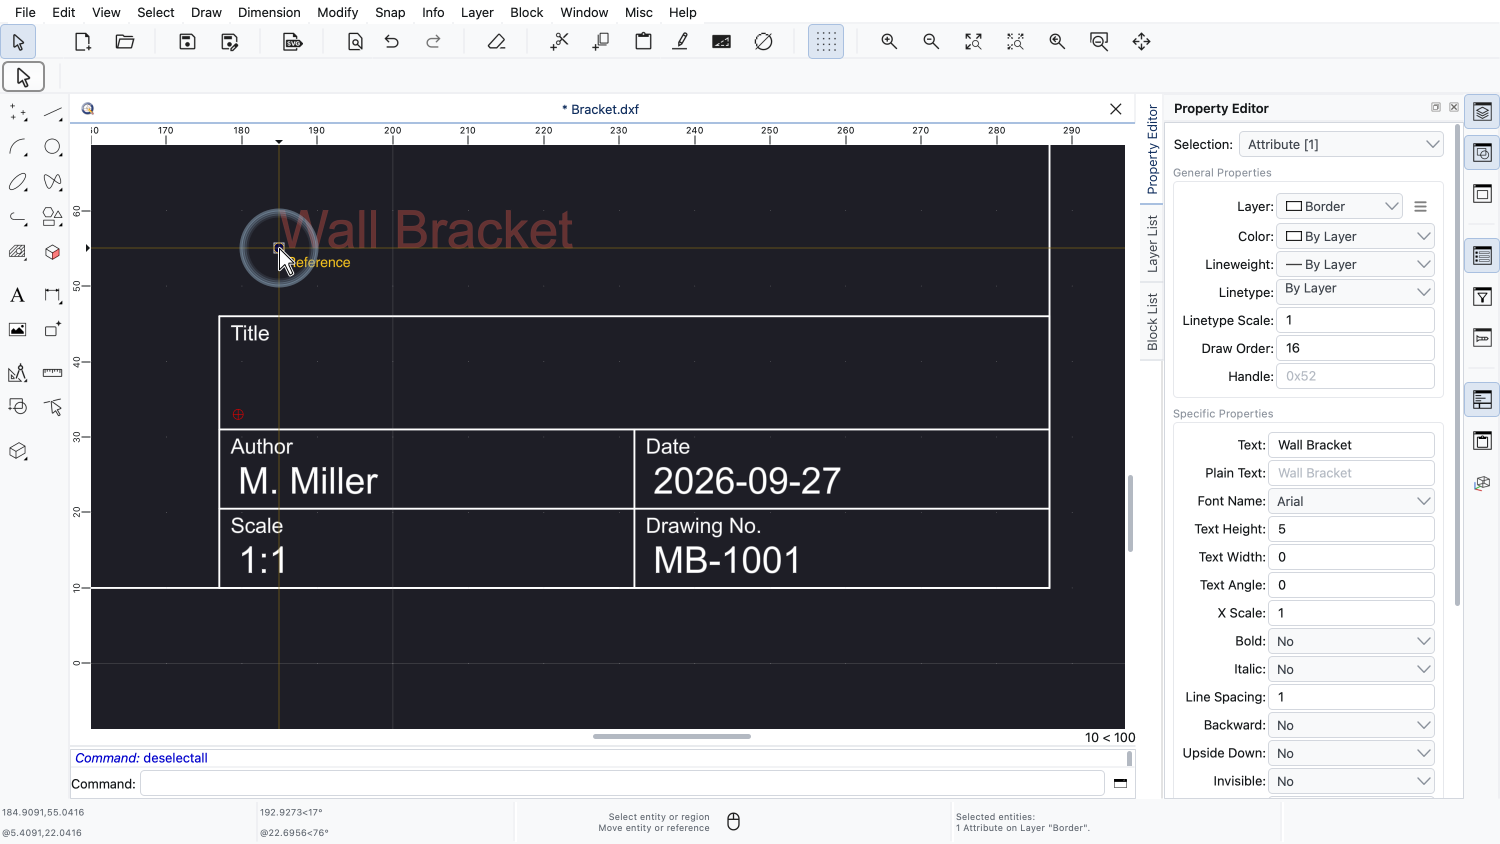
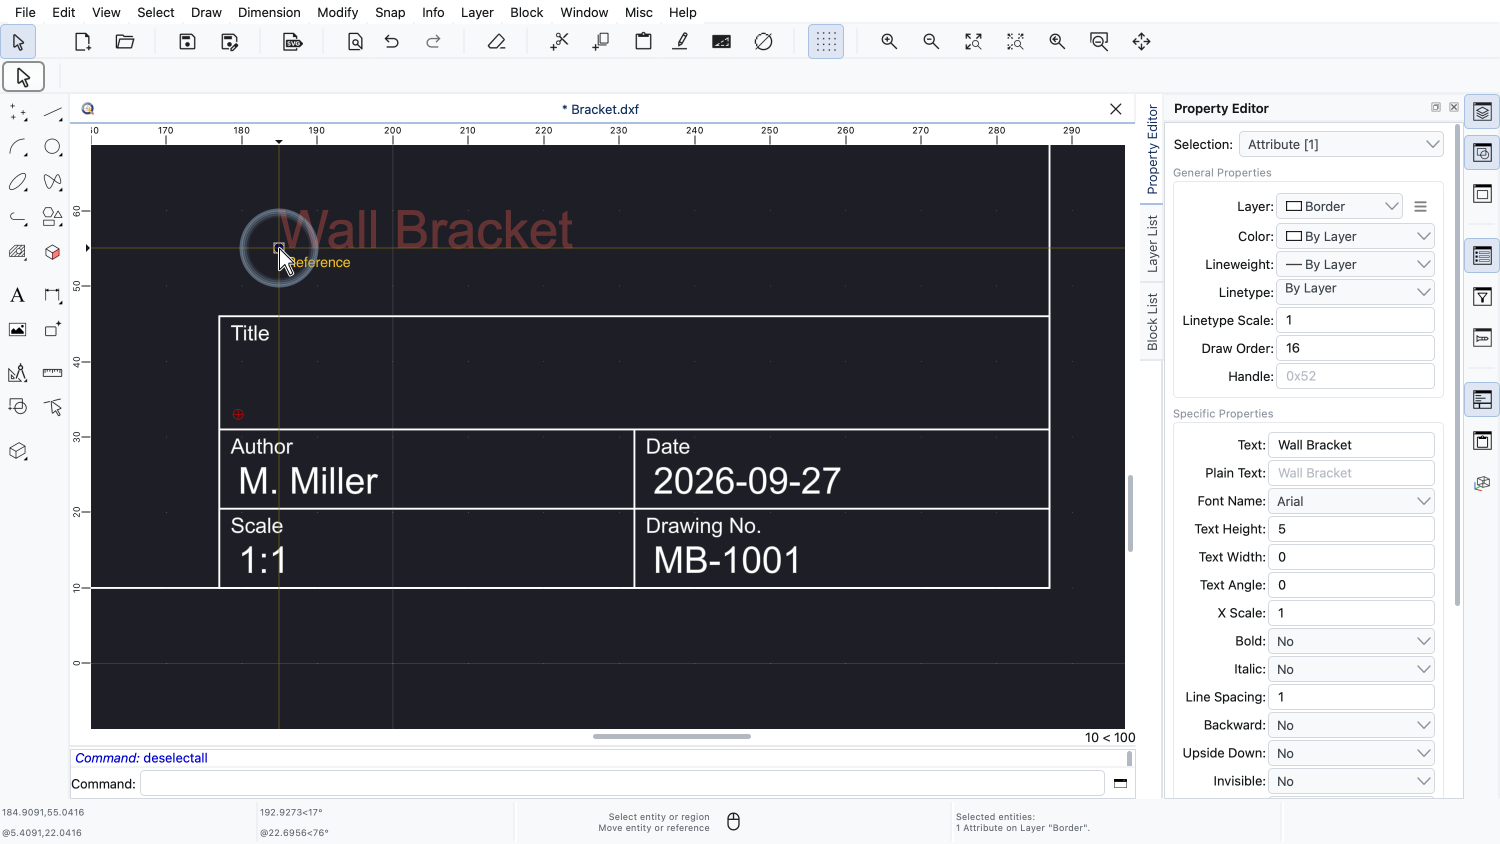
The reference point now follows the mouse cursor and we click to place the attribute at its new position above the title block.
We can even delete a block attribute.
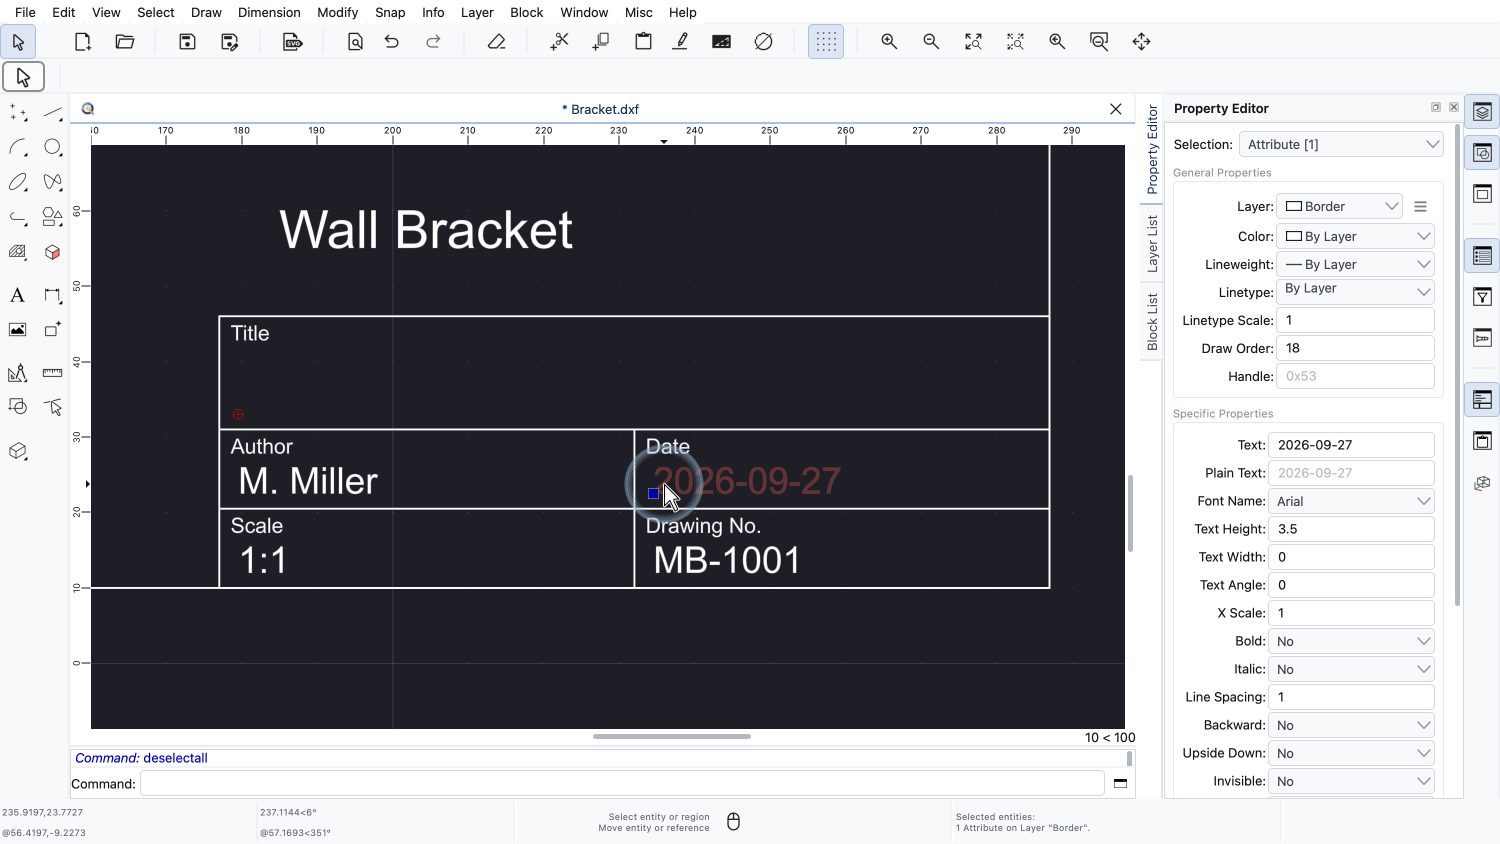
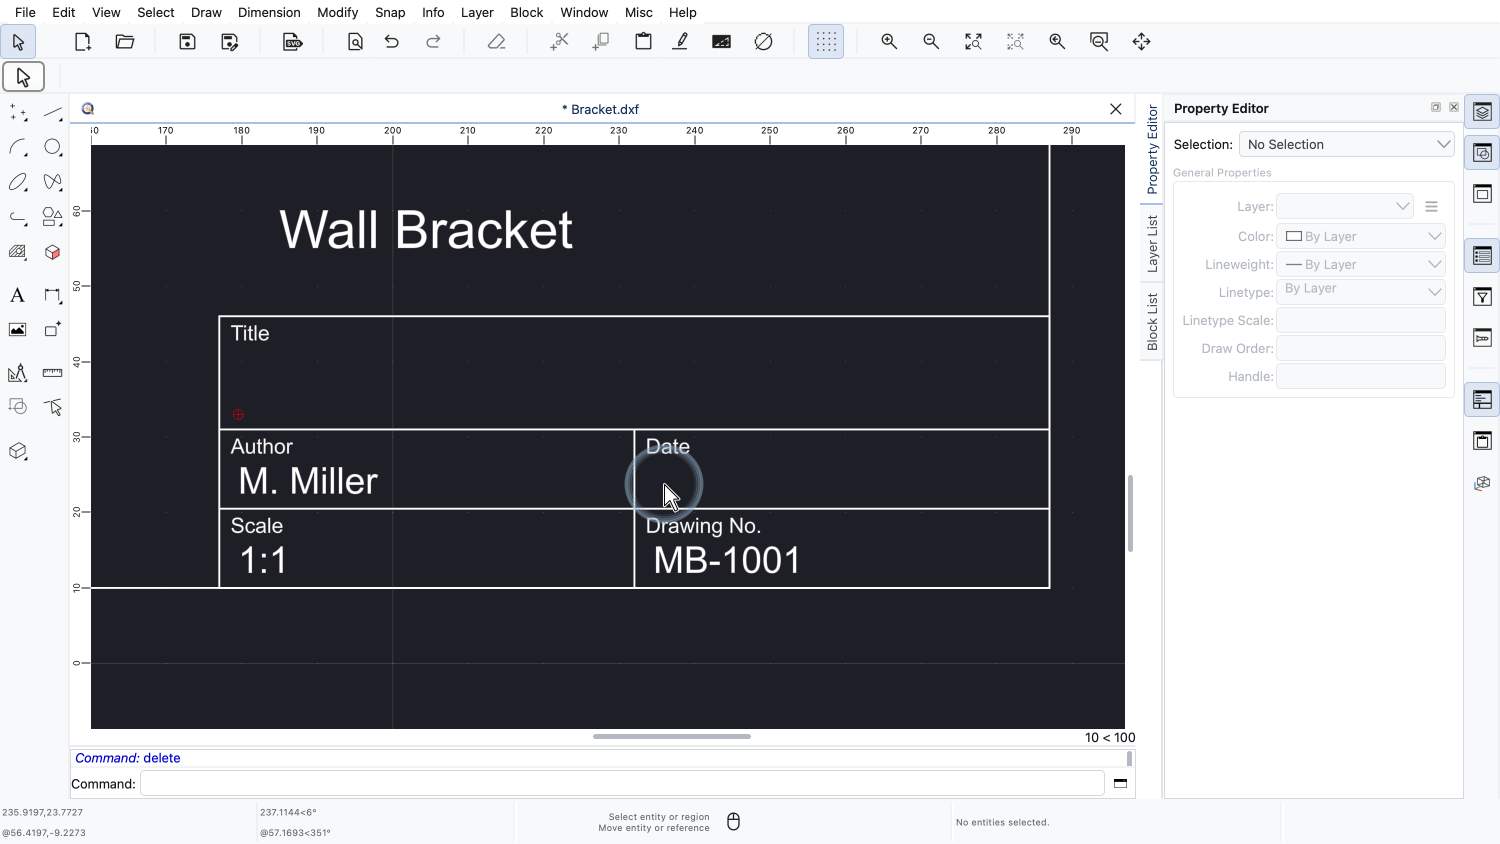
We select the date attribute and delete it.
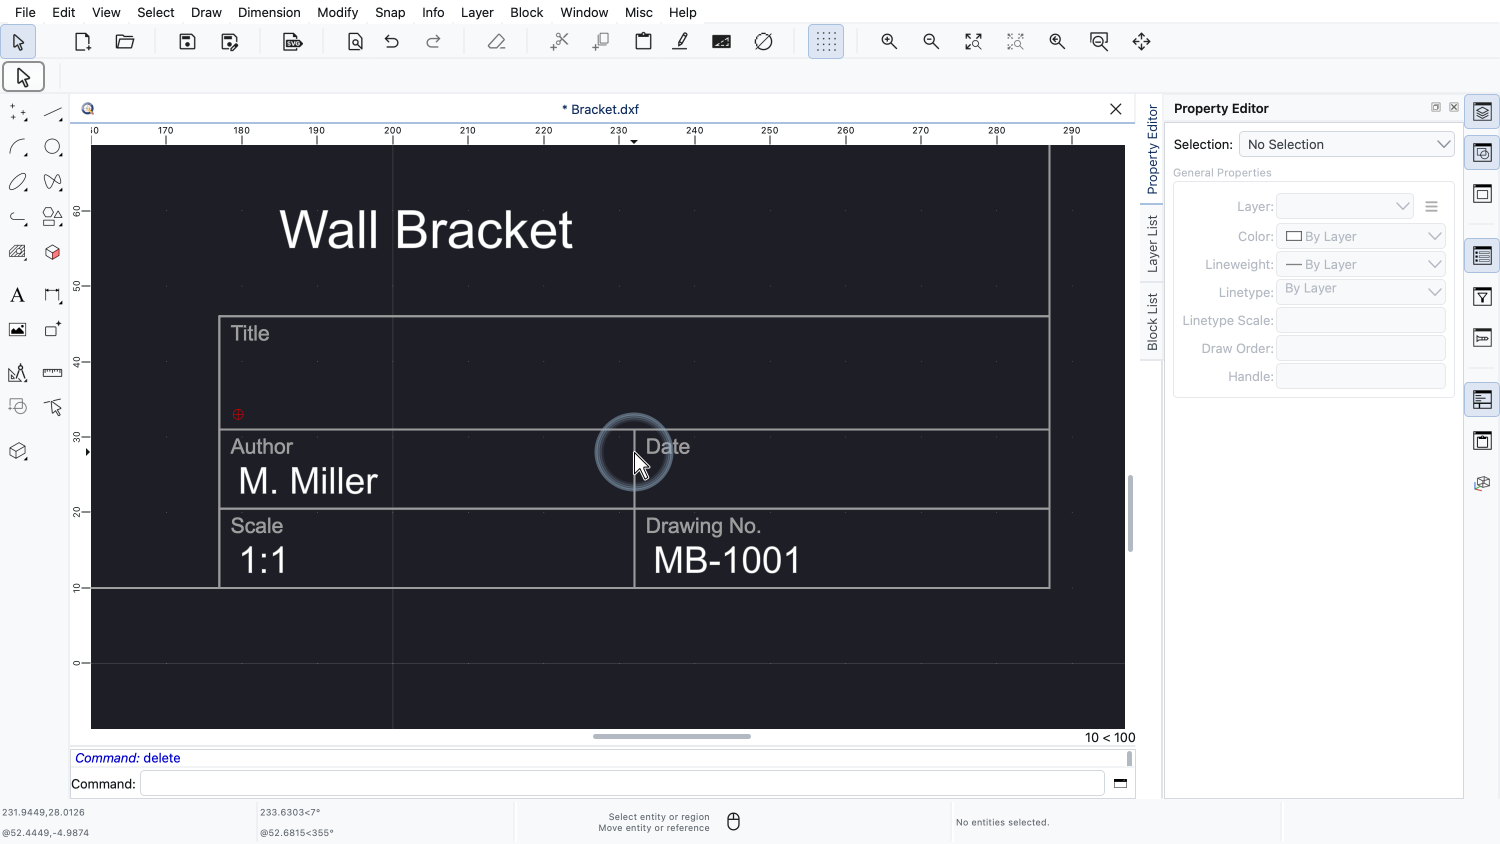
The block reference itself, including the other attributes, is not affected.
However, block attributes are still linked to their block reference.
If we move or delete the block reference, its attributes are moved or deleted as well.
Next, we learn how to create our own block with attributes.
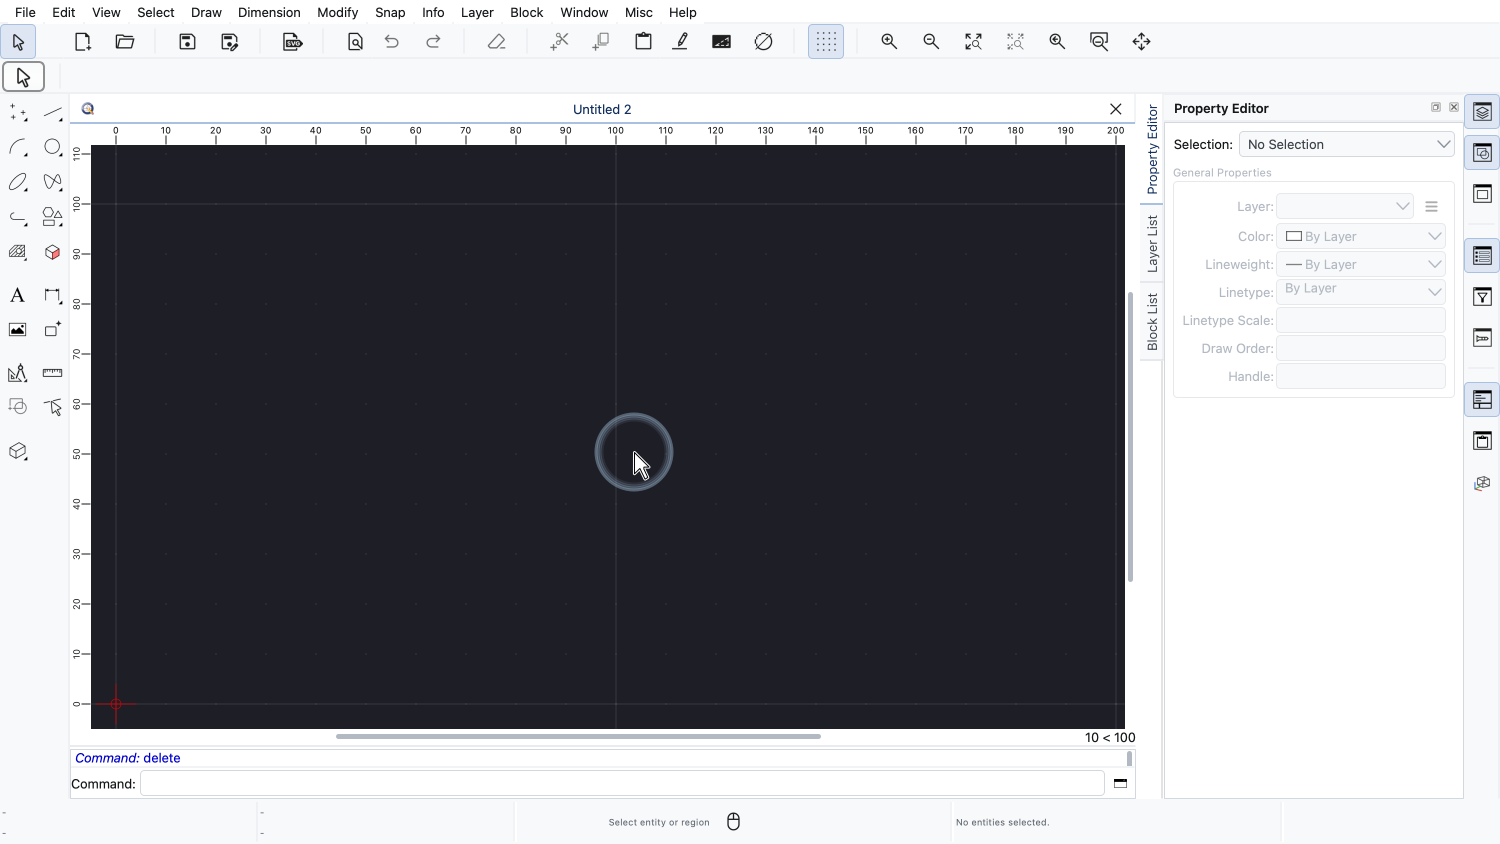
We start over with a new, empty drawing.
As an example, we create a simple room tag for a floor plan, a rectangle that displays the name of a room.
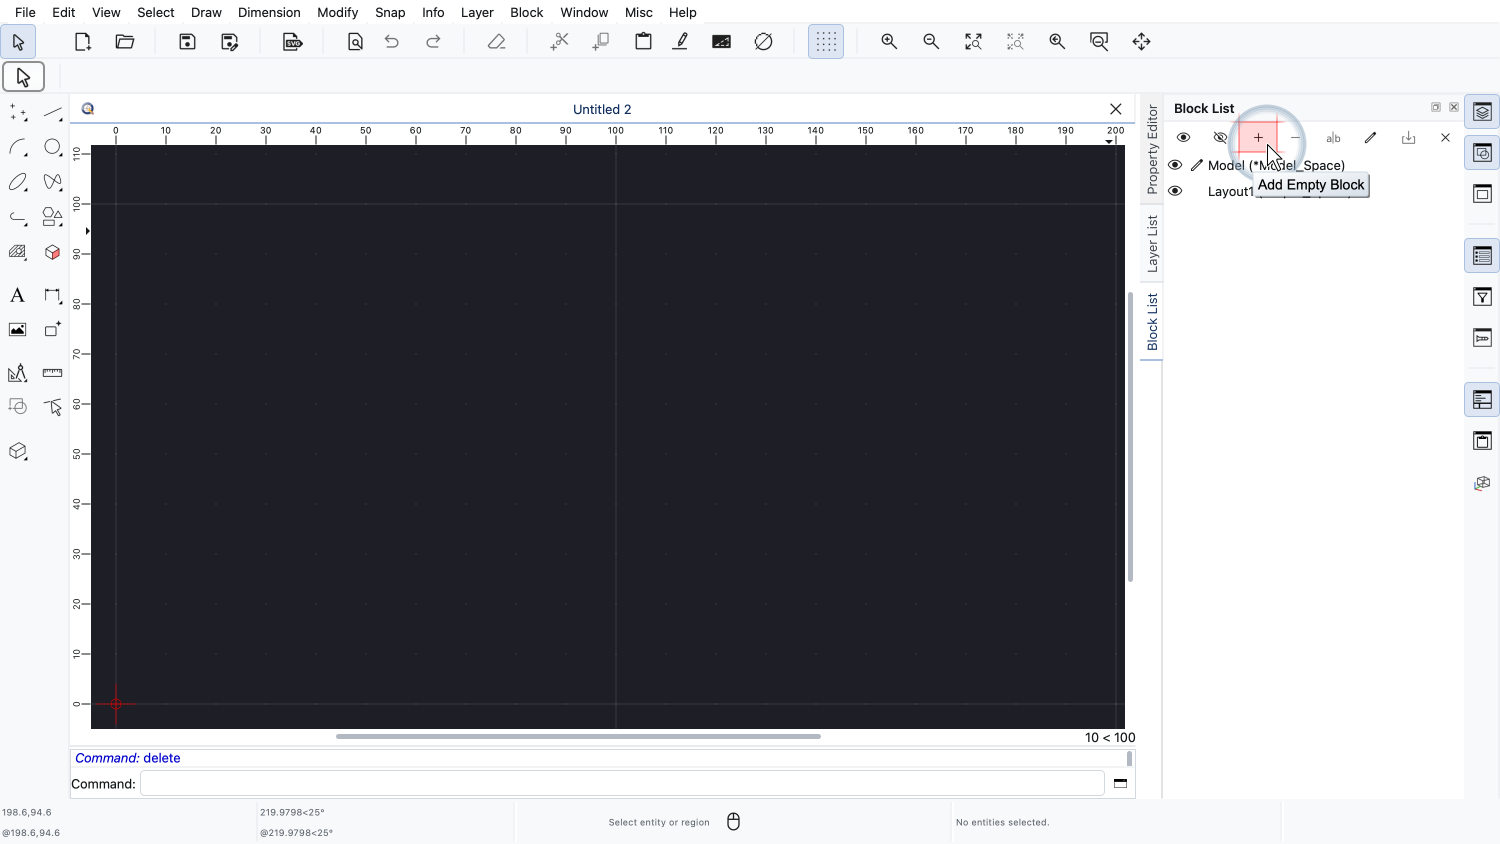
We add a new, empty block with the button at the top of the block list.
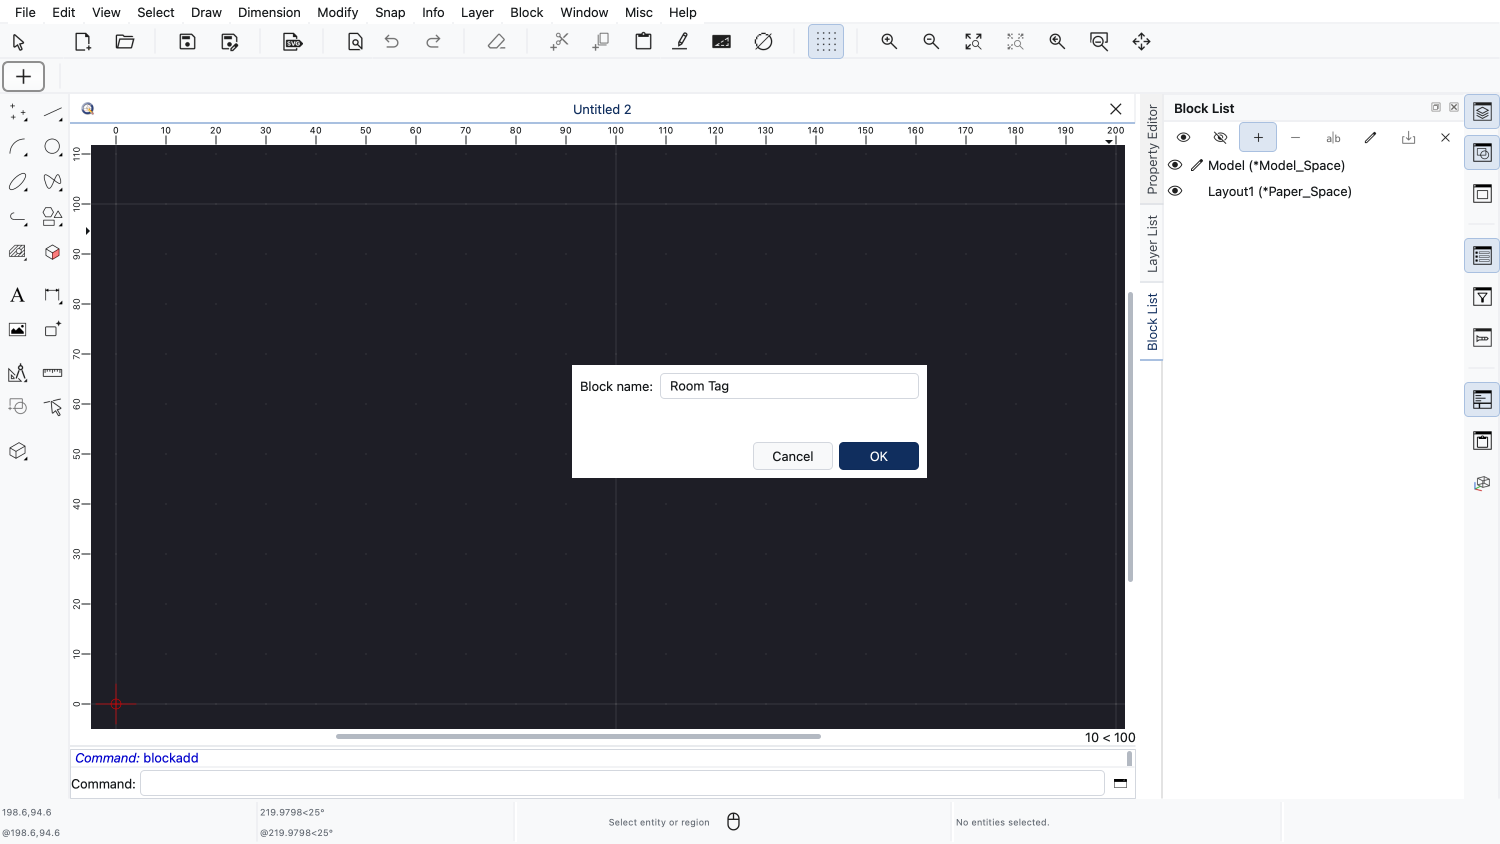
We call our block "Room Tag".
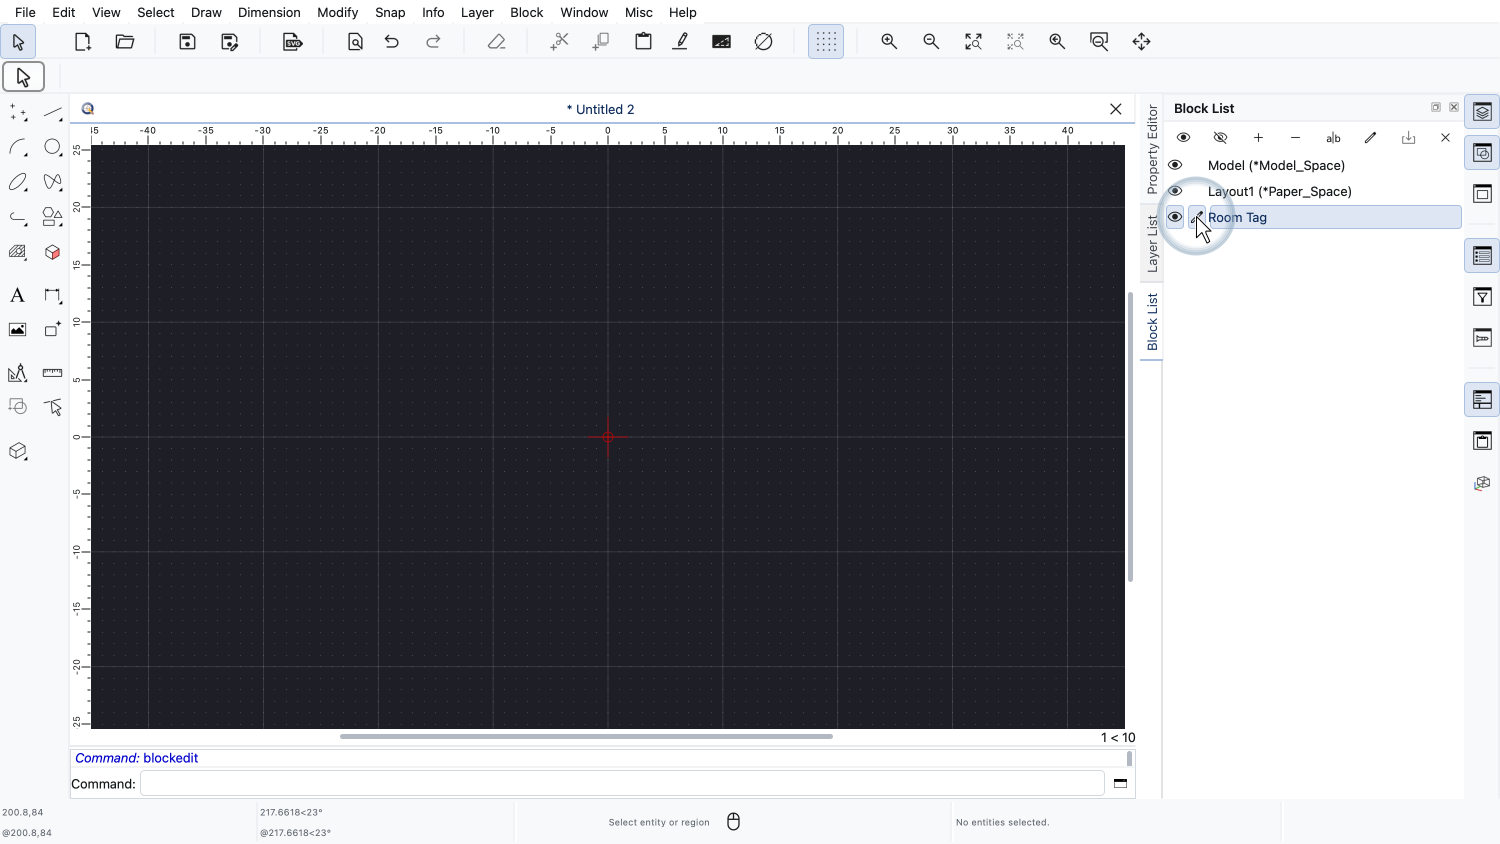
To draw the contents of the new block, we edit it by clicking into the column between the eye icon and the block name.
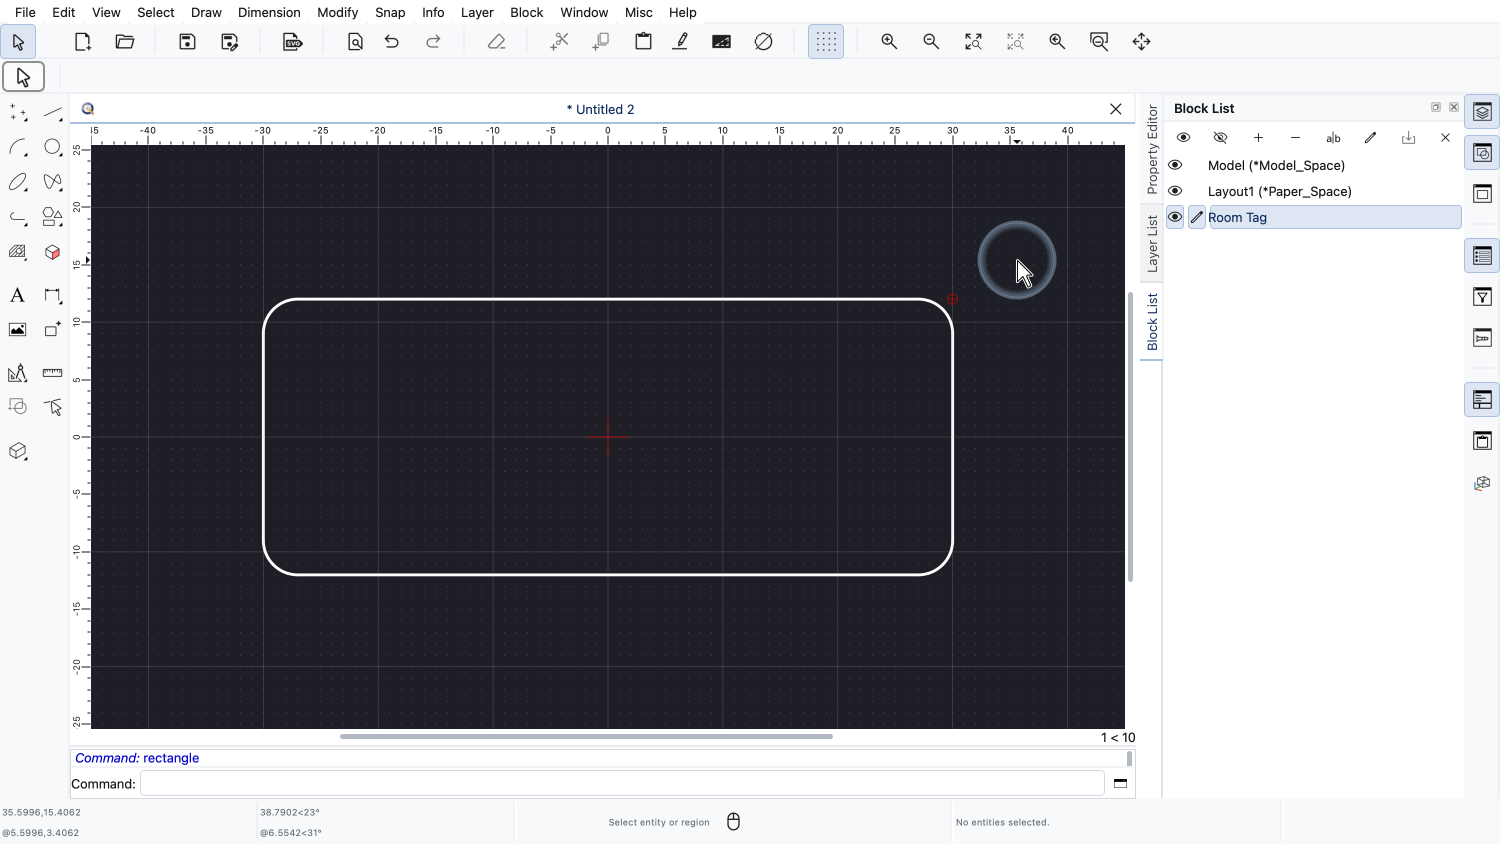
We draw a rectangle with rounded corners around the zero point of the block.
Inside the rectangle, we want to display the name of the room.
For this, we add an attribute definition to our block.
An attribute definition defines the tag, the default value and the appearance of the attribute.
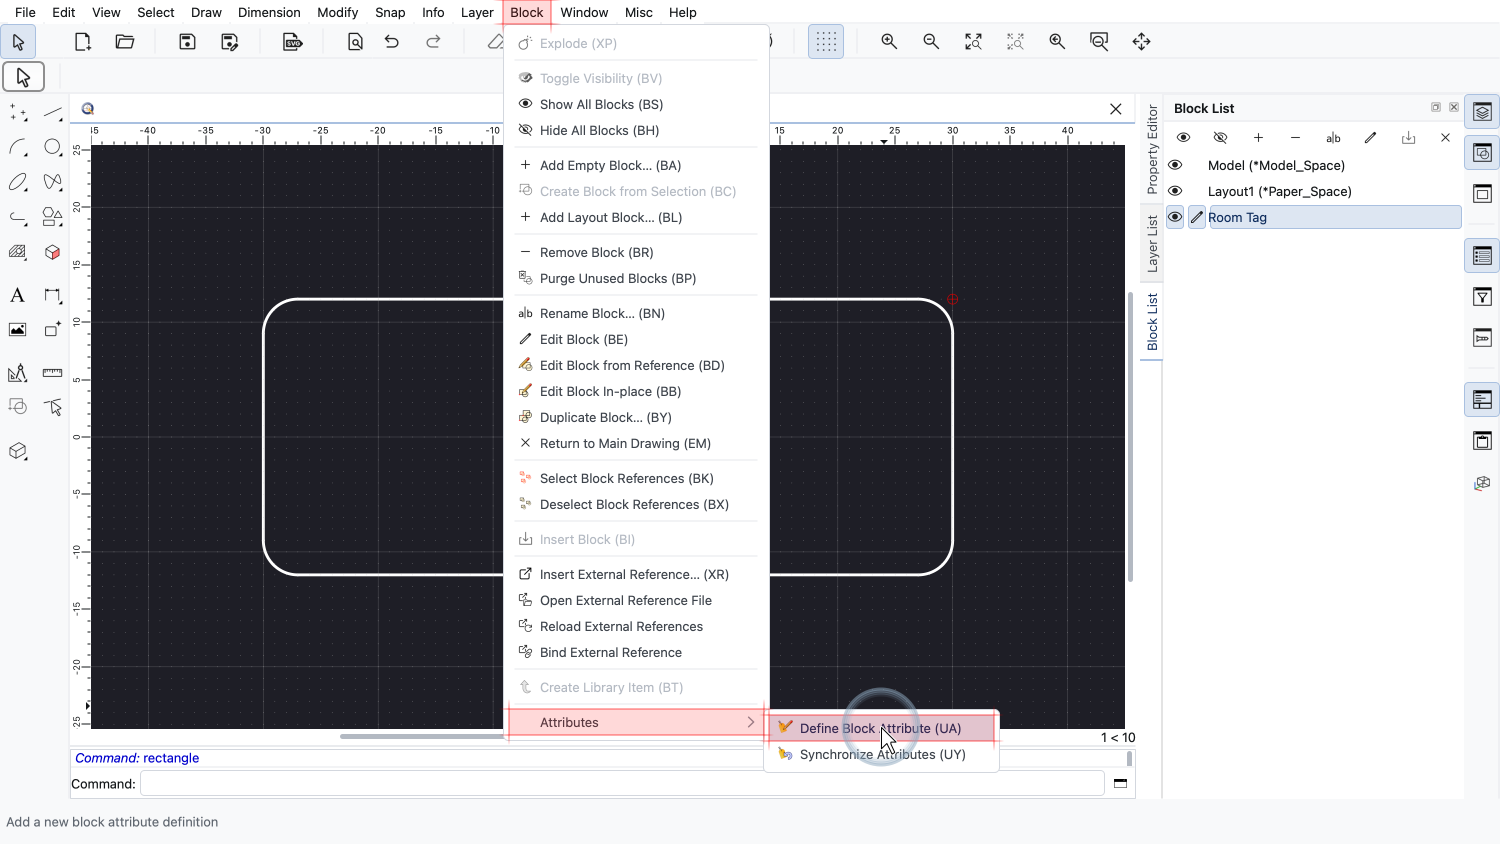
The tool to define a block attribute can be found in the Block menu, in the submenu Attributes.
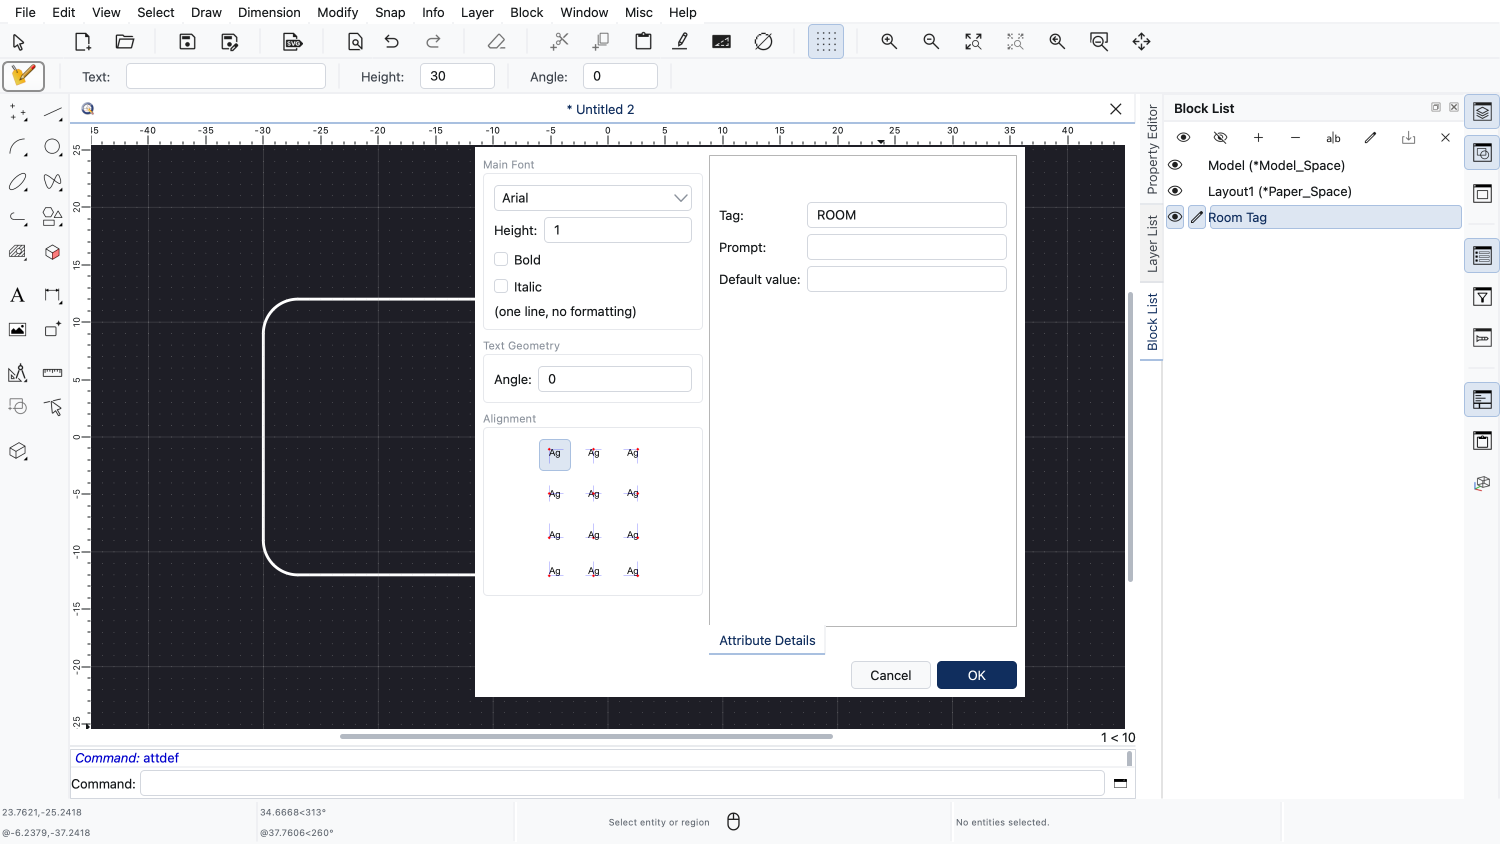
In the dialog, we first enter the tag of the attribute.
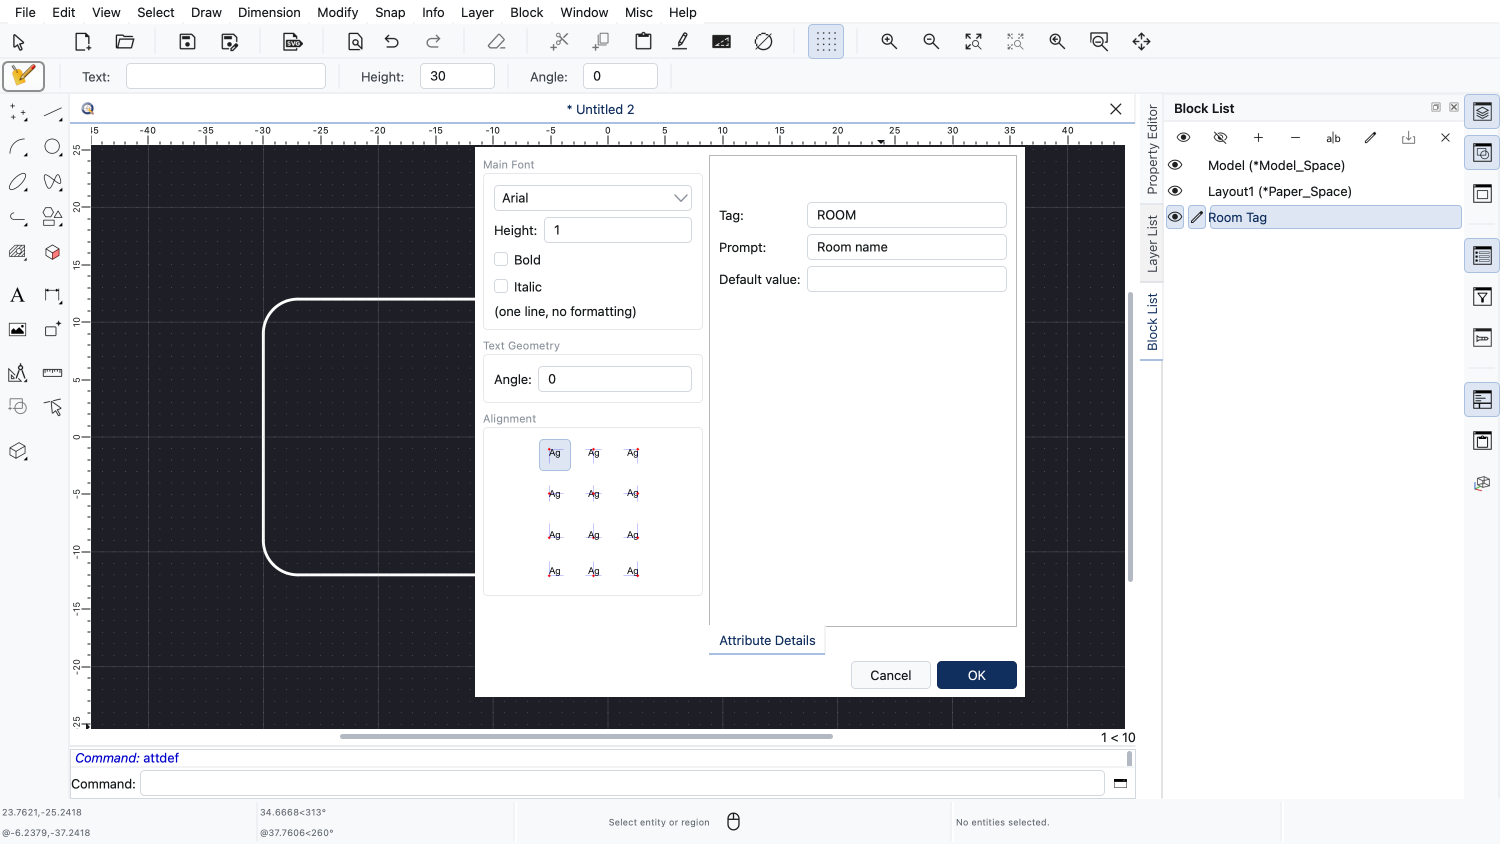
The prompt is the text that is shown when a user enters the value of the attribute.
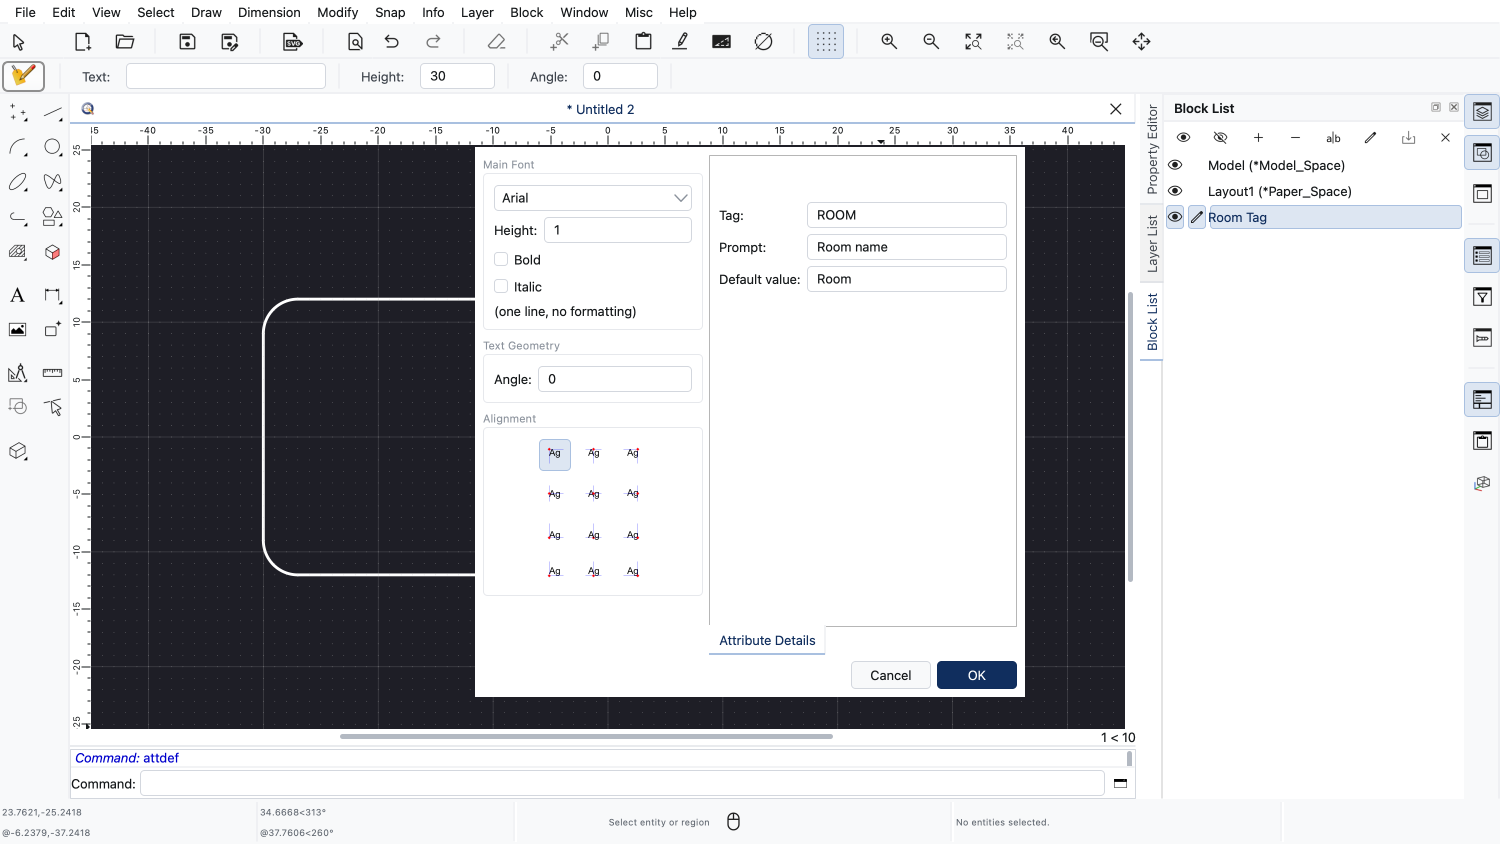
The default value is used for new block references, until we enter a different value.
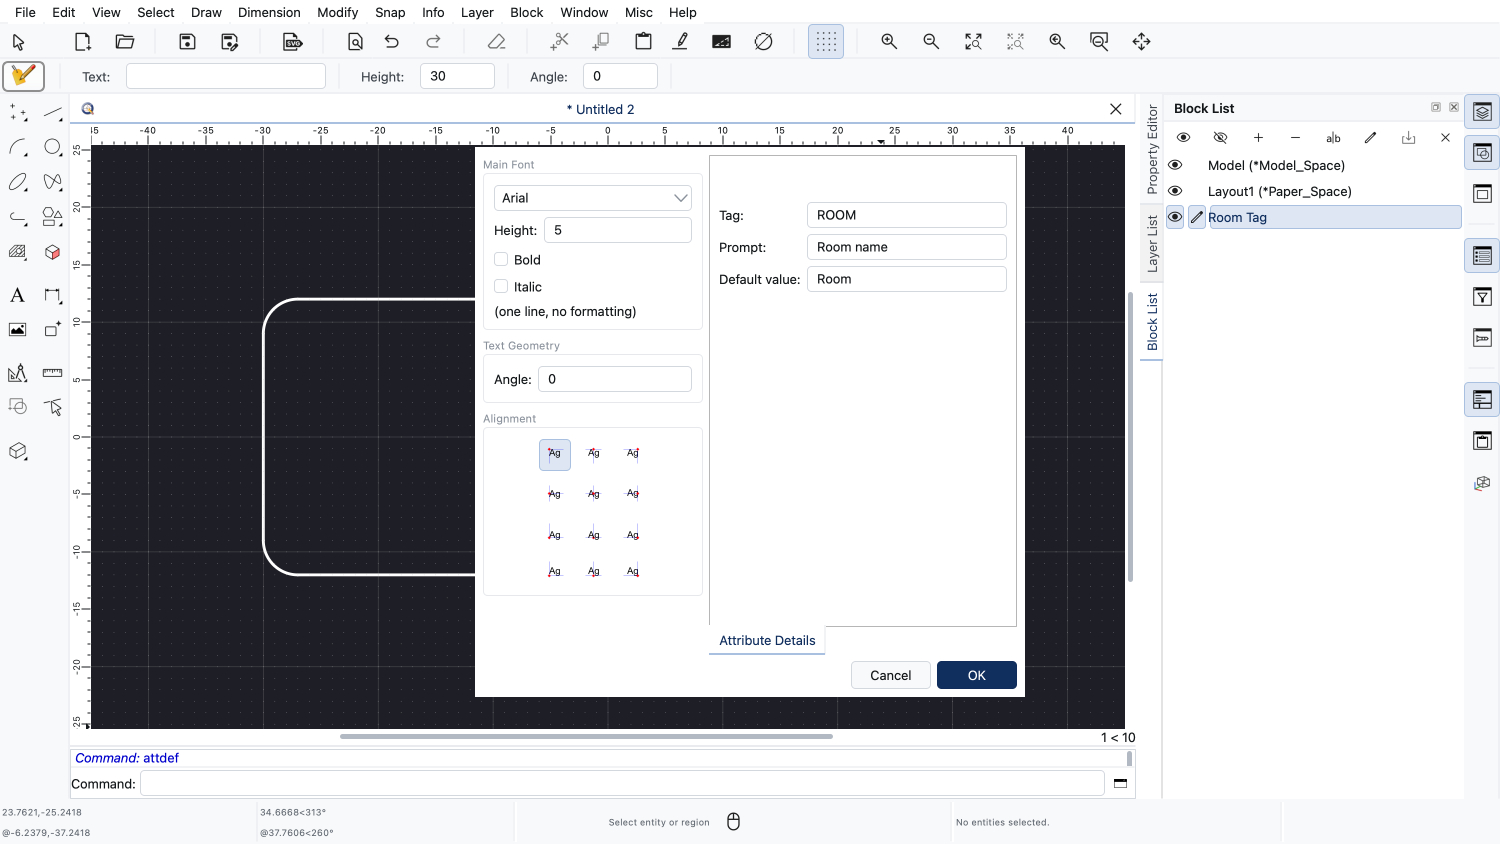
Like for any other text, we can choose the font and the text height.
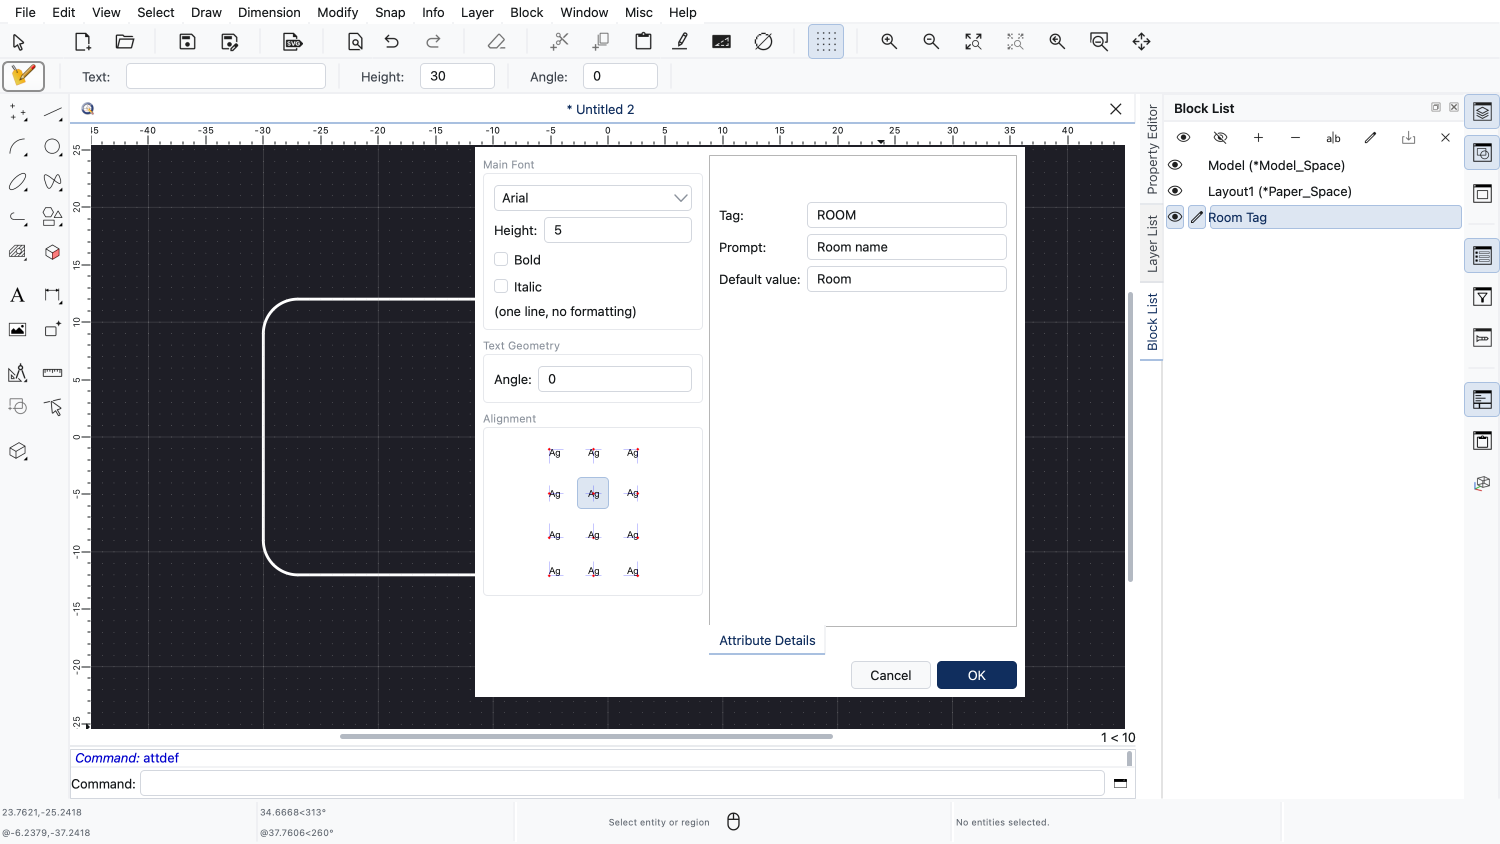
We center the attribute horizontally and vertically at its position.
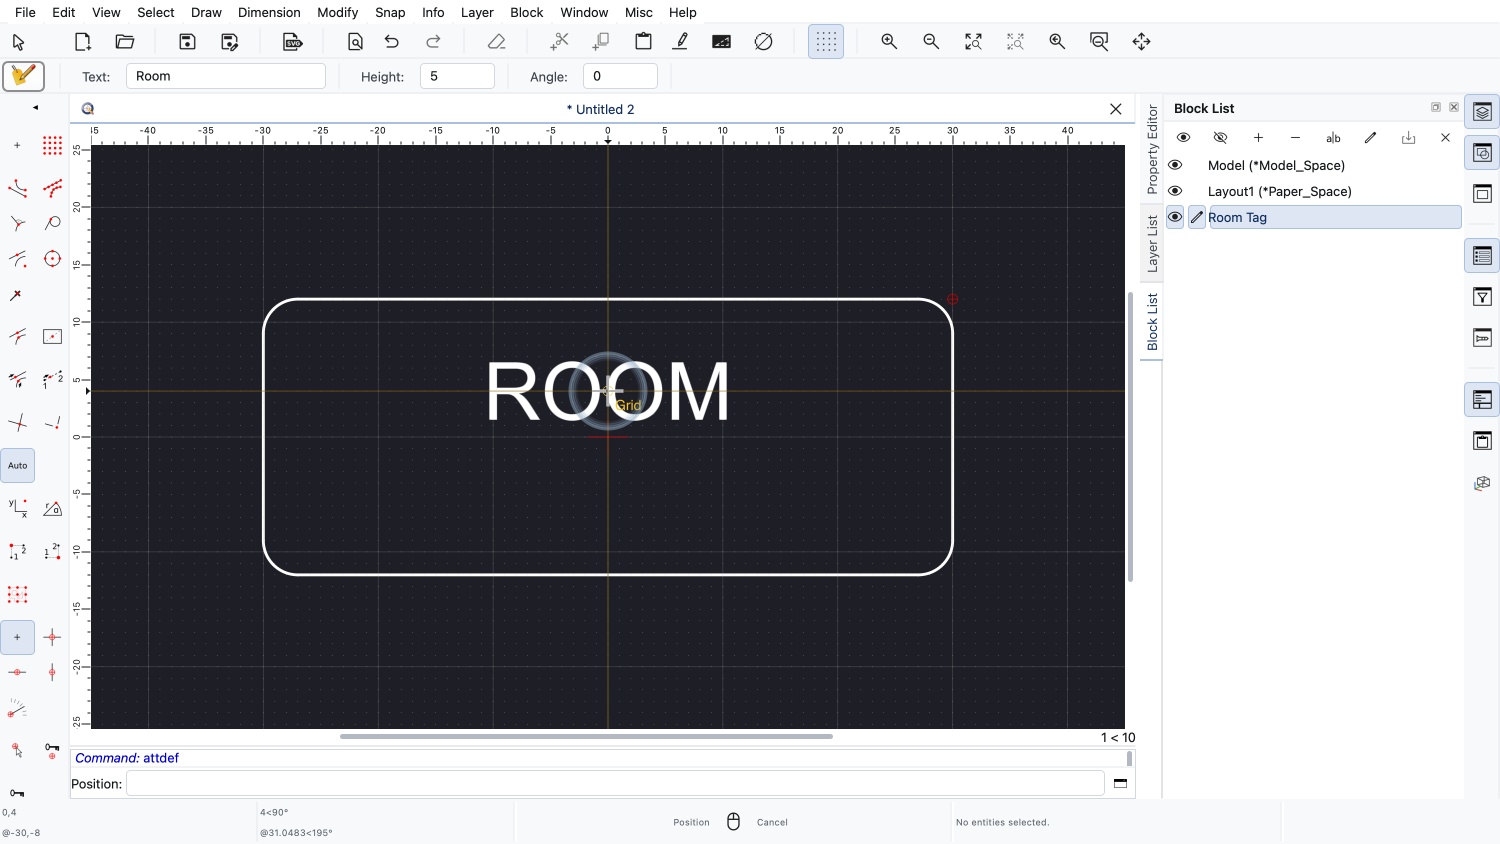
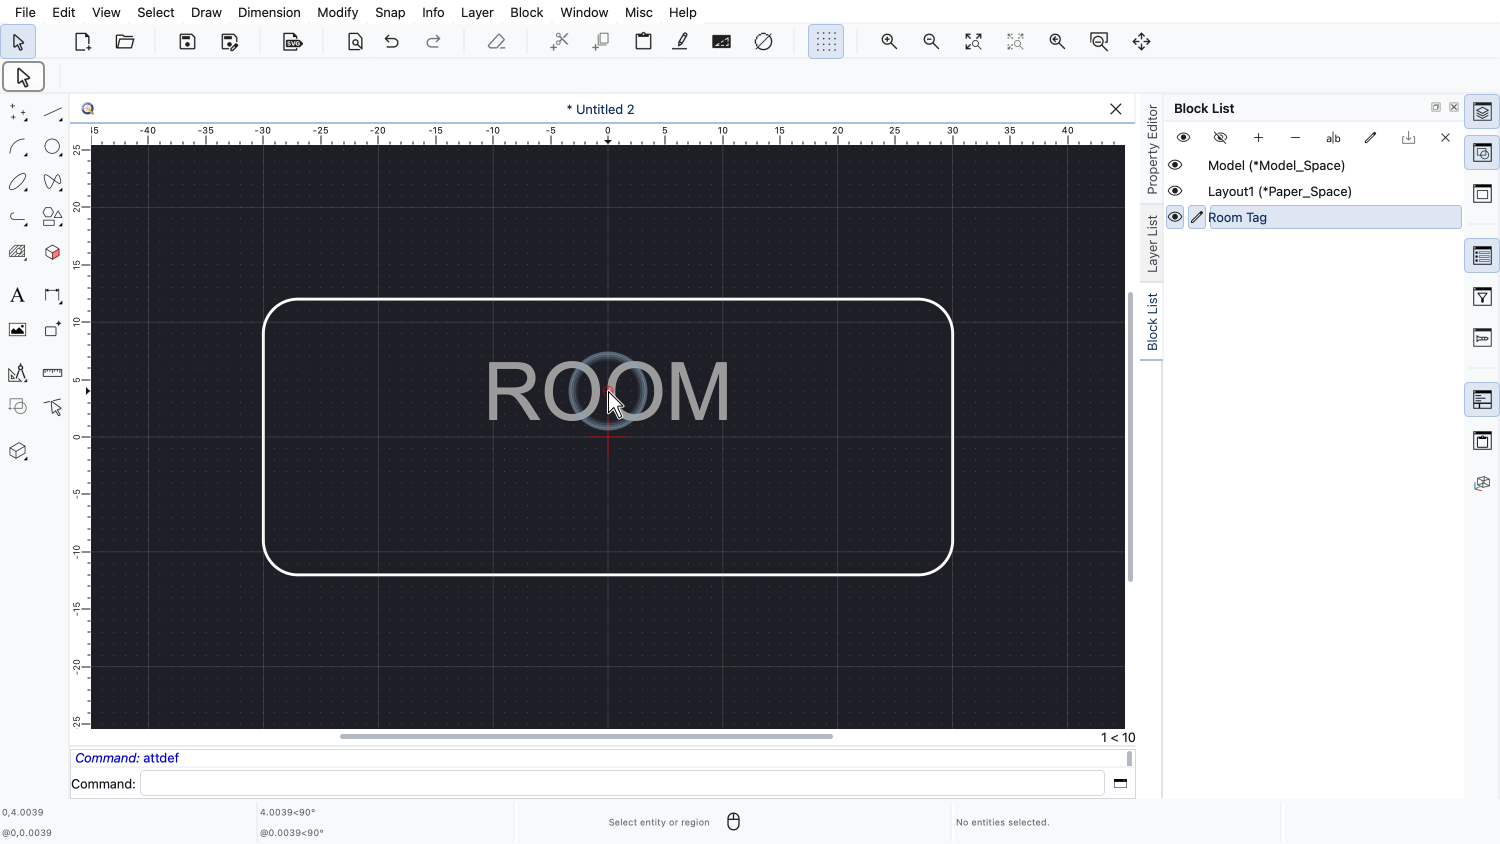
We place the attribute definition inside the rectangle, a little above the center.
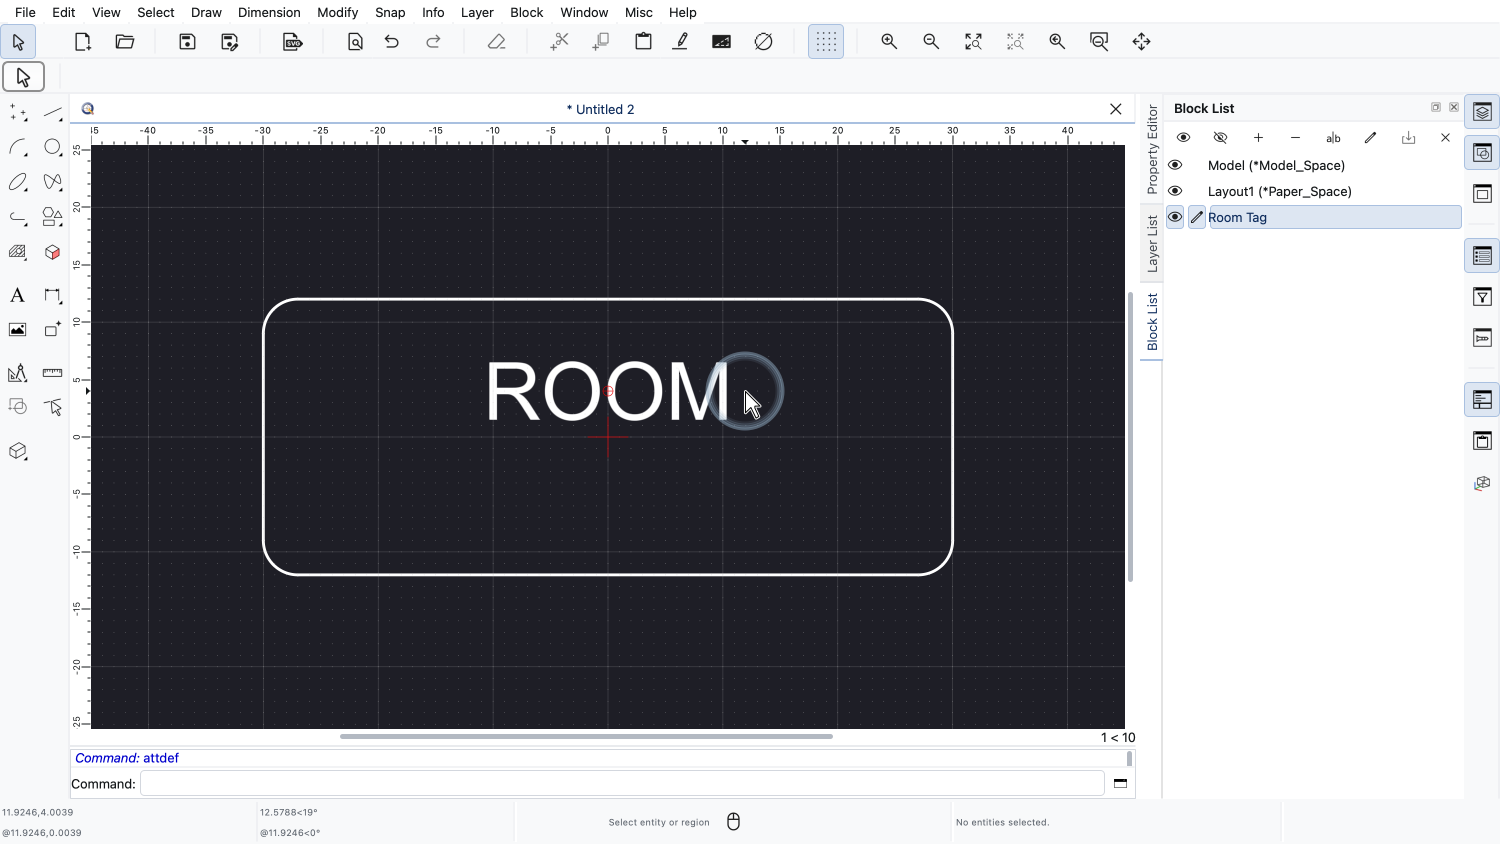
Inside the block, the attribute definition shows its tag.
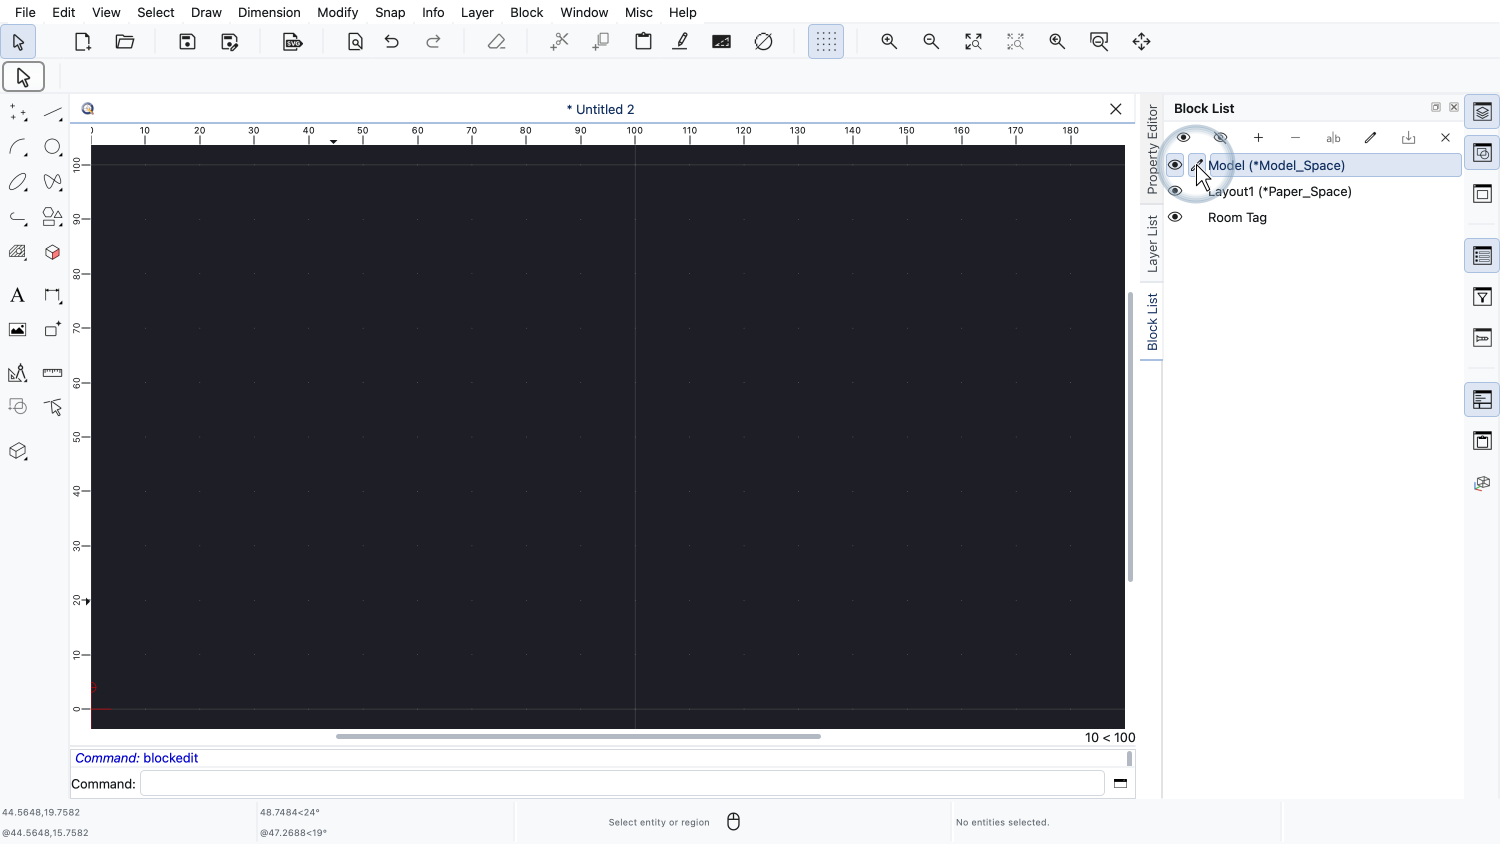
Our block is now ready and we return to the main drawing, the model space block.
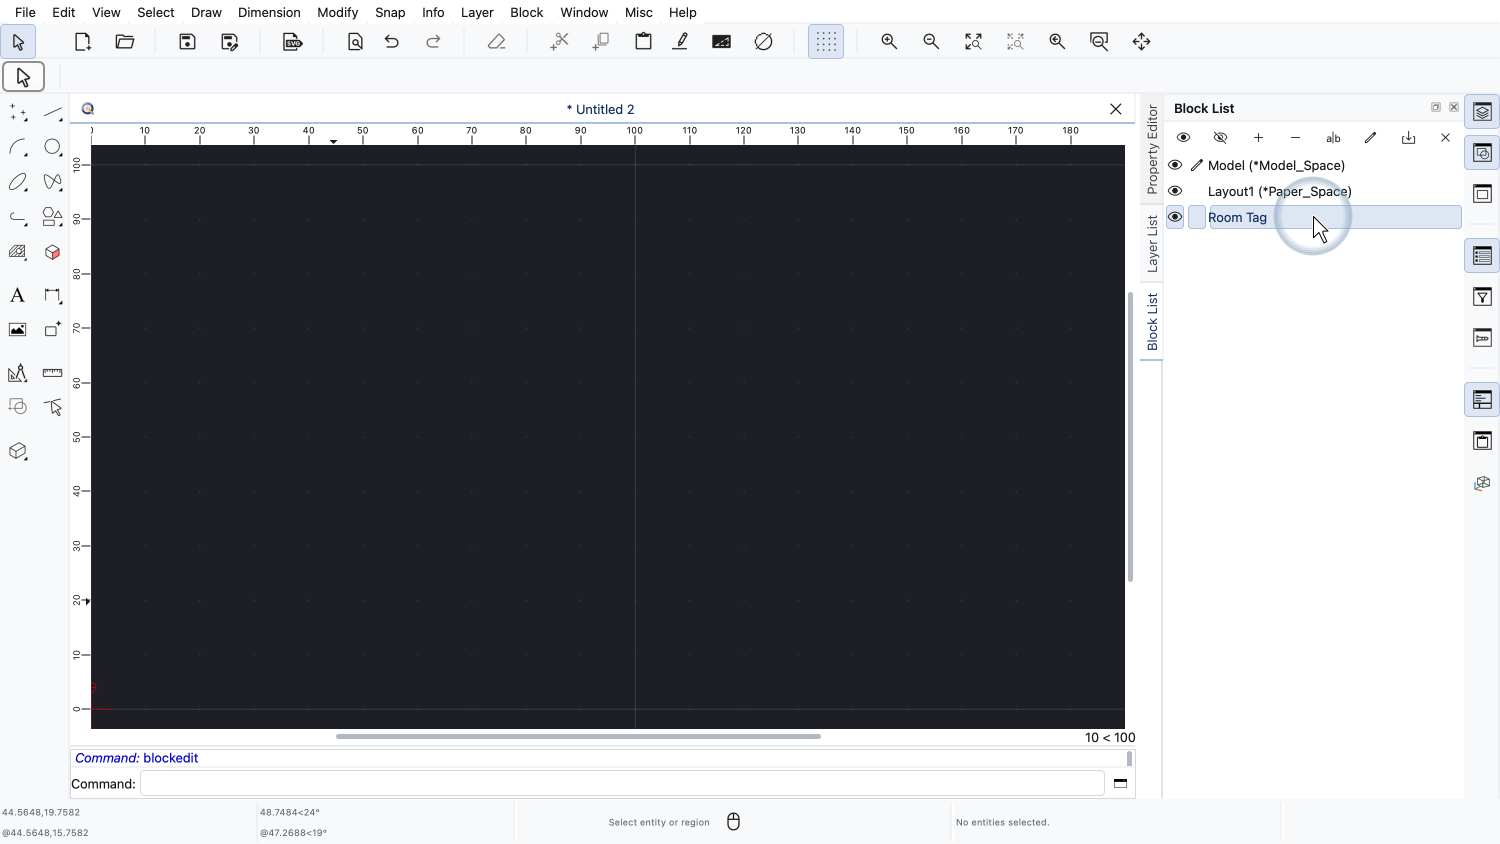
We now insert our block into the drawing.
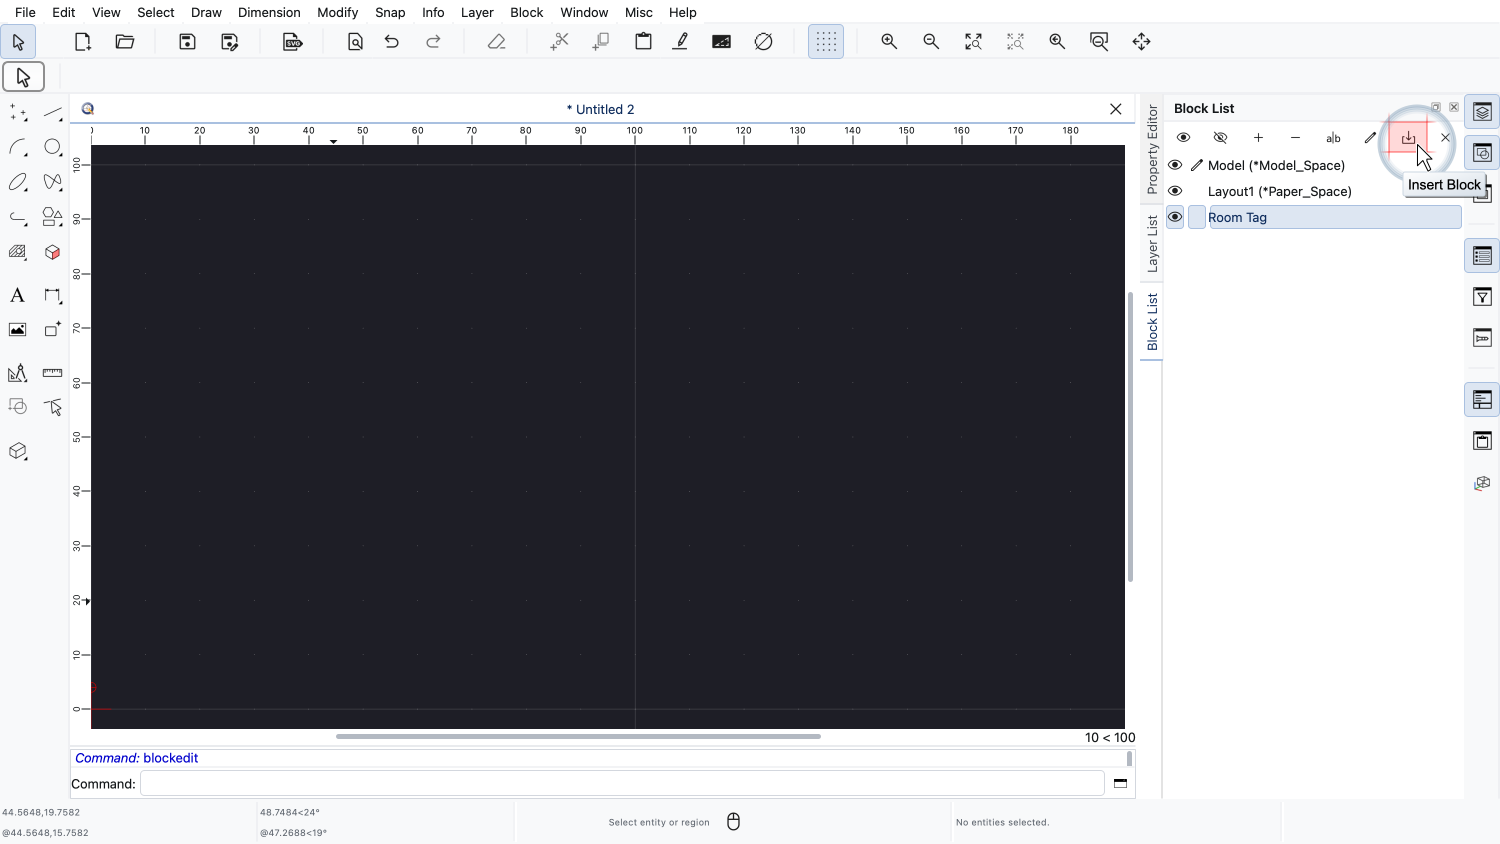
With the block "Room Tag" selected in the block list, we click the button to insert the block.
Since our block has an attribute definition, the options toolbar at the top shows the attributes of the block.
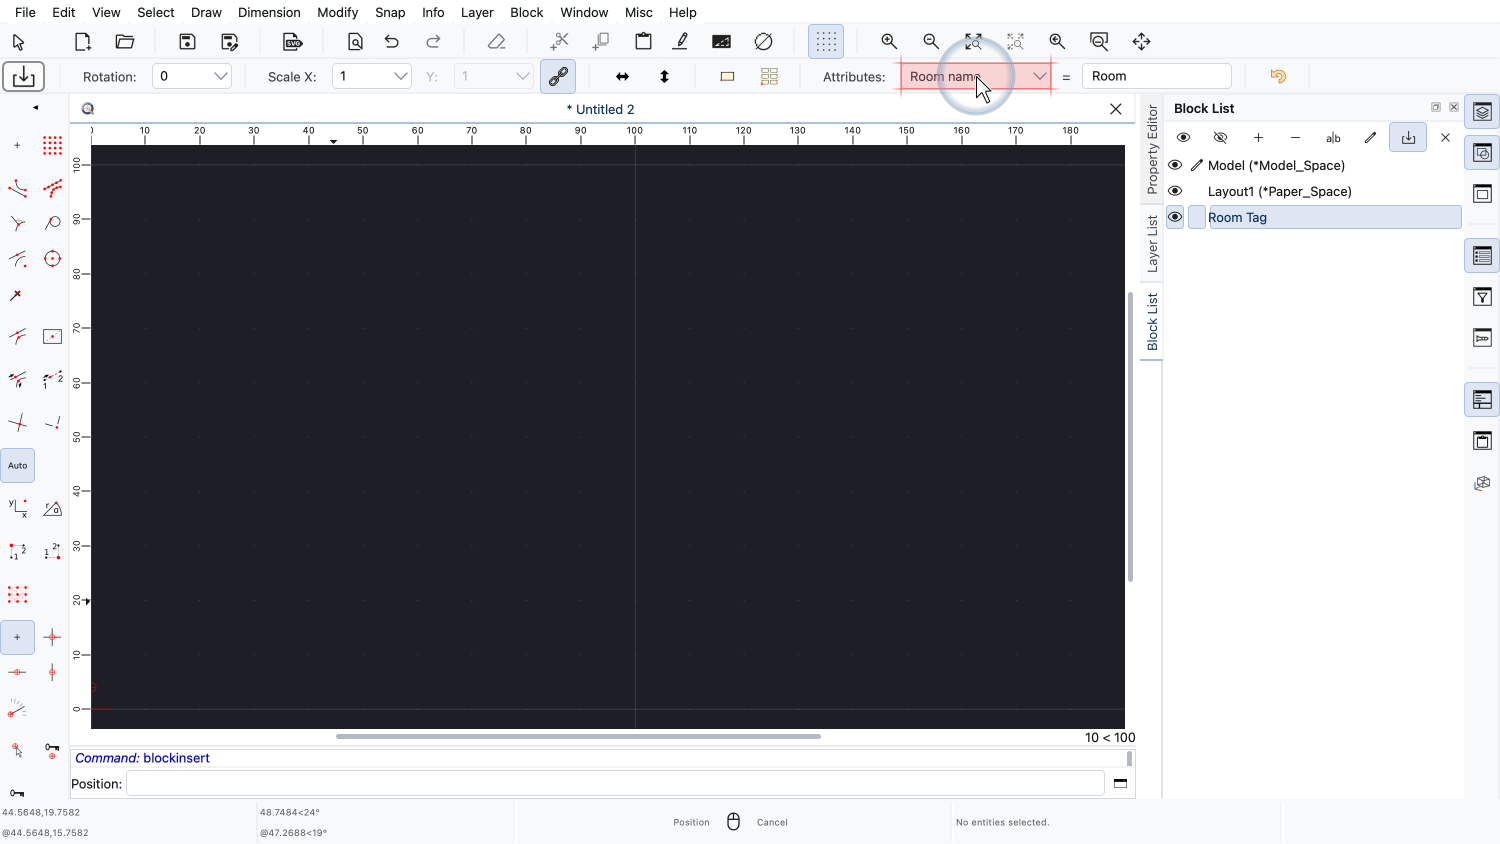
The drop down shows the prompt of the attribute.
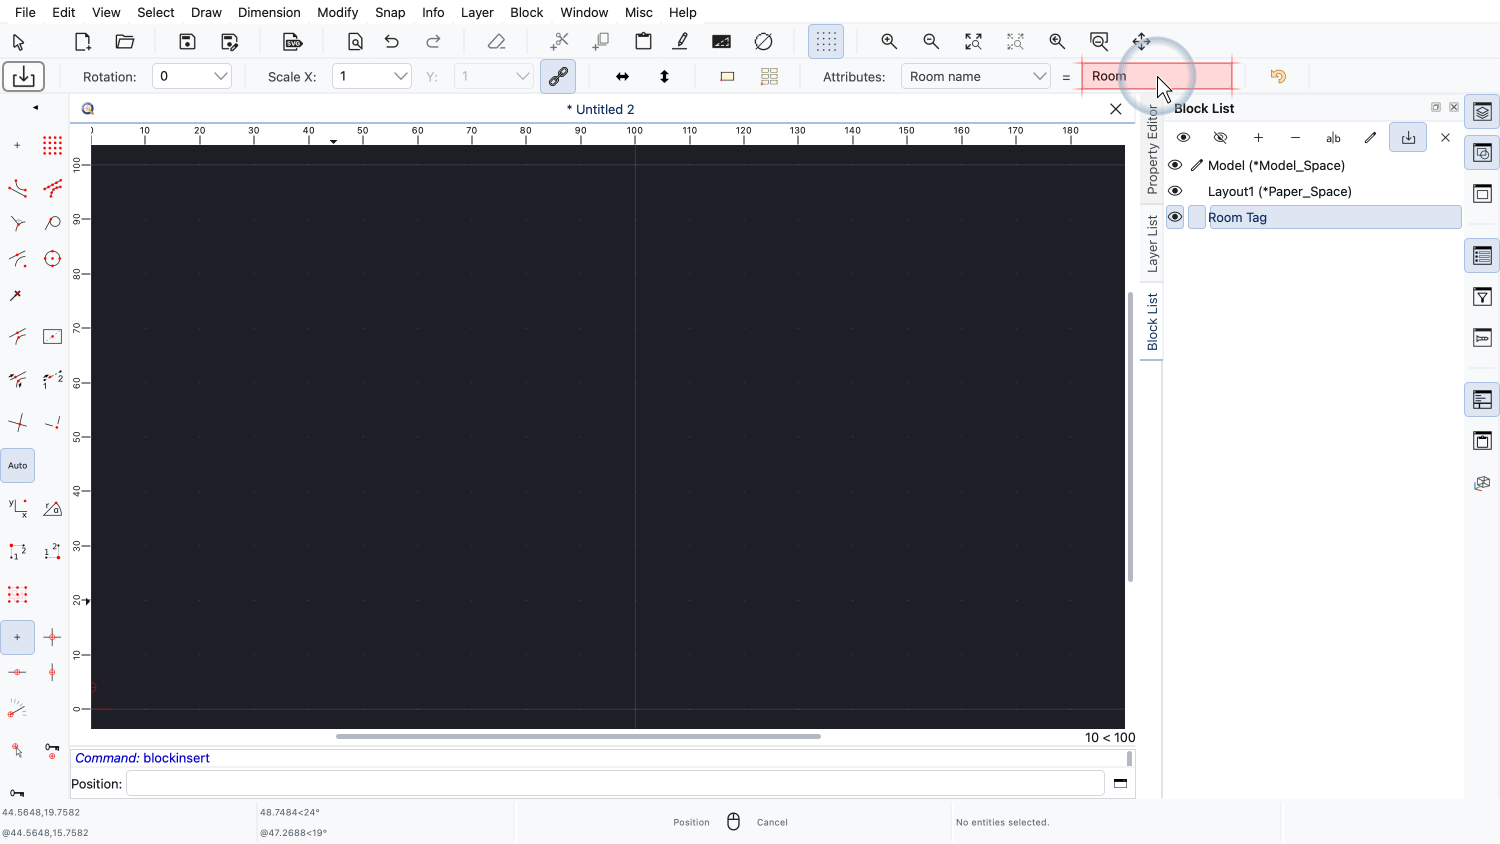
The field next to it contains its value.
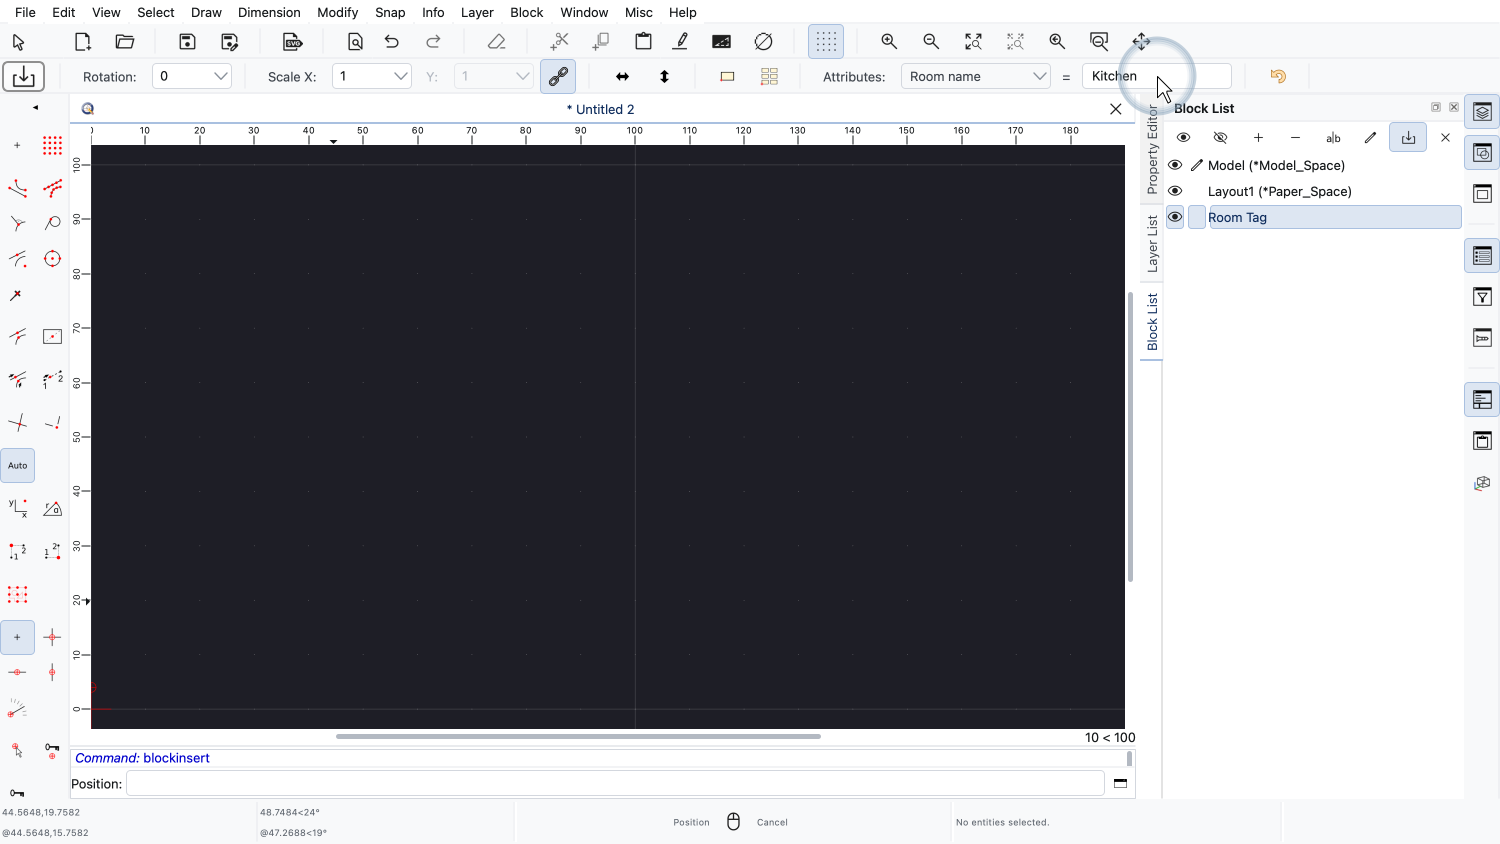
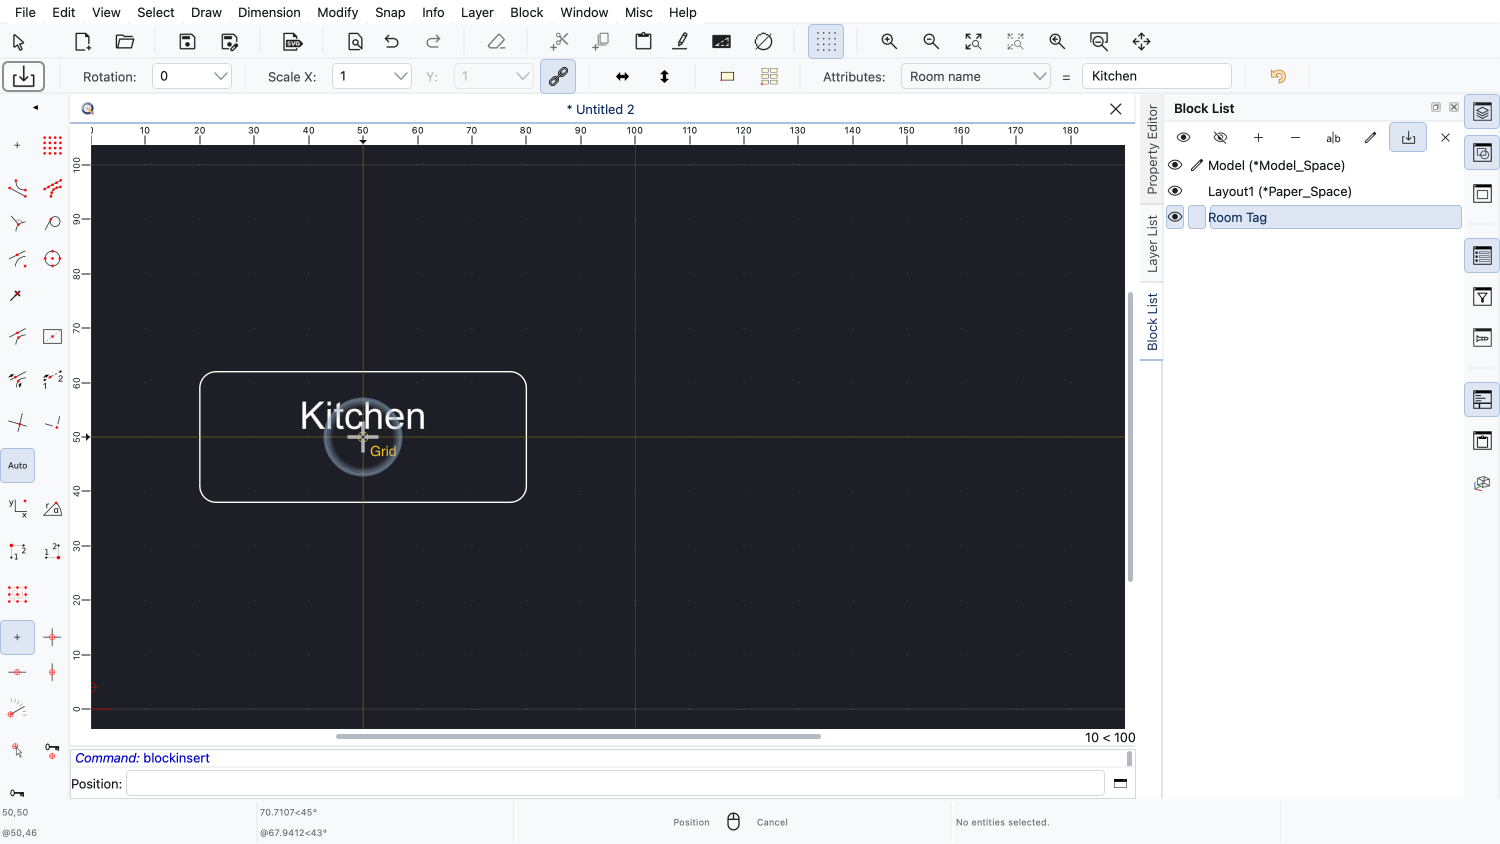
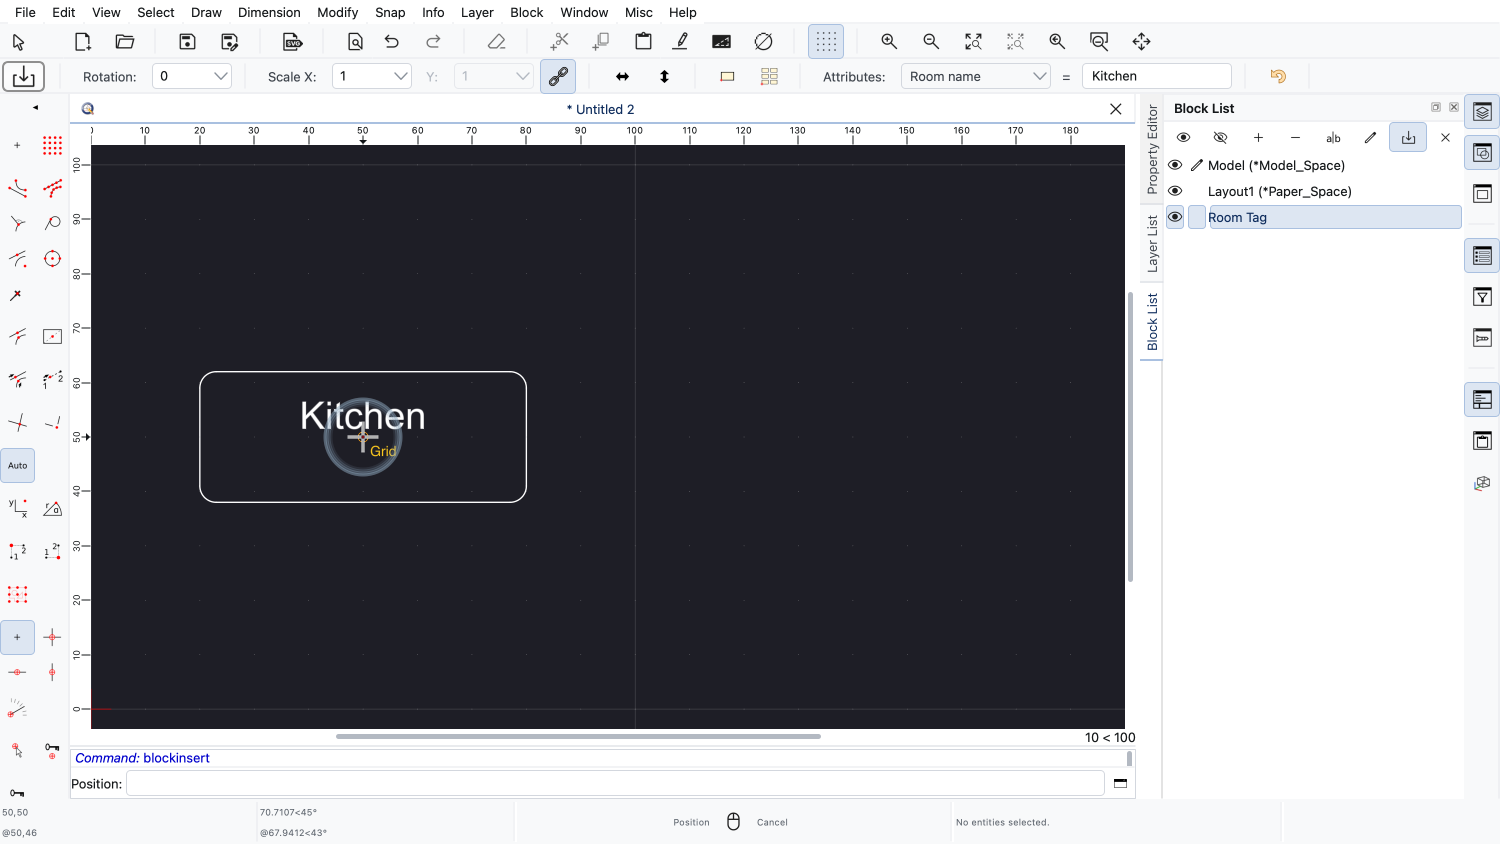
We enter the name of the first room and place the block reference in the drawing.
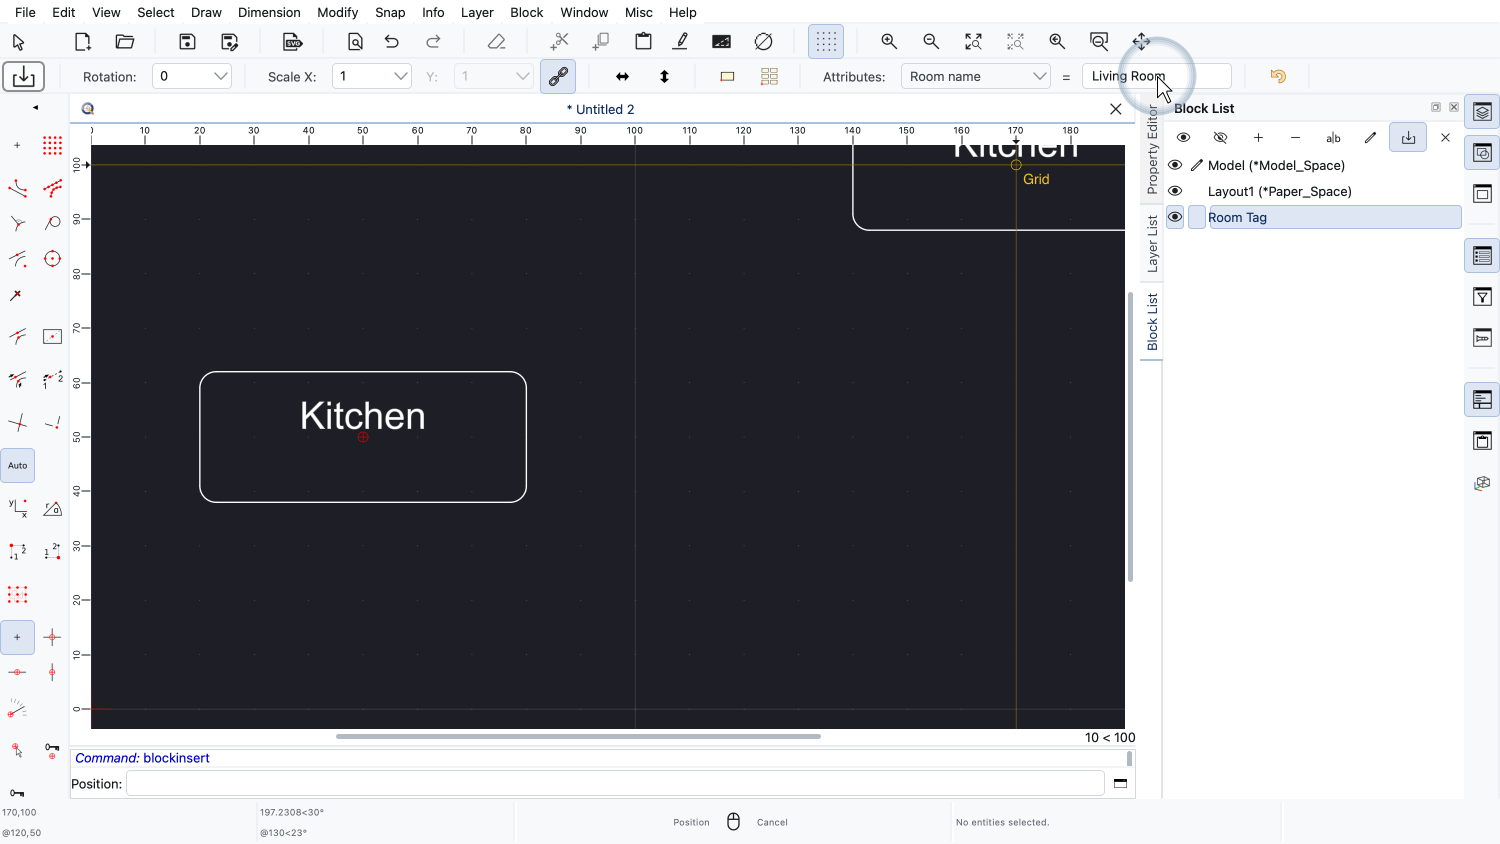
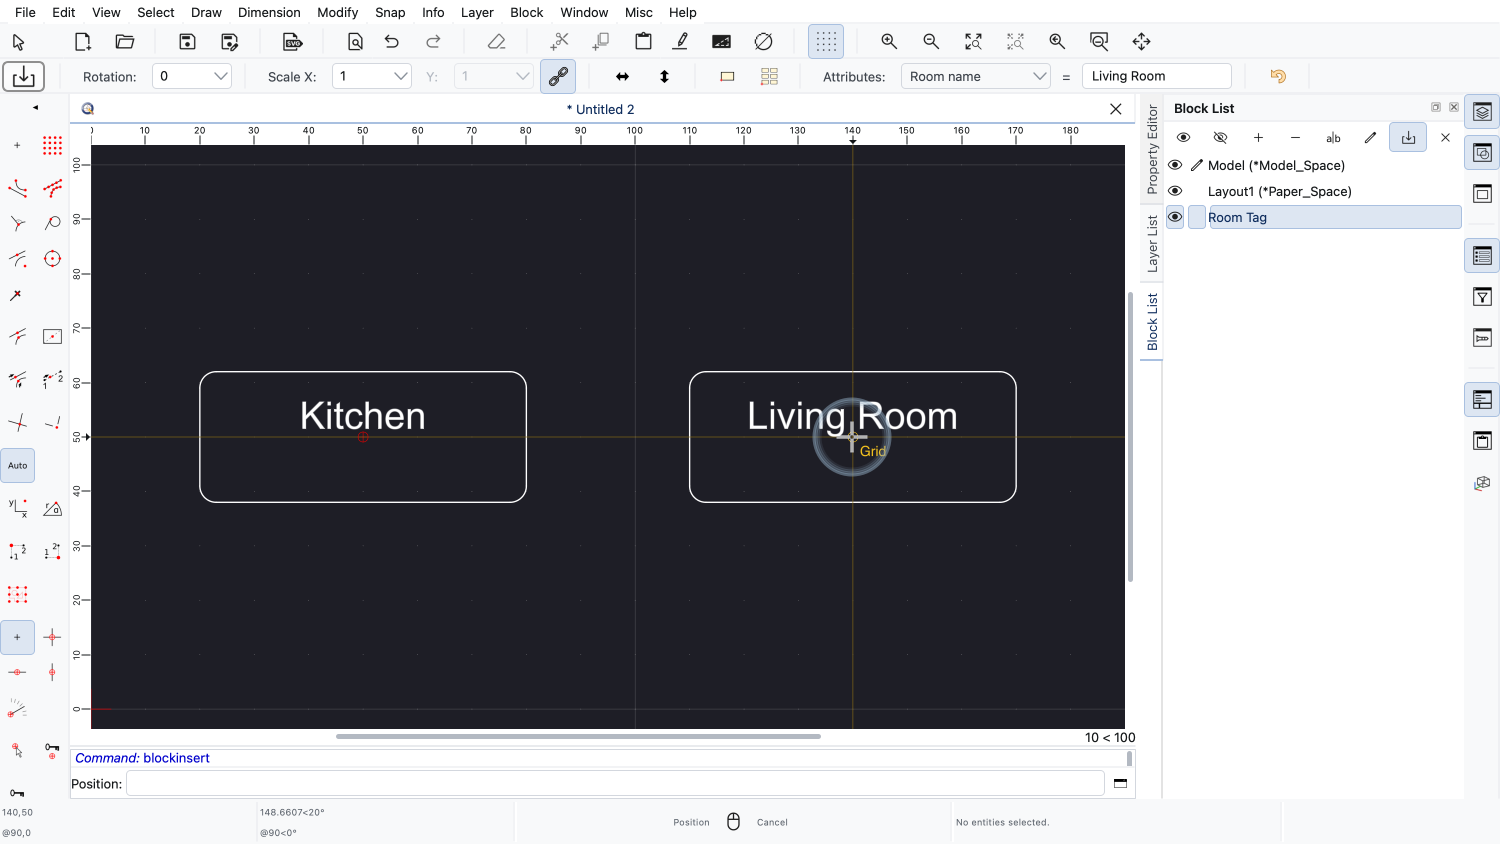
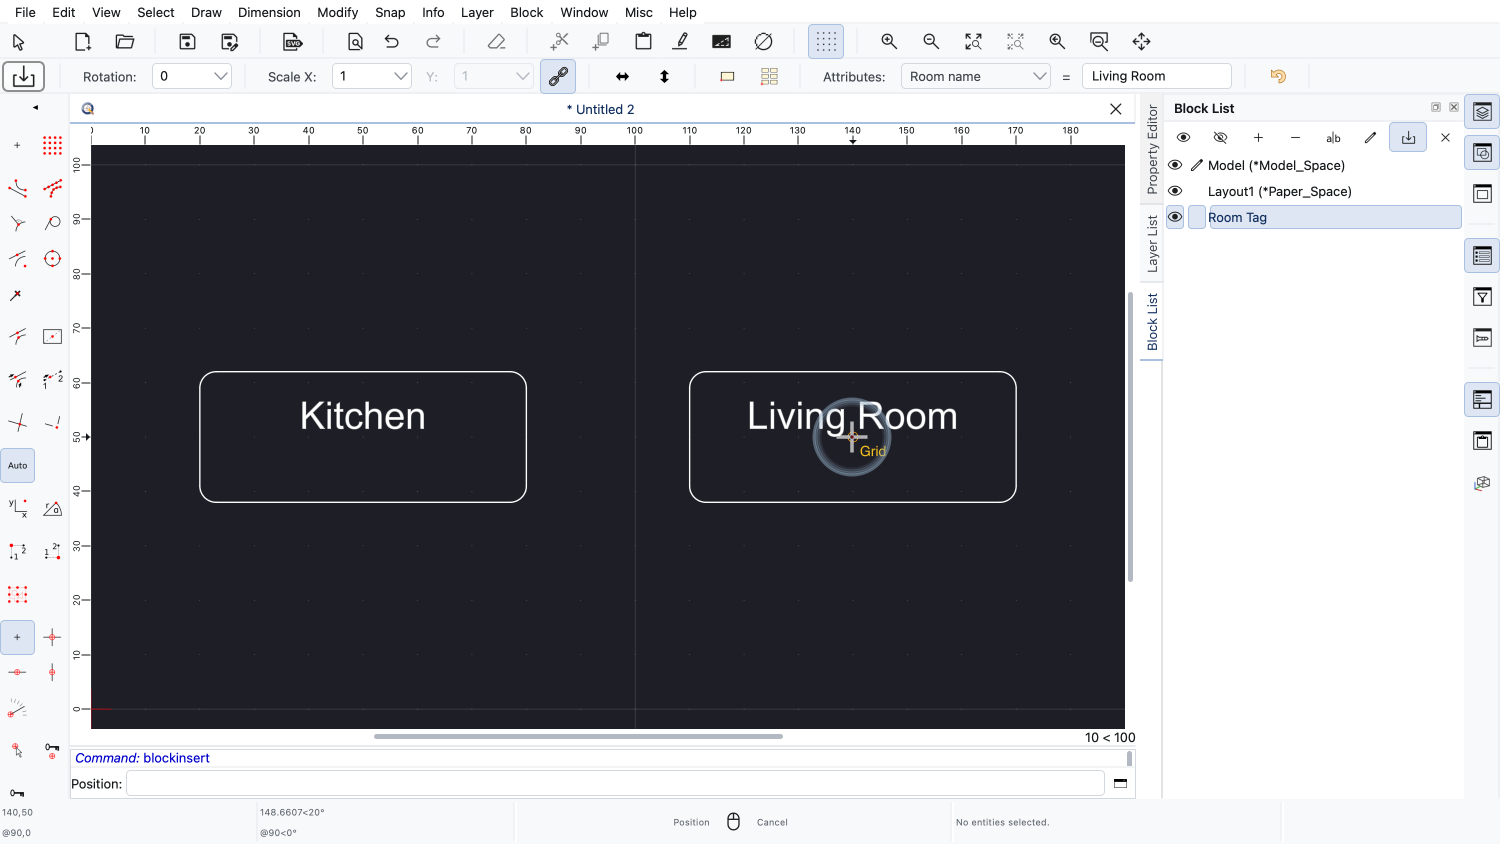
We place a second room tag for another room.
We finish the tool with a right click.
Just like in the first example, we can change the value of an attribute in the property editor.
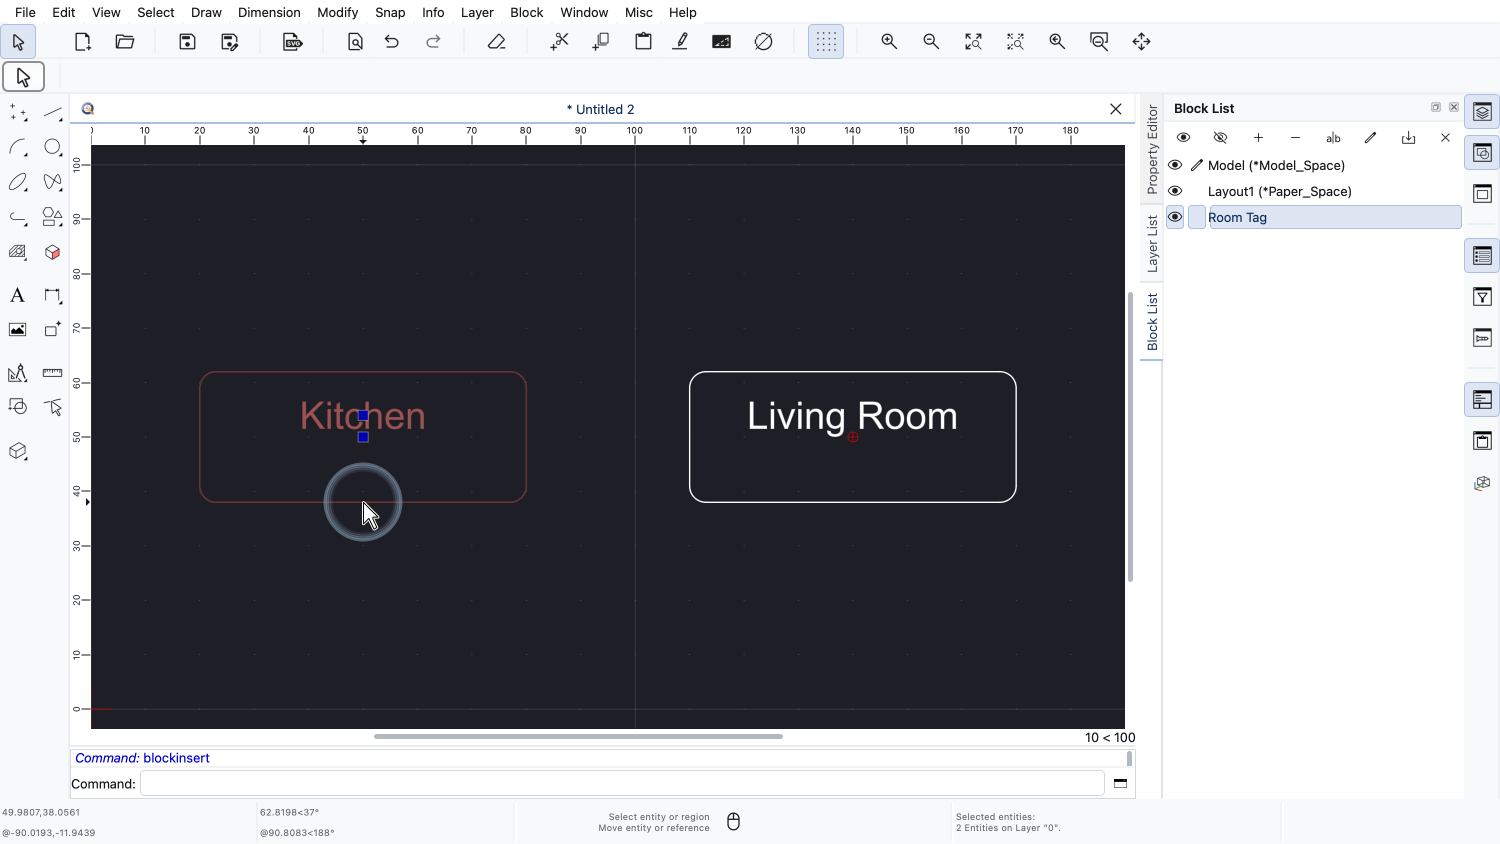
We select the first block reference by clicking on the rectangle.
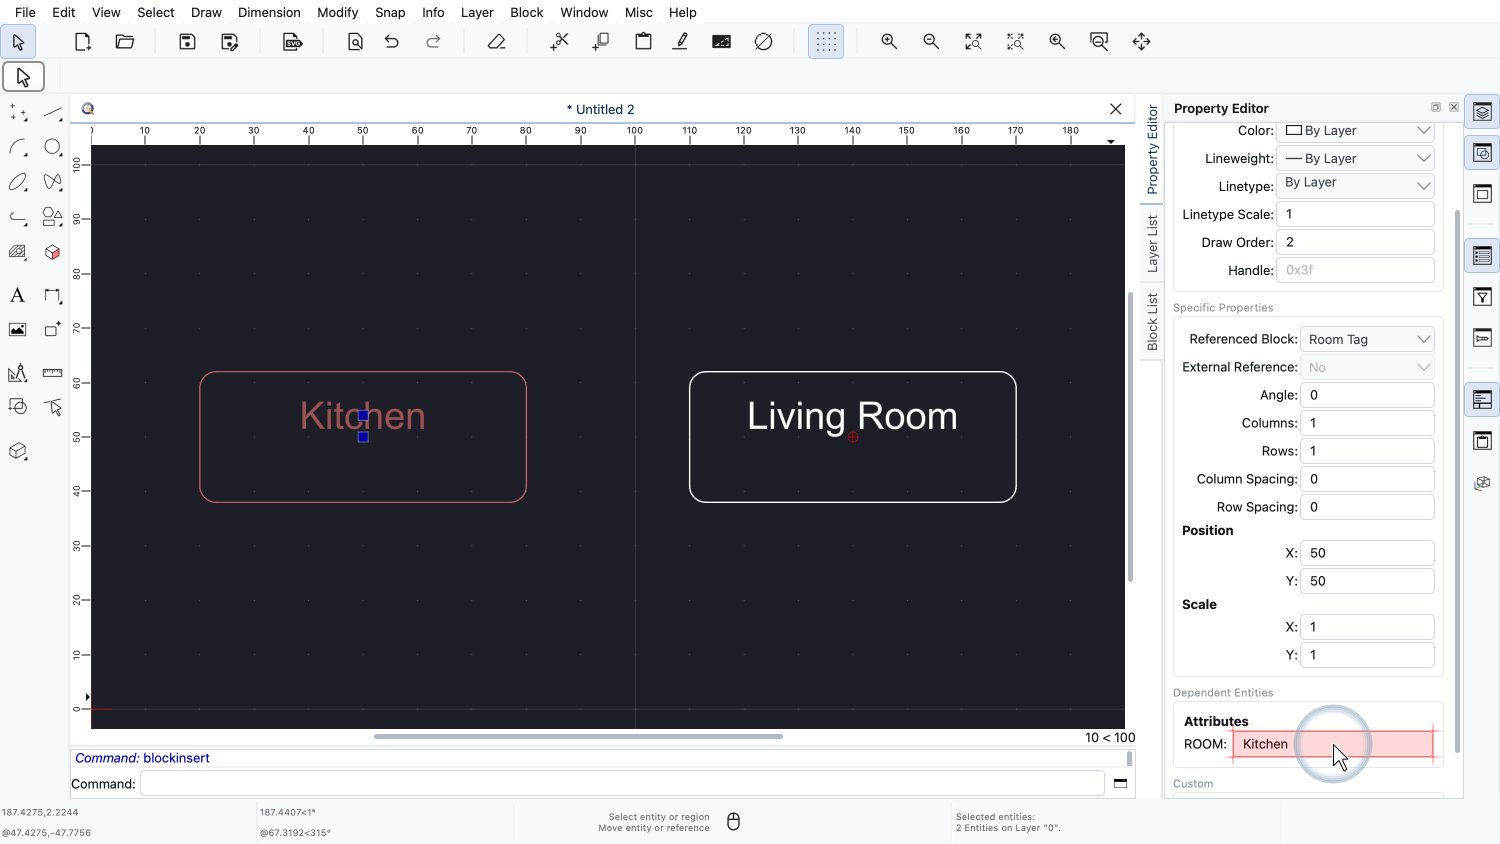
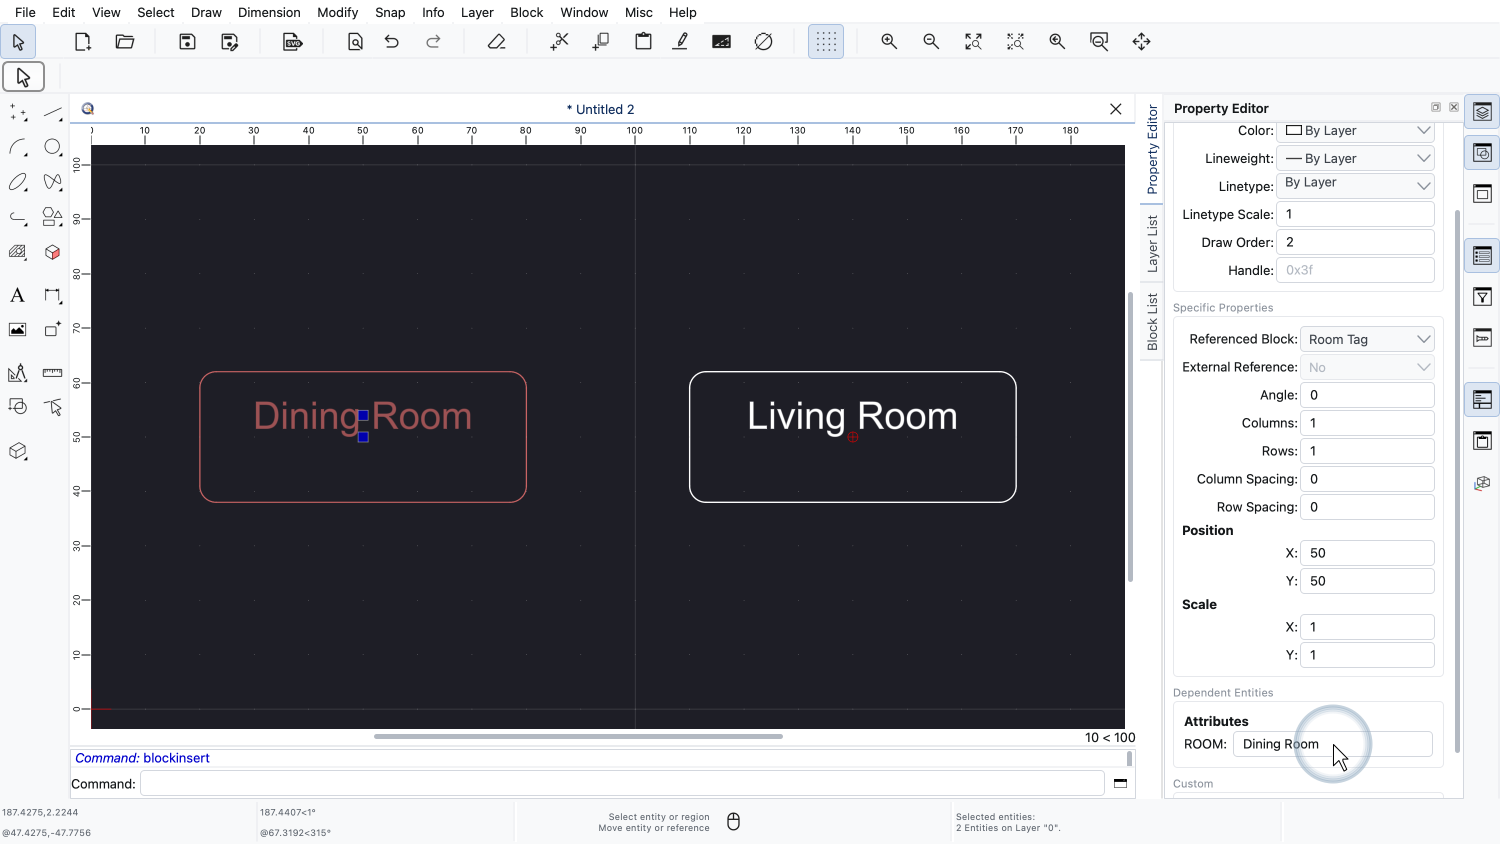
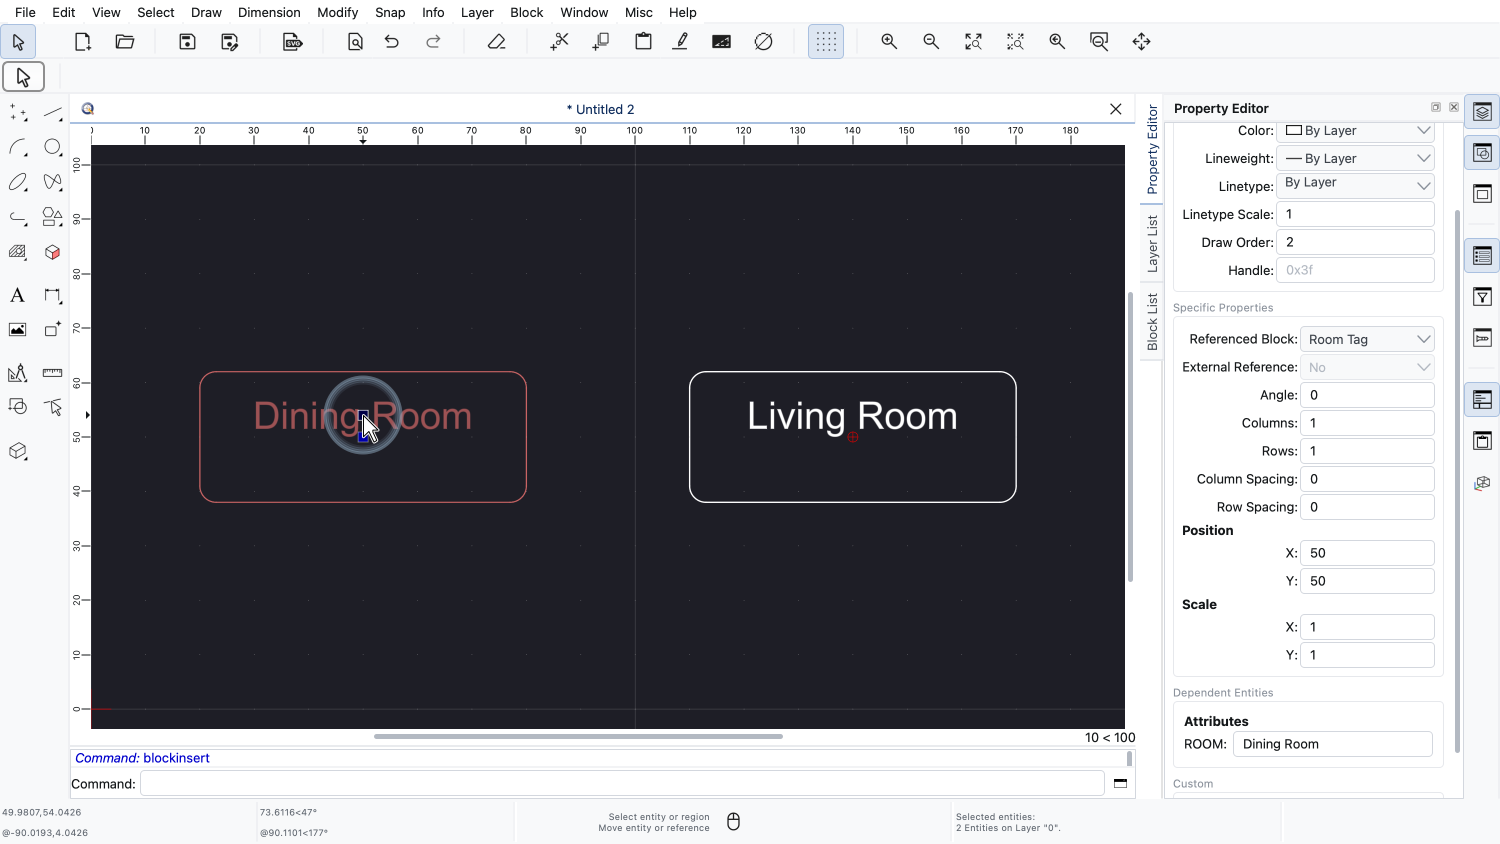
In the section "Attributes", we change the name of the room to "Dining Room".
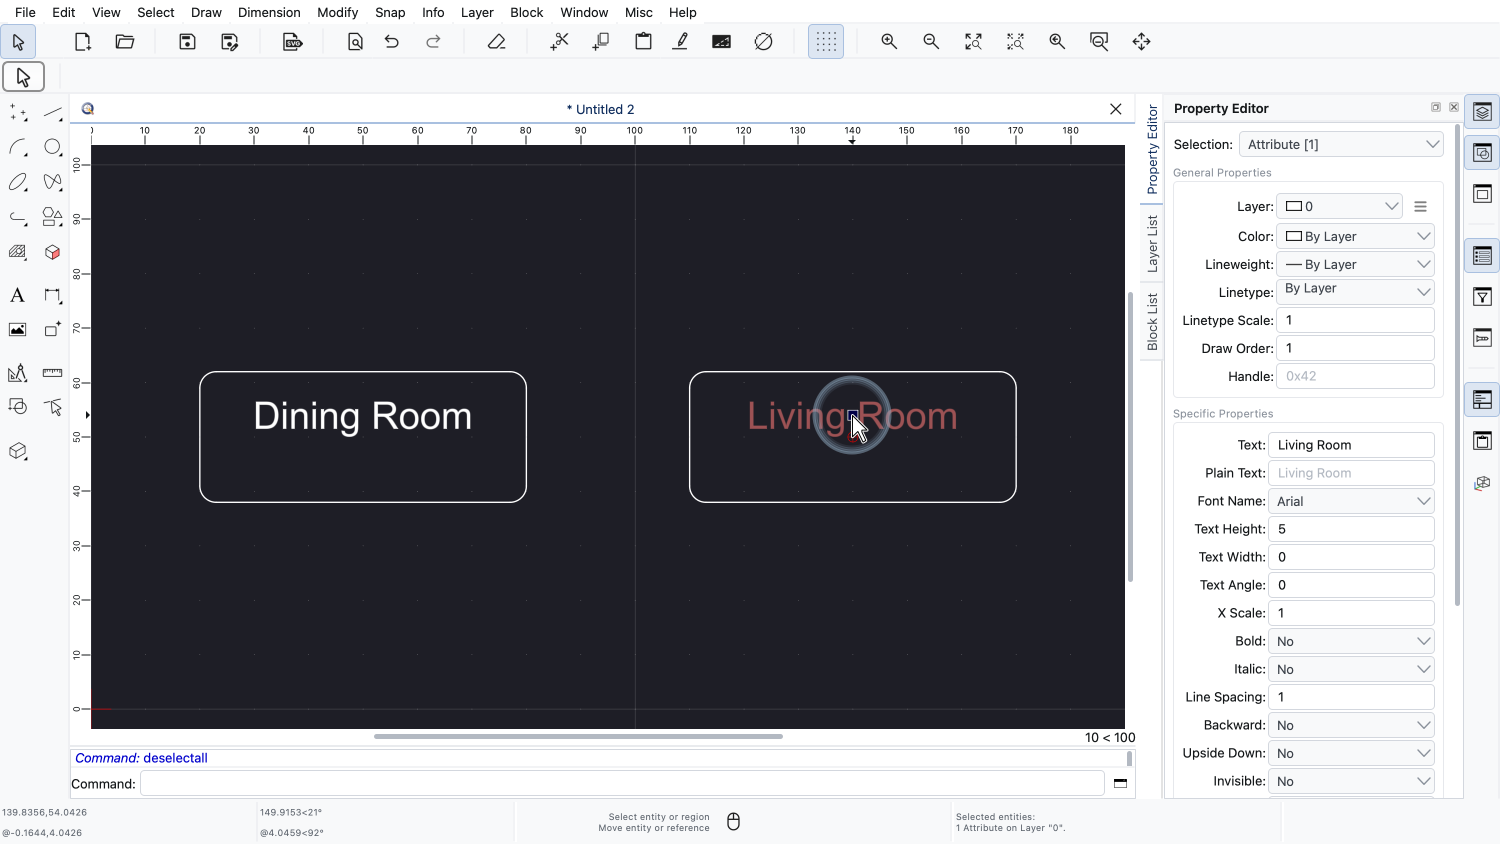
We now select only the attribute of the second block reference by clicking on its text.
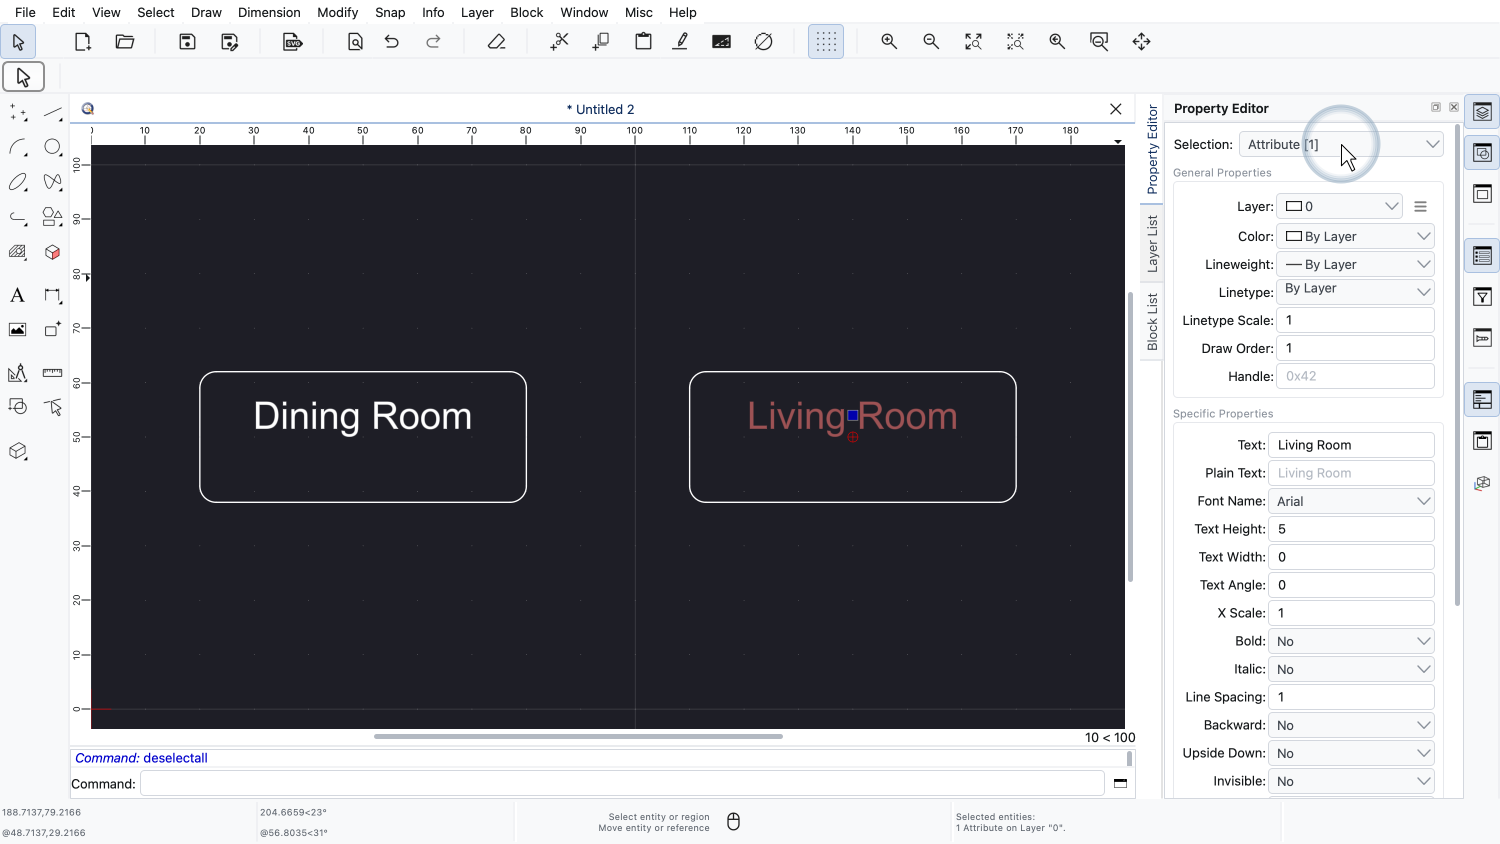
Like any other text, the selected attribute can be changed in the property editor.
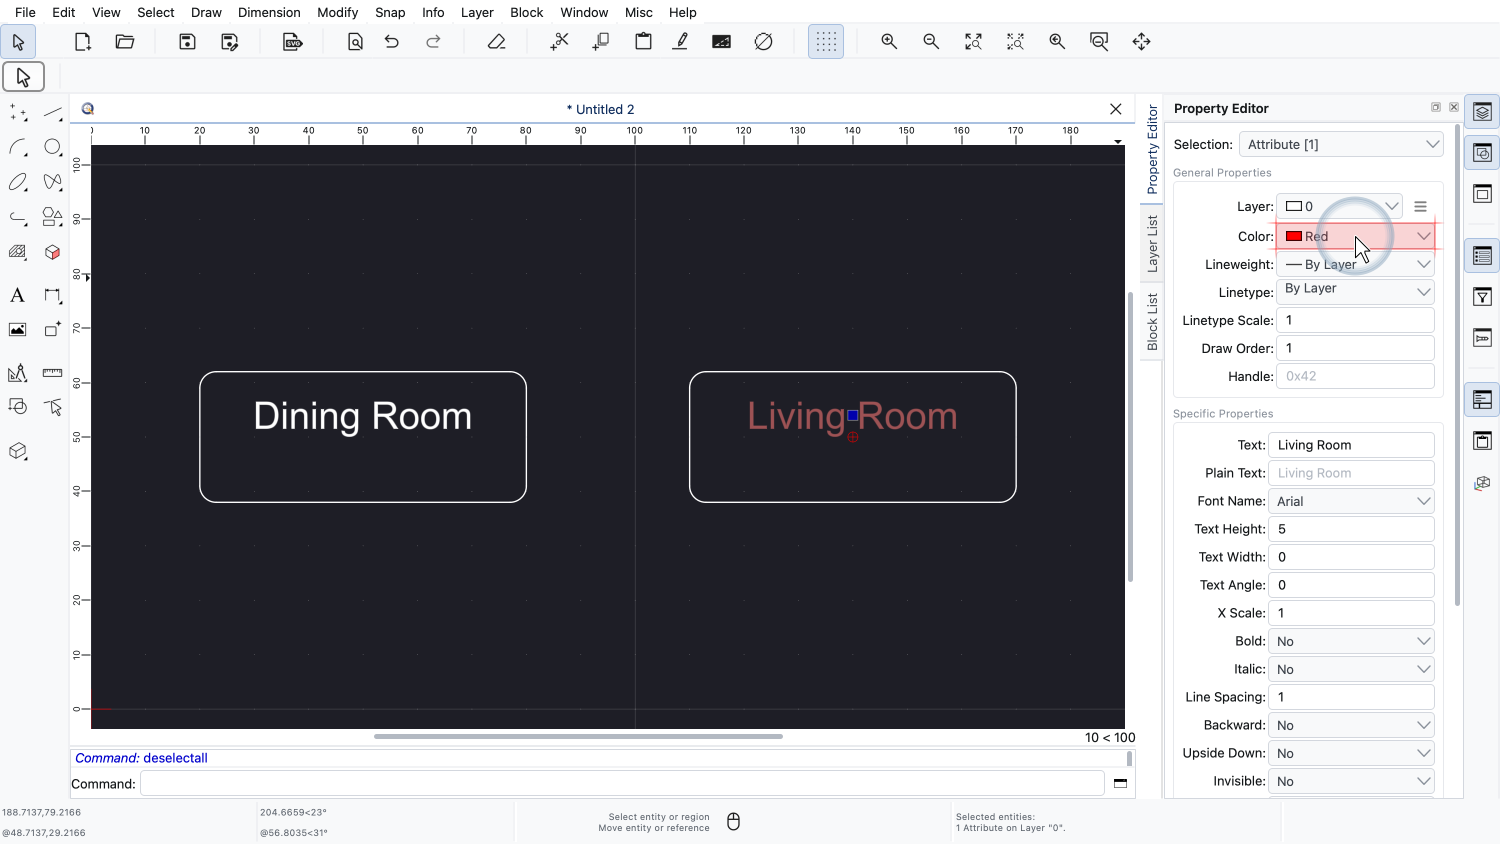
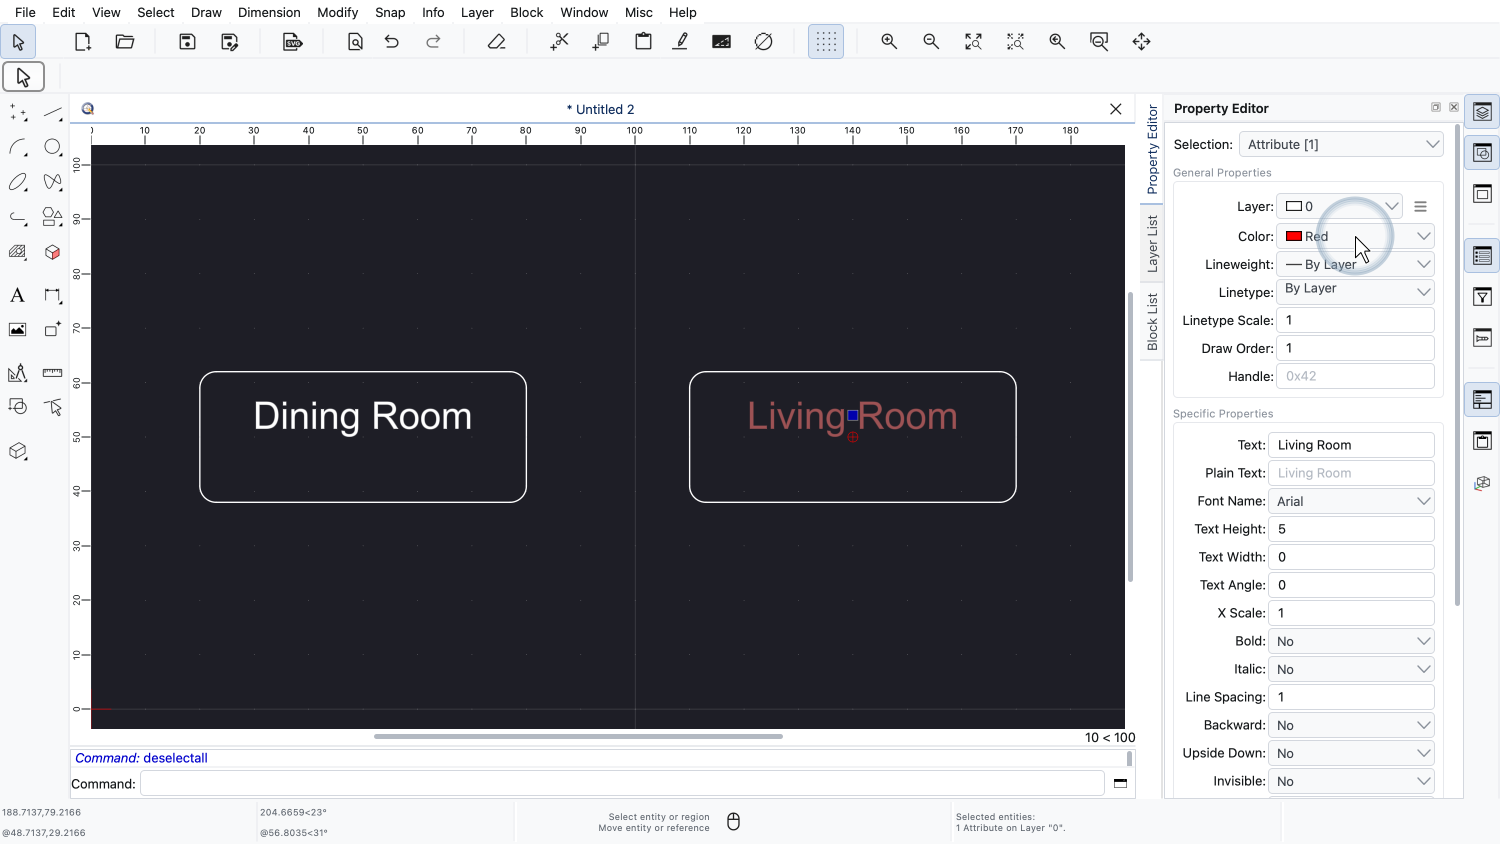
We change its color to red.
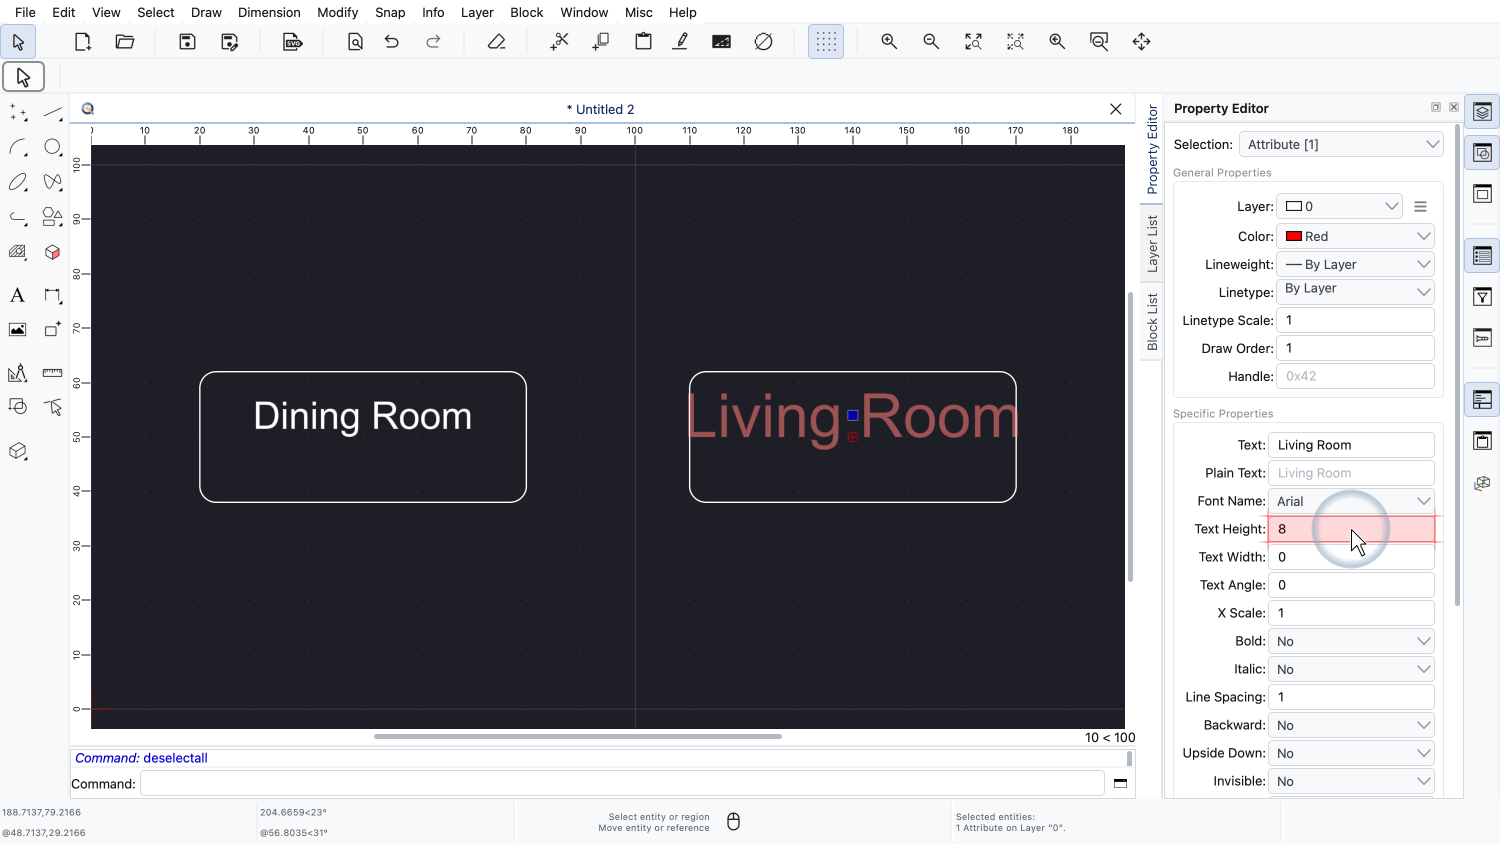
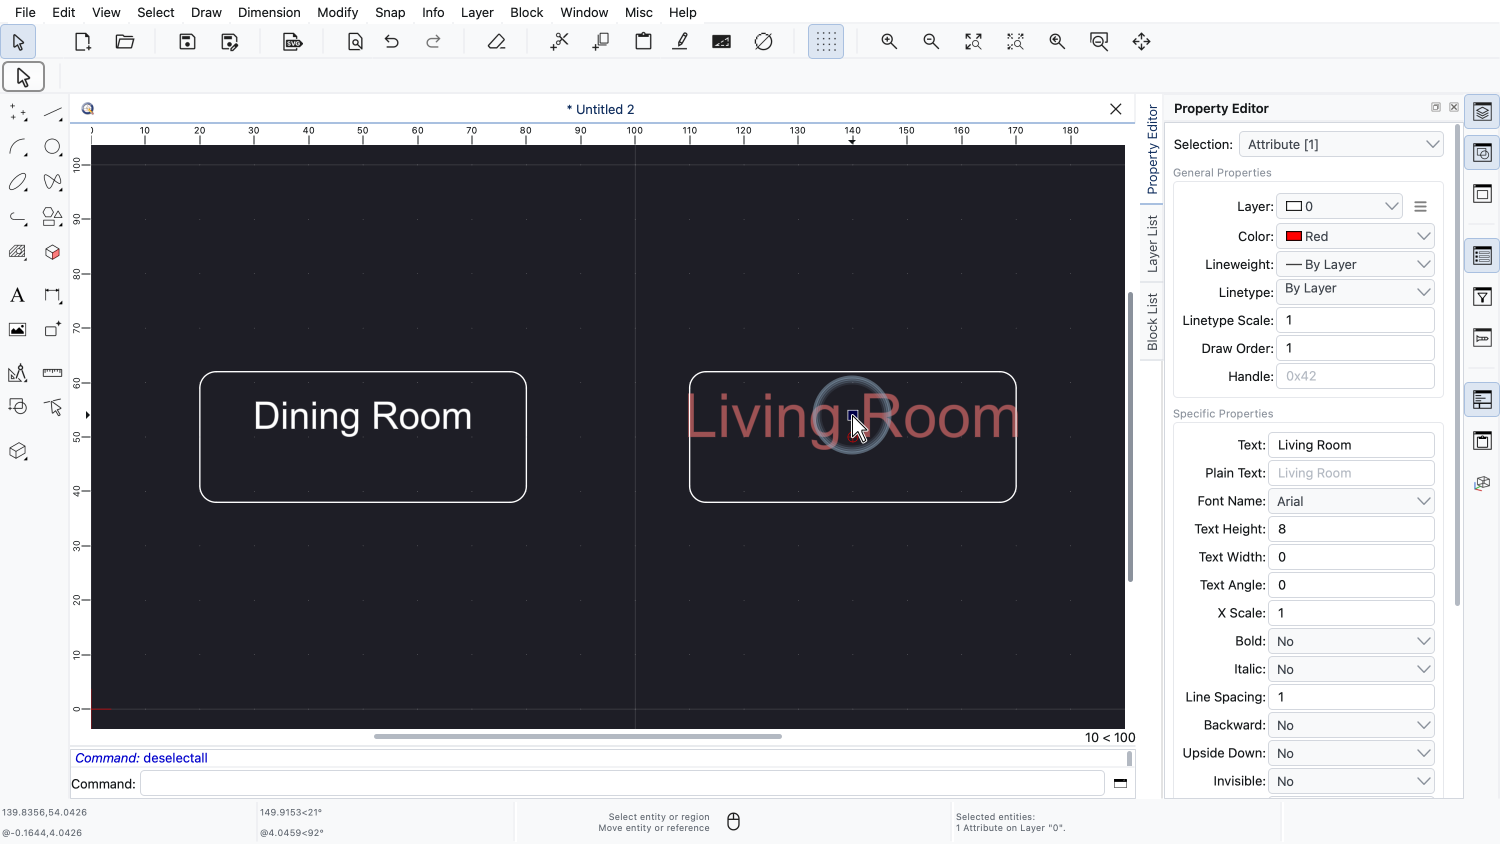
And its text height to 8.
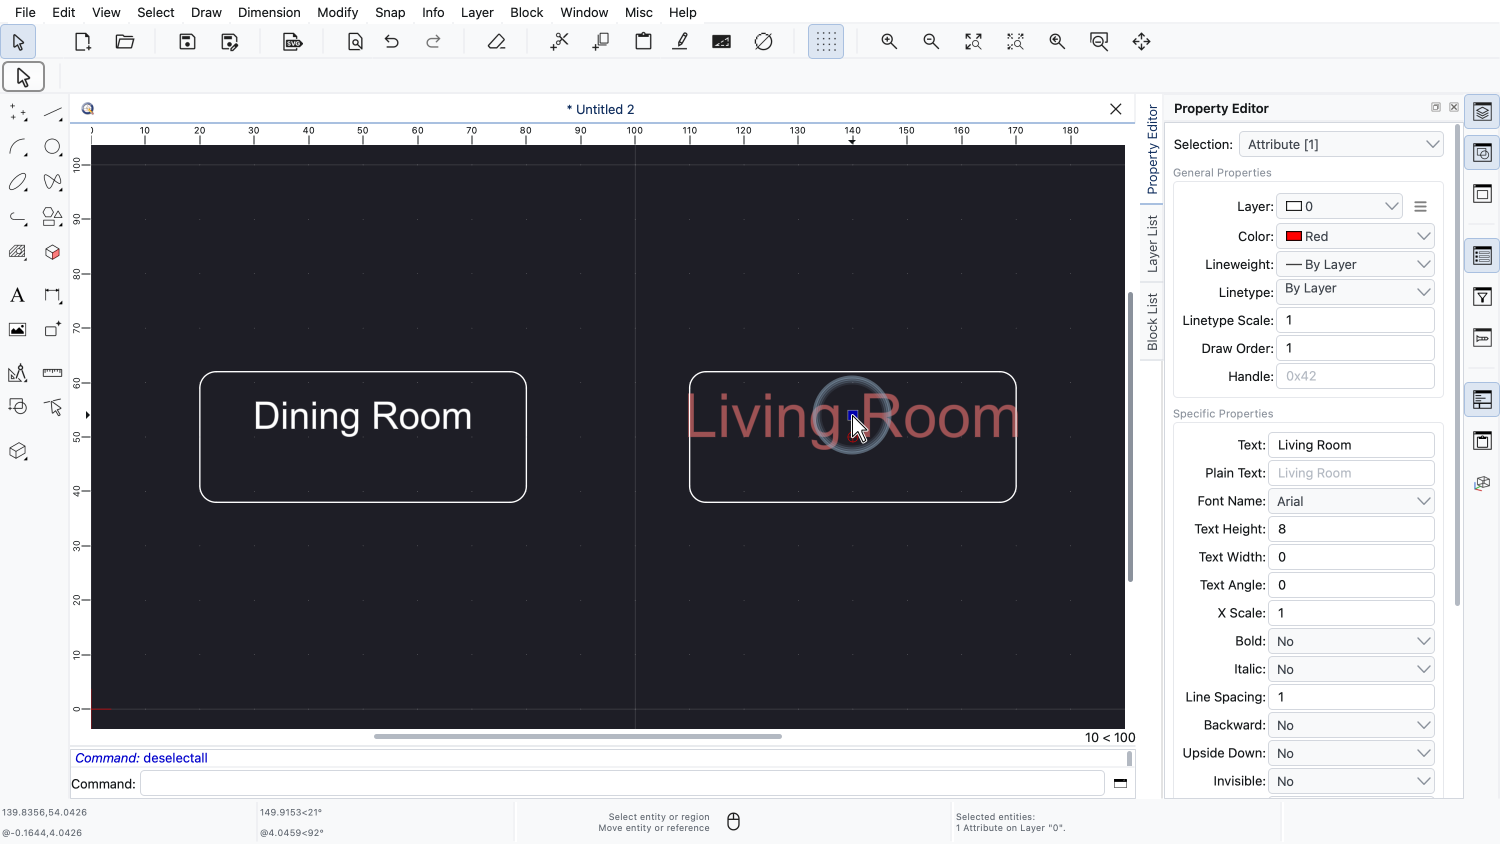
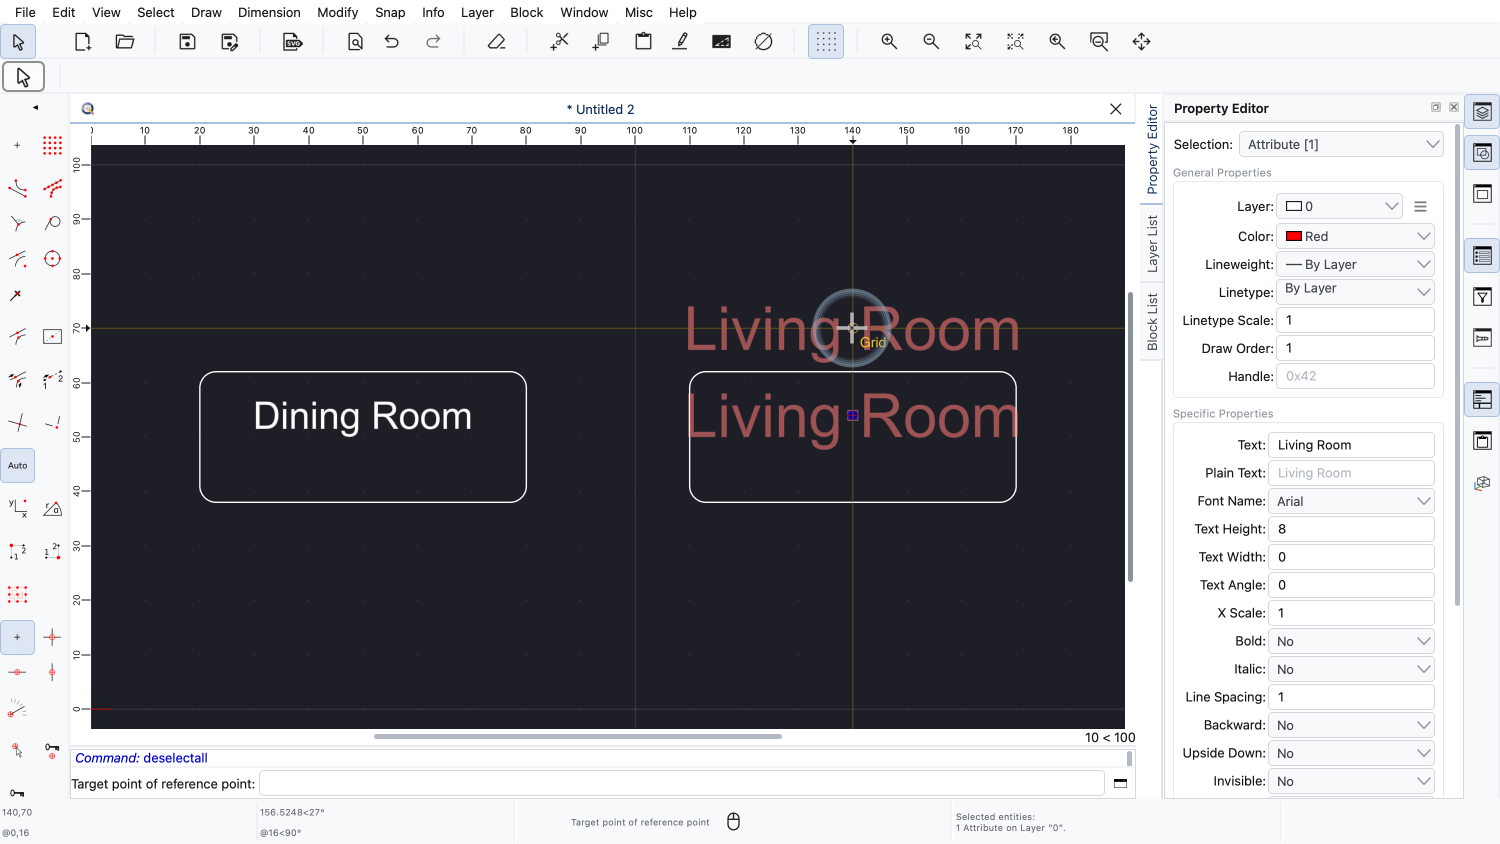
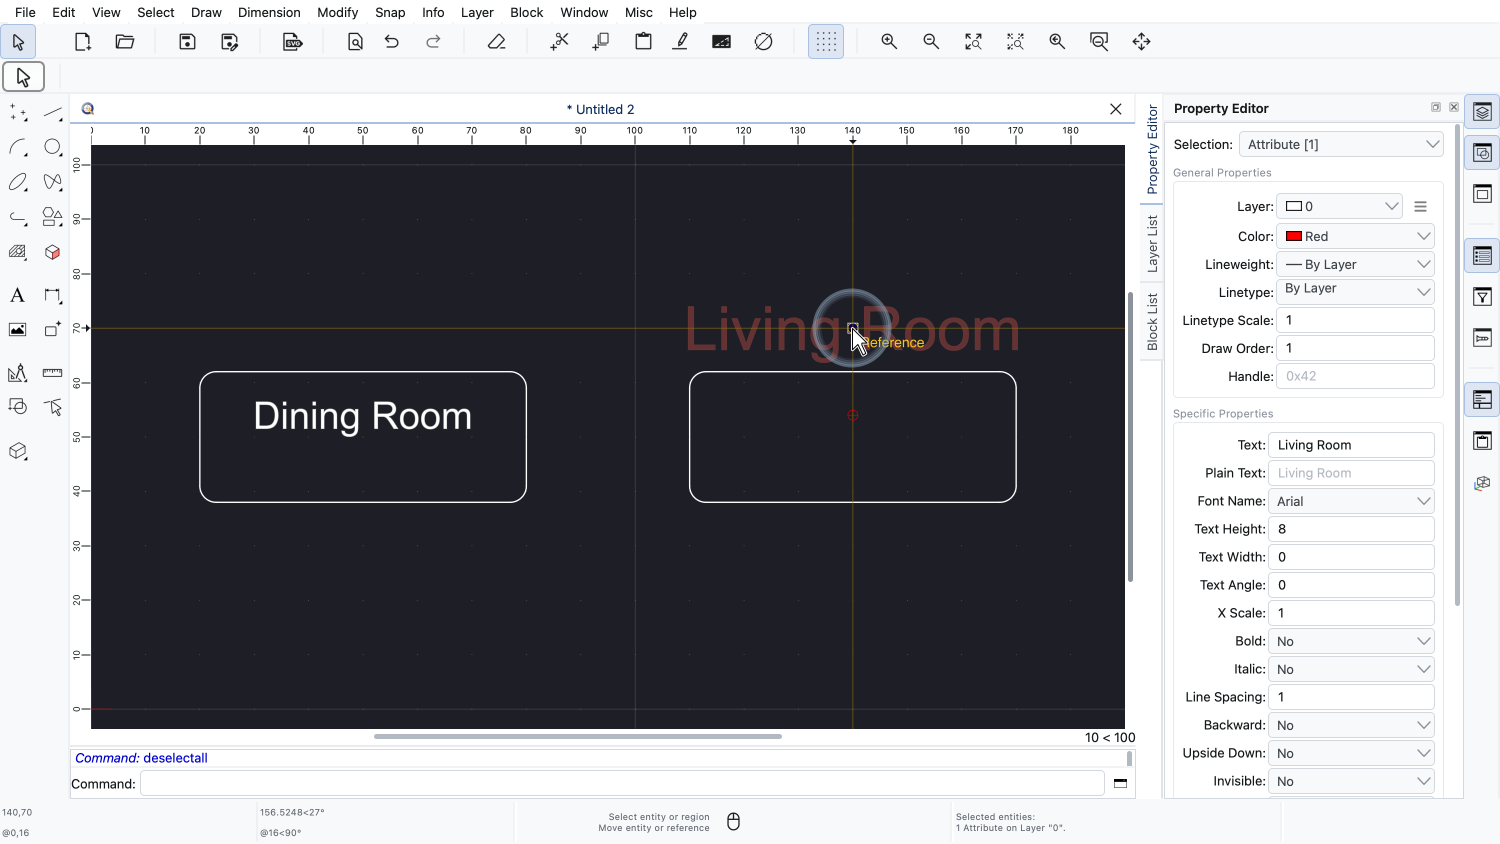
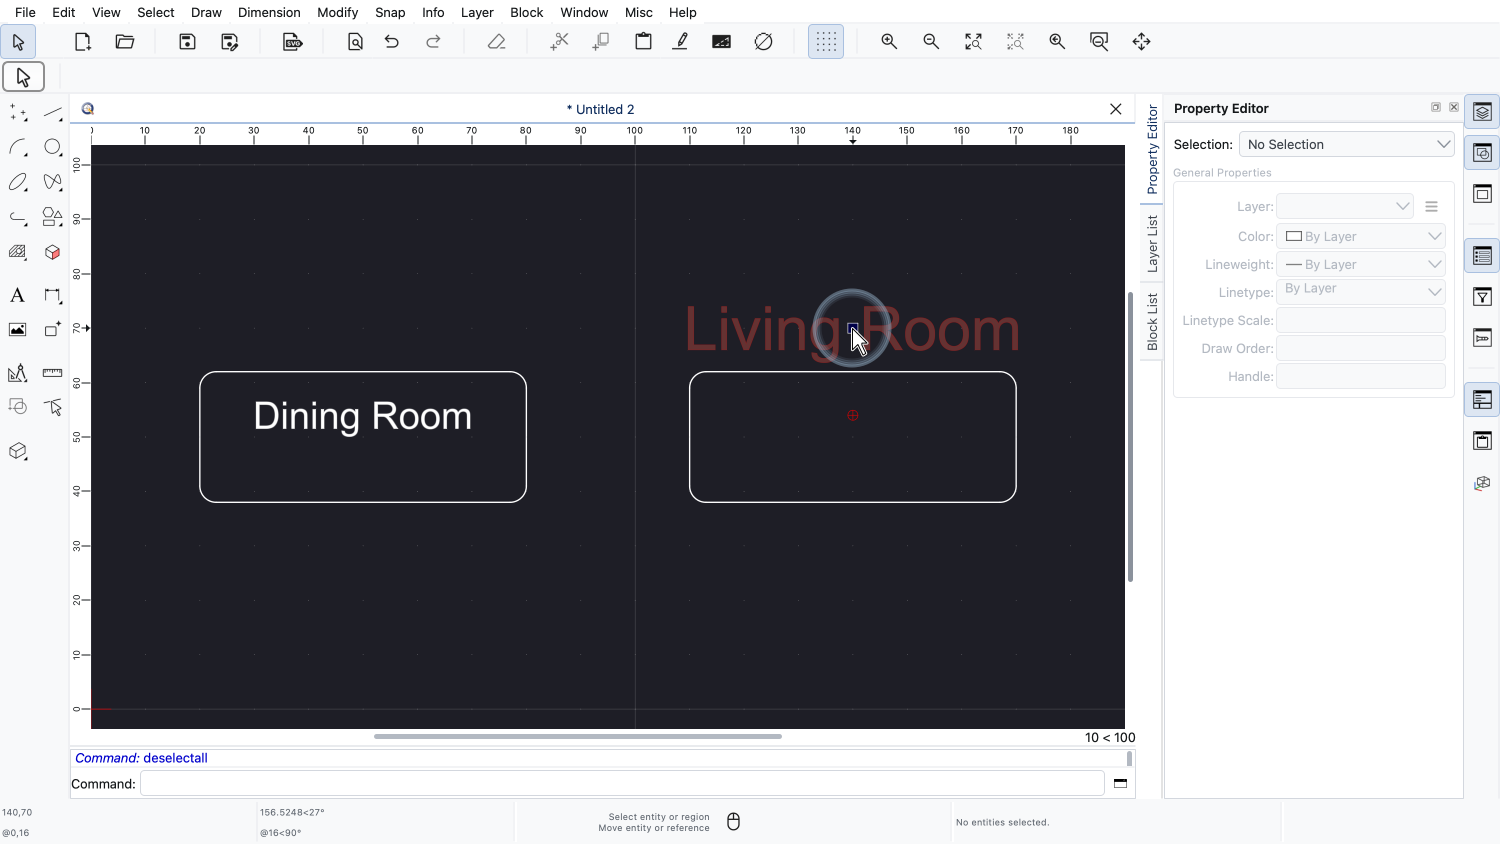
Finally, we move the attribute by its reference point to a new position above the rectangle.
Changing the color, size or position of individual attributes is possible, but usually not recommended.
The appearance of the attributes should be defined by the attribute definitions in the block.
When the attributes are synchronized with their attribute definitions, individual changes like these are lost.
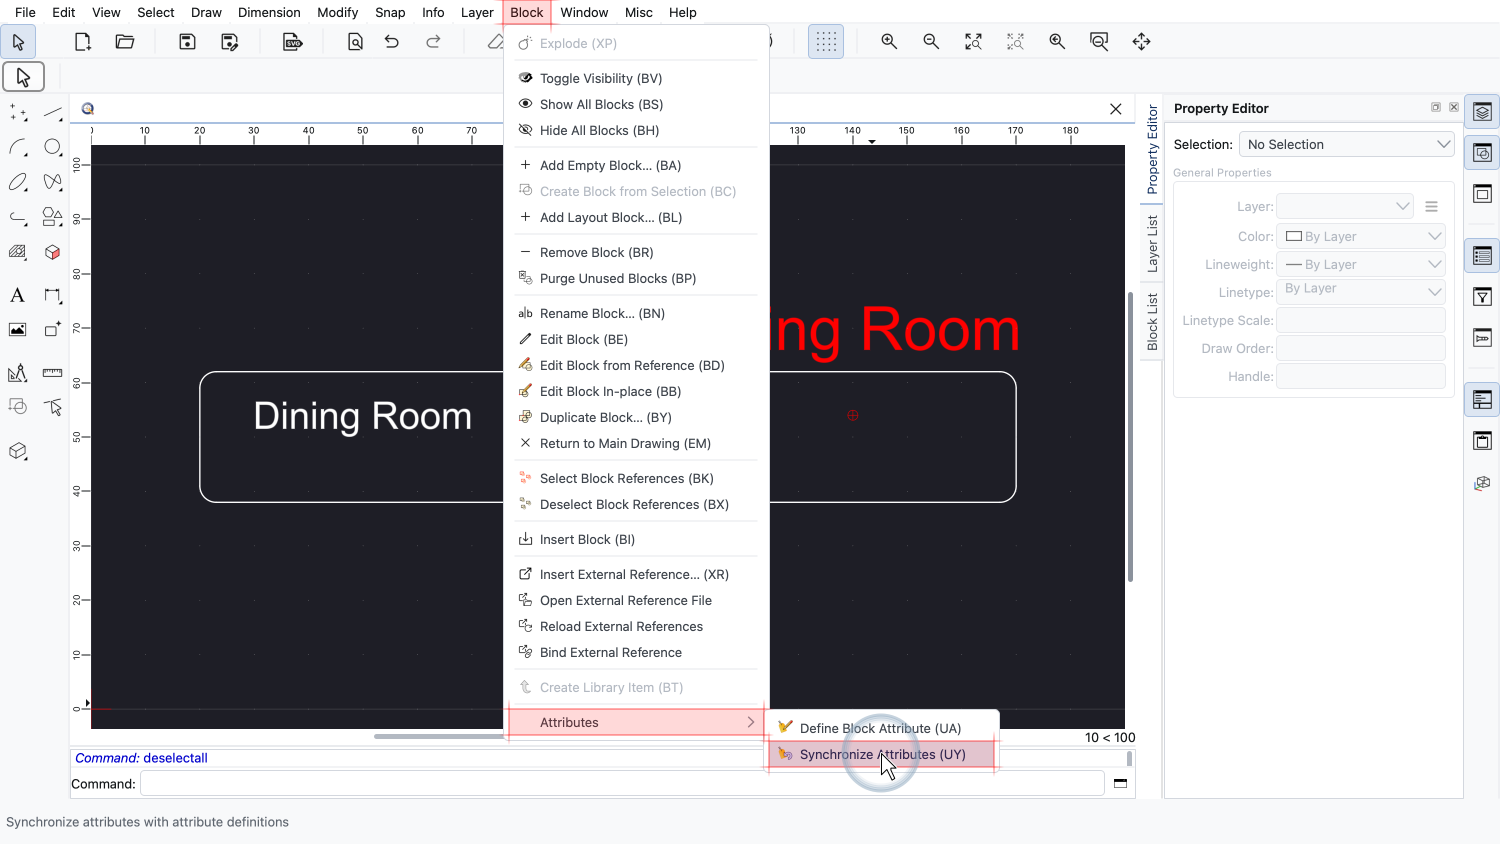
The tool to synchronize attributes can be found in the Block menu, in the submenu Attributes.
If there are selected block references, only the attributes of those selected block references are synchronized. Otherwise, the attributes of all block references in the drawing are synchronized.
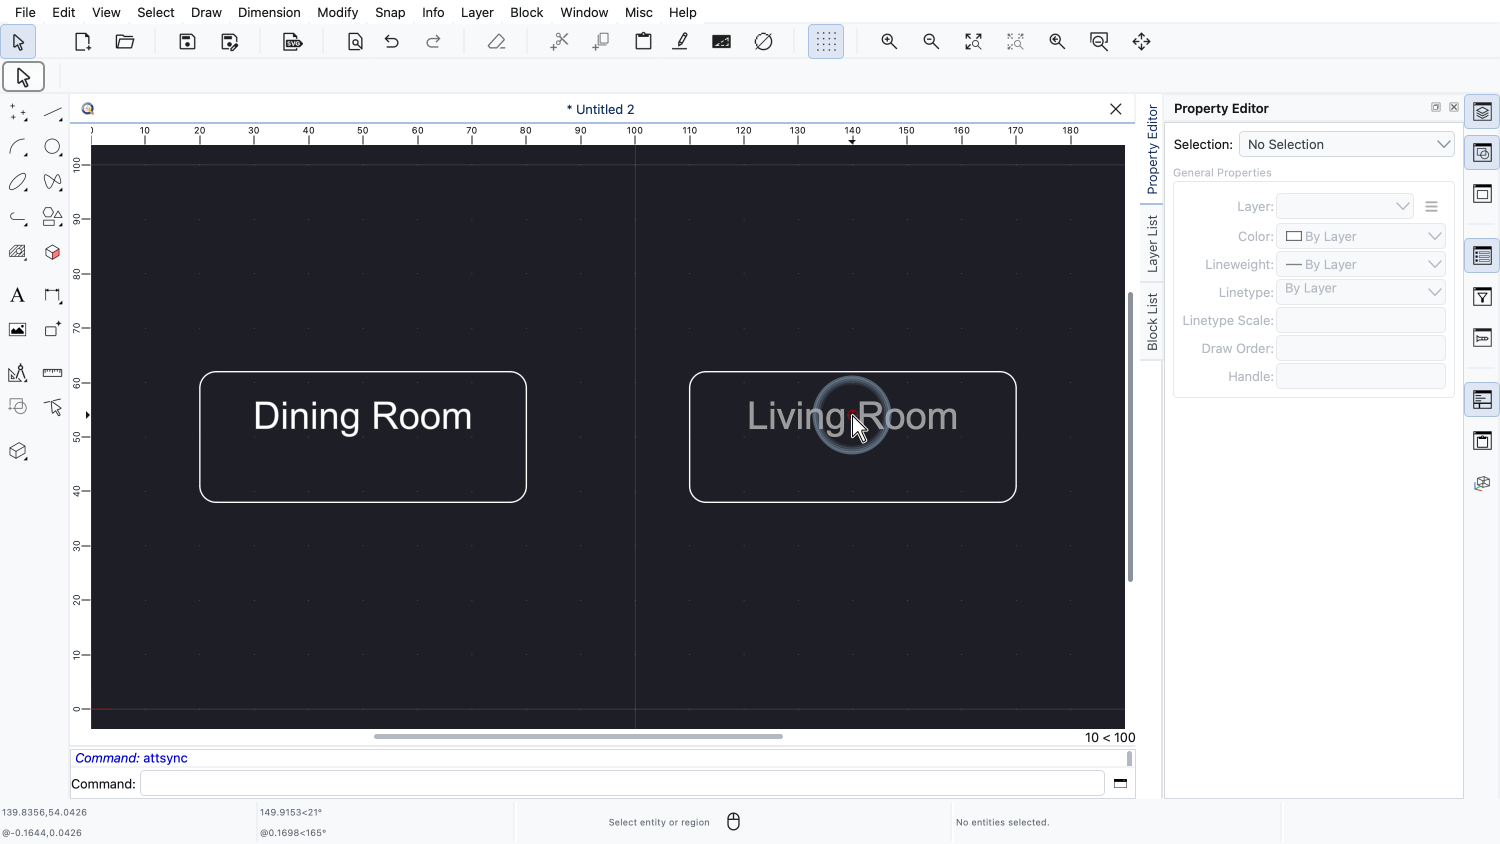
Color, size and position of the attribute have been reset to those of the attribute definition in the block.
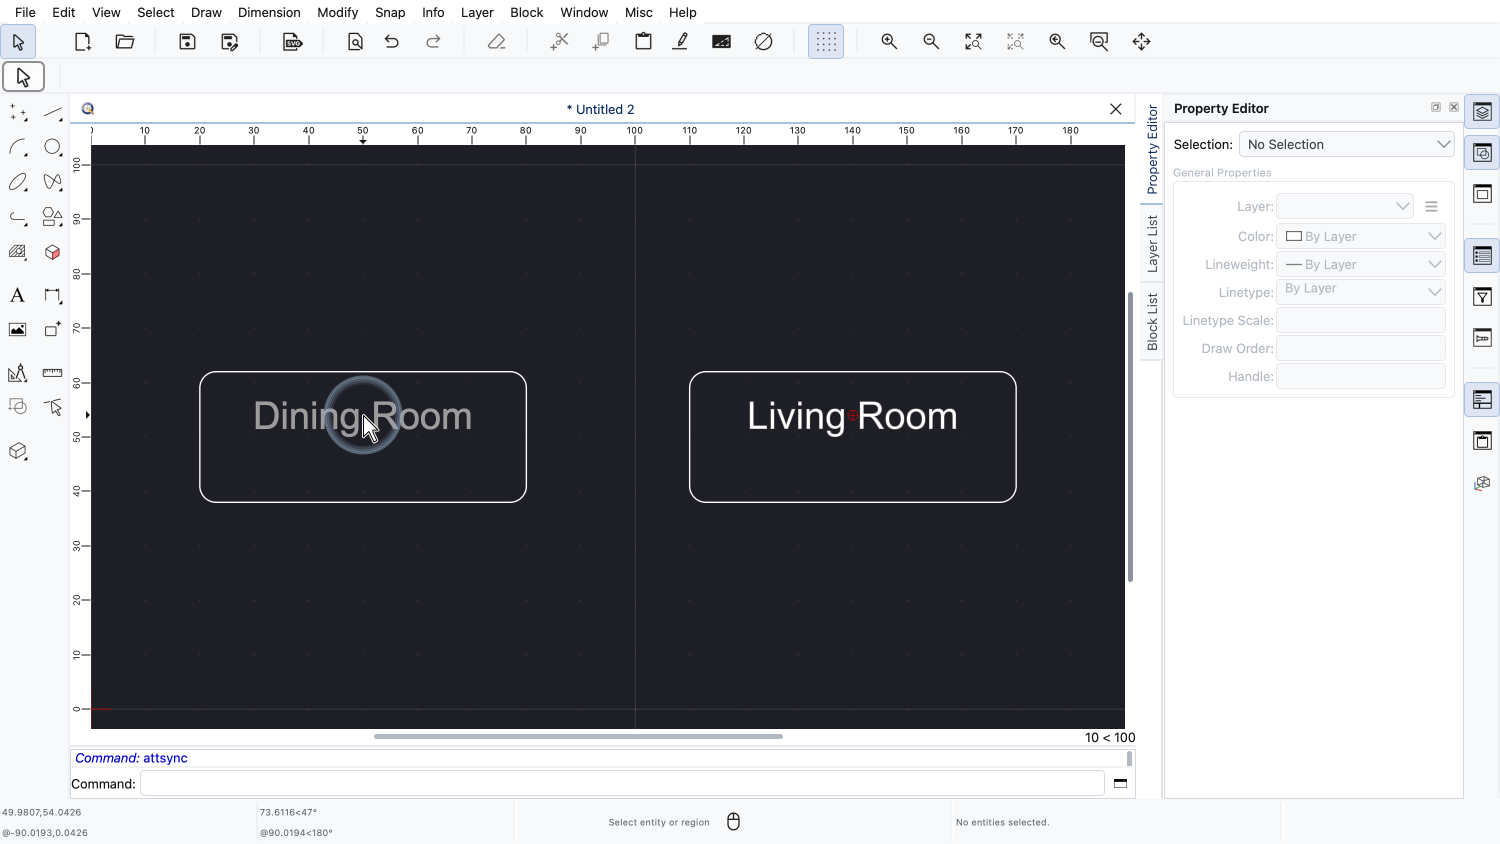
The values of the attributes, such as the names of our rooms, are always kept.
Synchronizing is also needed when we change the attribute definitions of a block which is already used in our drawing.
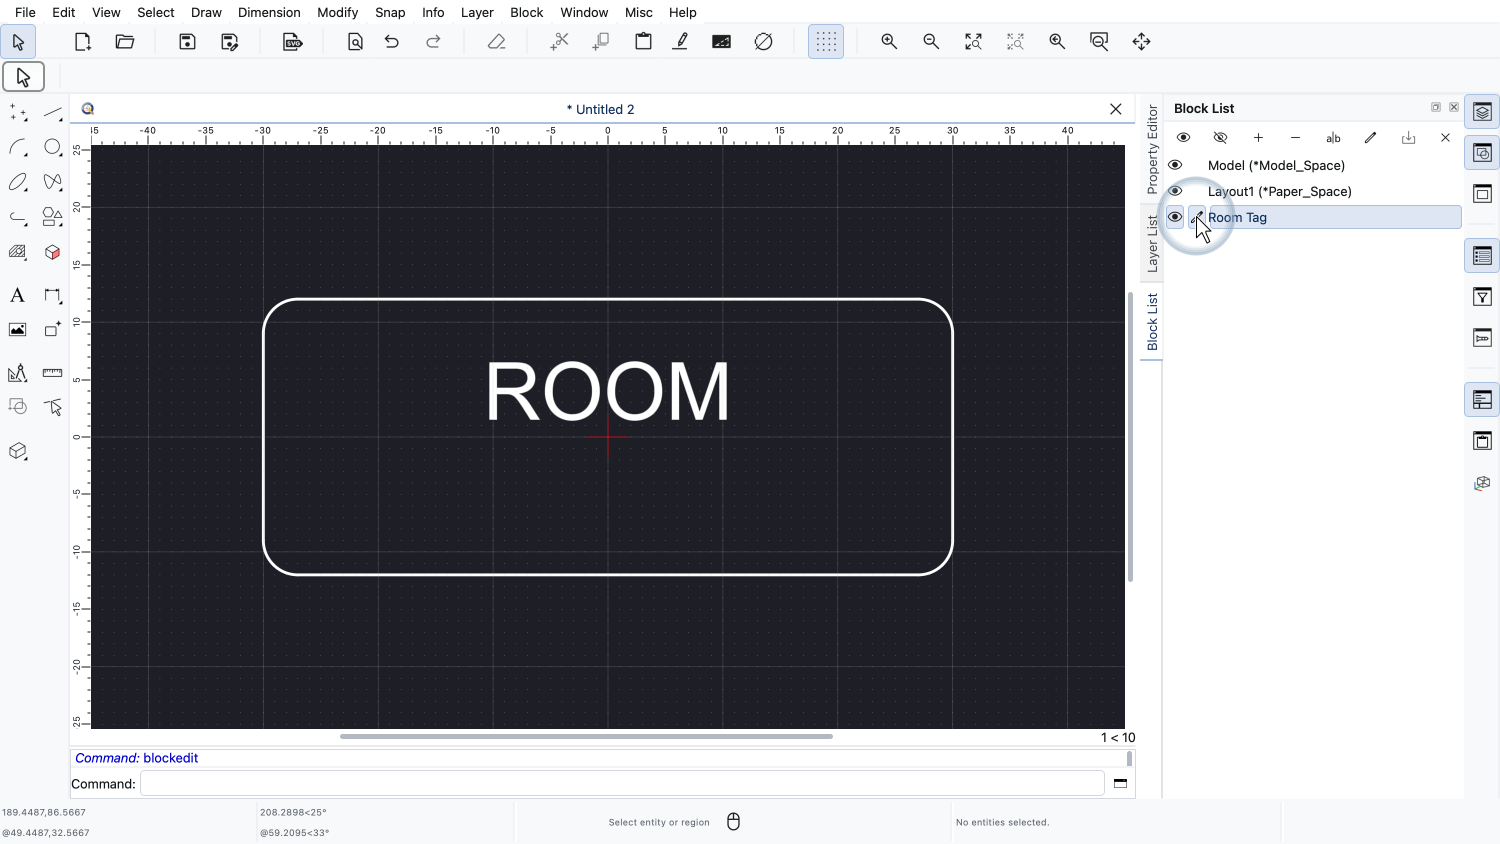
We edit our block again to add a second attribute for the area of the room.
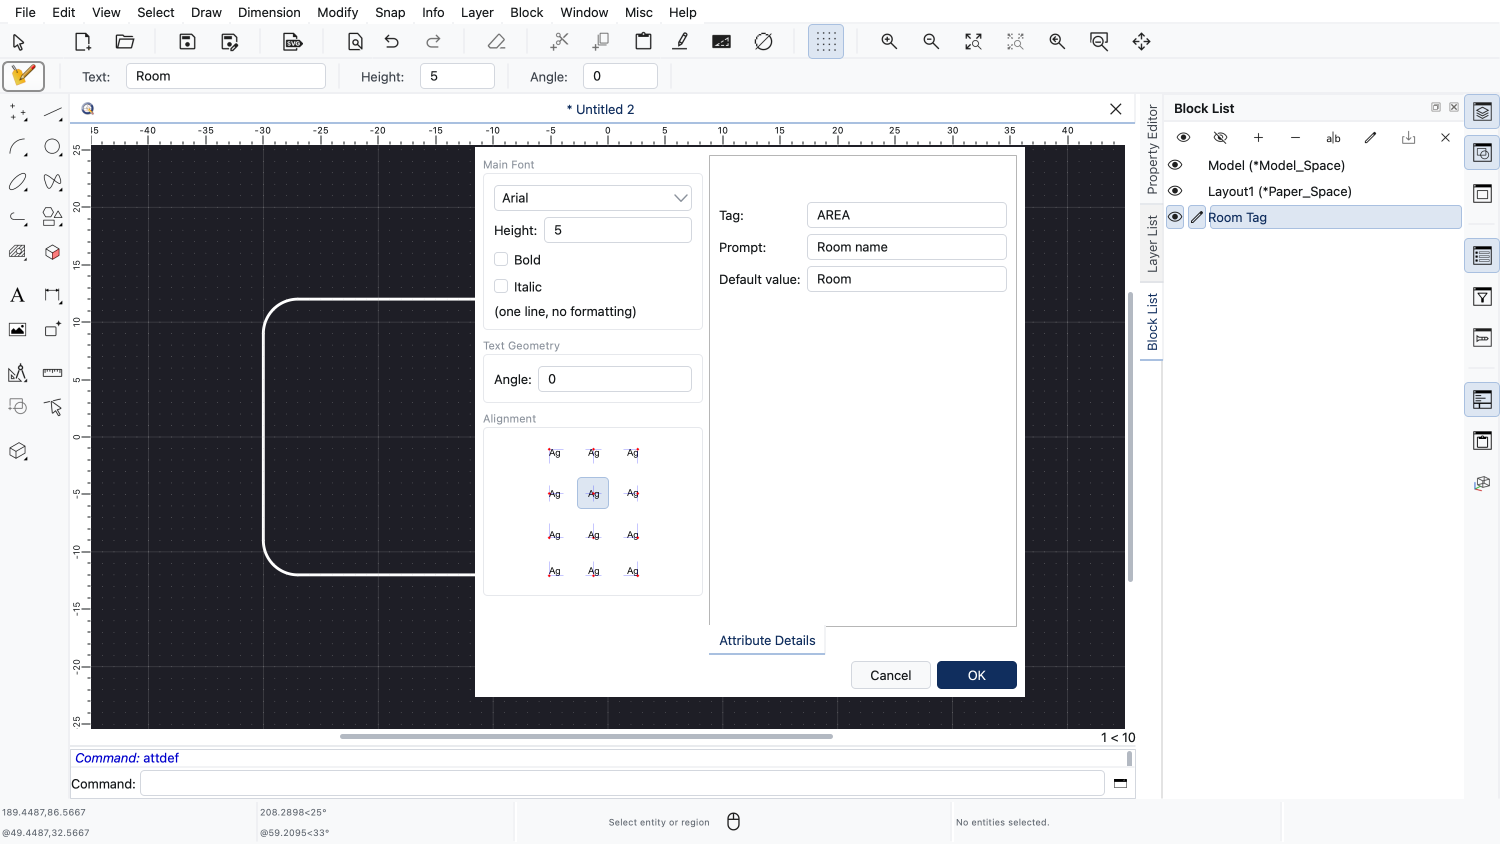
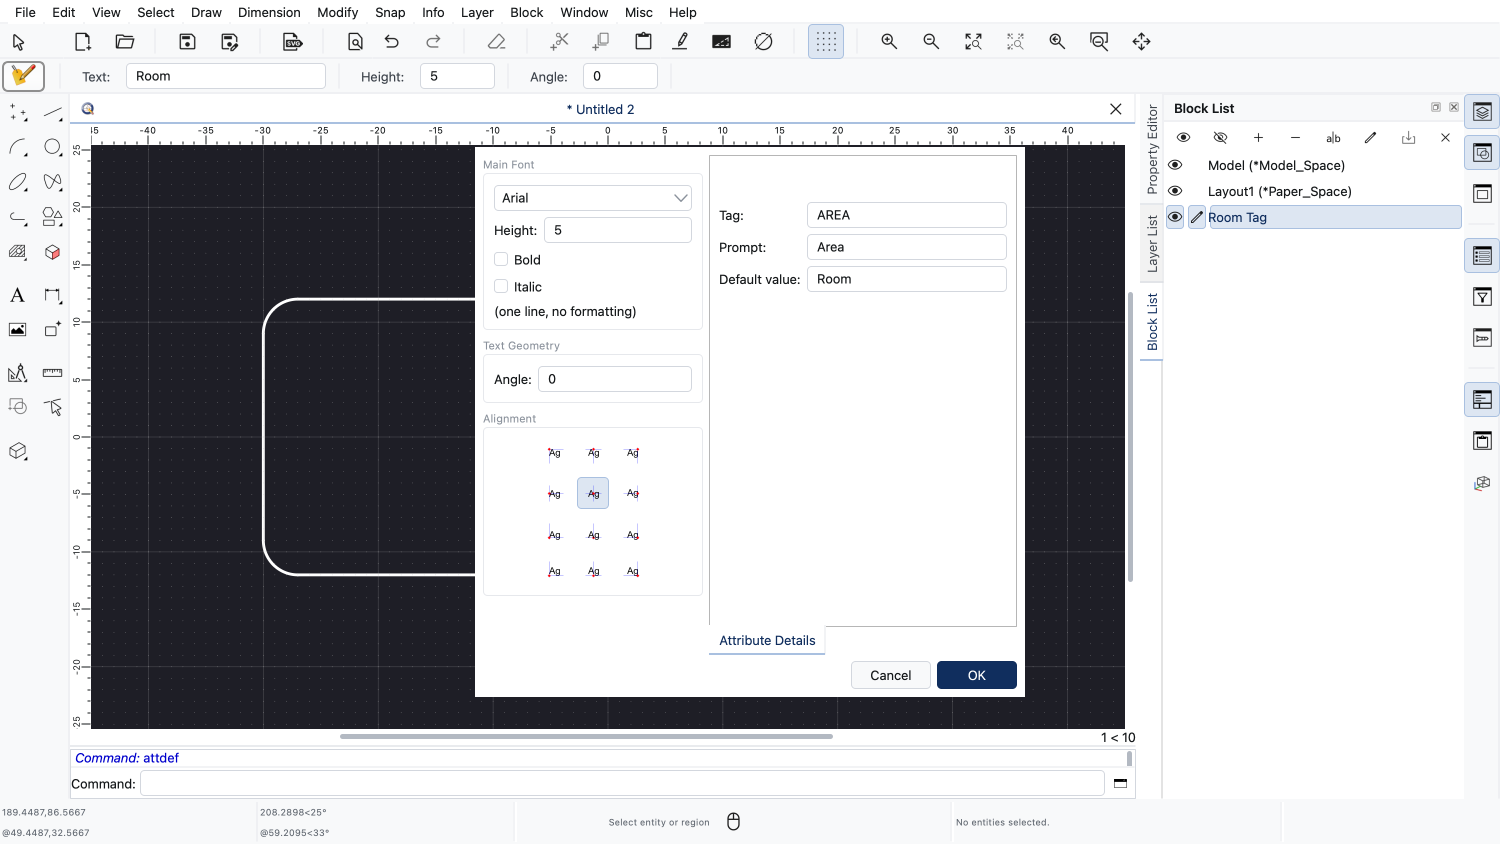
We use the tag "AREA" and the prompt "Area".
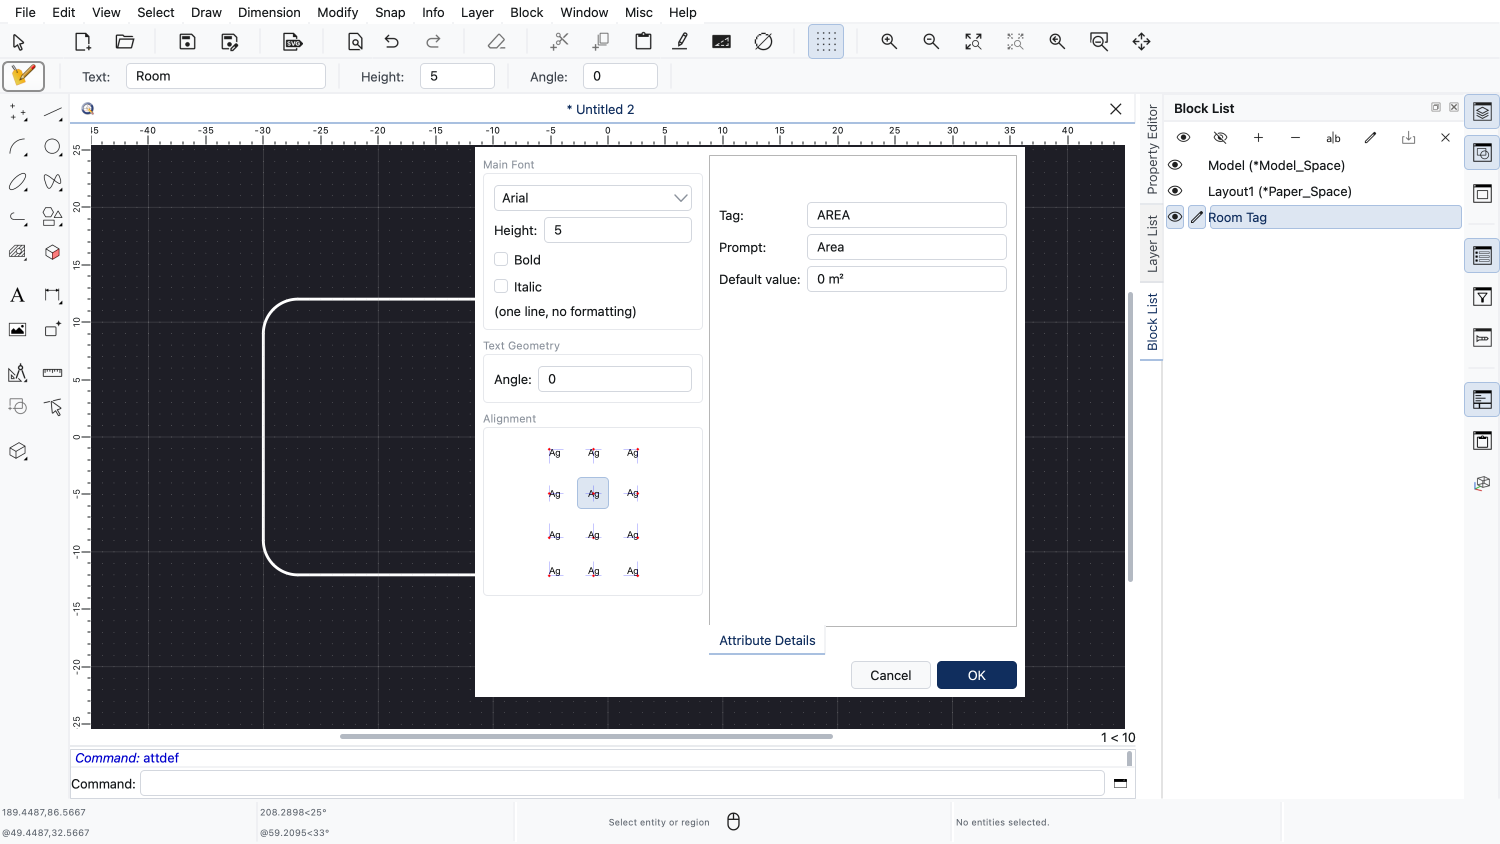
As default value, we enter an area of zero square meters.
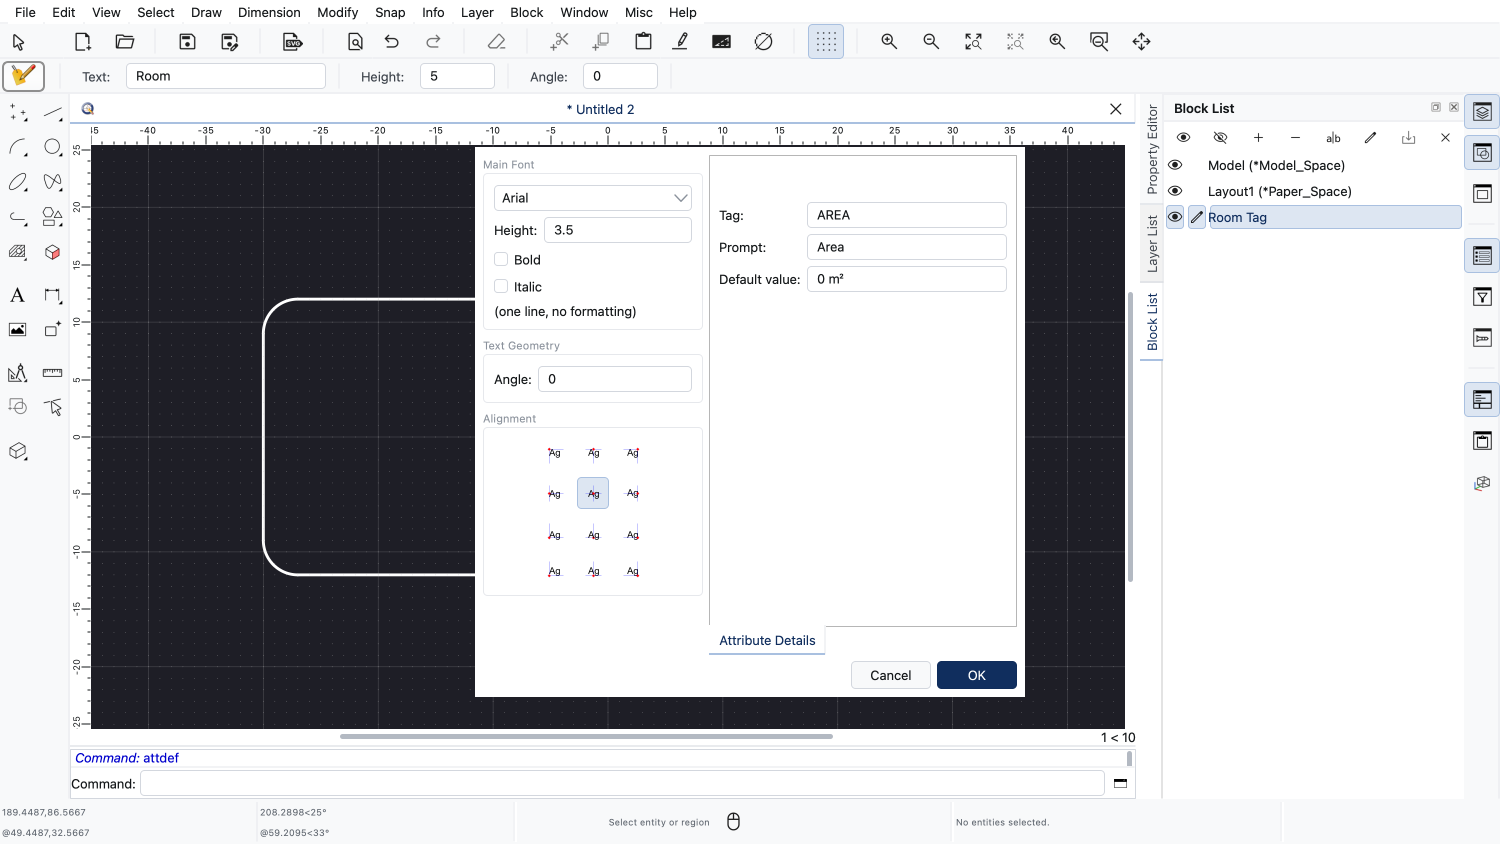
This attribute is displayed a little smaller than the name of the room.
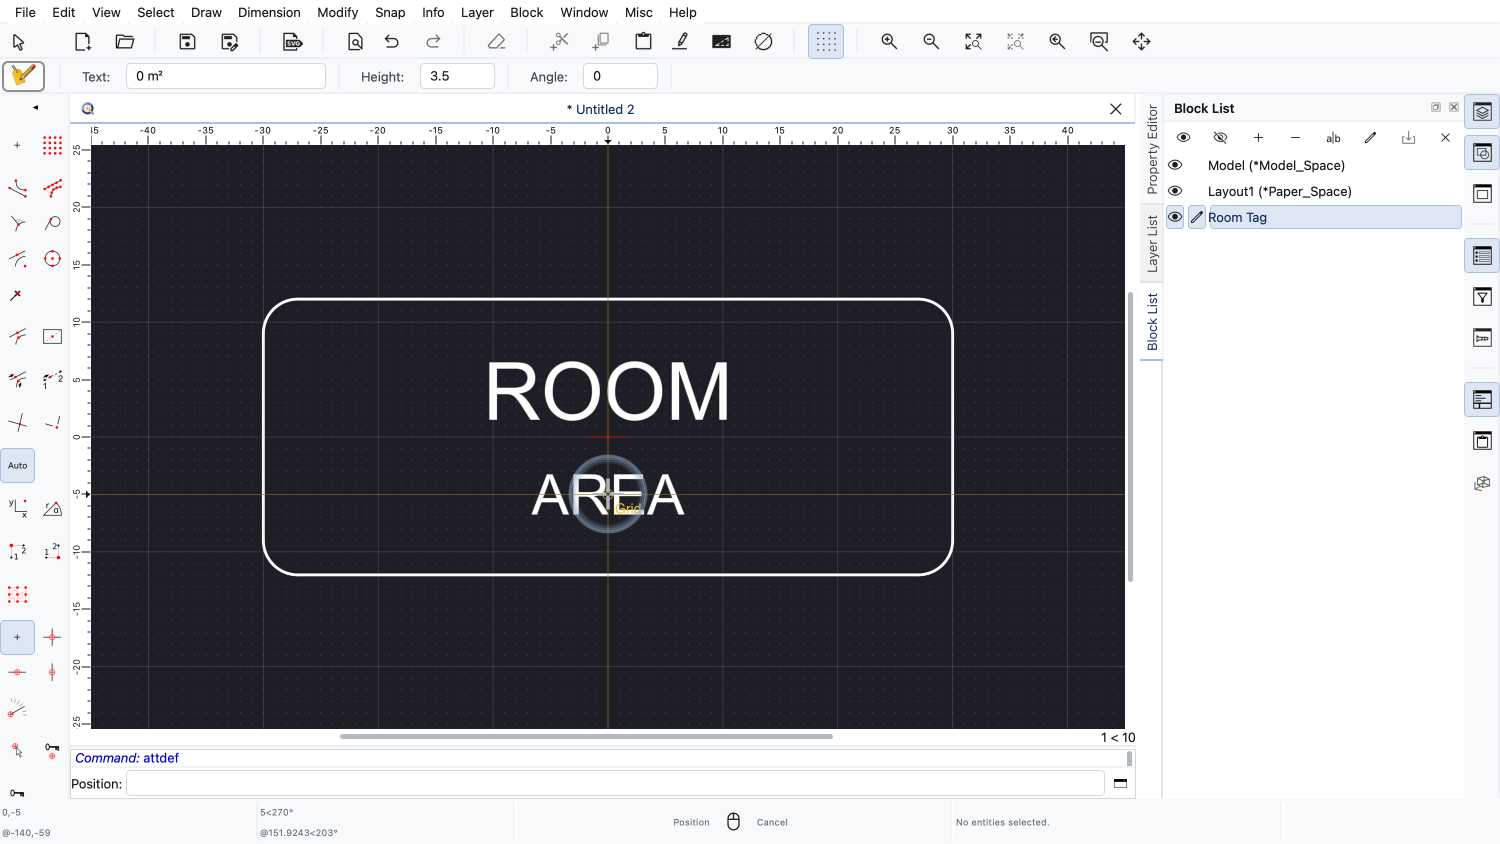
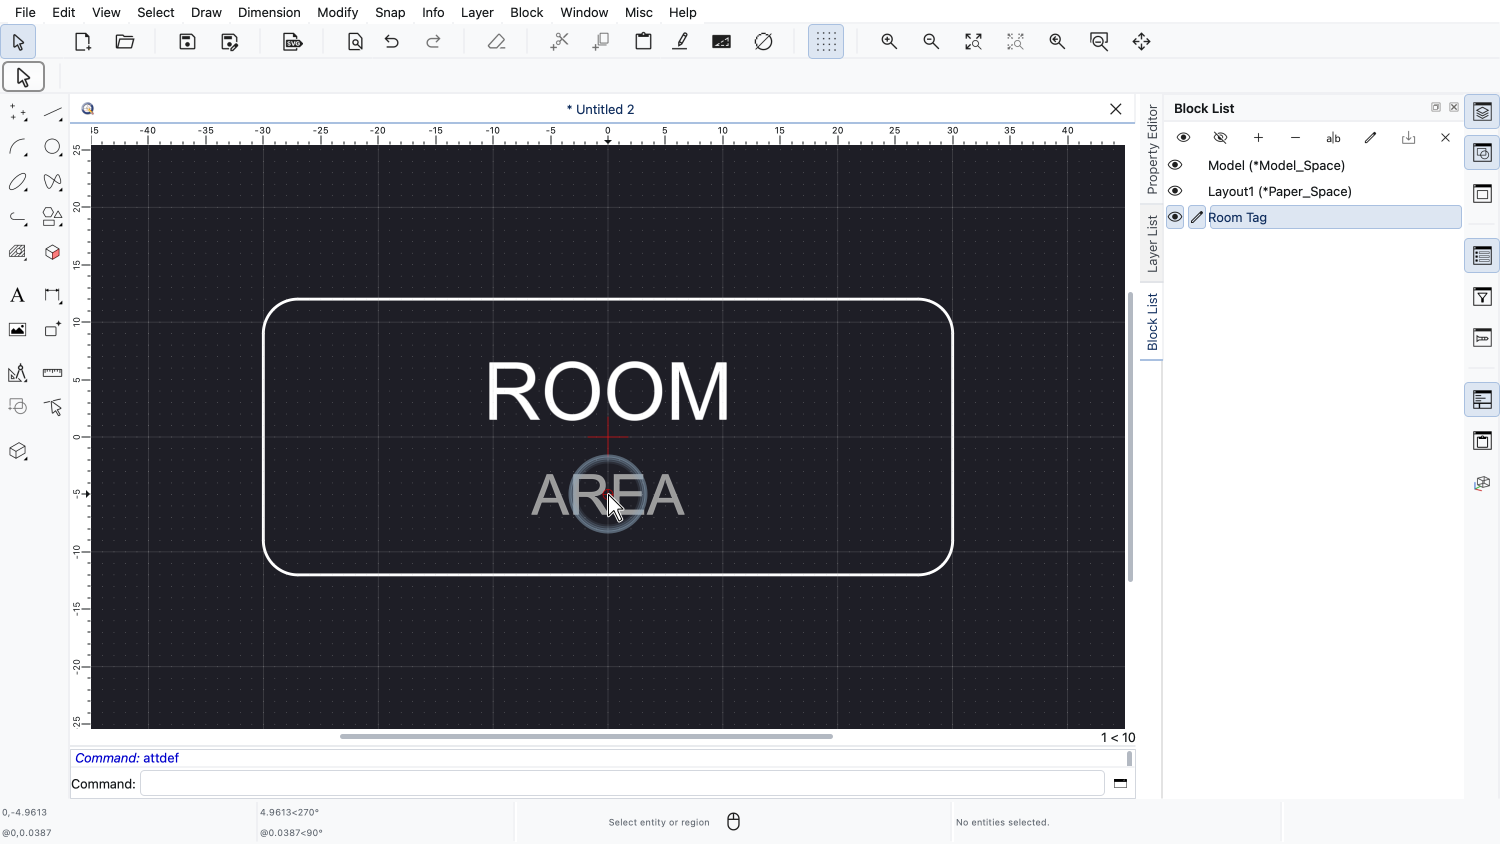
We place the new attribute definition below the first one.
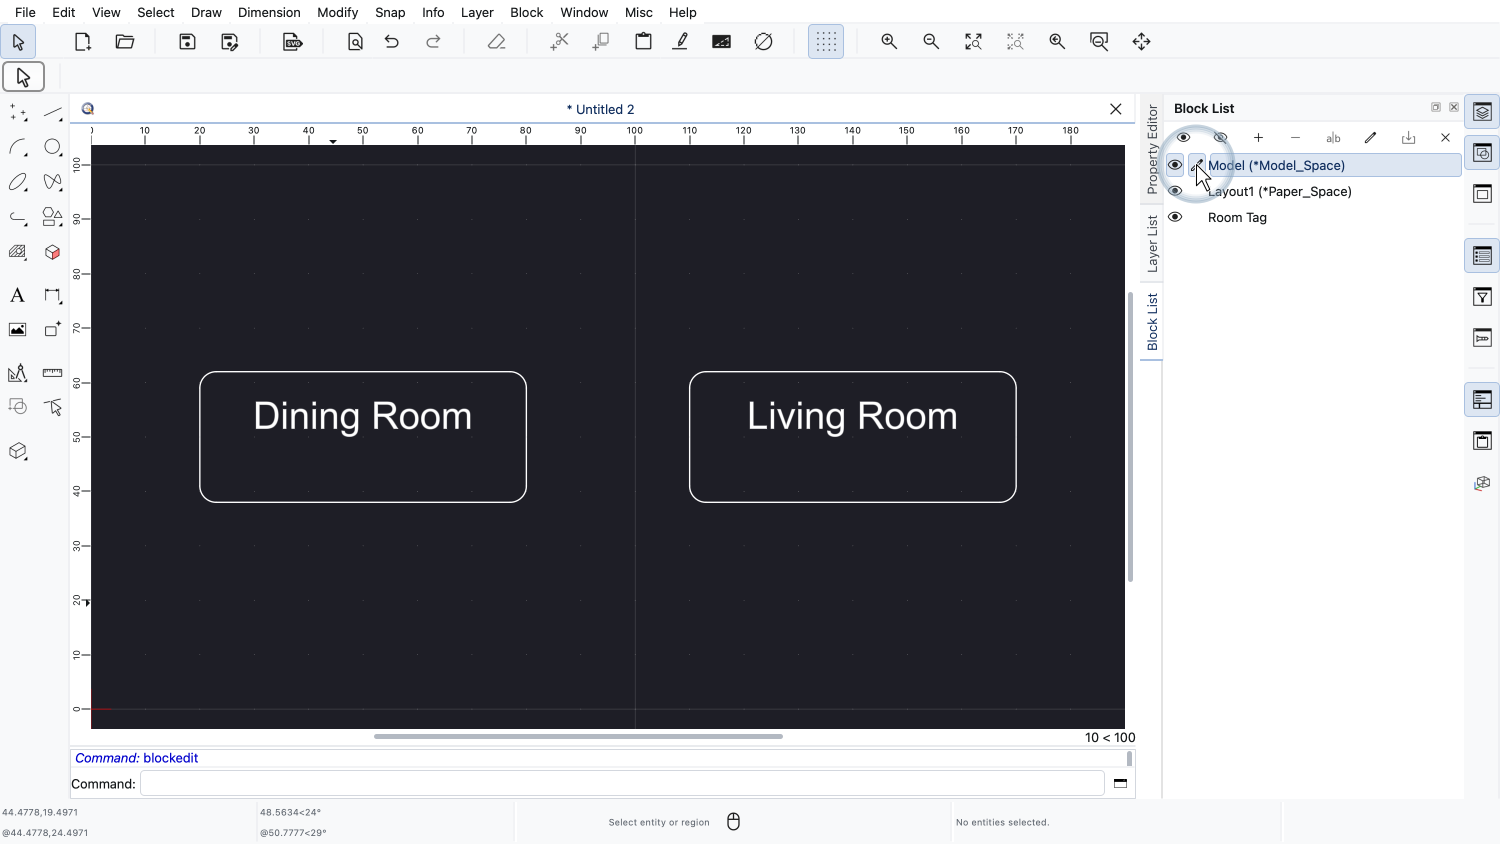
We return to the main drawing.
Our block references are displayed without the new attribute.
This is because attributes are only created from their attribute definitions when a block is inserted.
Block references that already exist are not changed automatically.
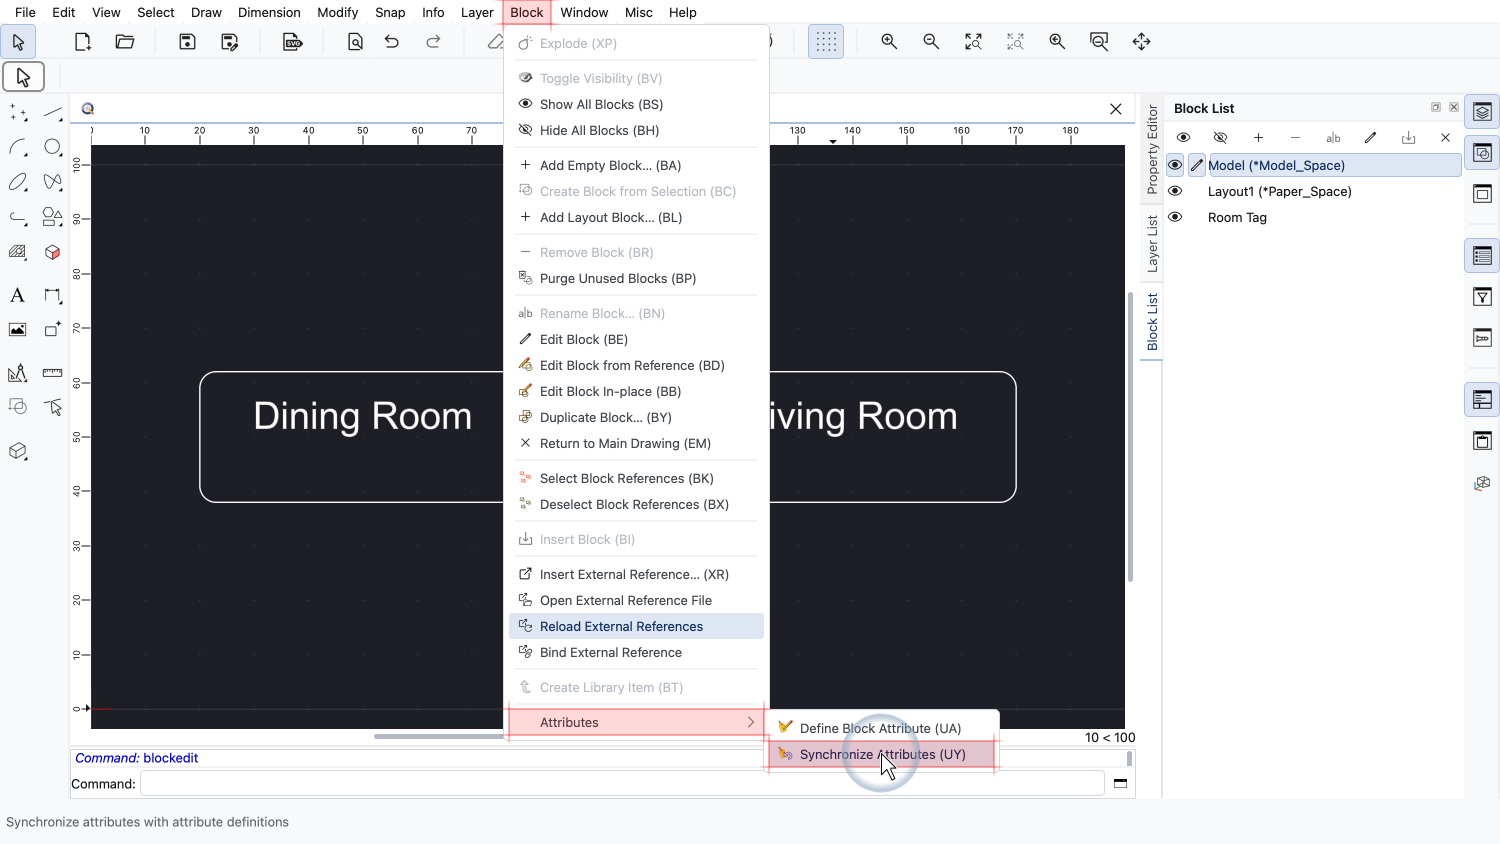
To add the new attribute to our existing block references, we synchronize the attributes again.
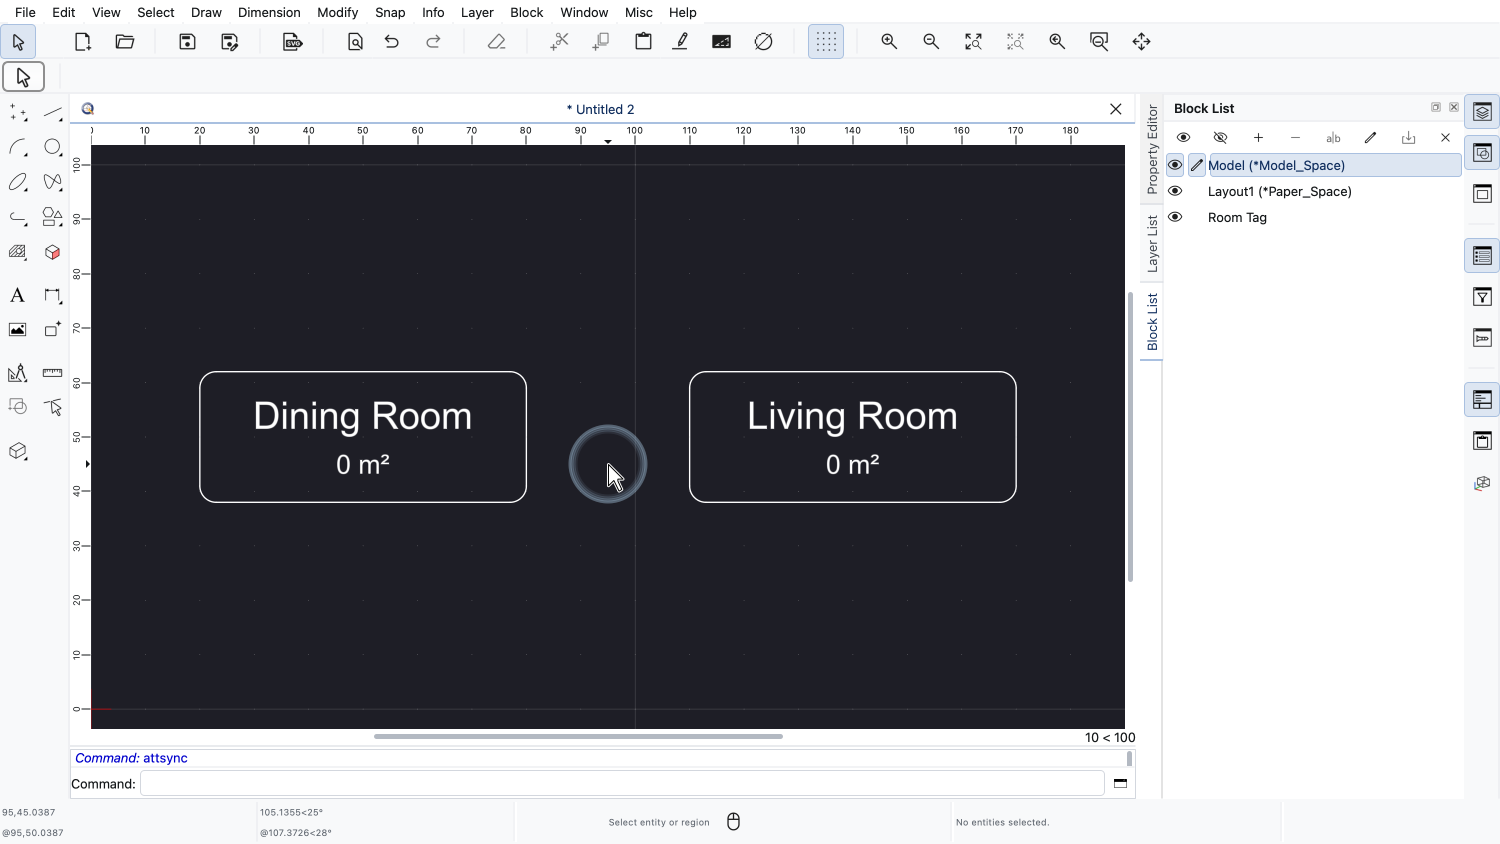
The area attribute now shows up in both room tags, with its default value.
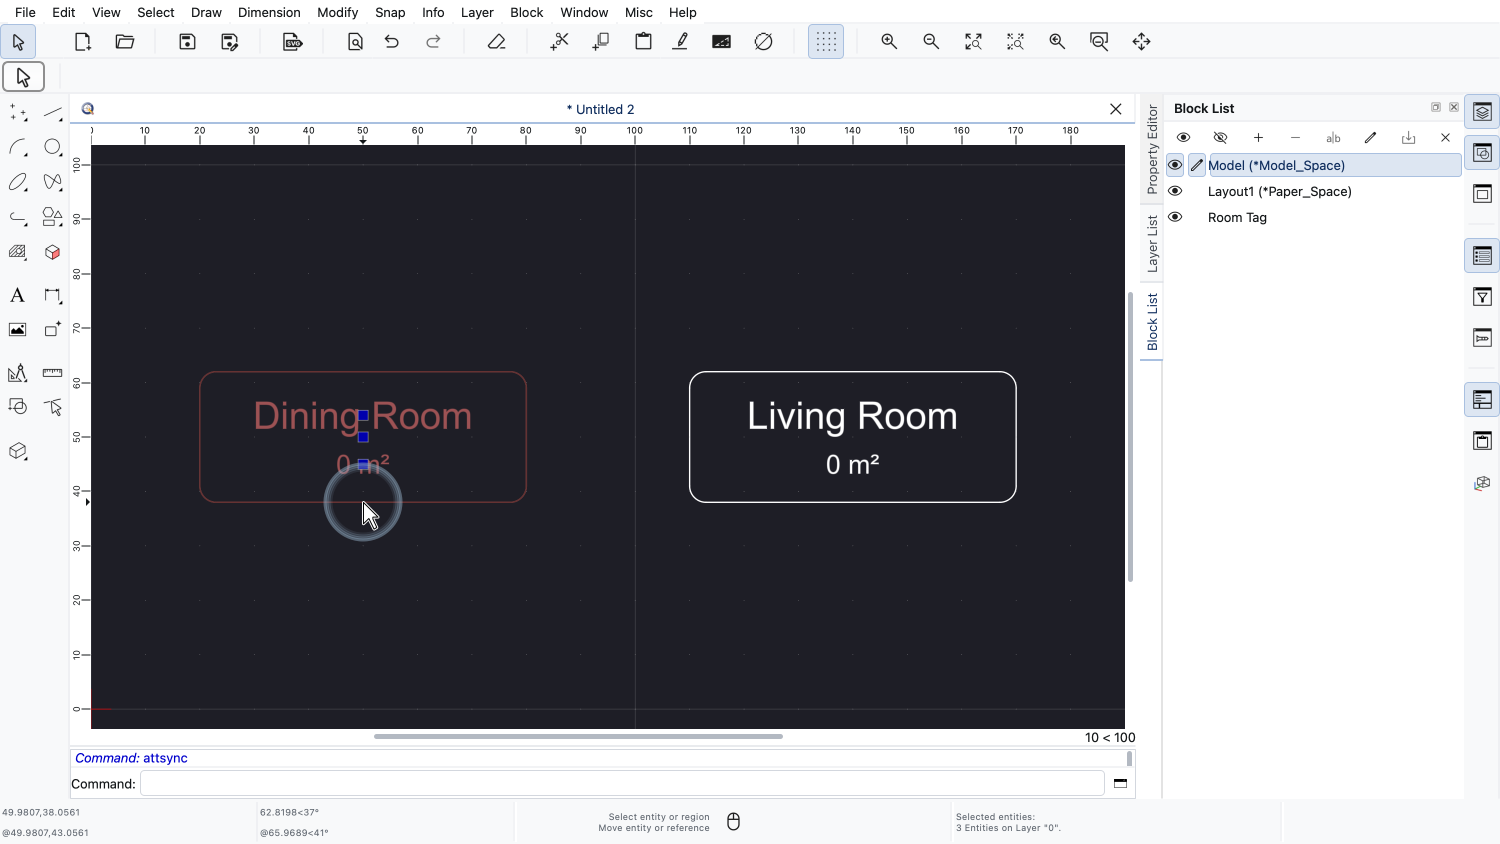
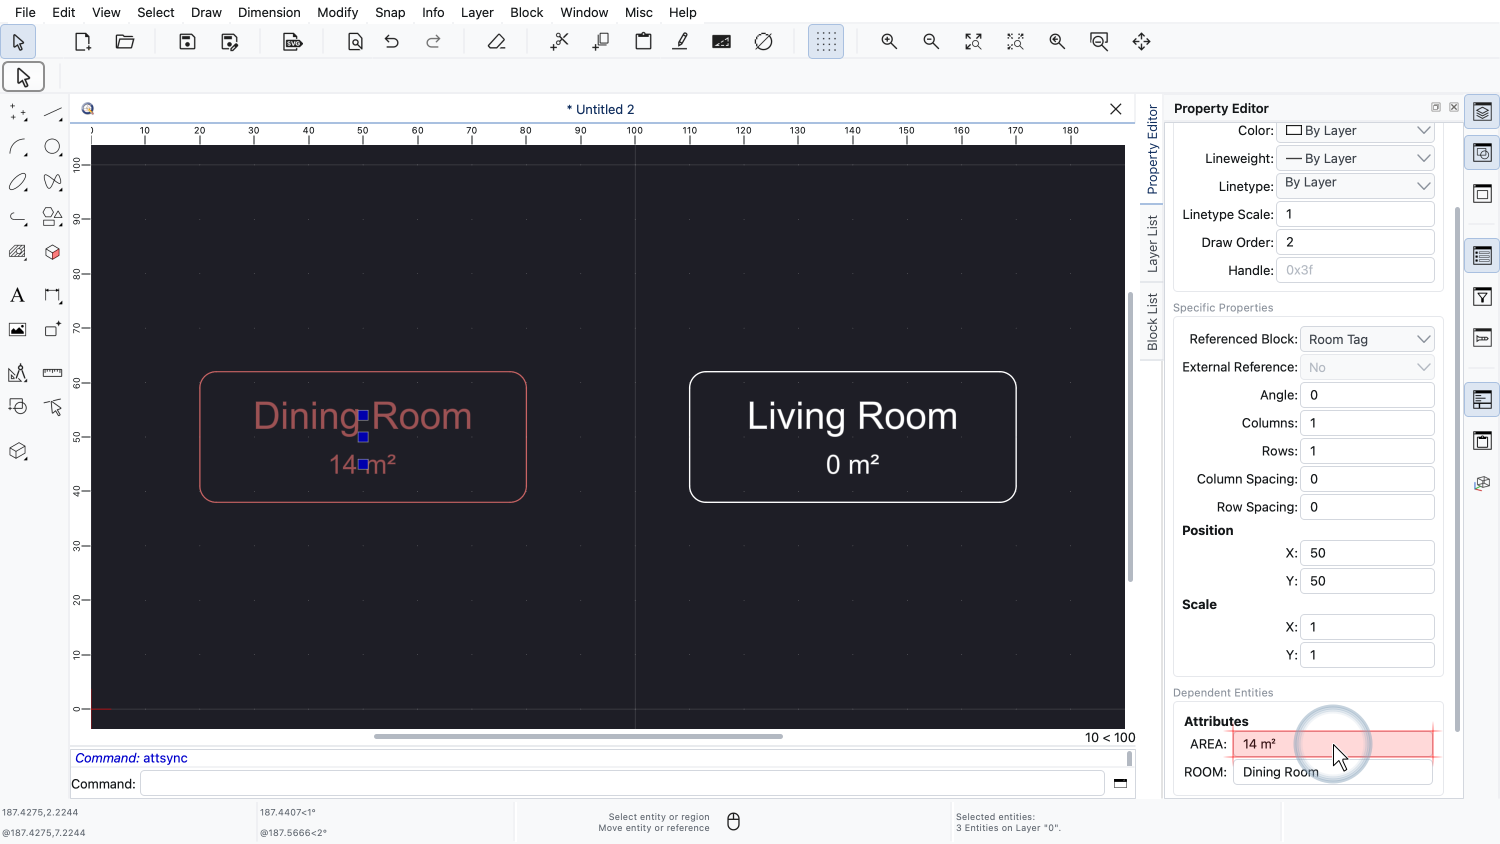
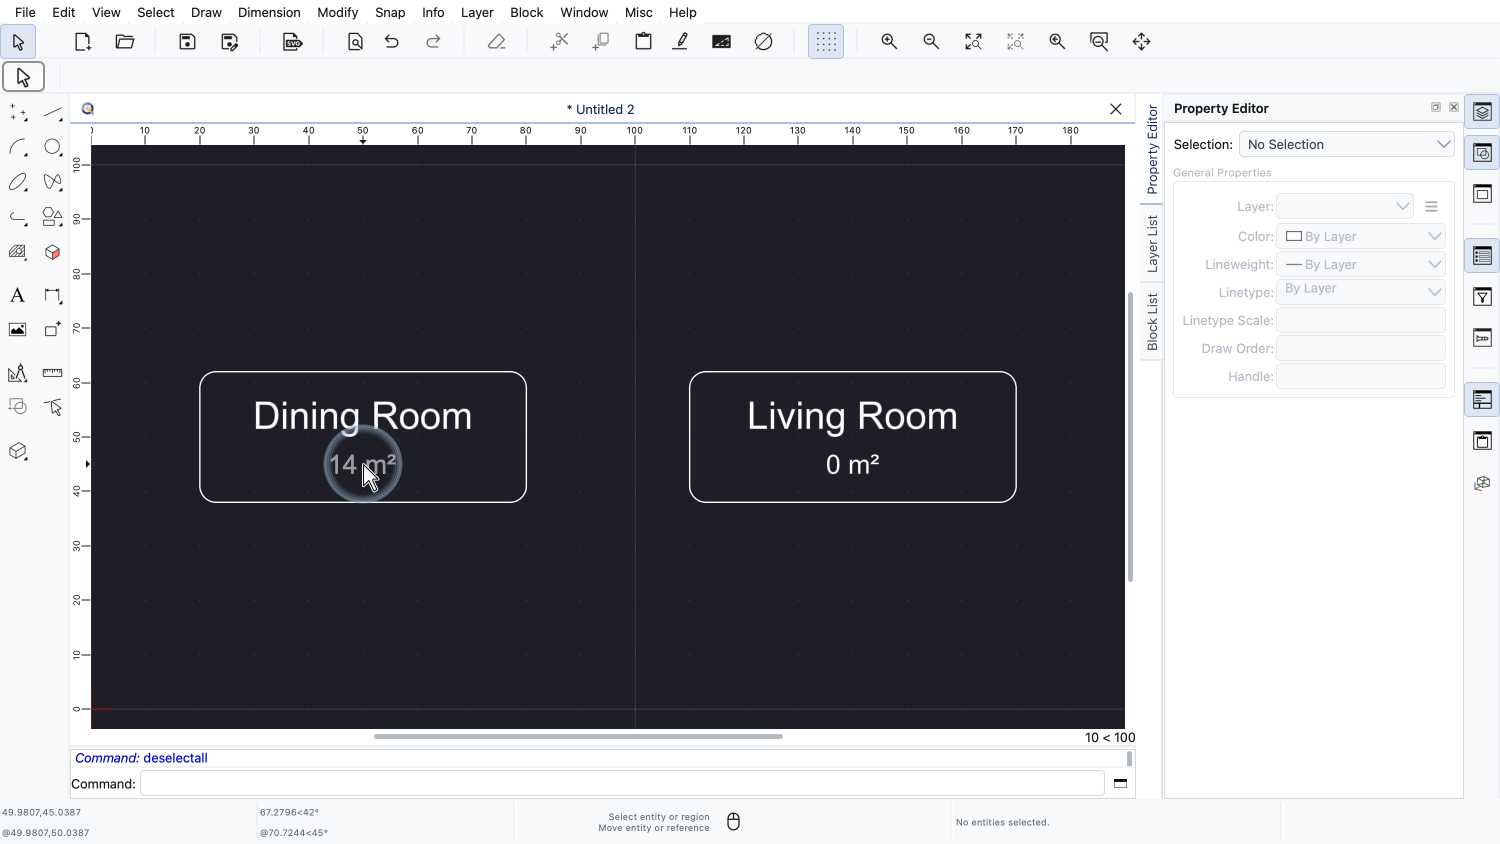
We can now enter the area of each room in the property editor.
You should now know how to define block attributes, how to enter and change their values and how to synchronize them with their attribute definitions.
Block attributes are ideal for title blocks, part numbers, room tags and any other block that needs to display different information in every block reference.
Be sure to practice this with your own QCAD installation.
Thank you for watching this QCAD tutorial.