

2.12 Boolean Operations
In this QCAD tutorial, we learn how to work with boolean operations.
Boolean operations combine closed shapes into new shapes.
Example drawing:BooleanShapes.dxf
A boolean operation takes two or more closed shapes and calculates a new shape from the areas they cover.
QCAD Professional offers four such operations: union, intersection, difference and exclusive or, usually written as XOR.
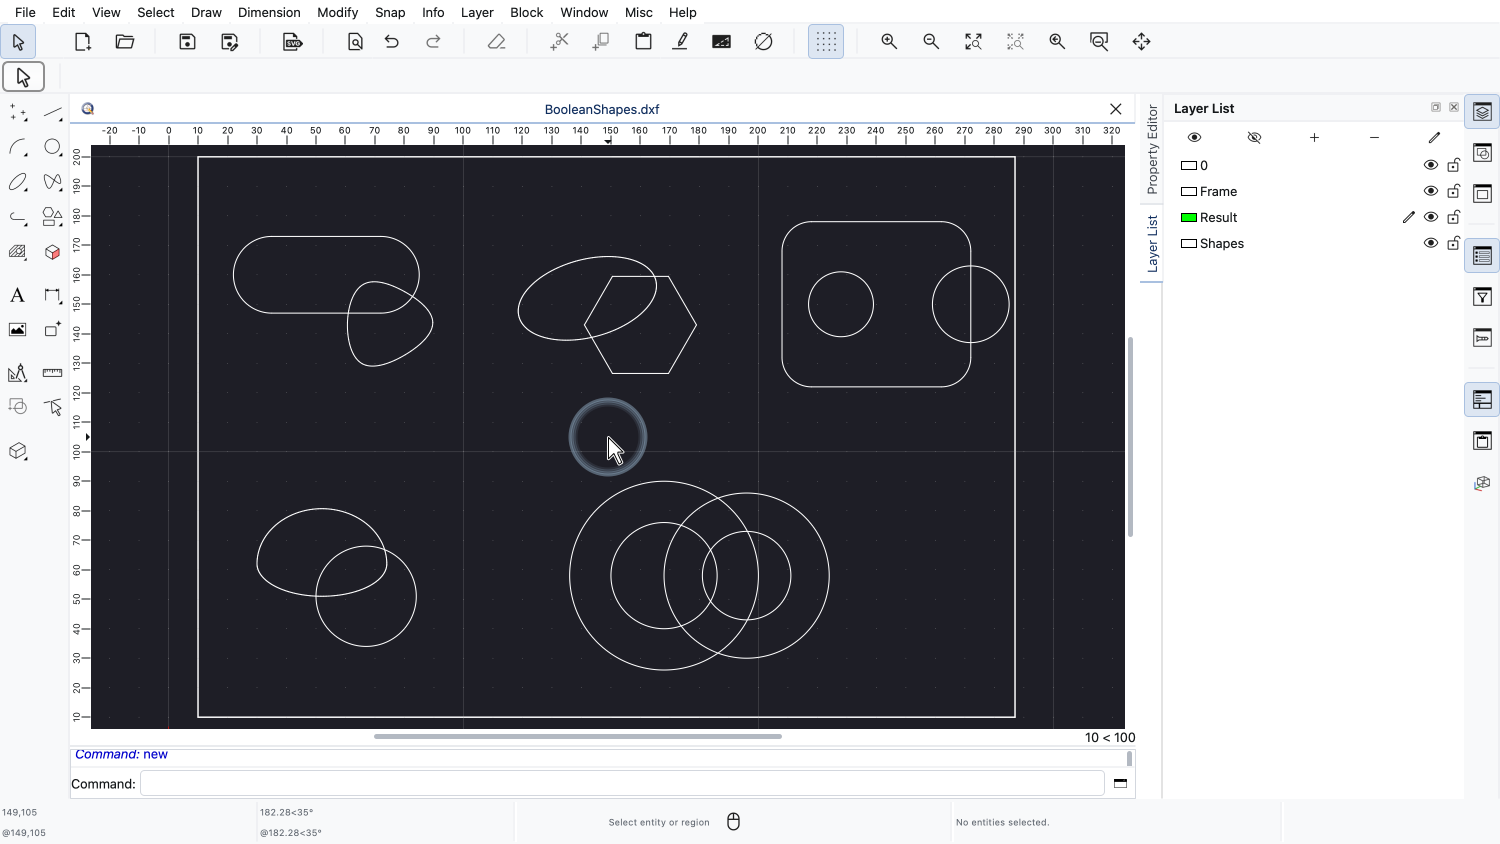
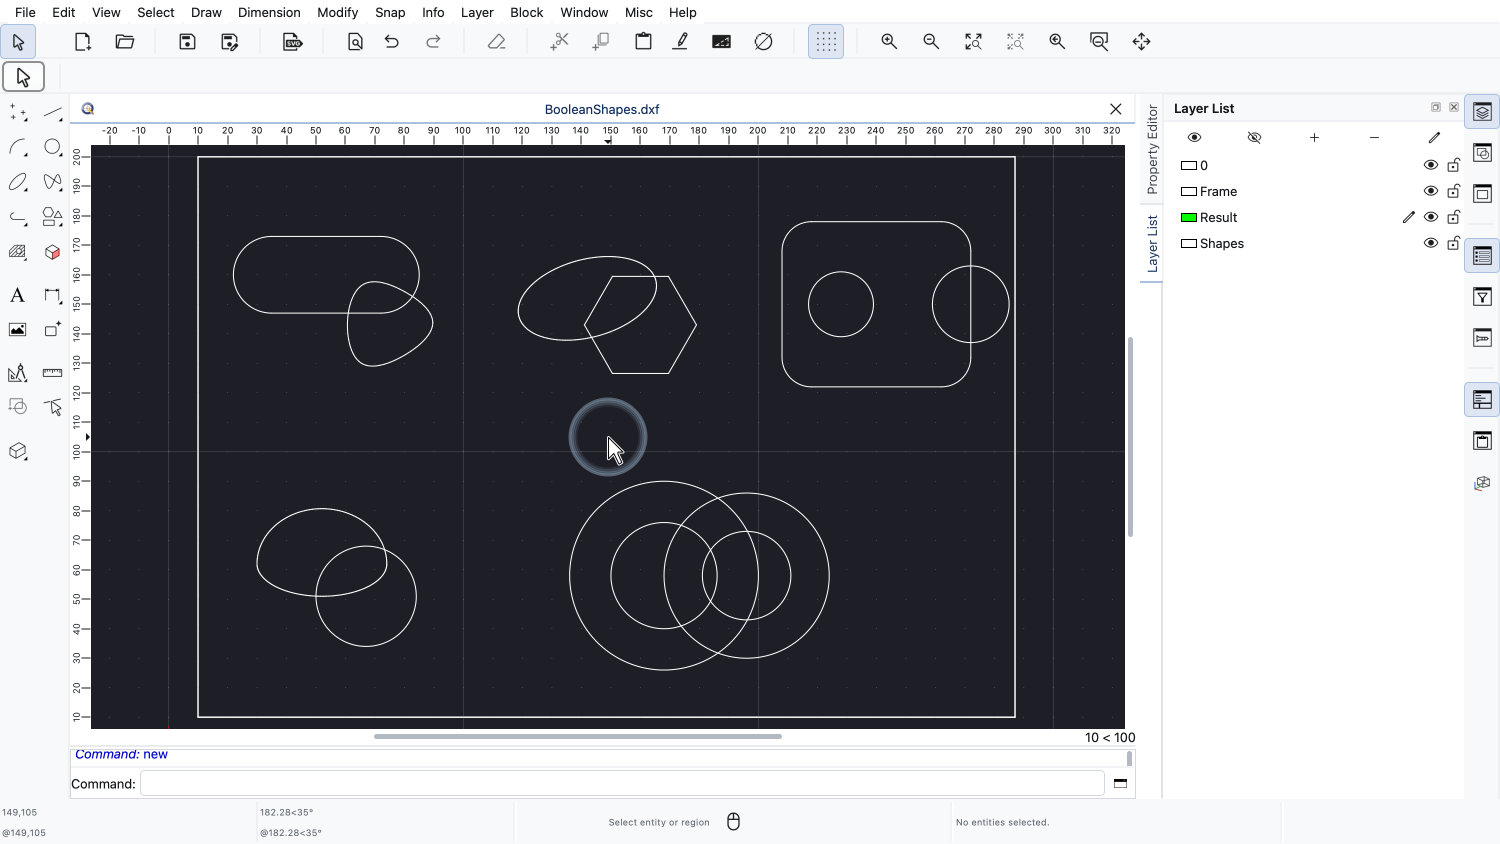
This example drawing contains five groups of overlapping shapes, one for each part of this tutorial.
All these shapes are closed contours.
This is the most important requirement for boolean operations: an open contour does not enclose an area, so there is nothing to add or to subtract.
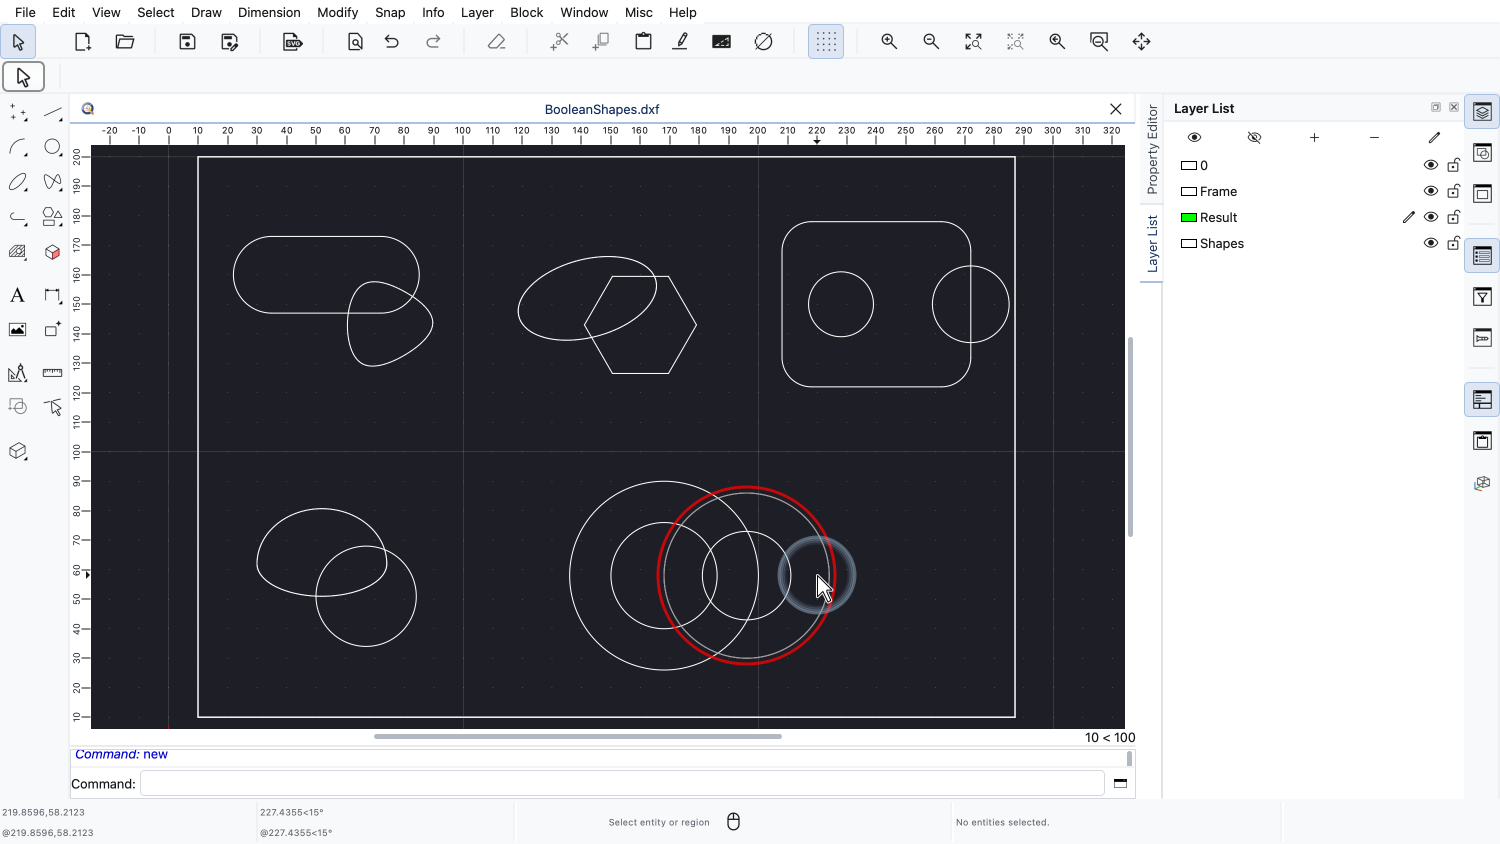
A closed contour can be a single entity, for example a circle, an ellipse, a closed polyline or a closed spline.
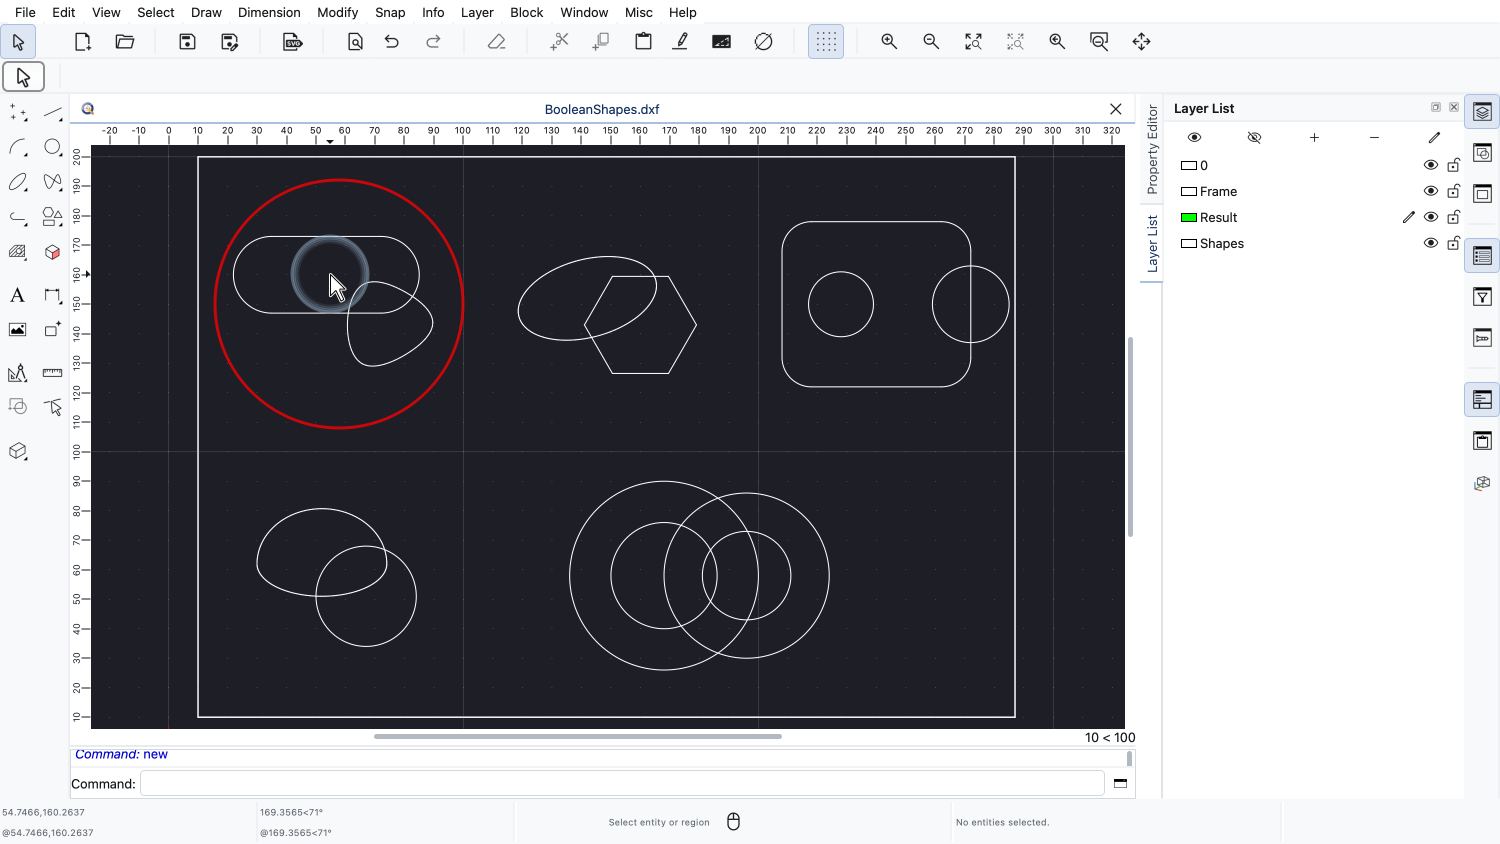
It can also be assembled from many separate entities, such as lines, arcs, splines and ellipse arcs.
QCAD detects such contours automatically, as long as the entities meet end to end.
The result of a boolean operation is always one or more closed polylines, made of lines and arcs.
Splines and ellipses are approximated with arcs in the process.
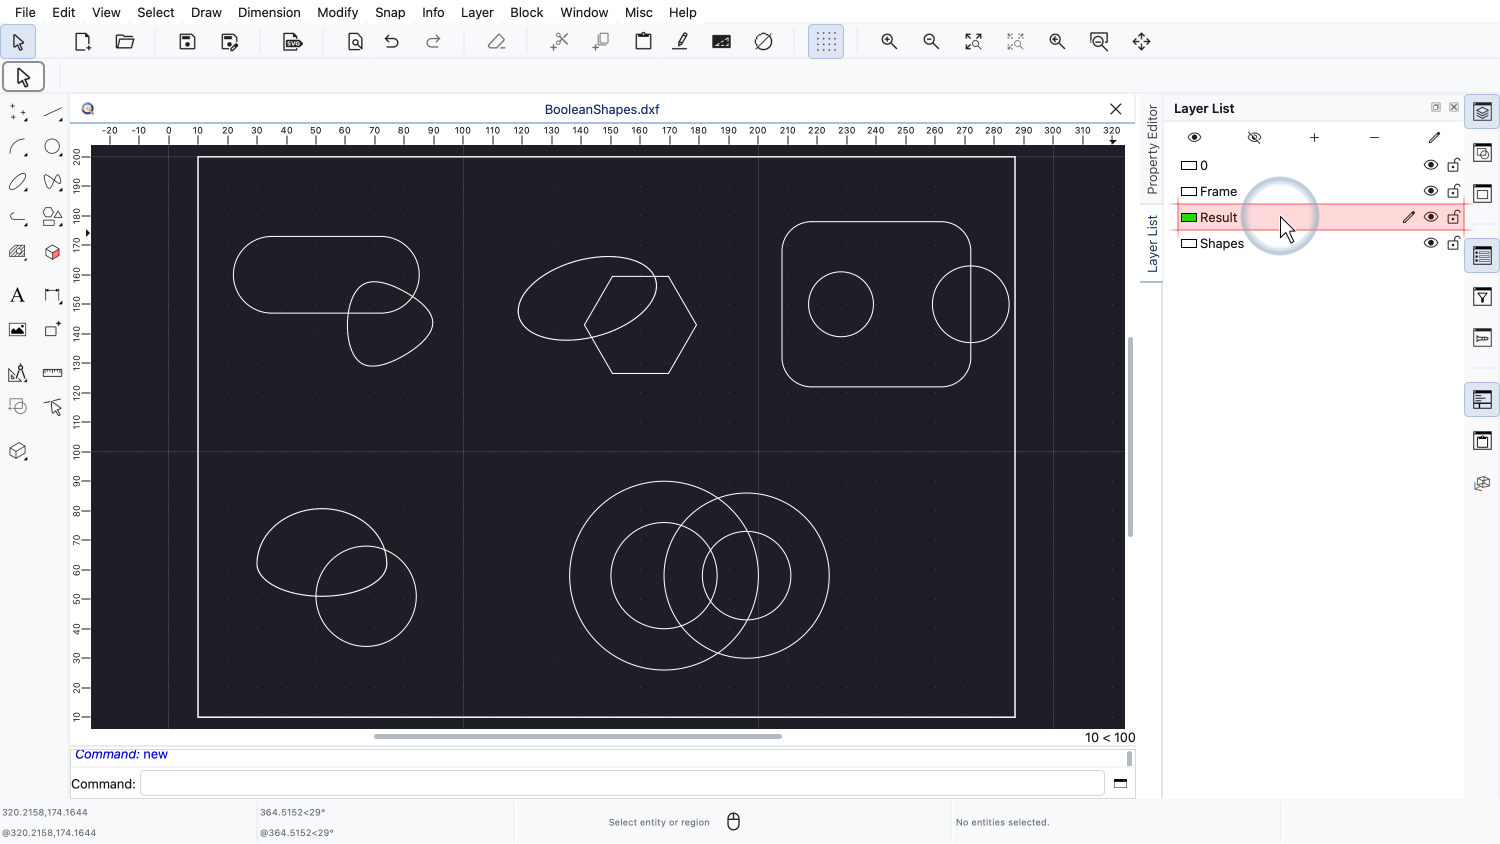
In our drawing, the results will be created on the layer Result, which is the current layer.
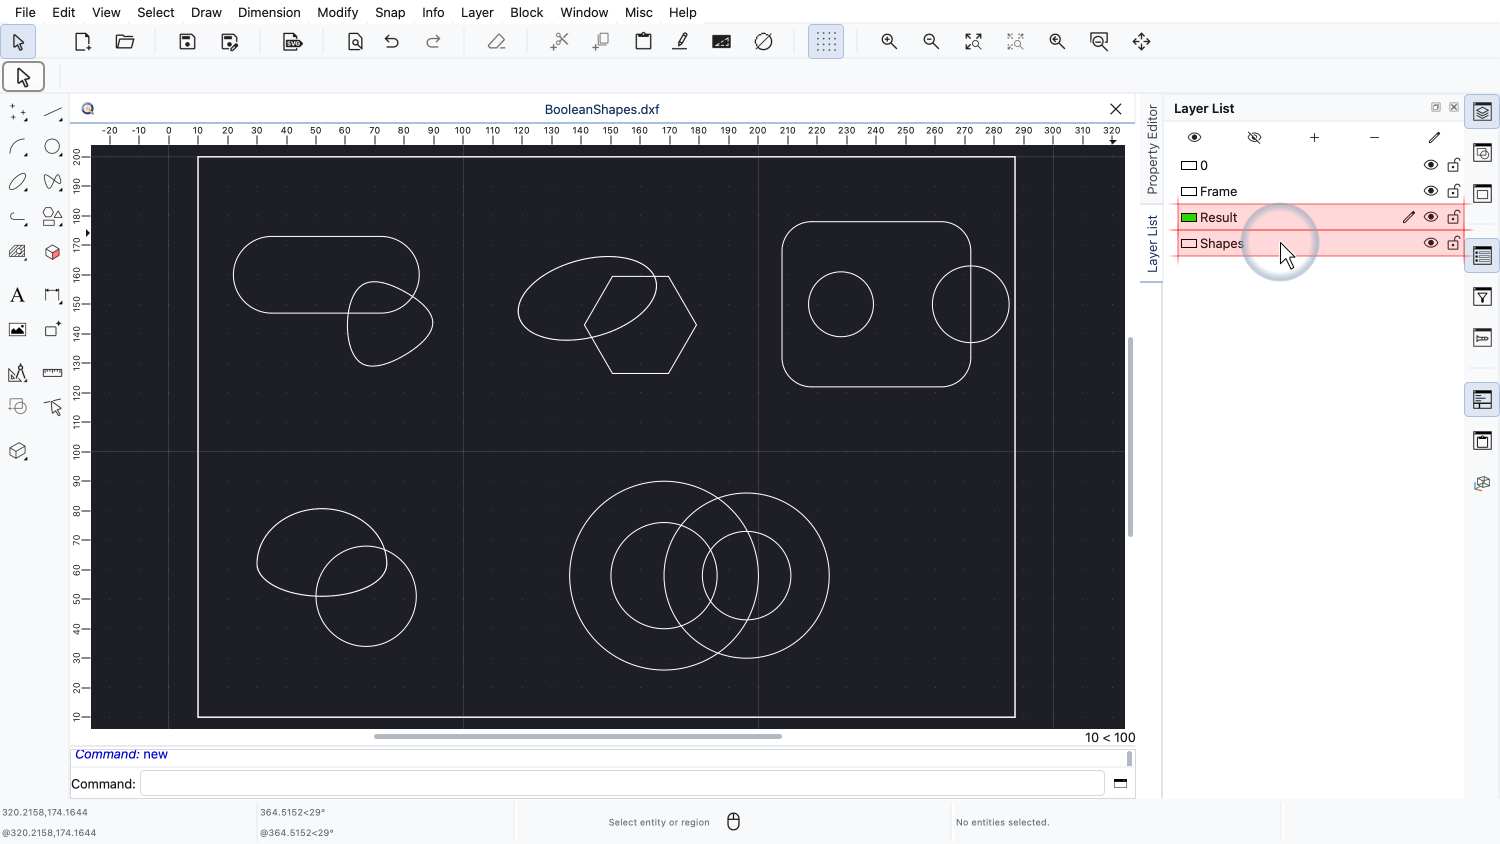
The shapes we start with are on the layer Shapes.
This way, we can always tell the original shapes and the results apart.
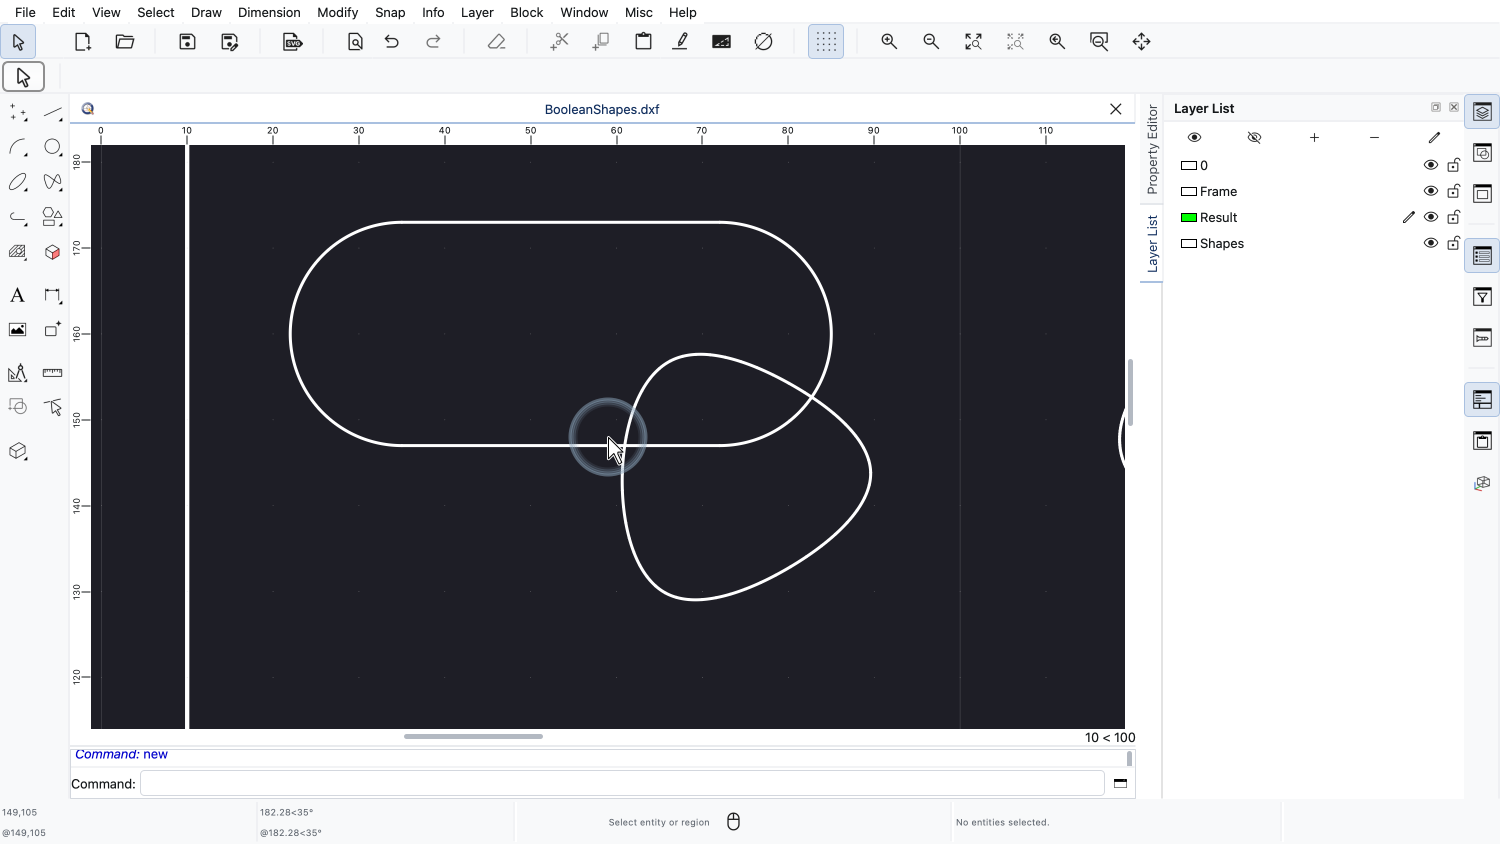
We start with the union of two shapes.
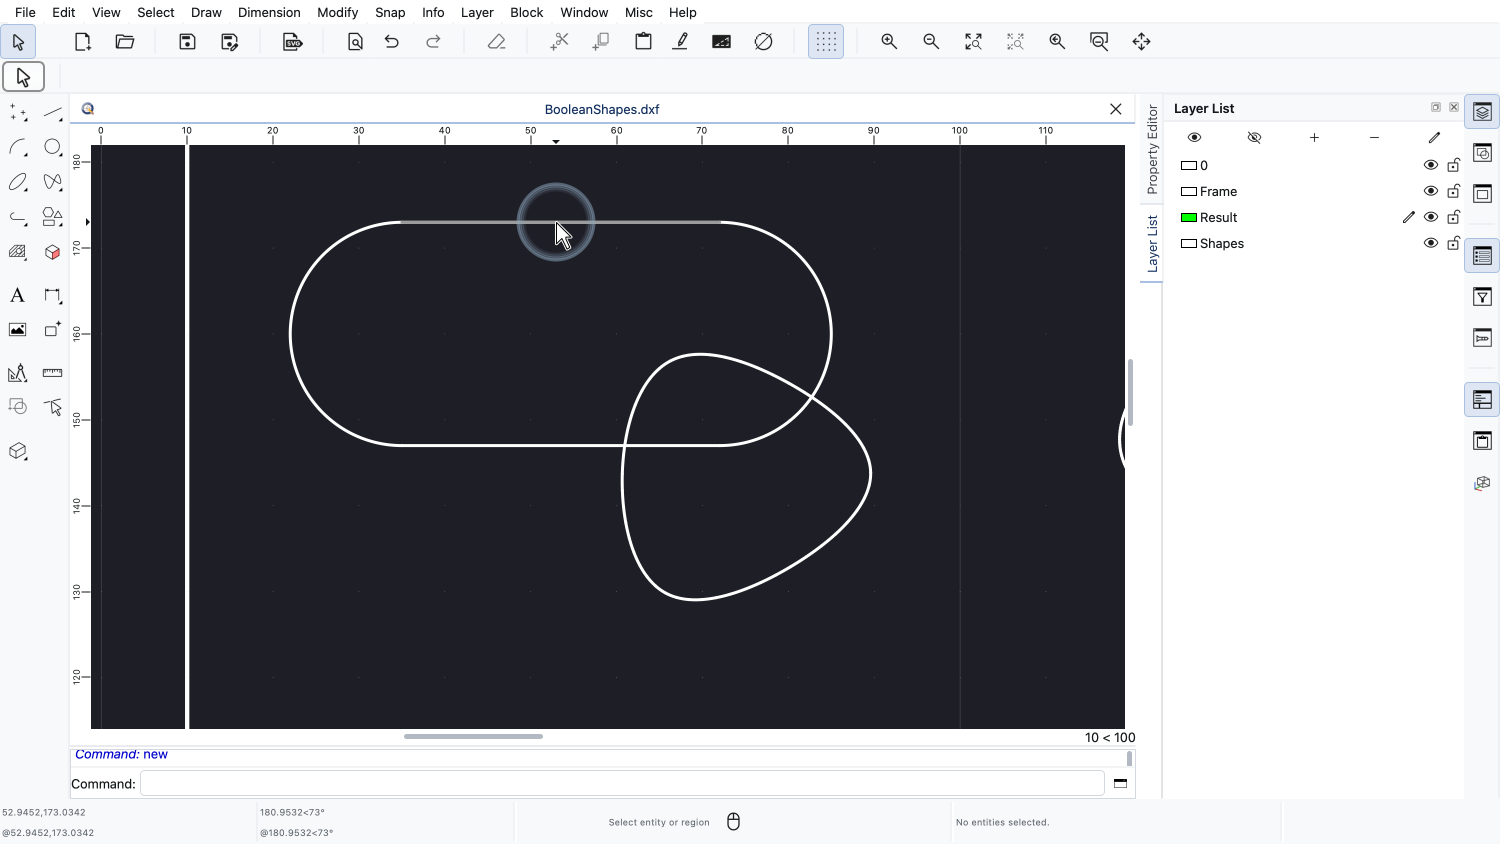
The shape at the top is a slot, drawn with two lines and two arcs.
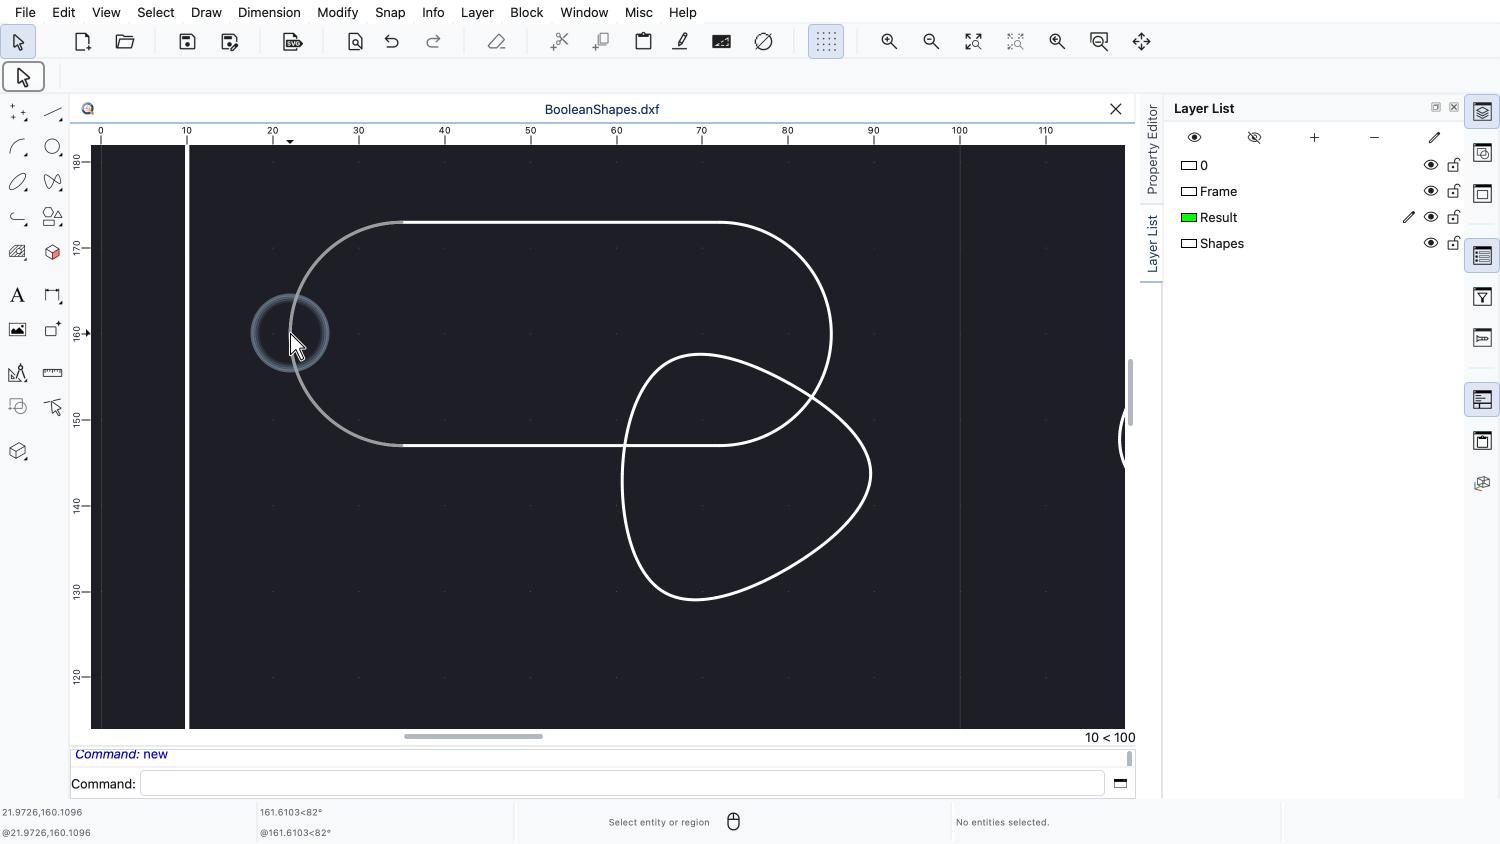
These are four separate entities that together form one closed contour.
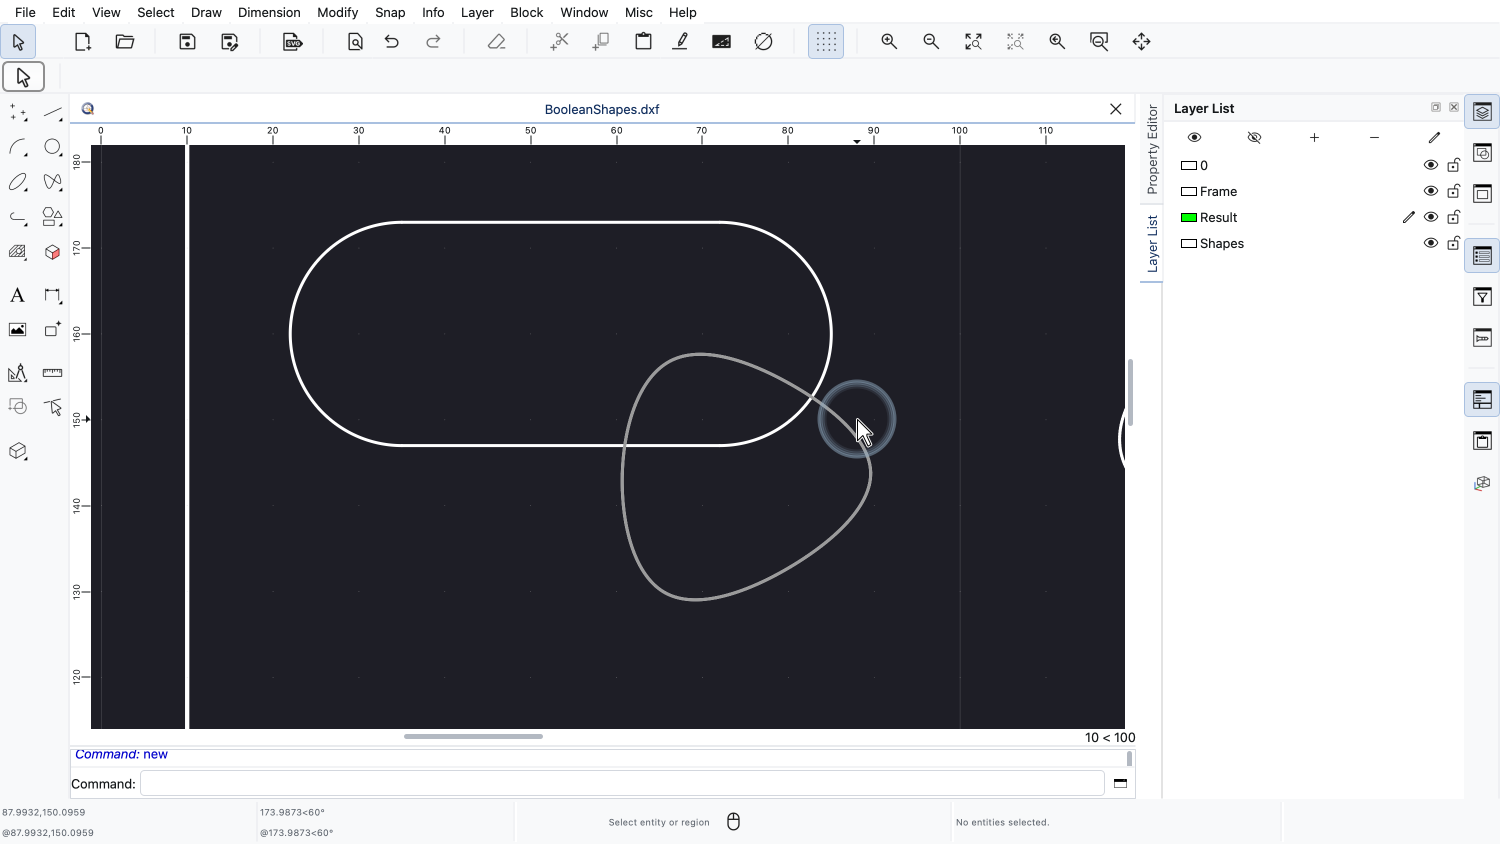
The shape at the bottom right is a single closed spline.
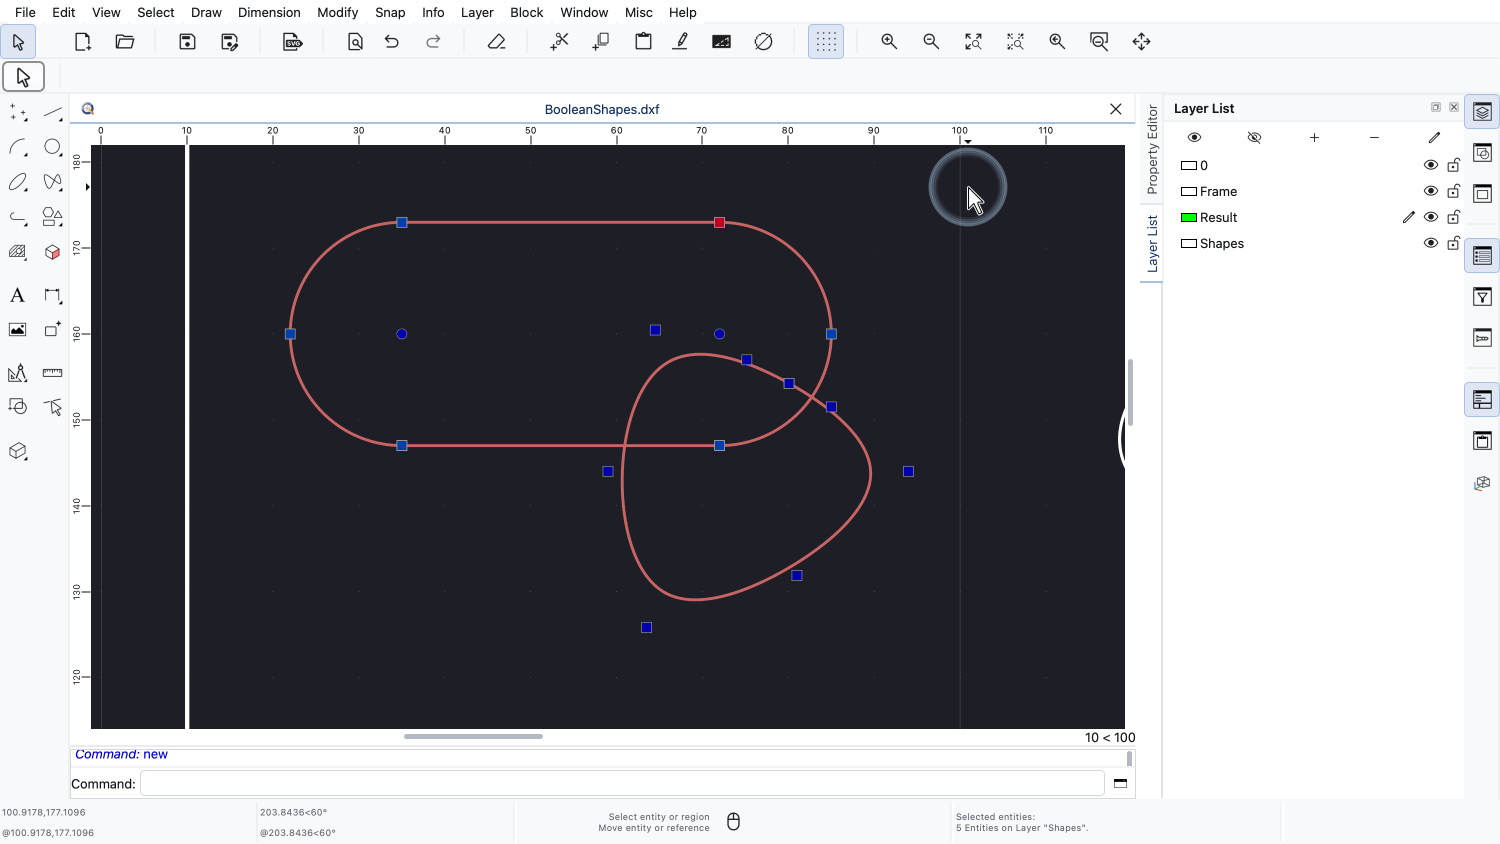
Boolean operations always work on the current selection, so we first select both shapes with a window selection.
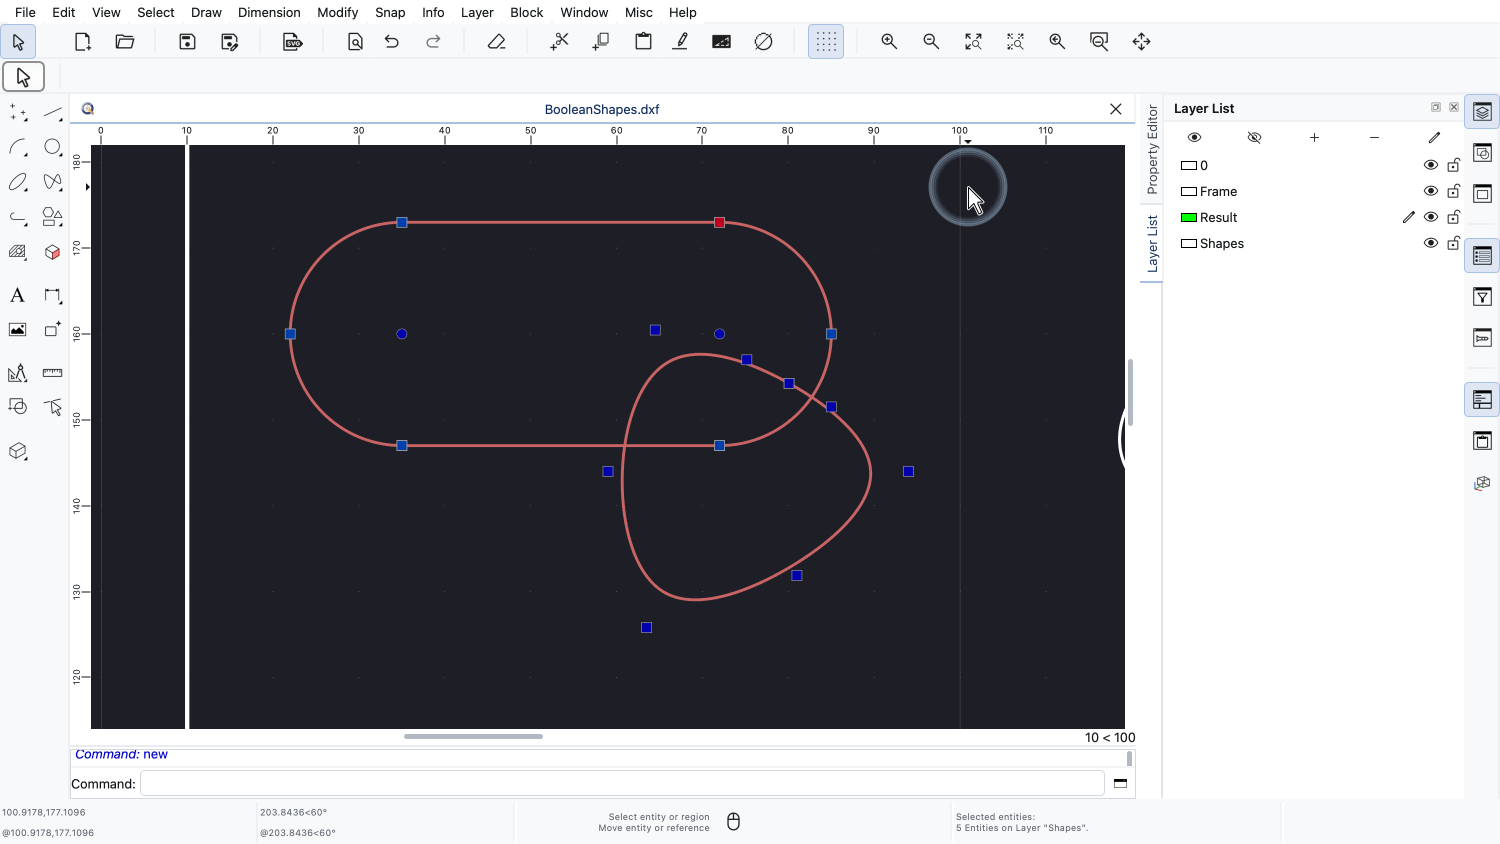
All five entities of the two shapes are now selected.
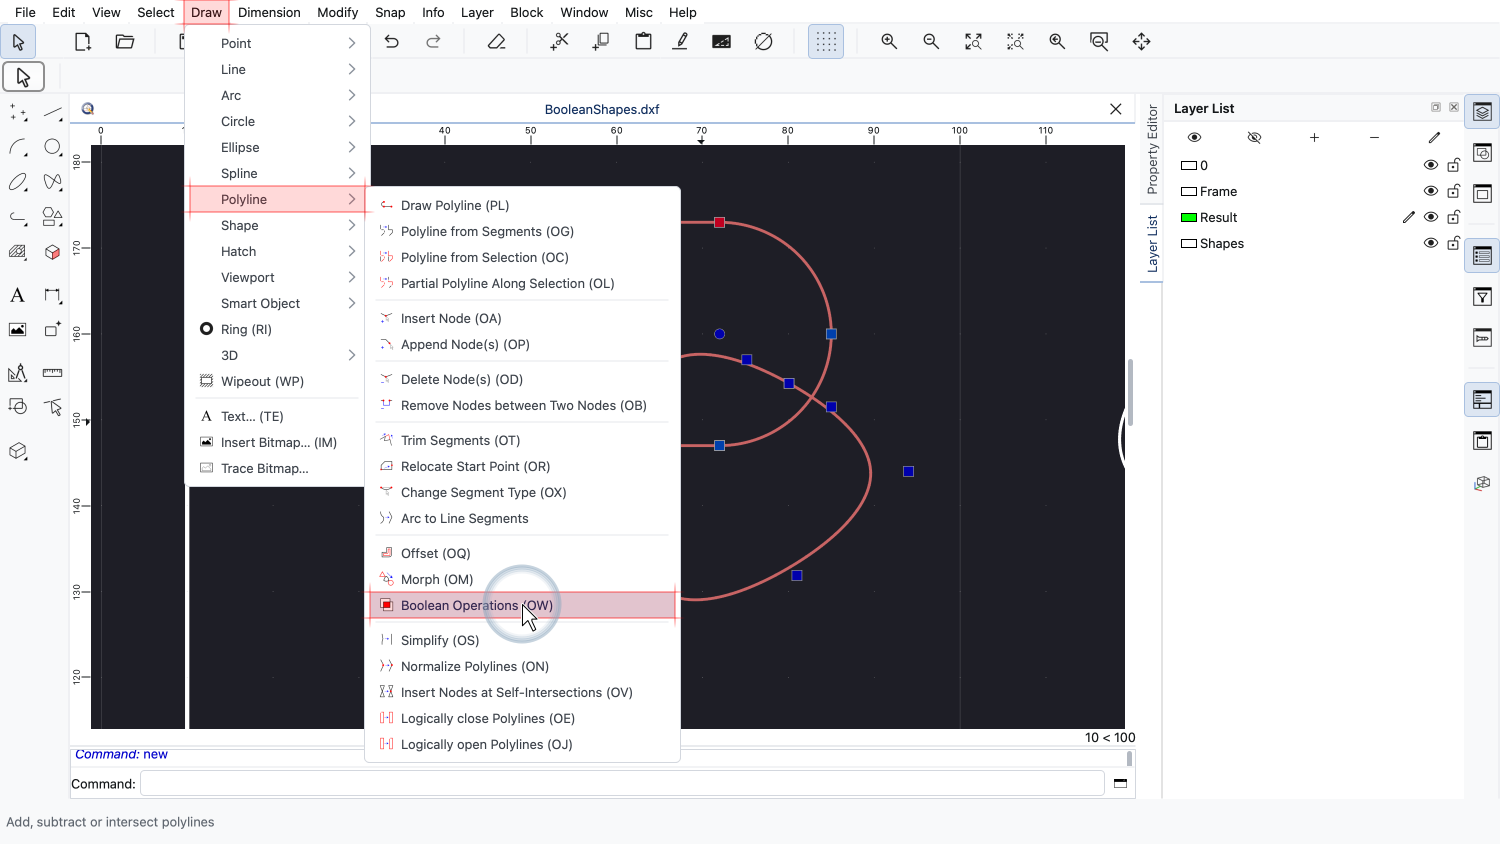
The tool for boolean operations can be found in the Draw menu, in the submenu Polyline.
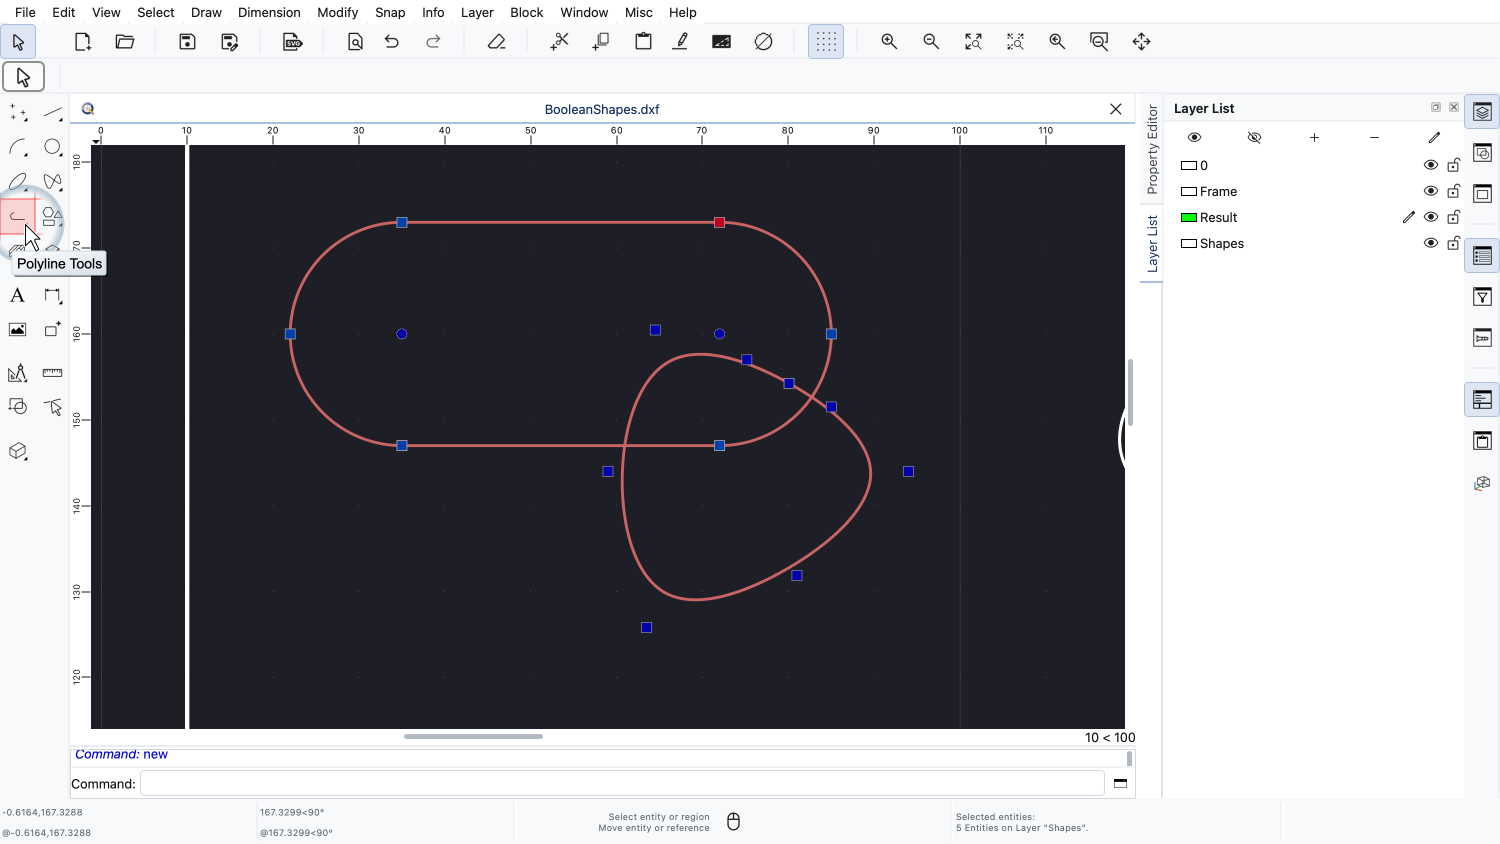
The same tool is also available in the CAD toolbar, in the panel with the polyline tools.
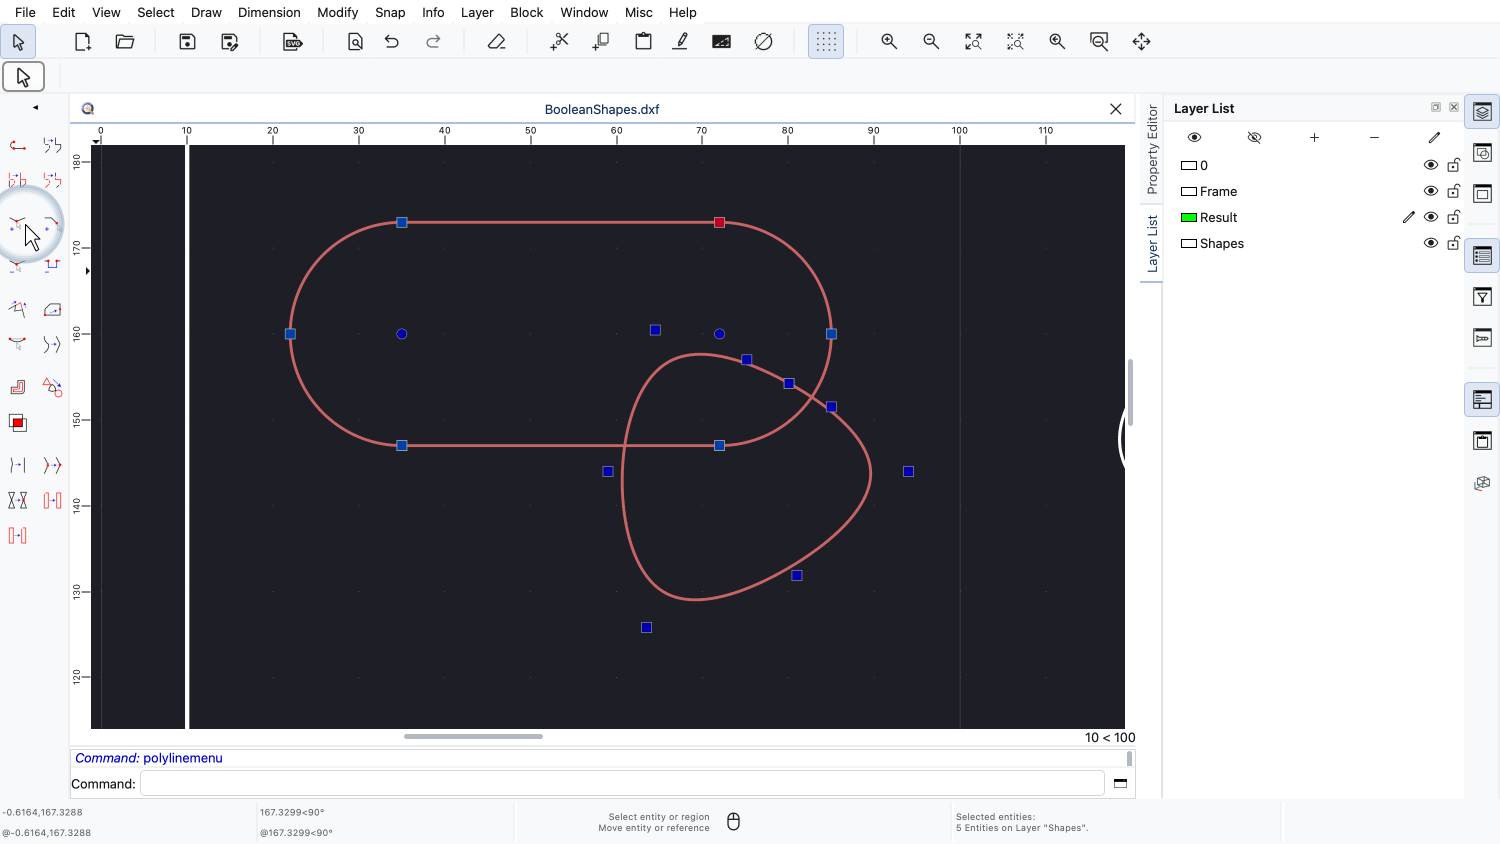
We click the button for the polyline tools.
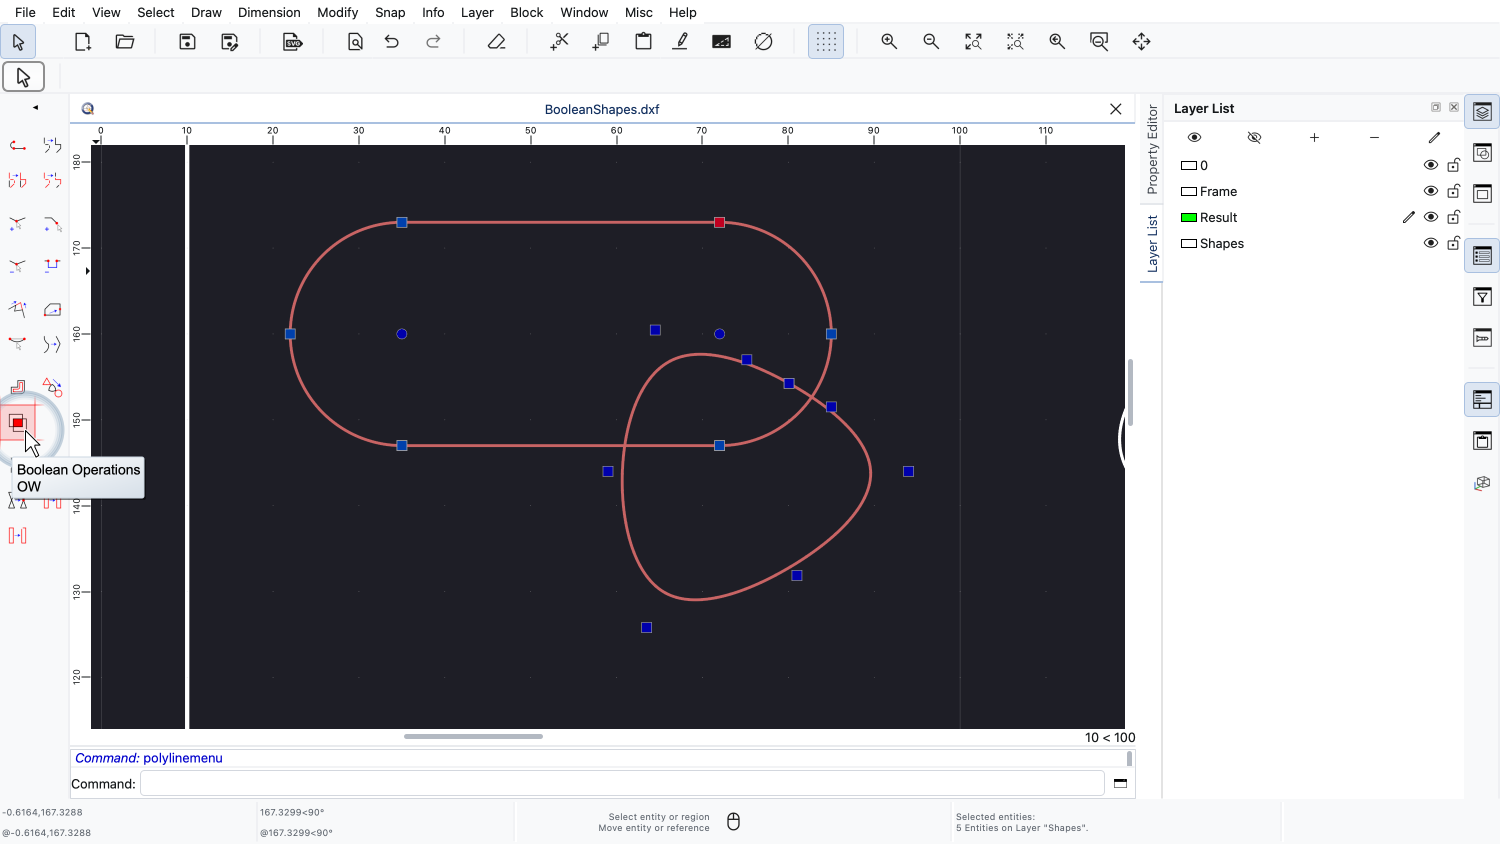
Here, we find the tool for boolean operations again.
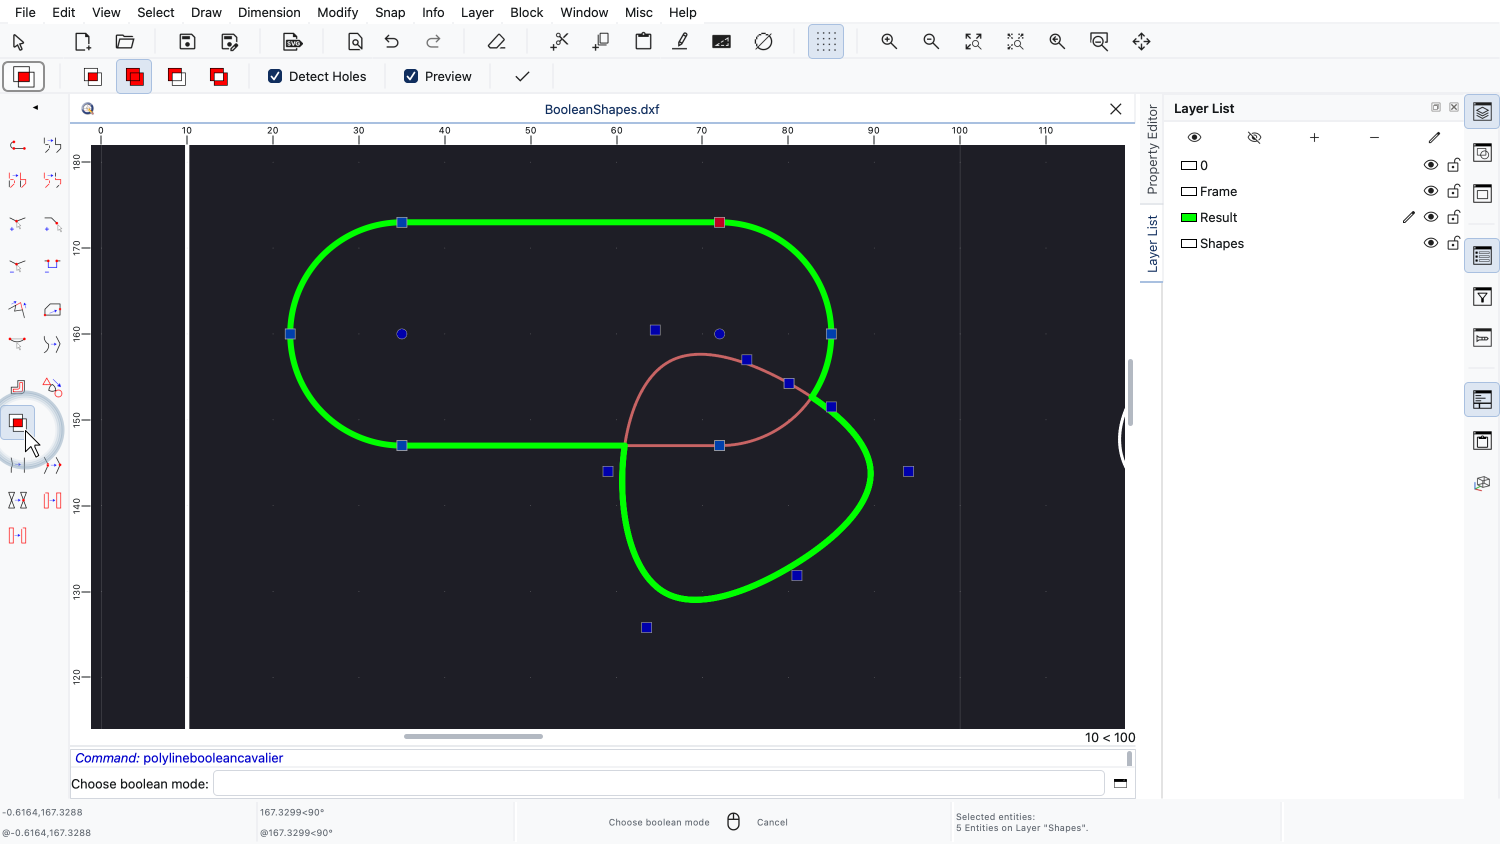
We start the tool.
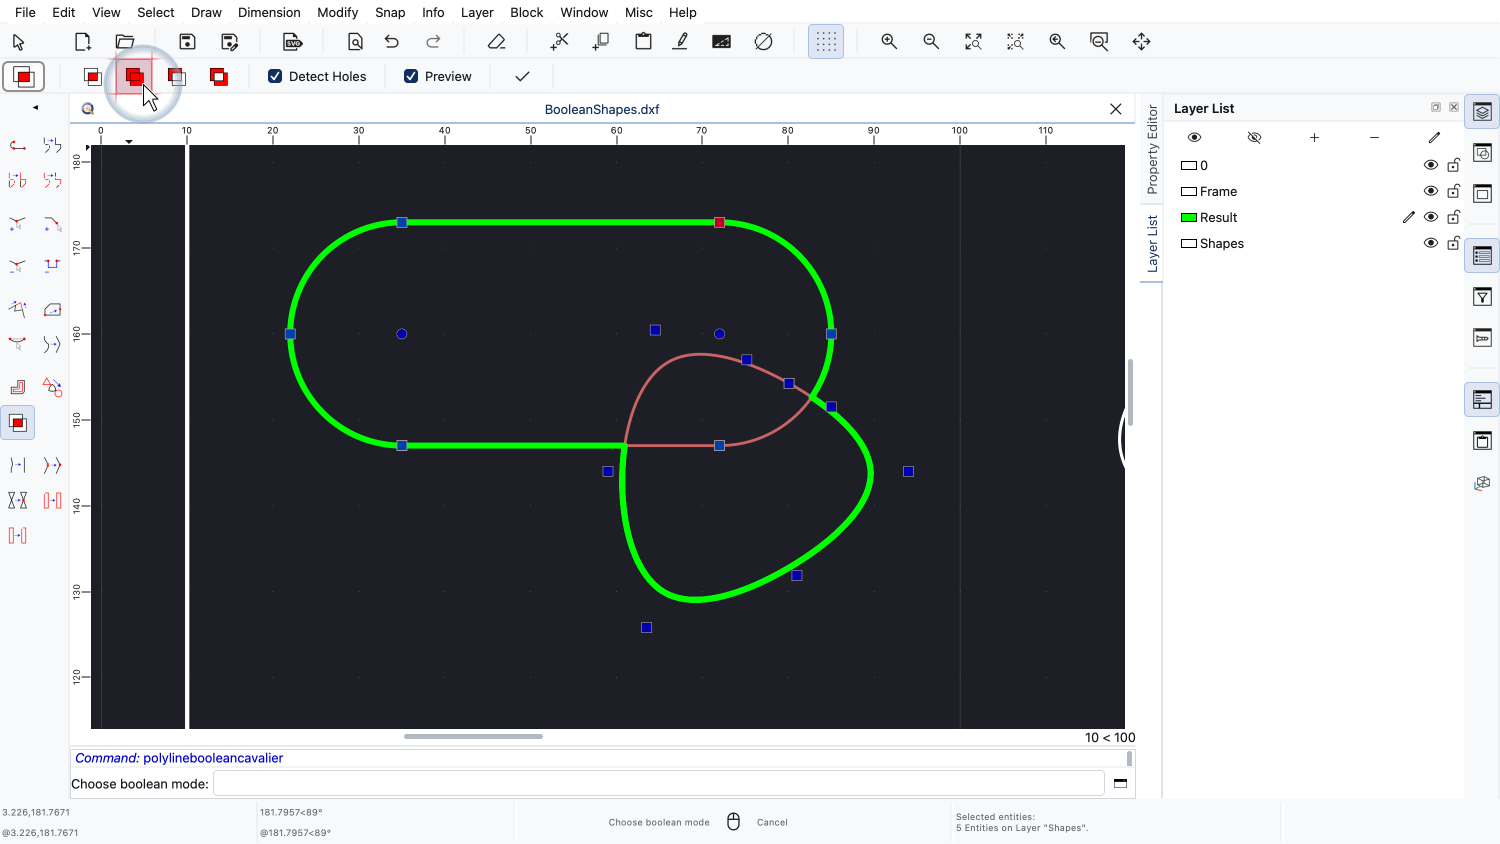
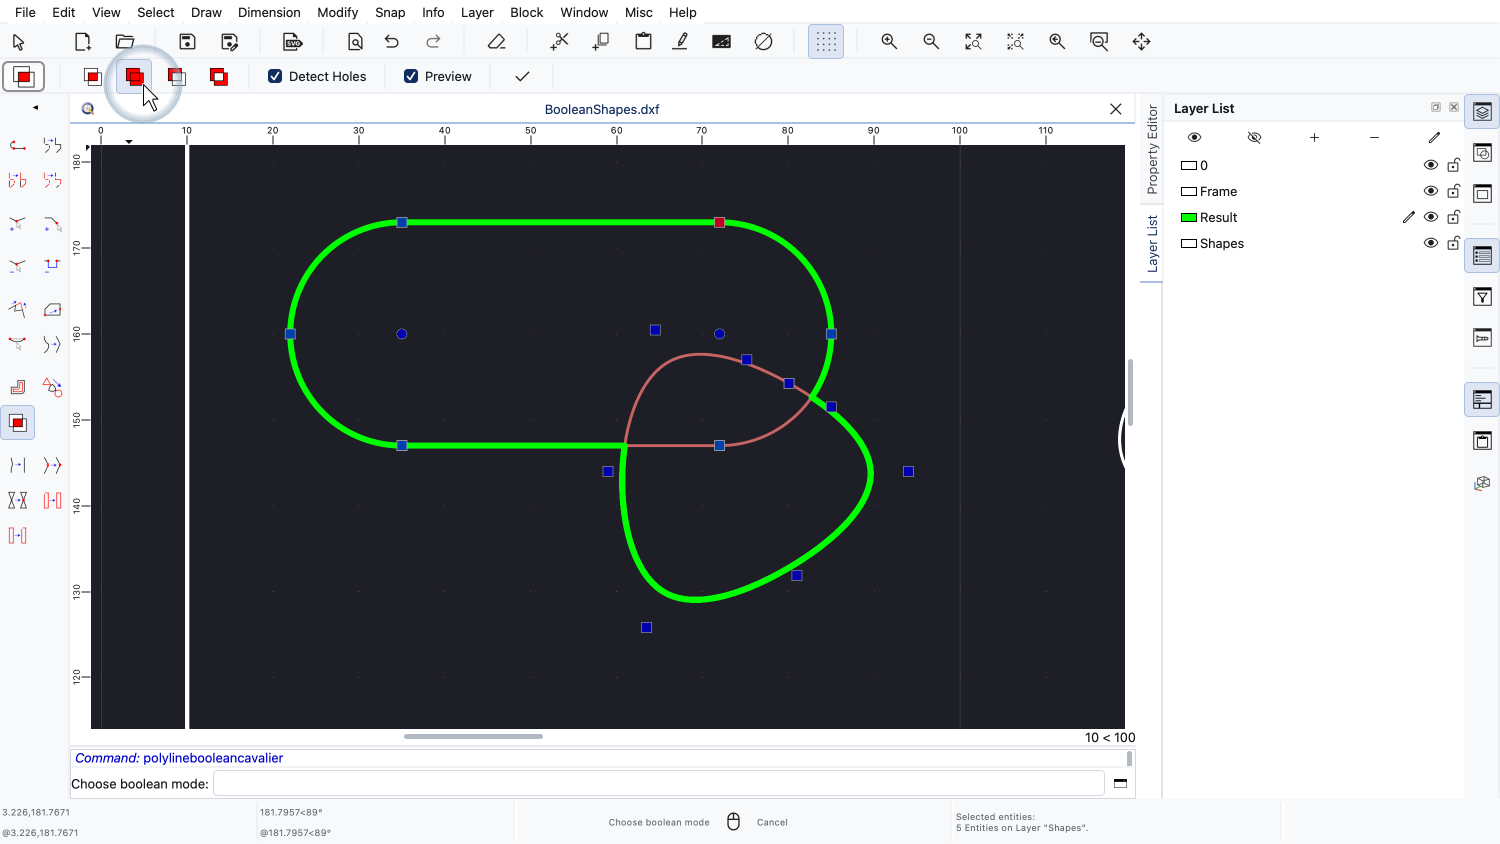
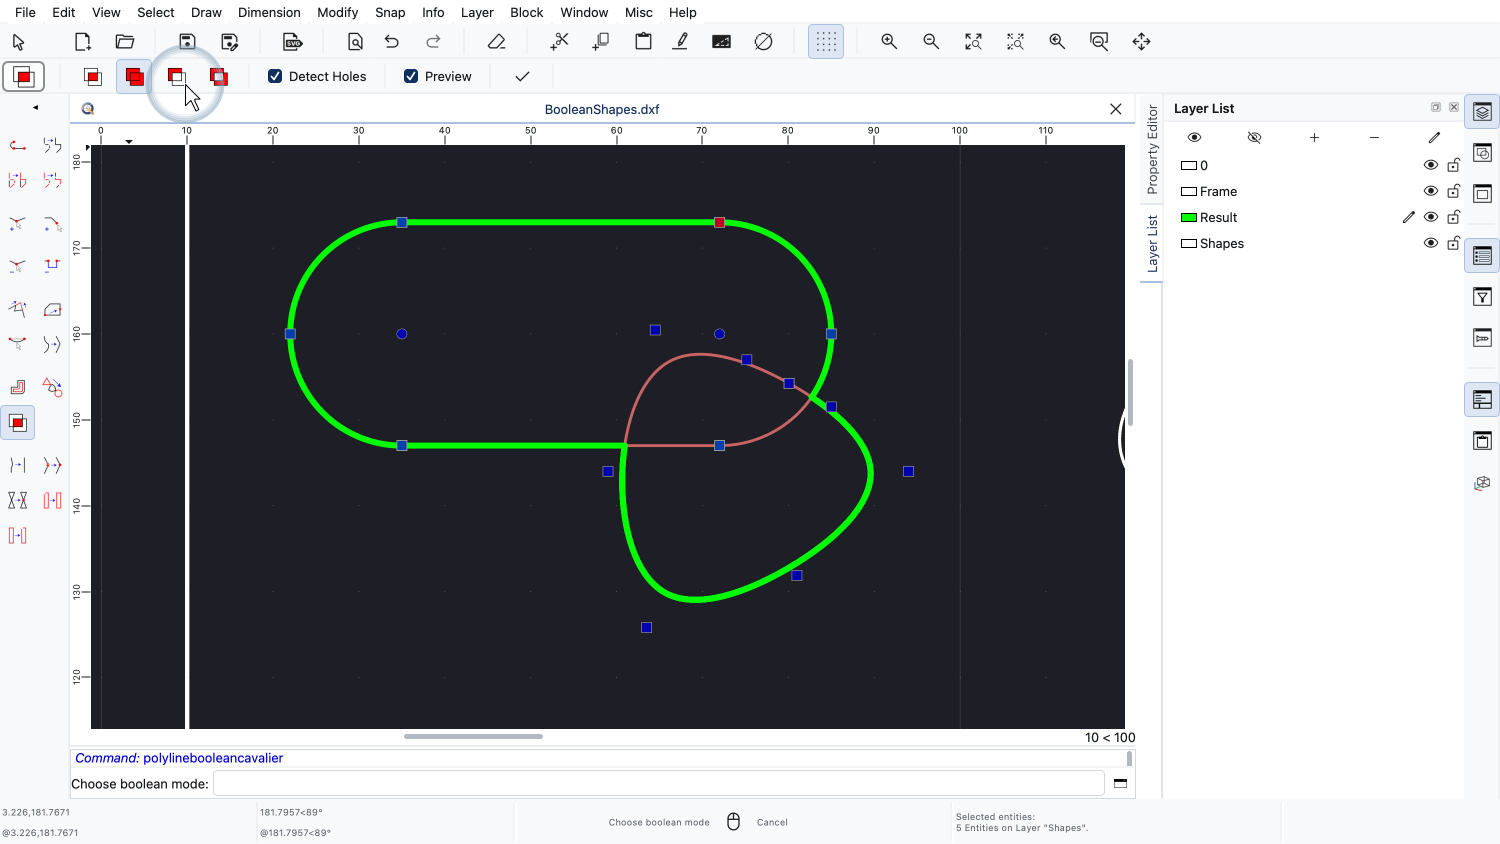
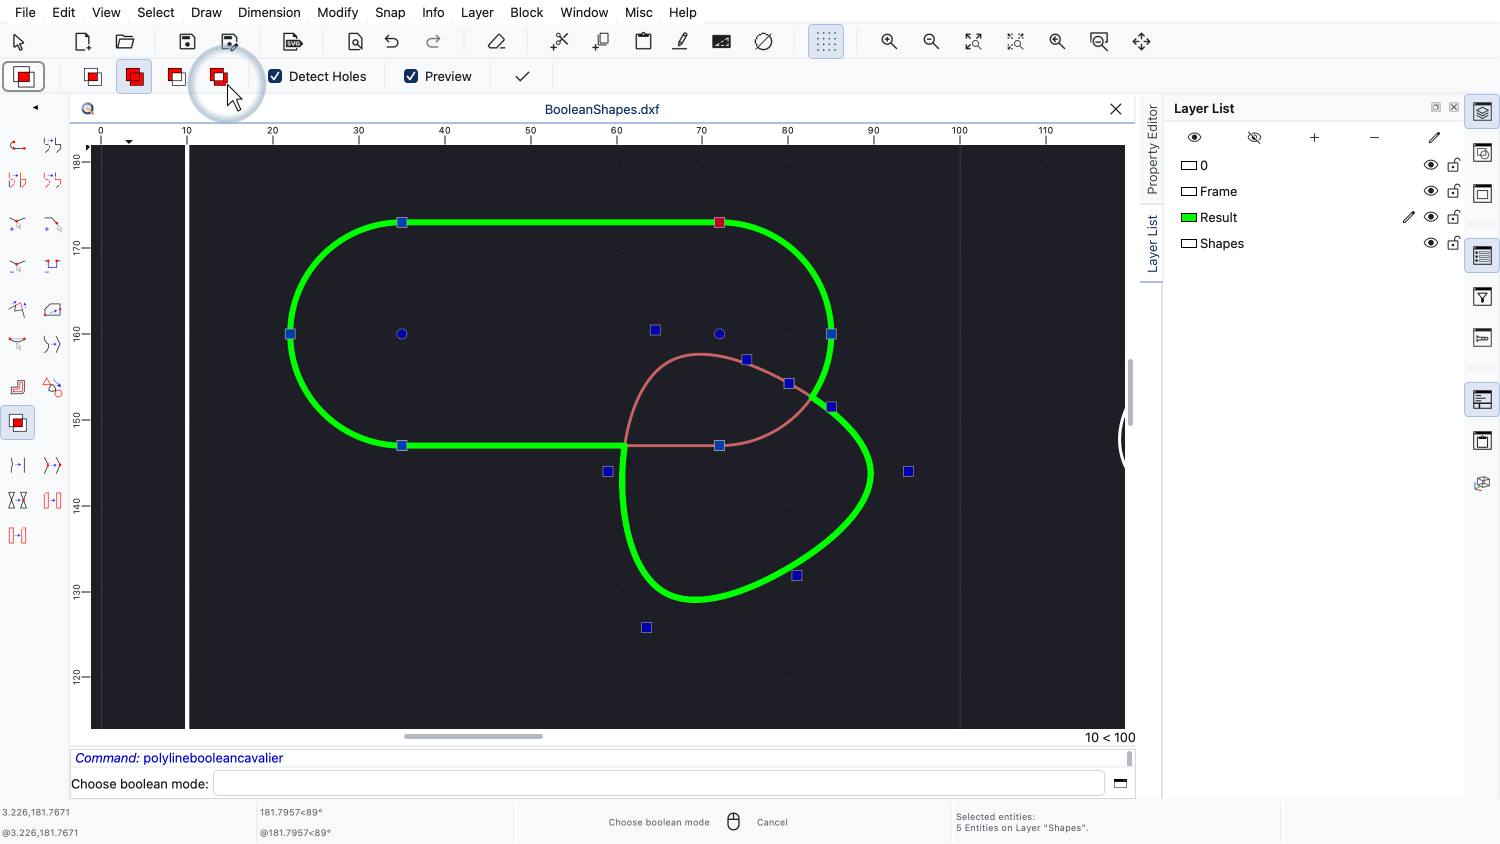
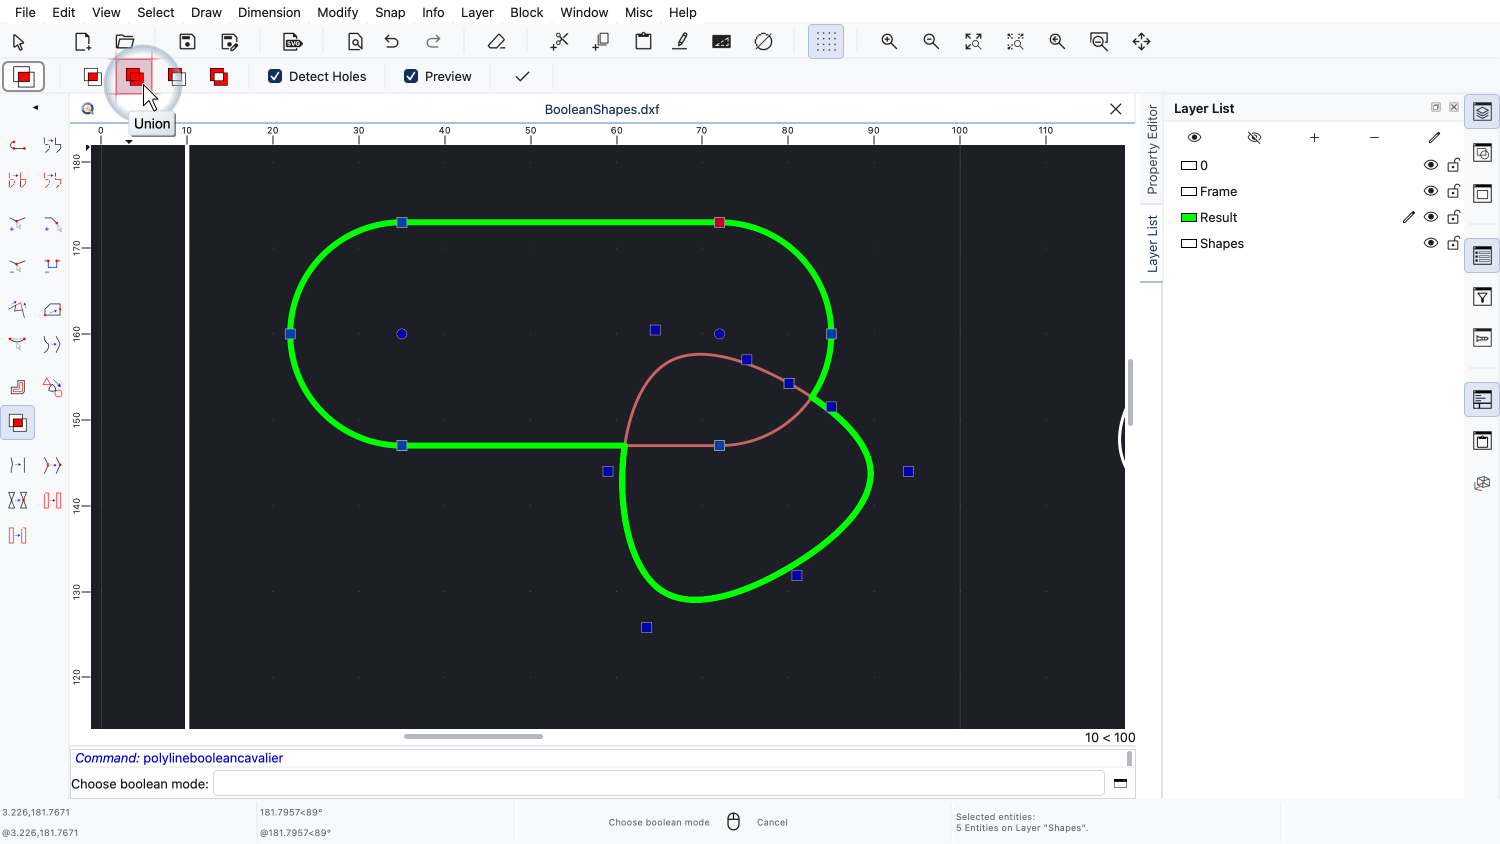
The tool options at the top of the window show the four available operations.
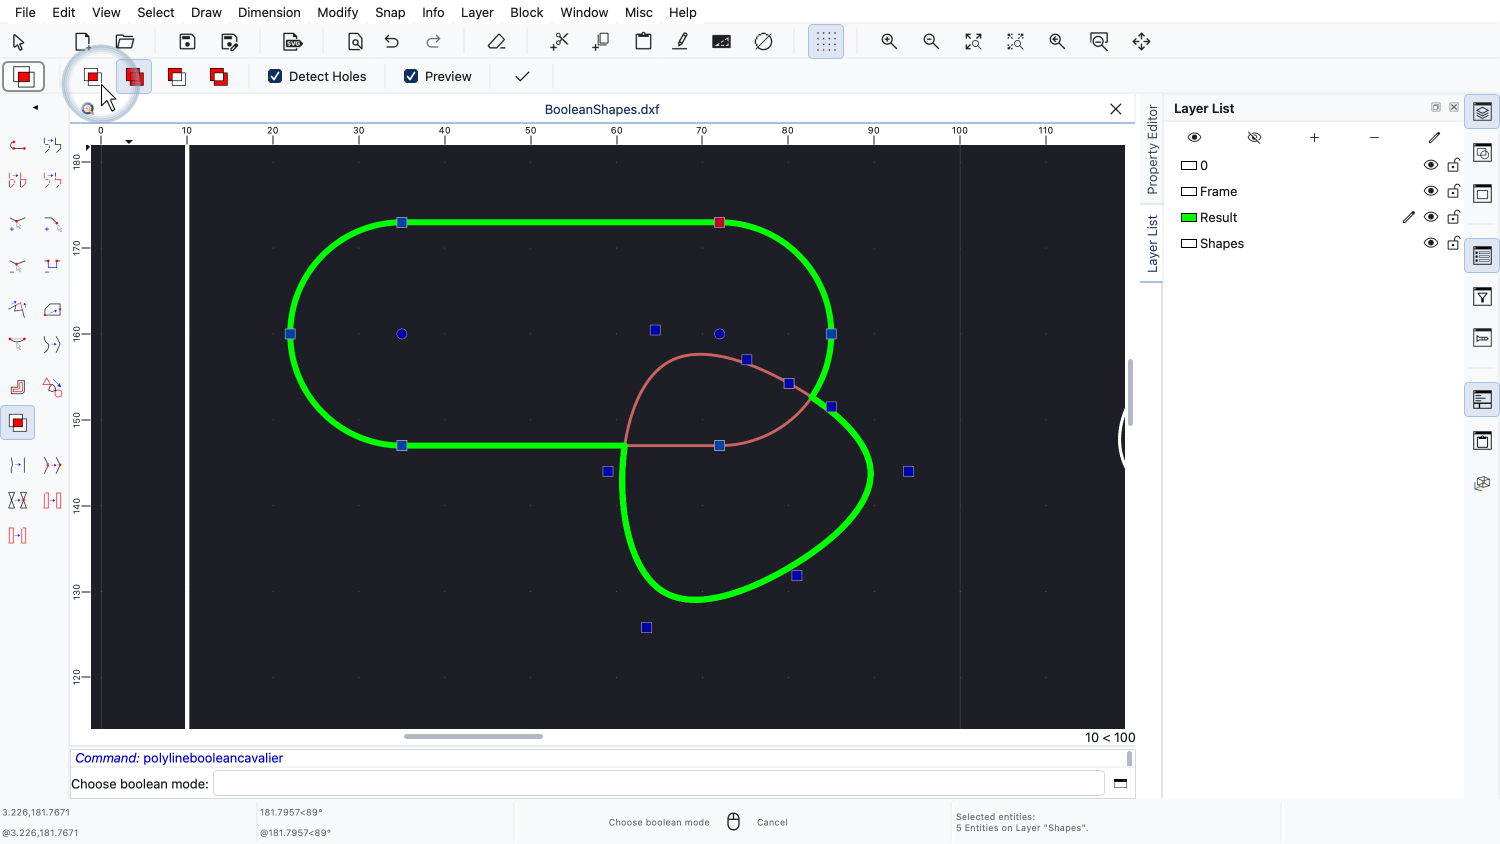
From left to right, these are: Intersection.
Union.
Difference.
And XOR.
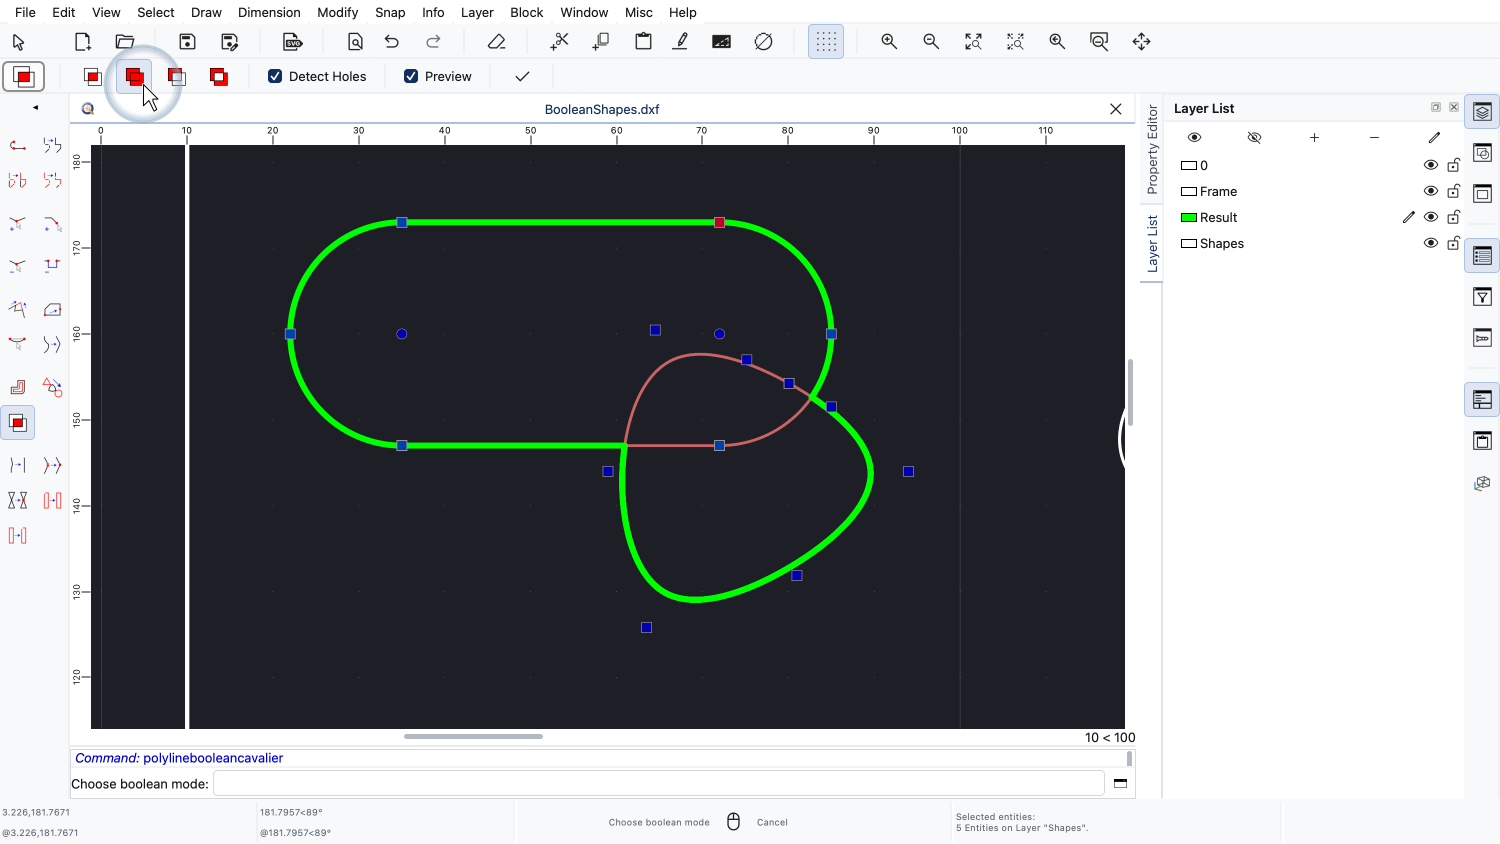
For our first operation, we choose union.
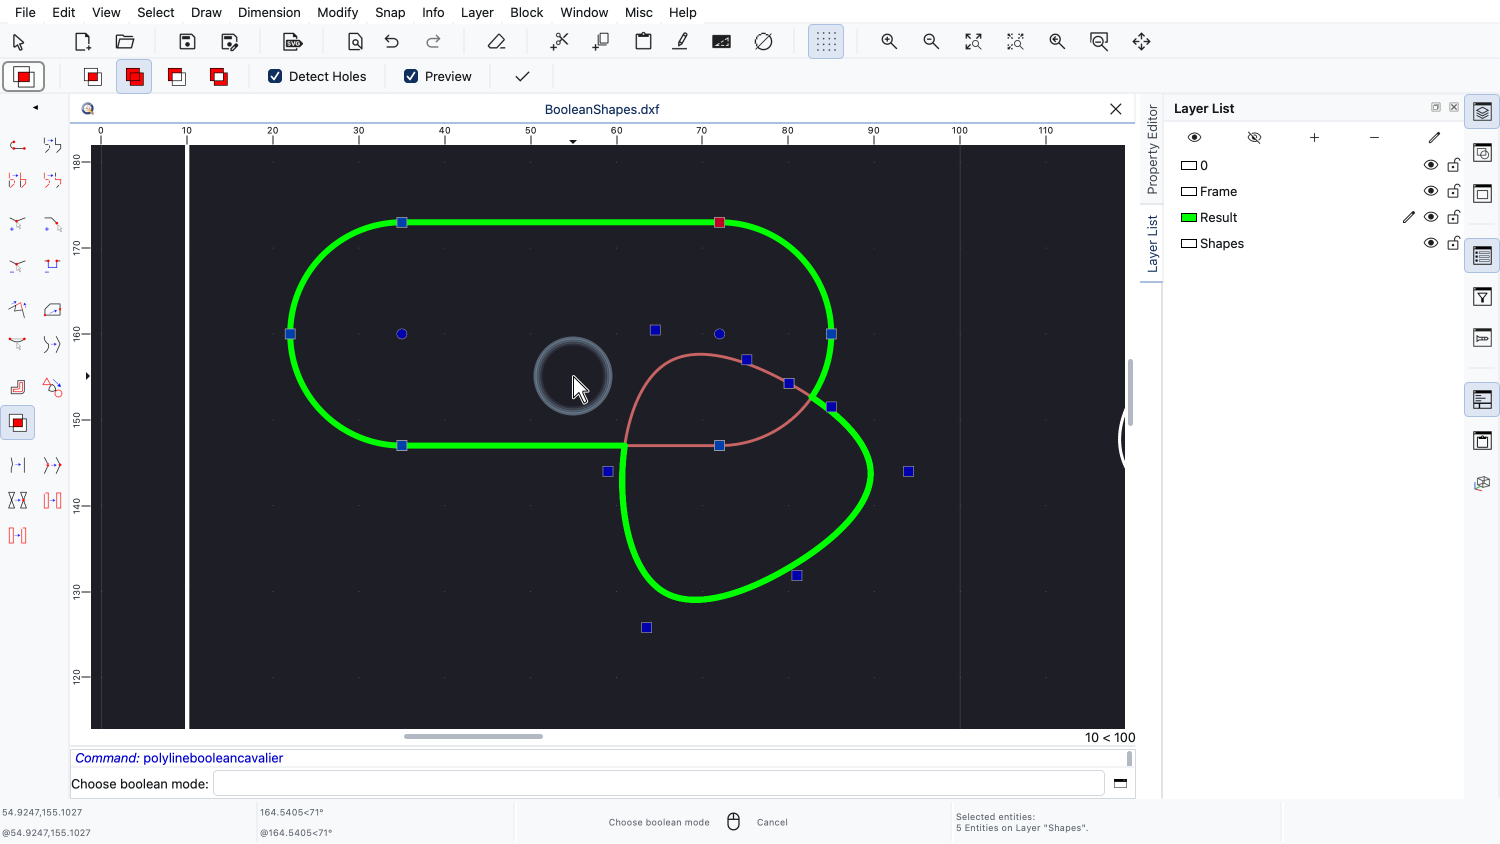
A union adds the areas of all selected shapes together.
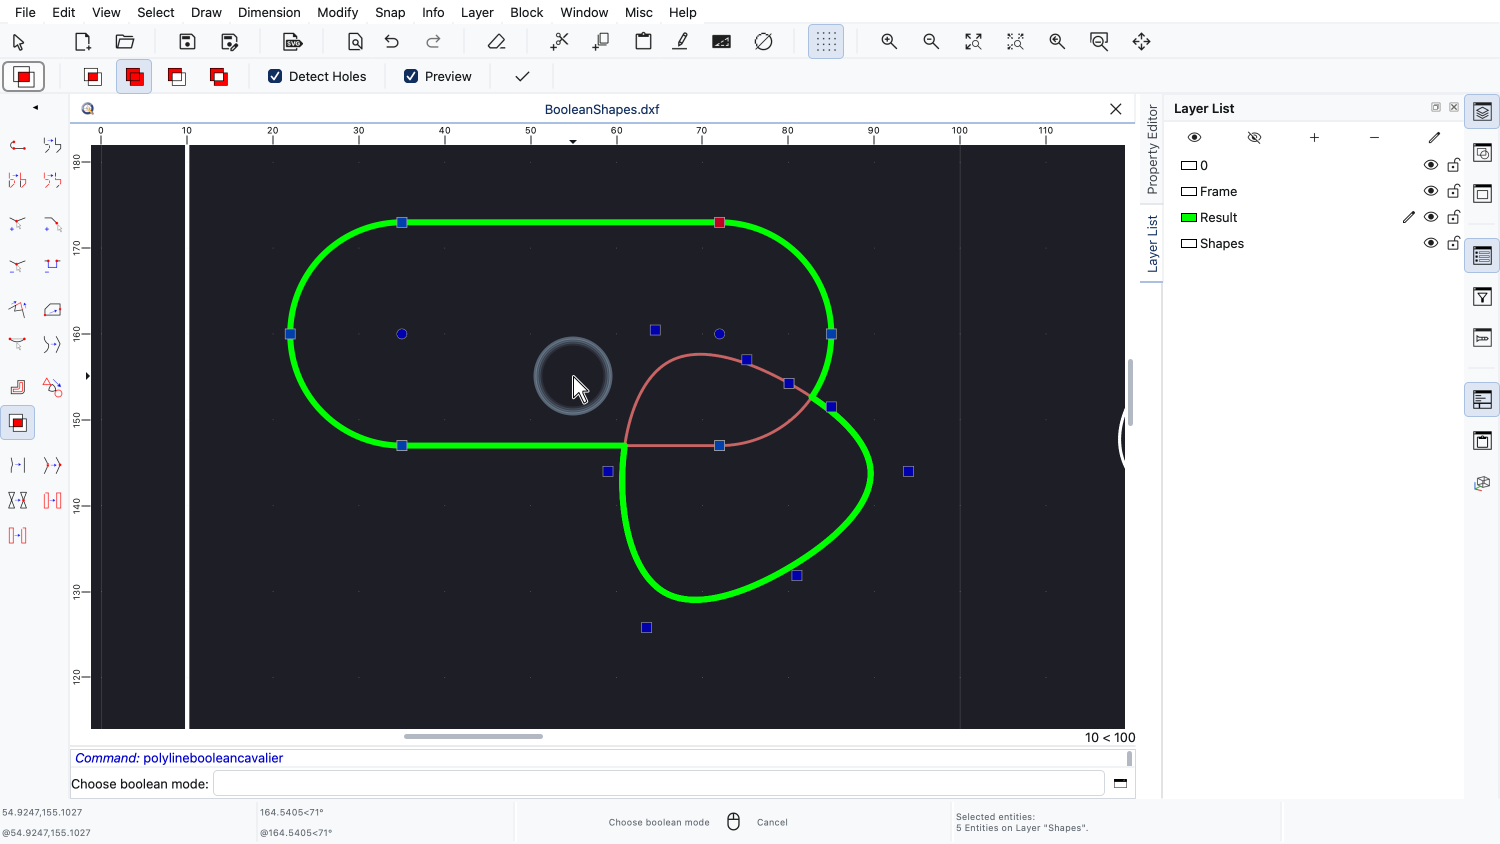
QCAD shows a preview of the result directly in the drawing.
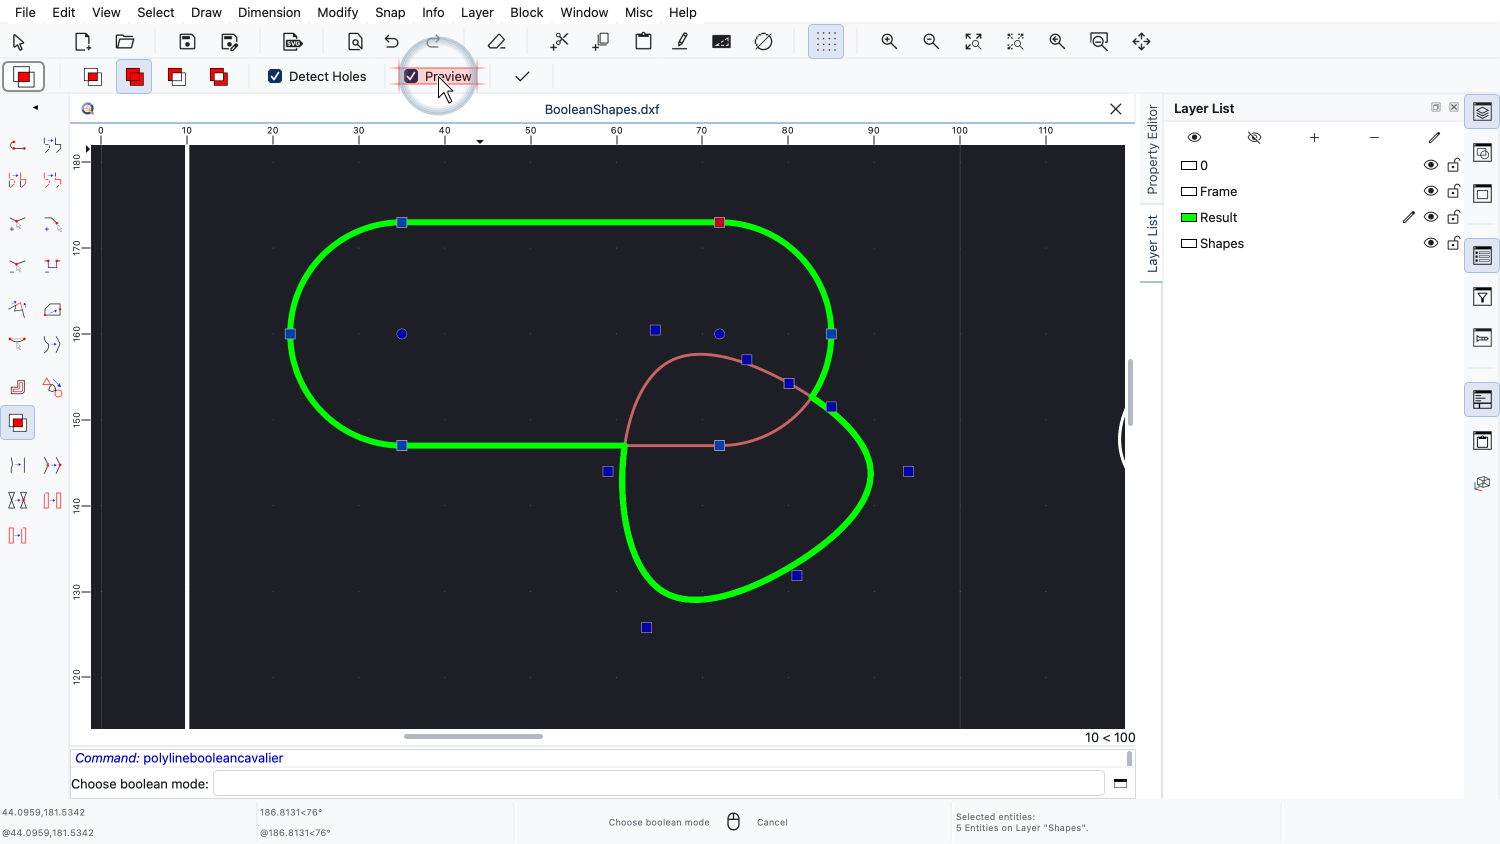
The preview can be switched off for very complex contours, where the calculation would take too long.
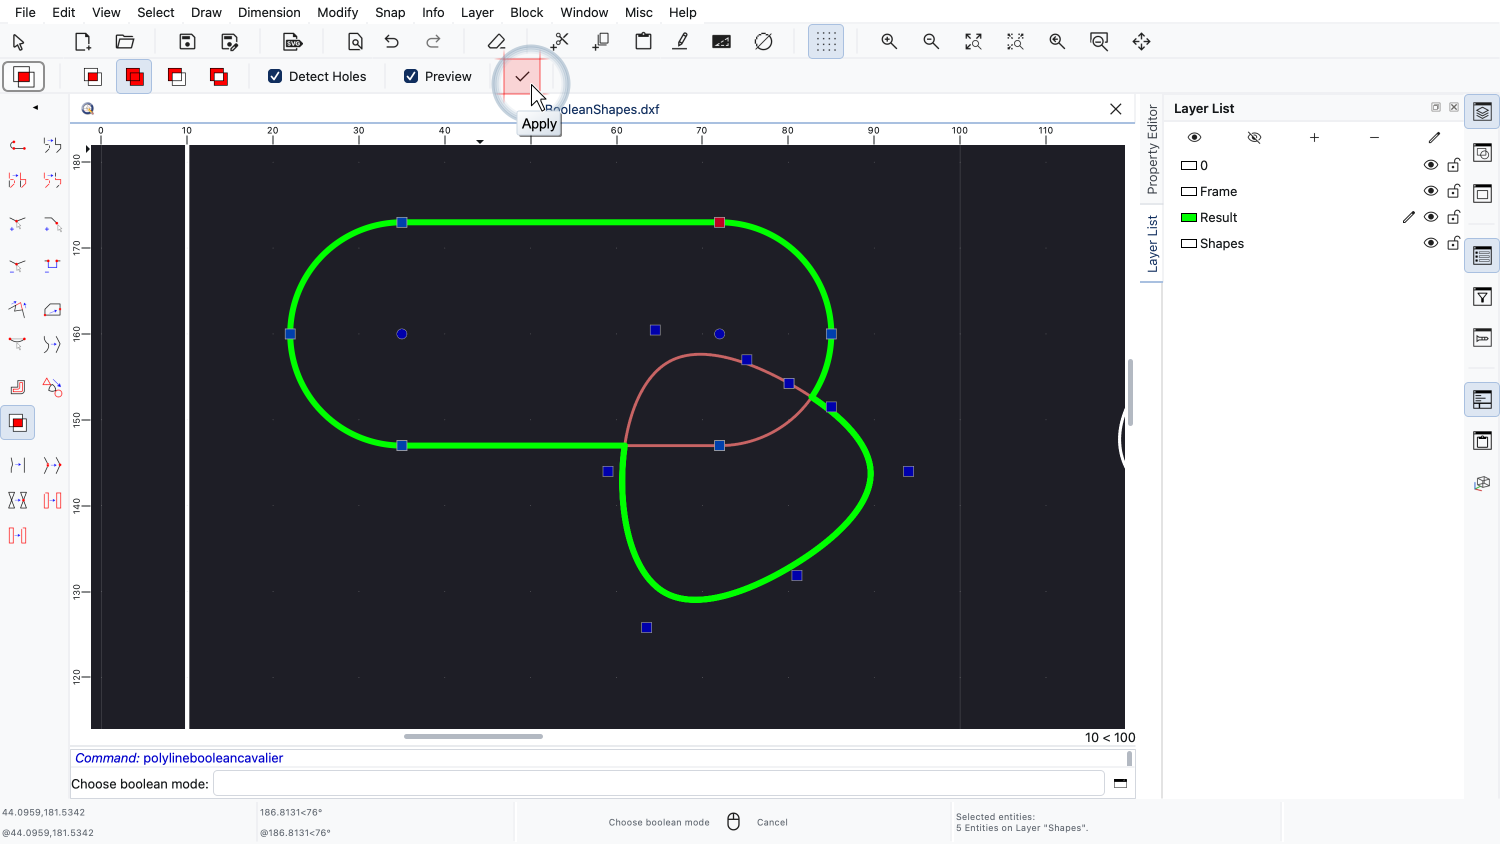
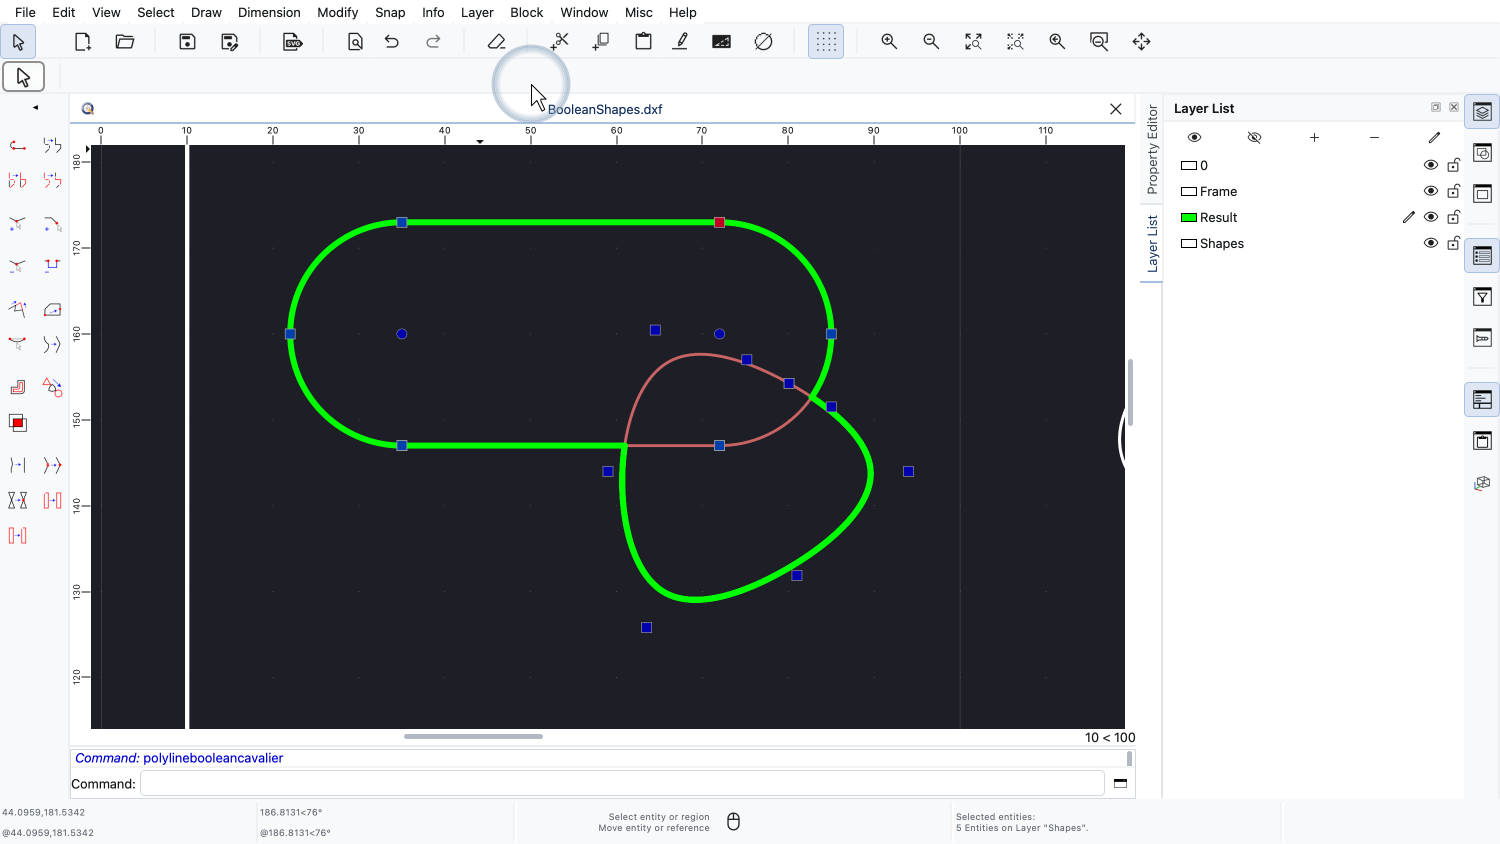
We are happy with the preview and apply the operation.
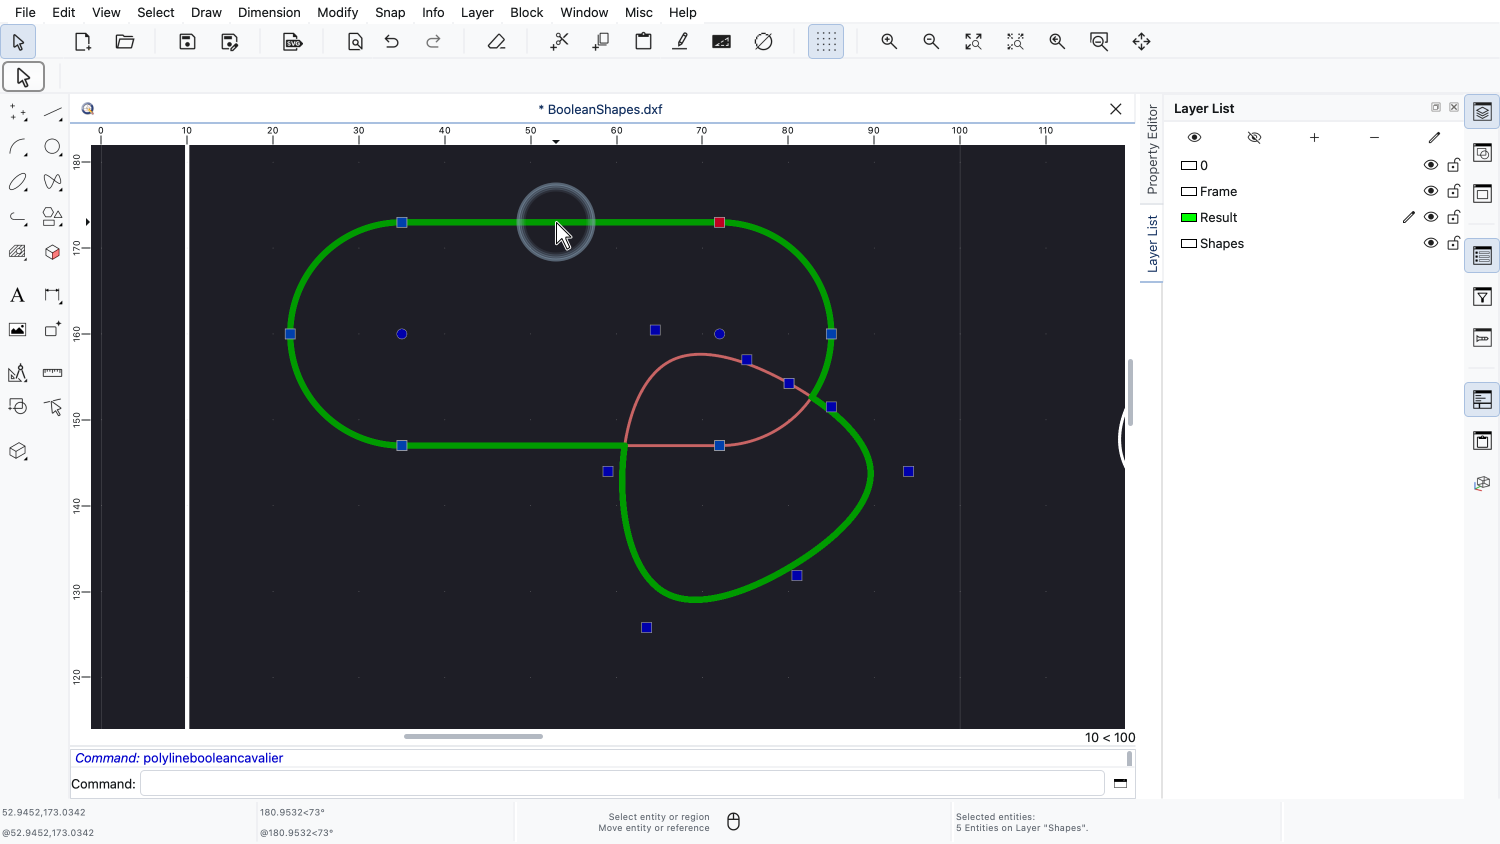
The outline of the combined shape is added to the drawing as a single closed polyline.
Note that the original shapes are not removed by the operation.
They are still in the drawing, underneath the result.
If we do not need them anymore, we can delete them afterwards.
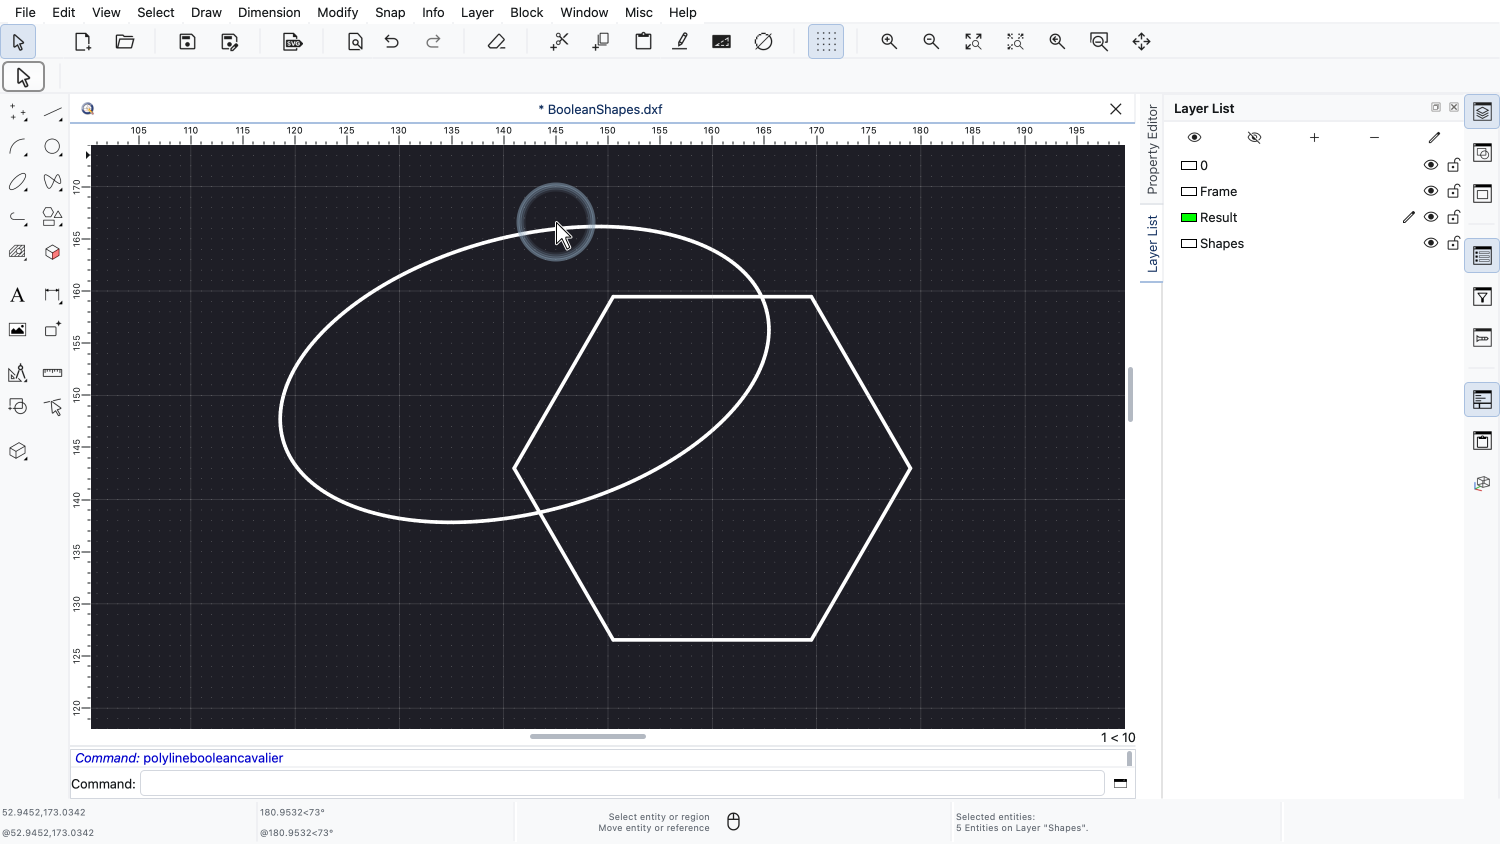
The second operation is the intersection.
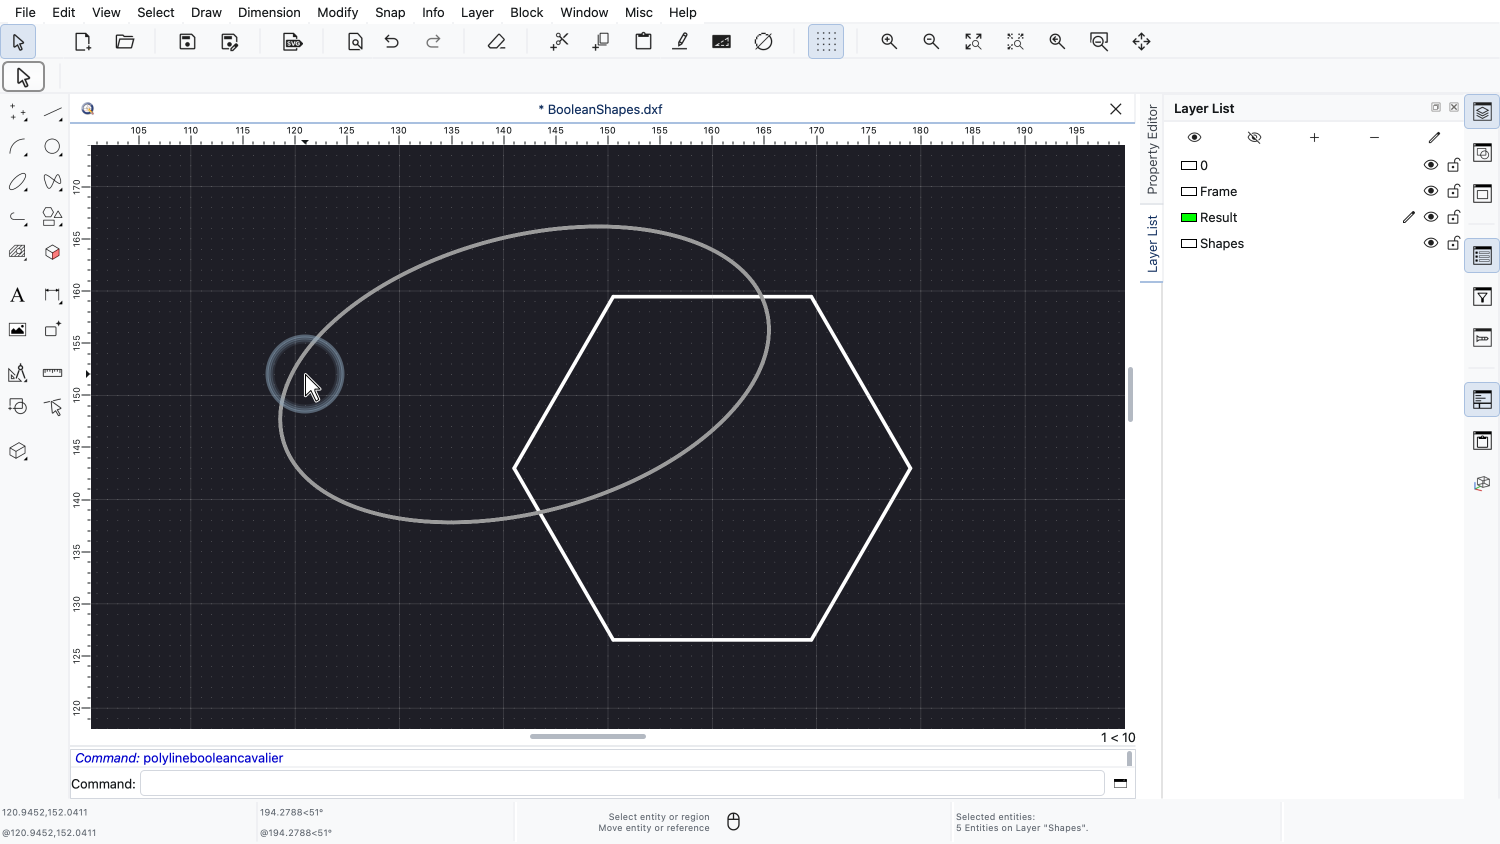
For this example, we use an ellipse and a closed polyline in the shape of a hexagon.
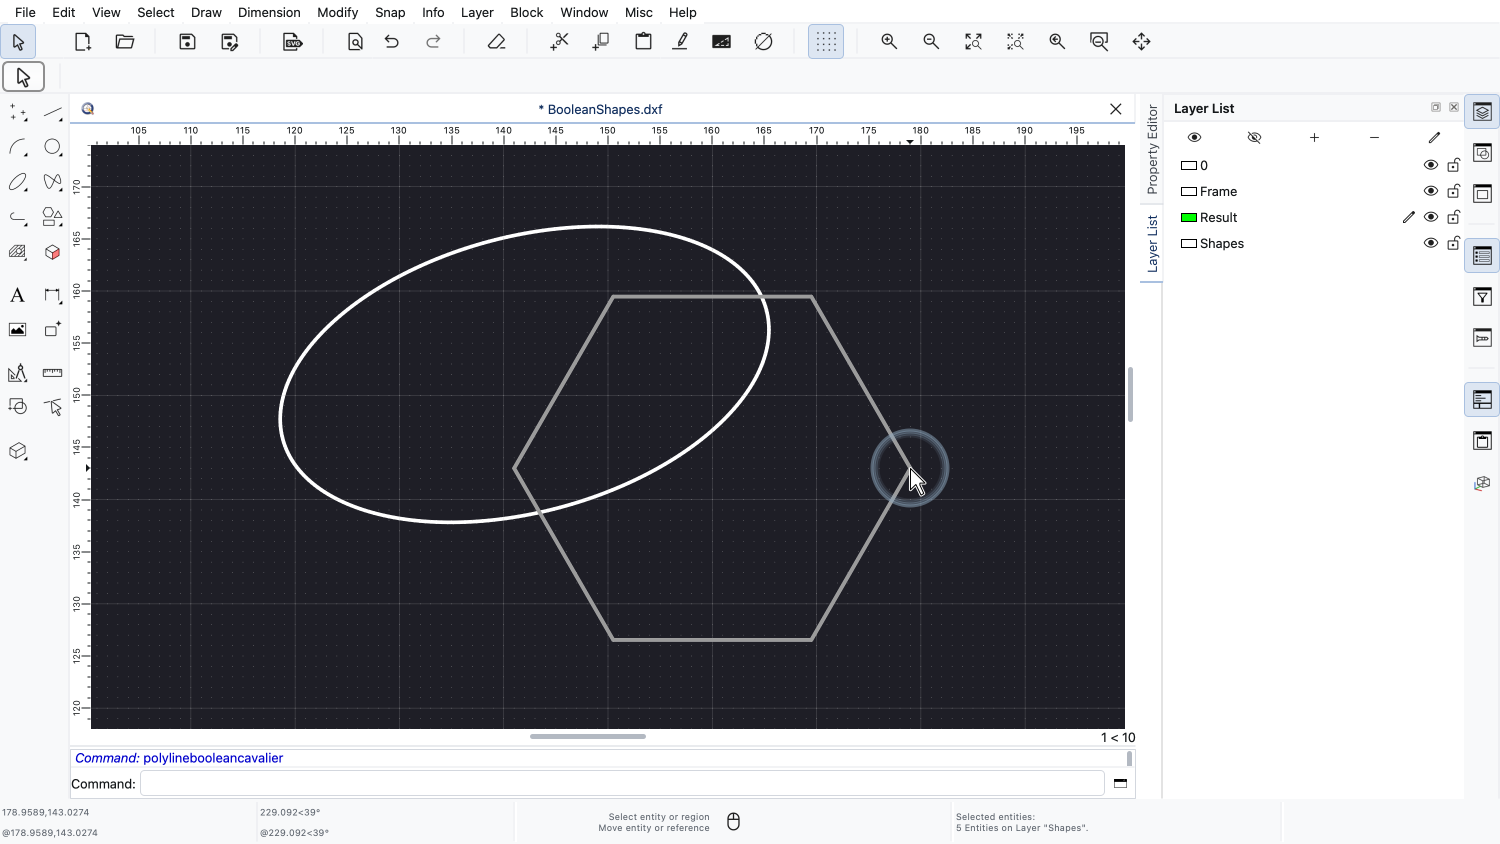
Both shapes are single entities and both are closed.
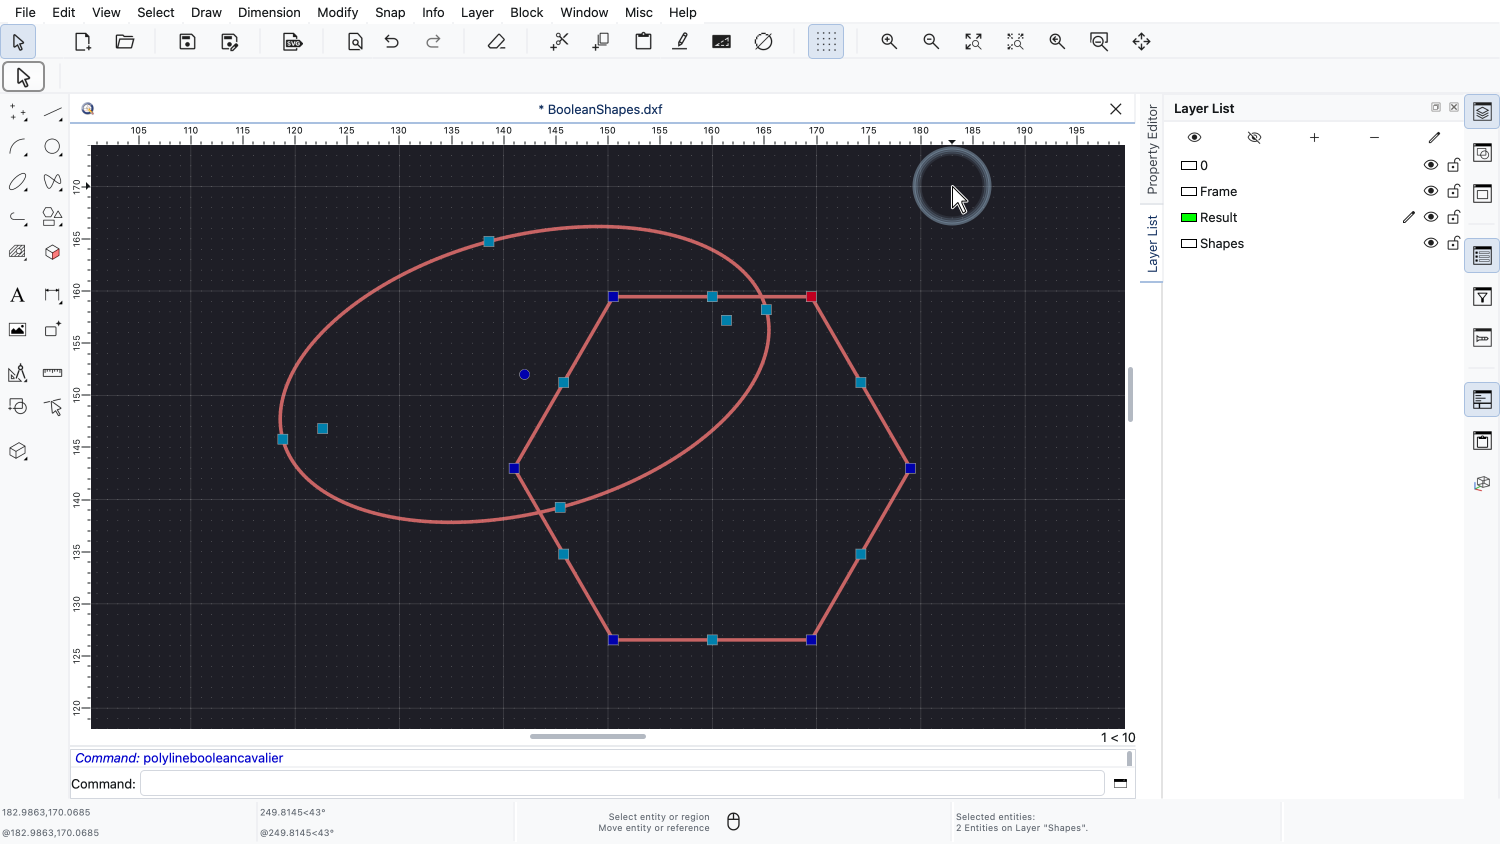
Again, we select the shapes we want to combine.
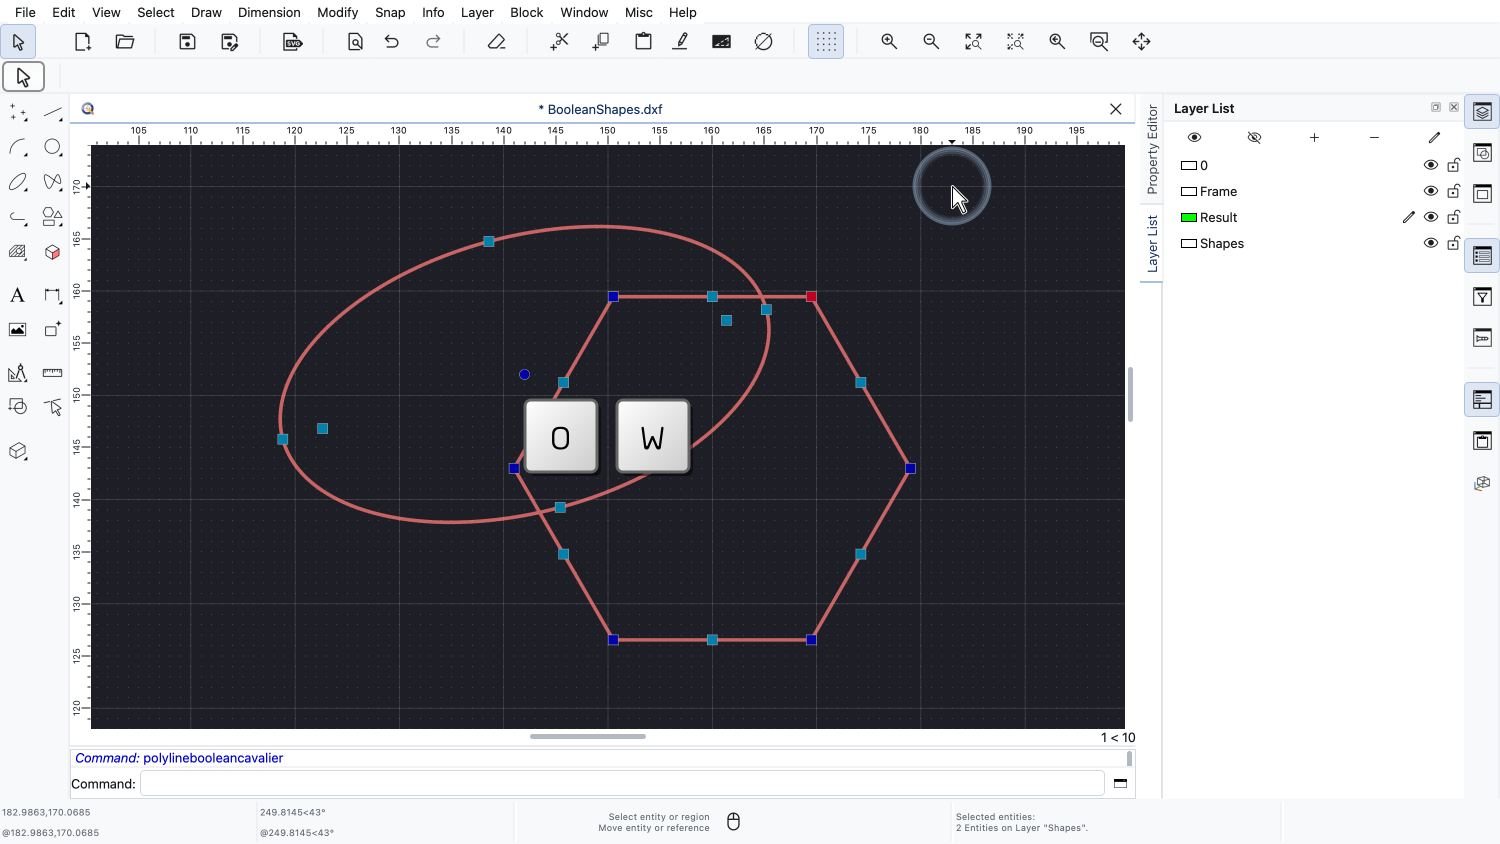
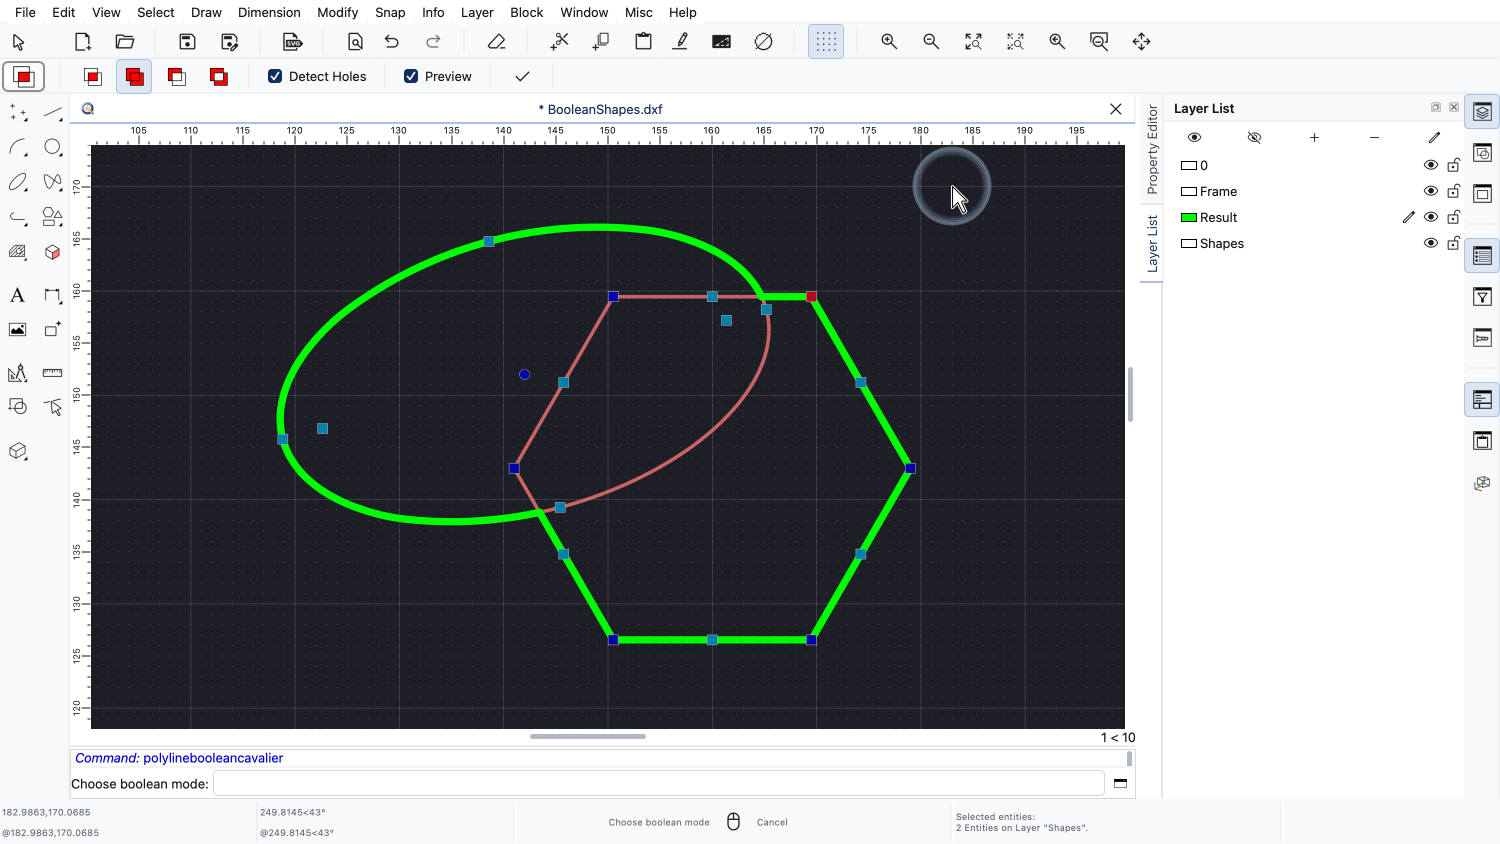
This time, we start the tool with its keyboard shortcut, O W.
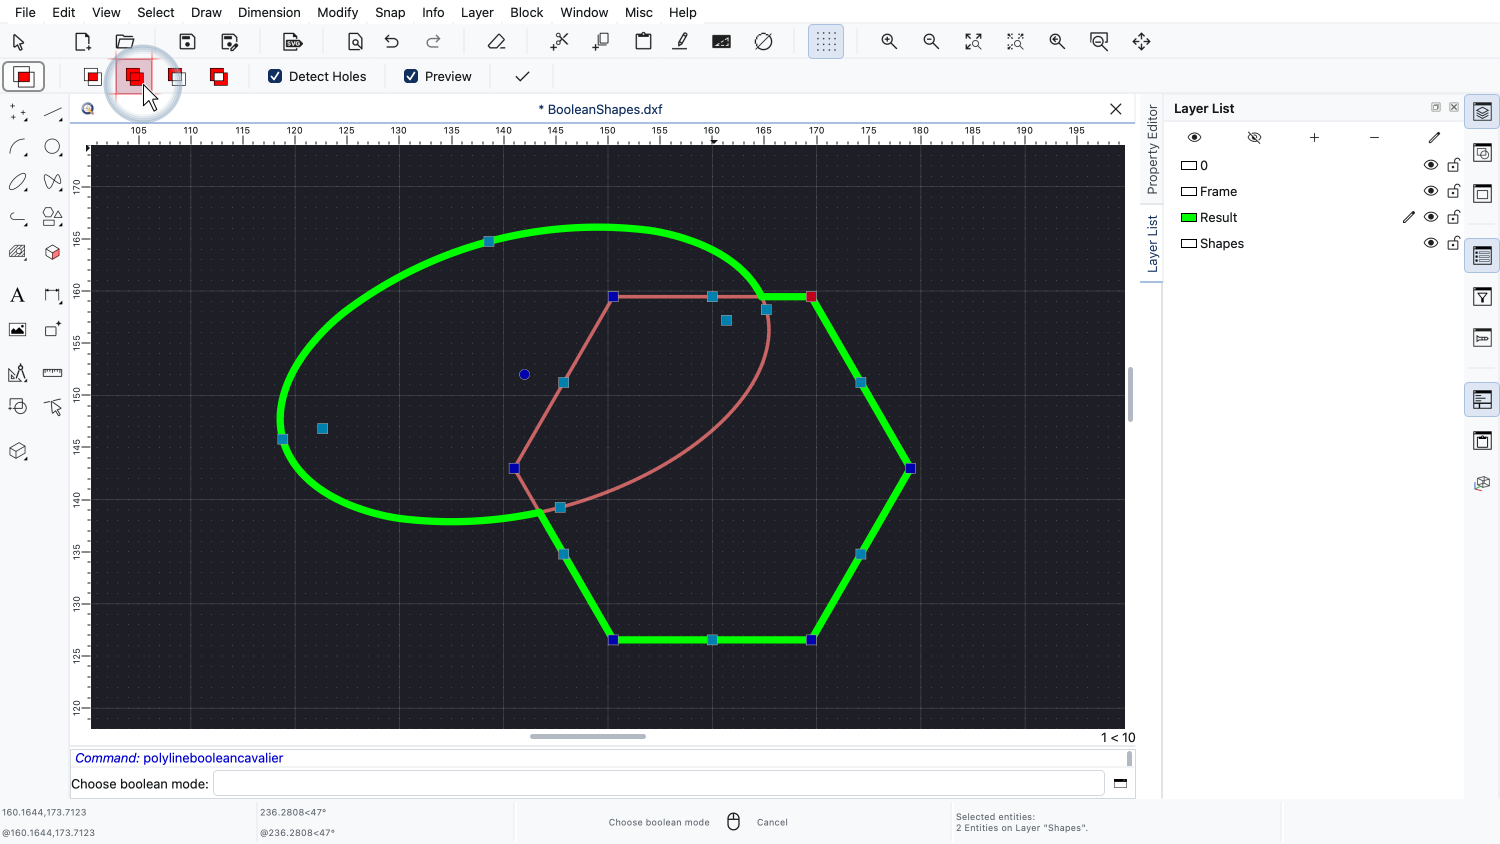
The tool remembers the operation we used last, so union is still active.
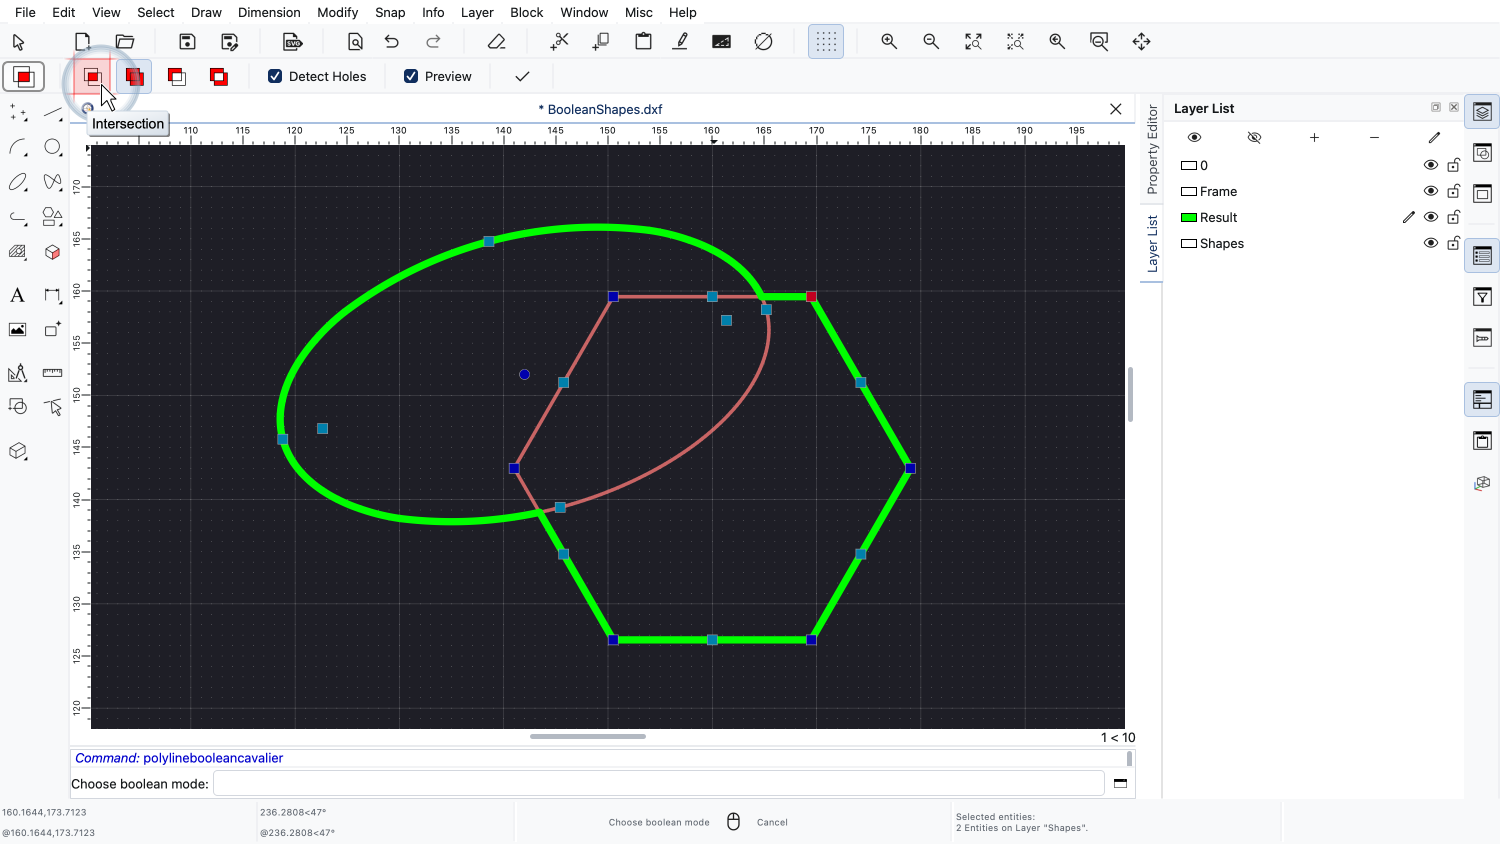
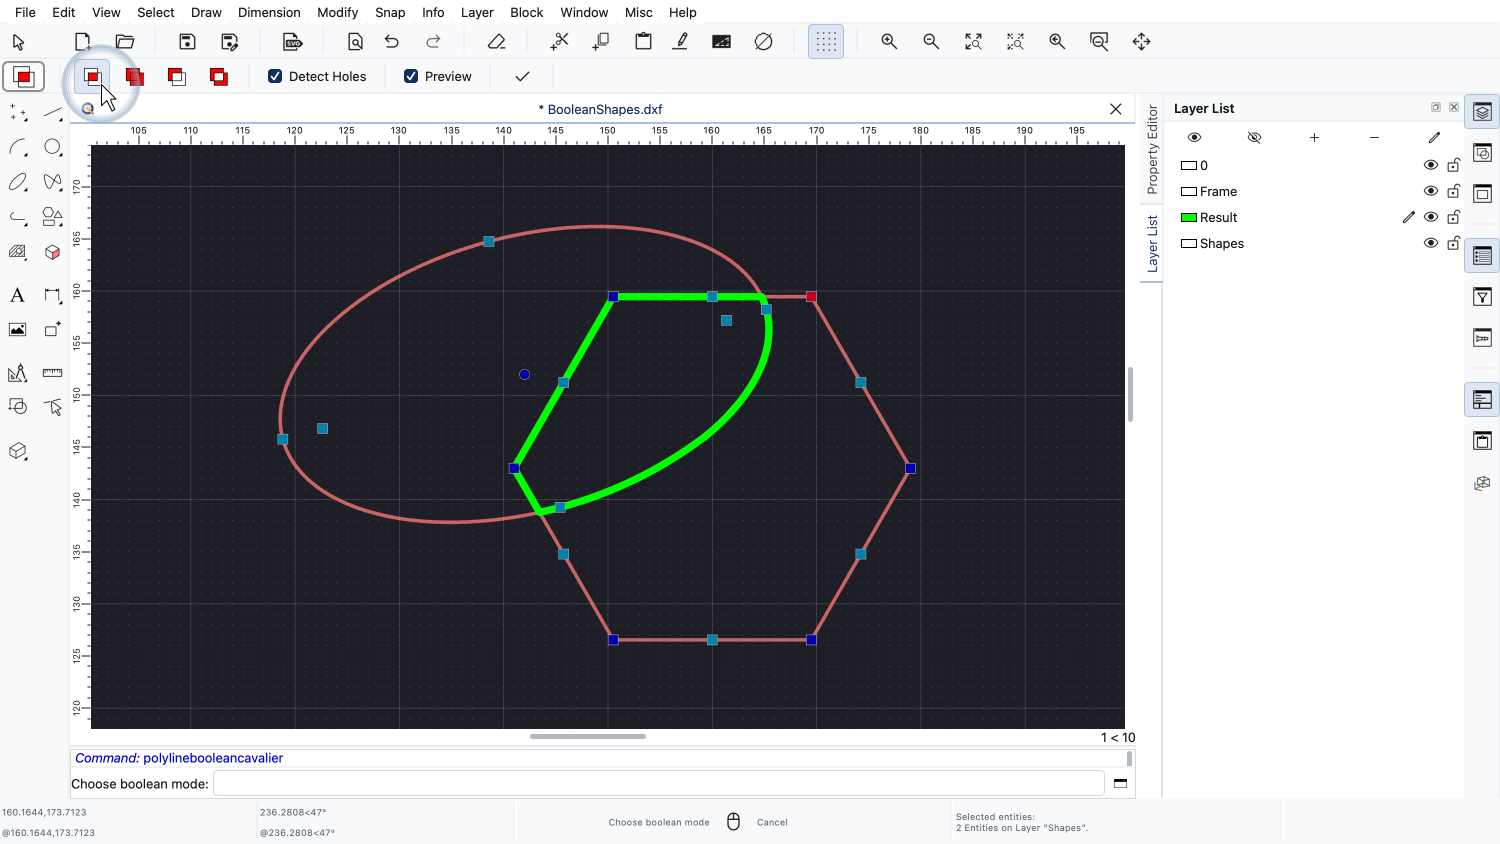
We switch to the intersection.
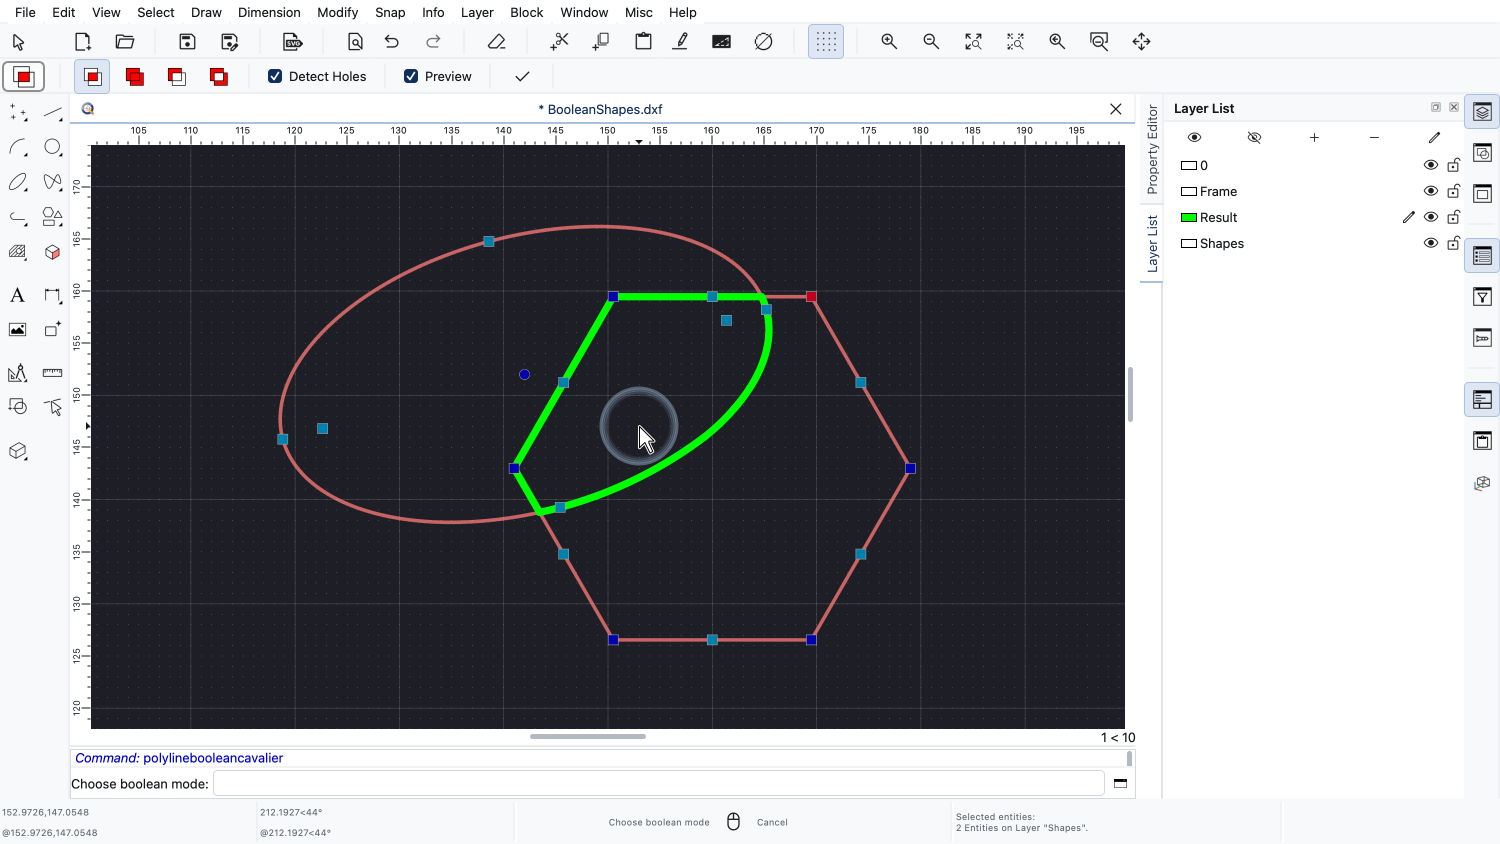
The intersection keeps only the area that is covered by all selected shapes.
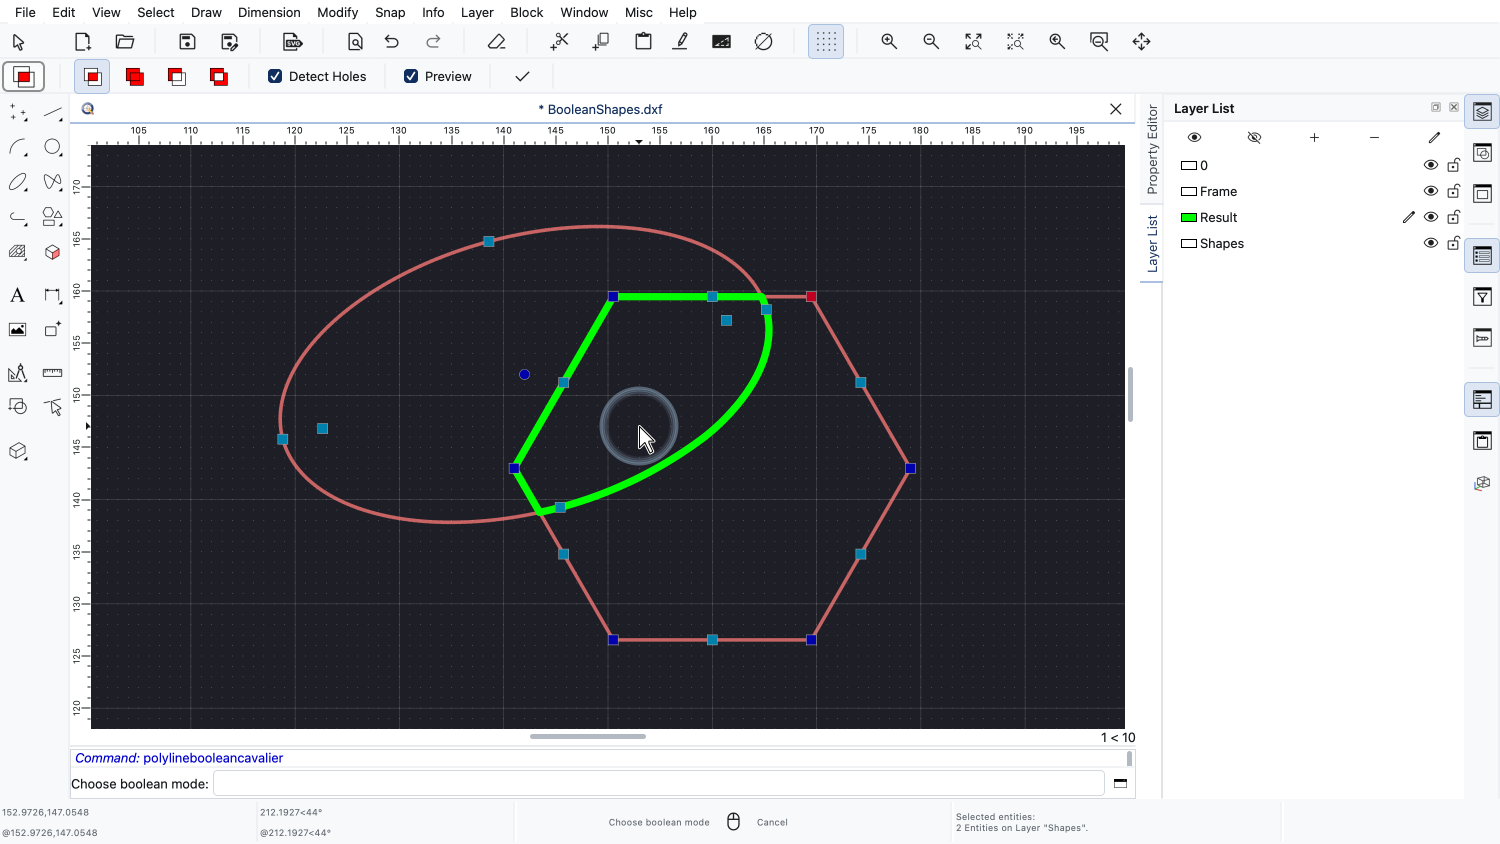
The preview shows the overlapping area of the ellipse and the hexagon.
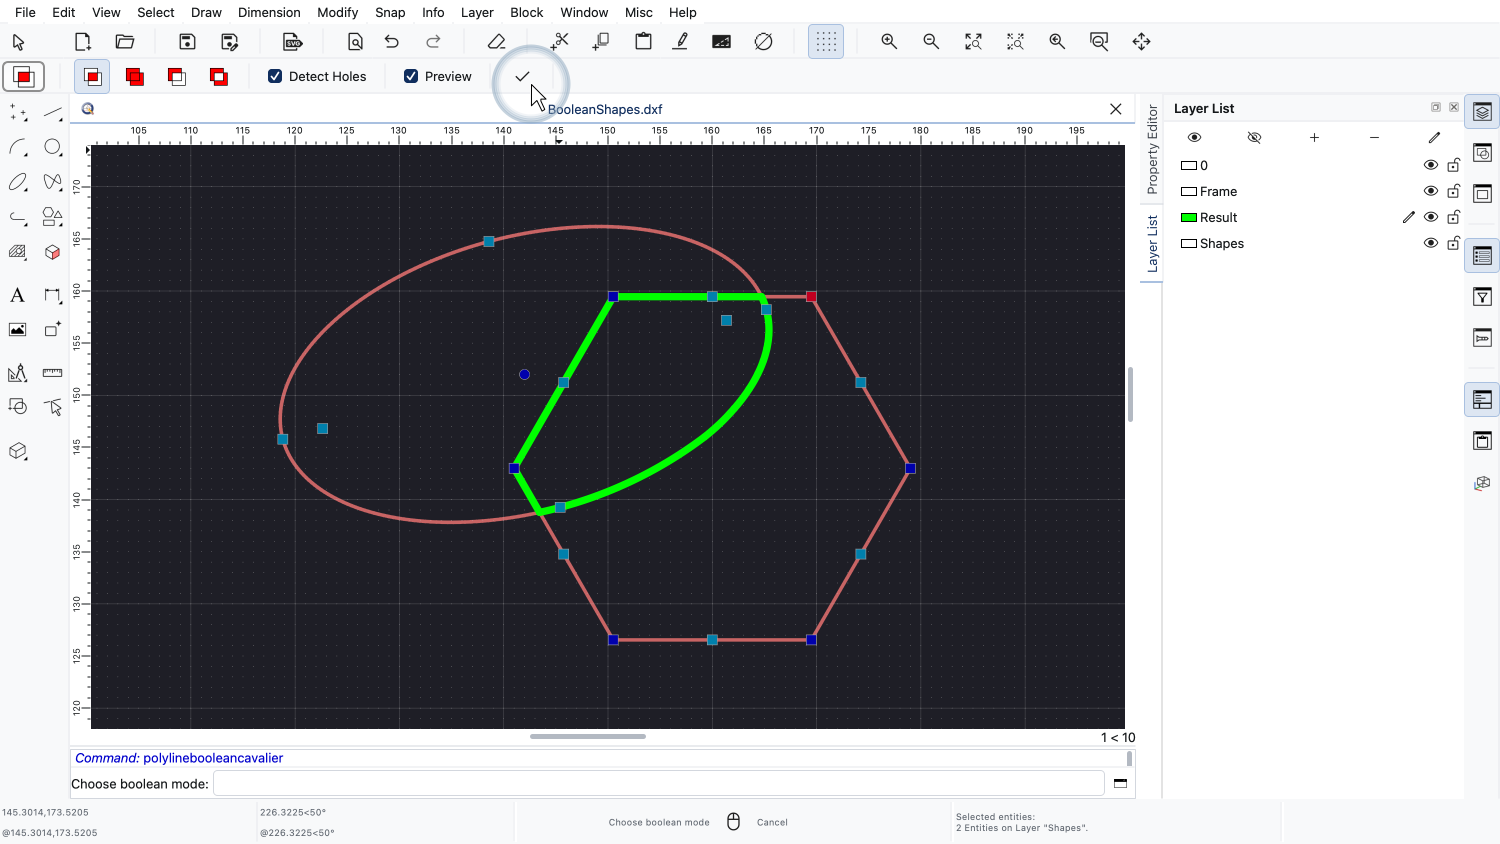
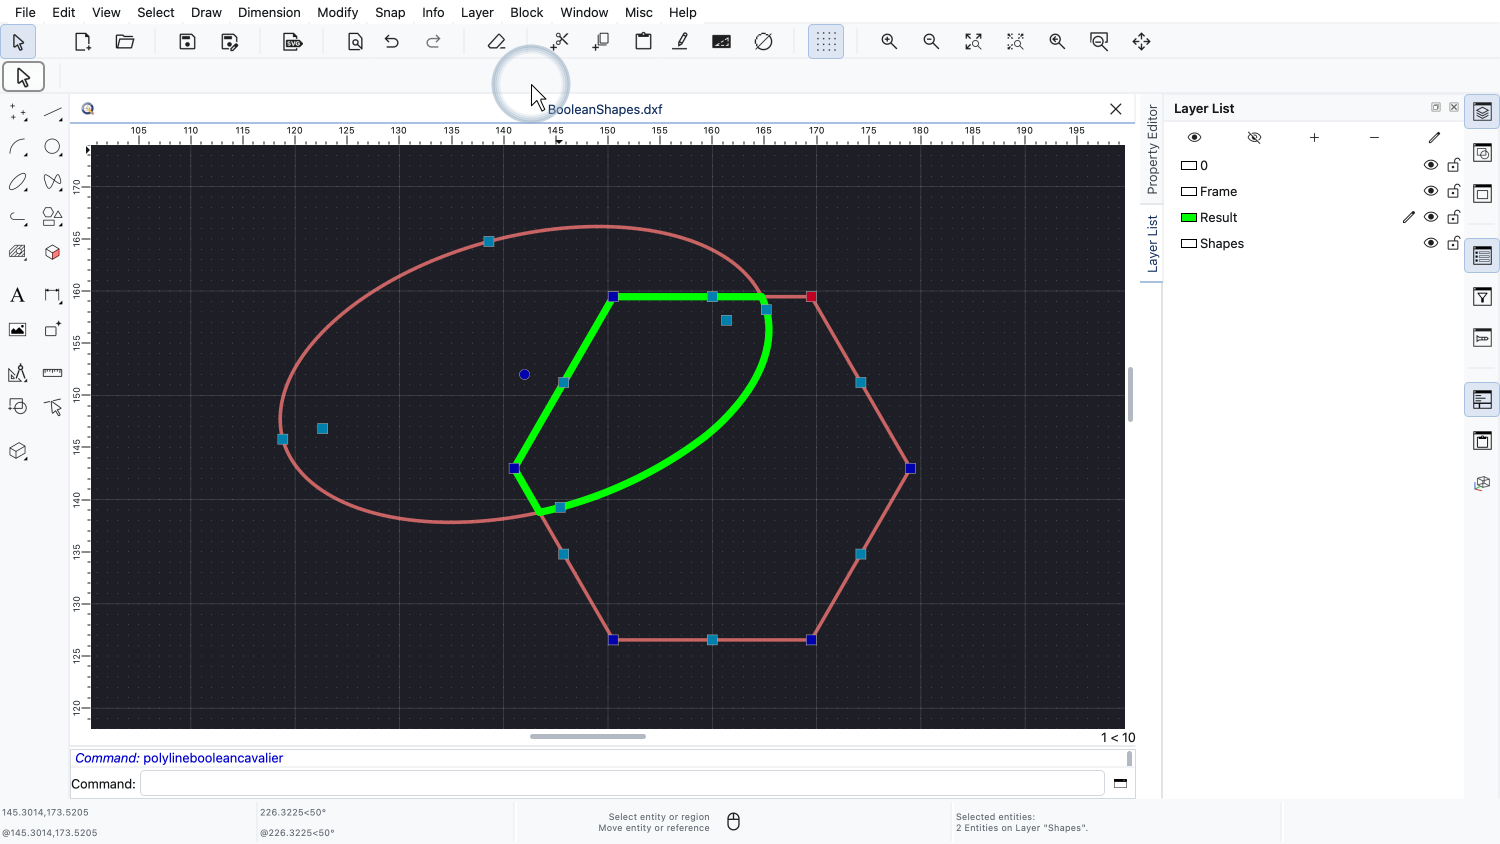
We apply the operation.
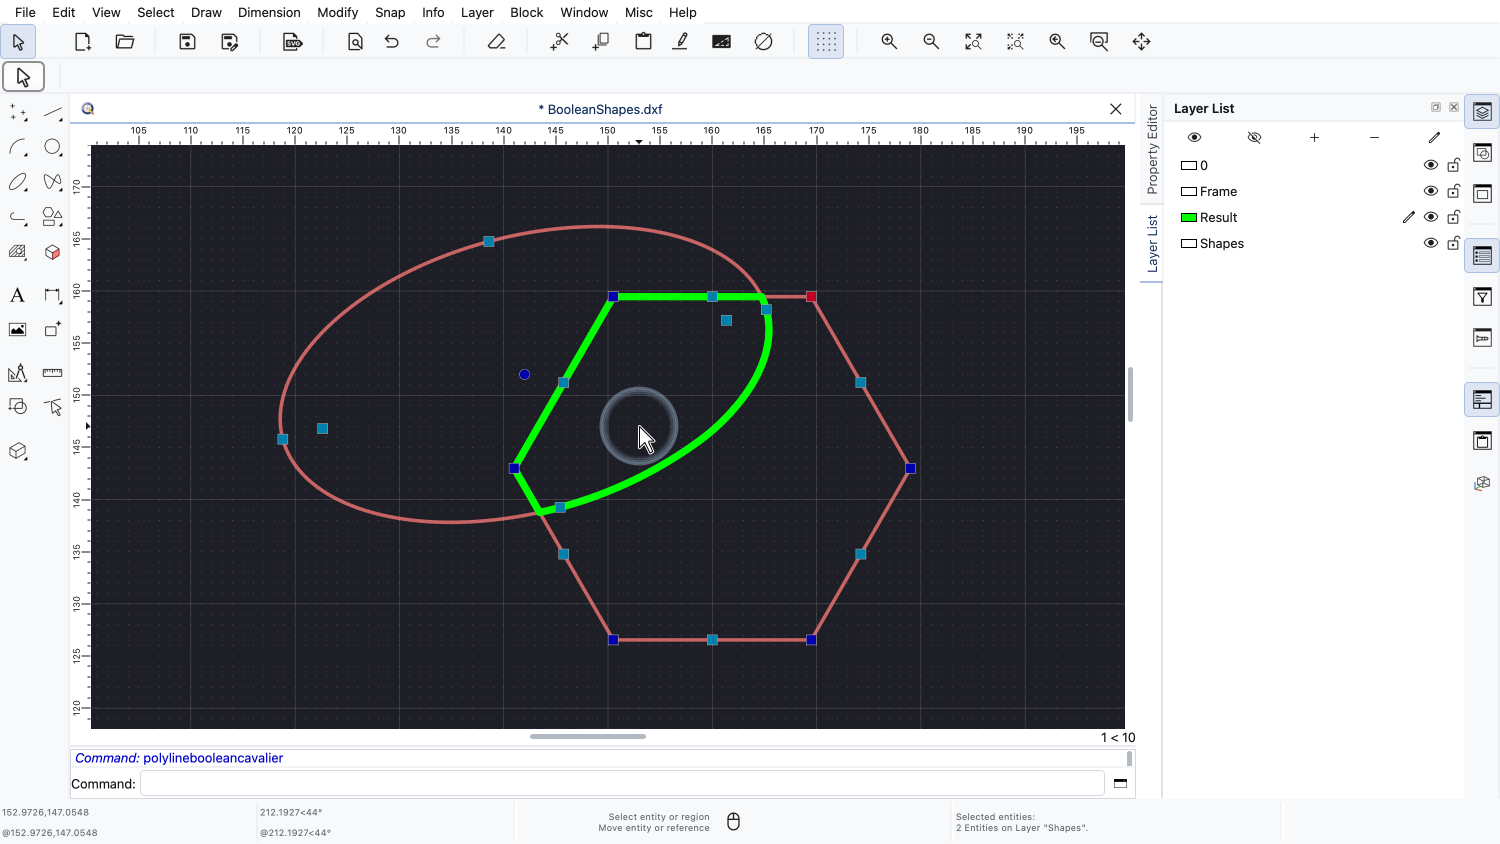
The result is a closed polyline with straight segments from the hexagon and arc segments from the ellipse.
The arc segments are an approximation of the ellipse, since a polyline can only contain lines and arcs.
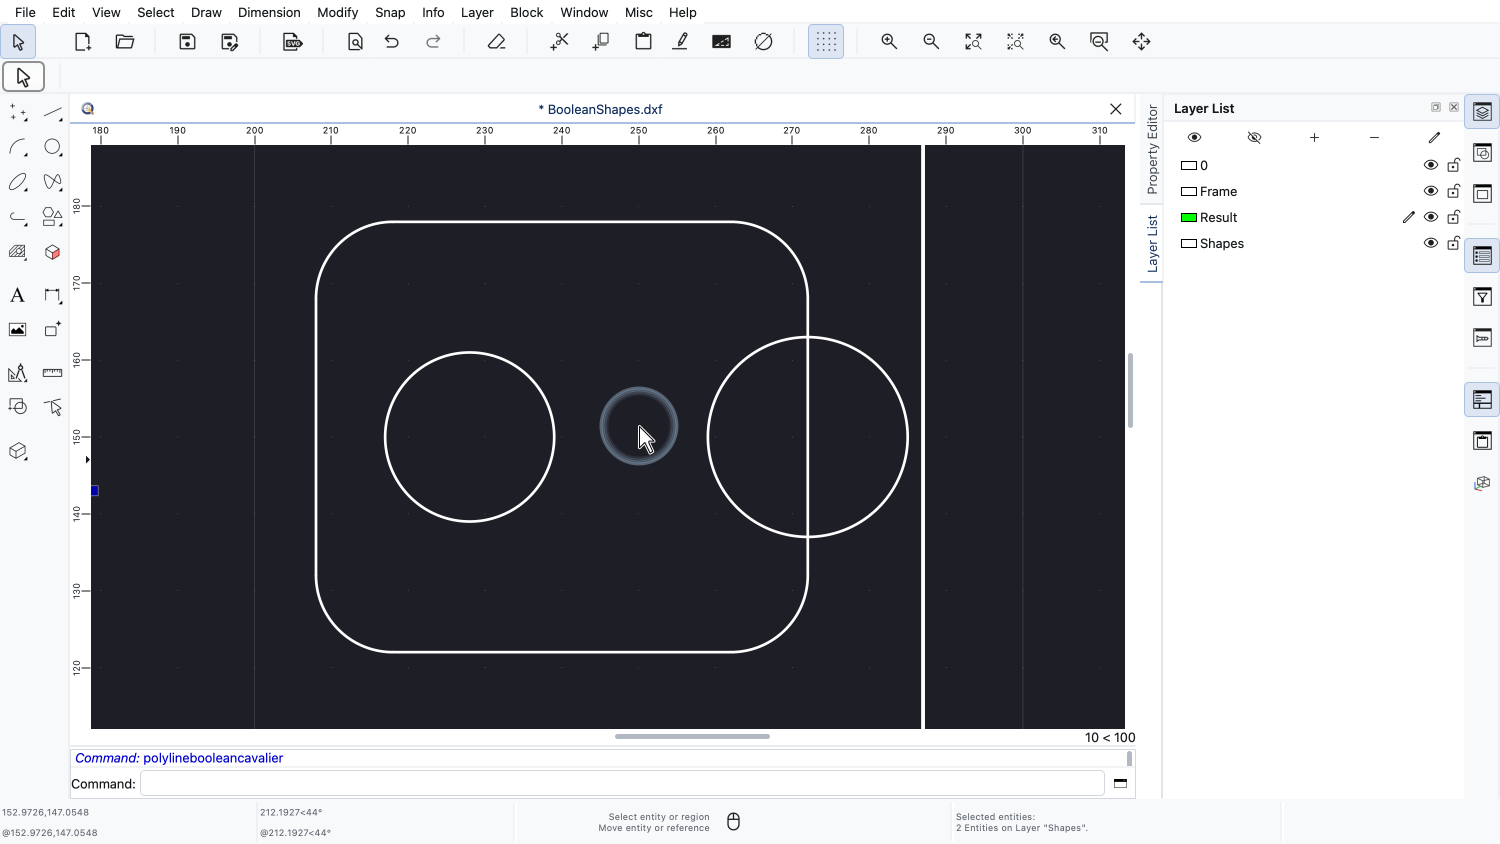
The third operation is the difference, also called subtraction.
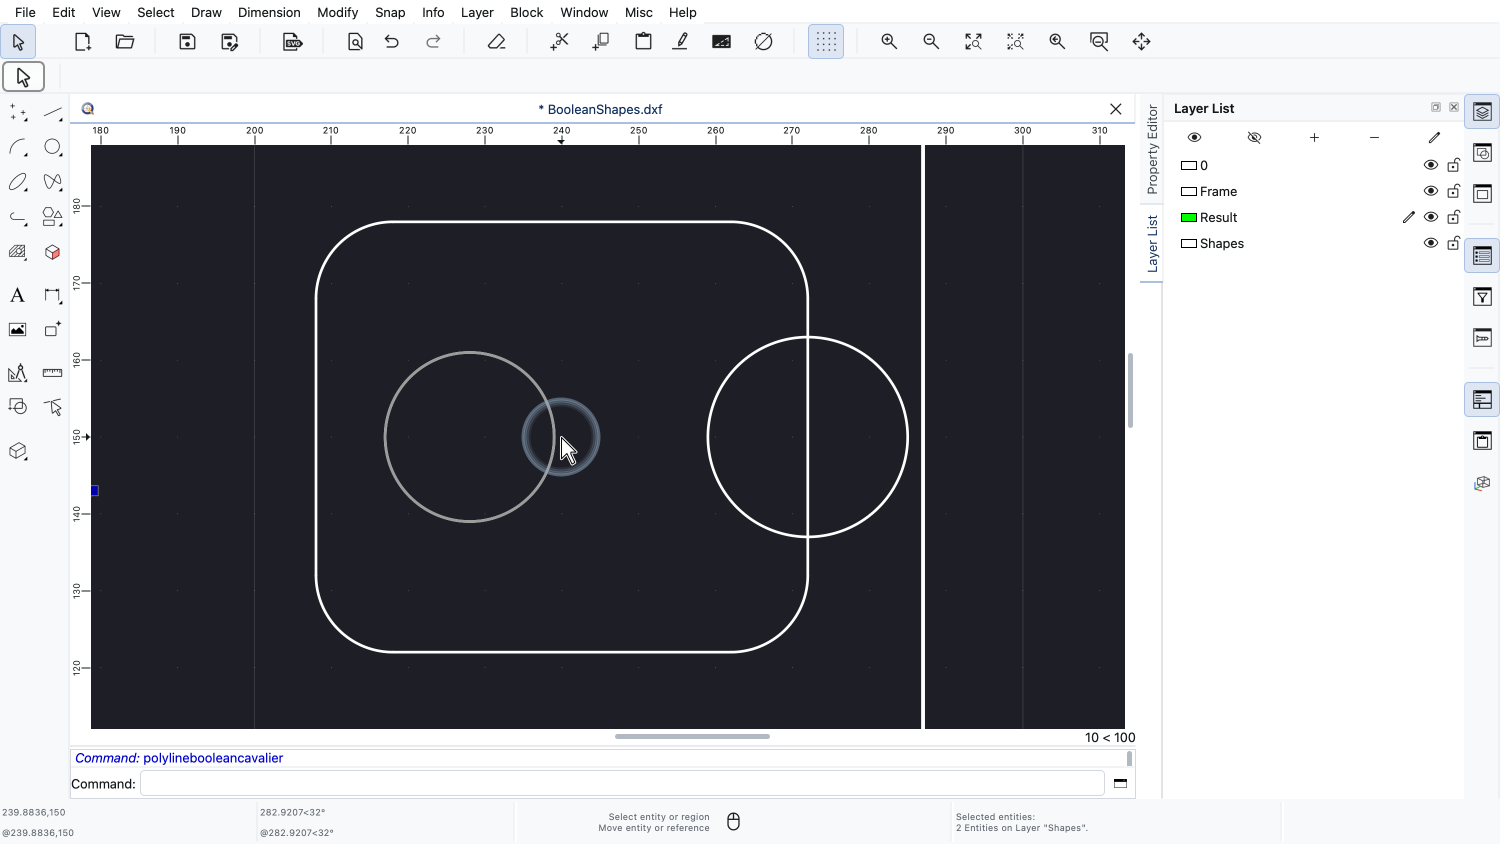
Here, we want to cut two circles out of a plate.
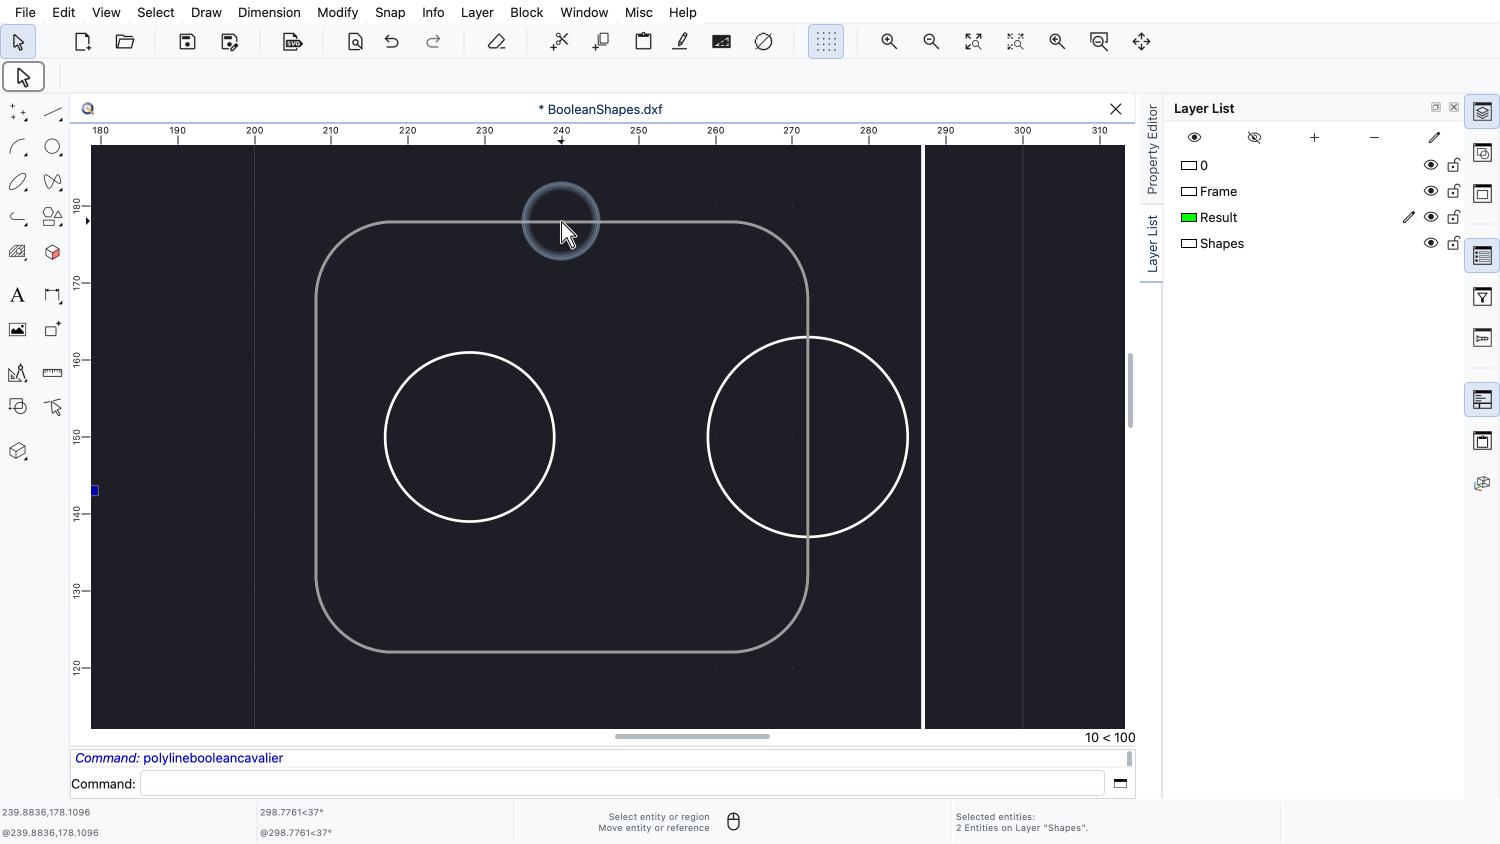
The plate is a closed polyline with rounded corners.
The difference works differently from the other operations.
The selected shapes form the body we subtract from, and we then pick the shapes we want to subtract.
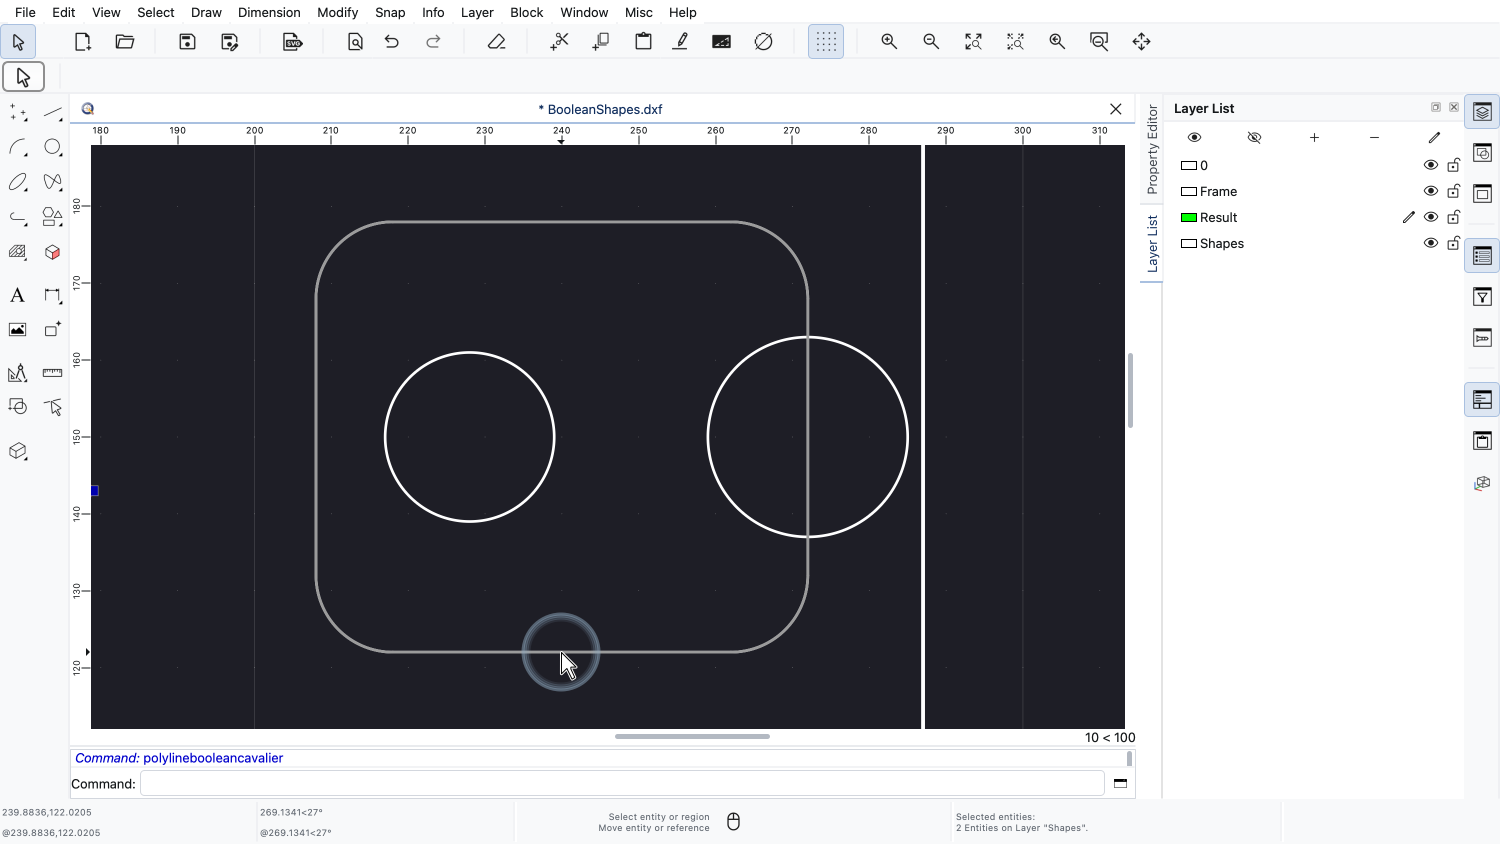
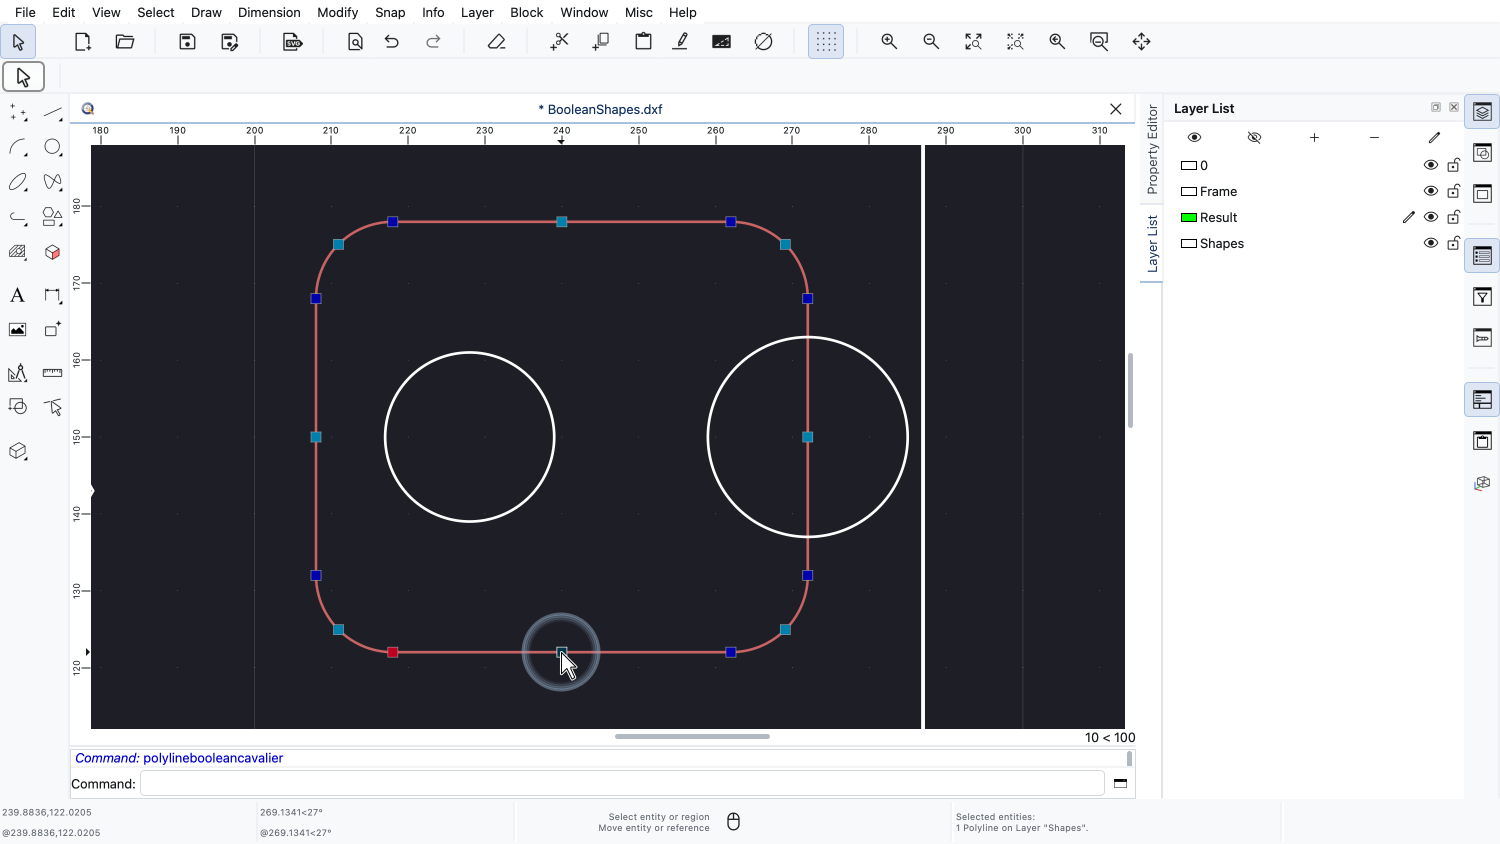
So we only select the plate this time, by clicking on it.
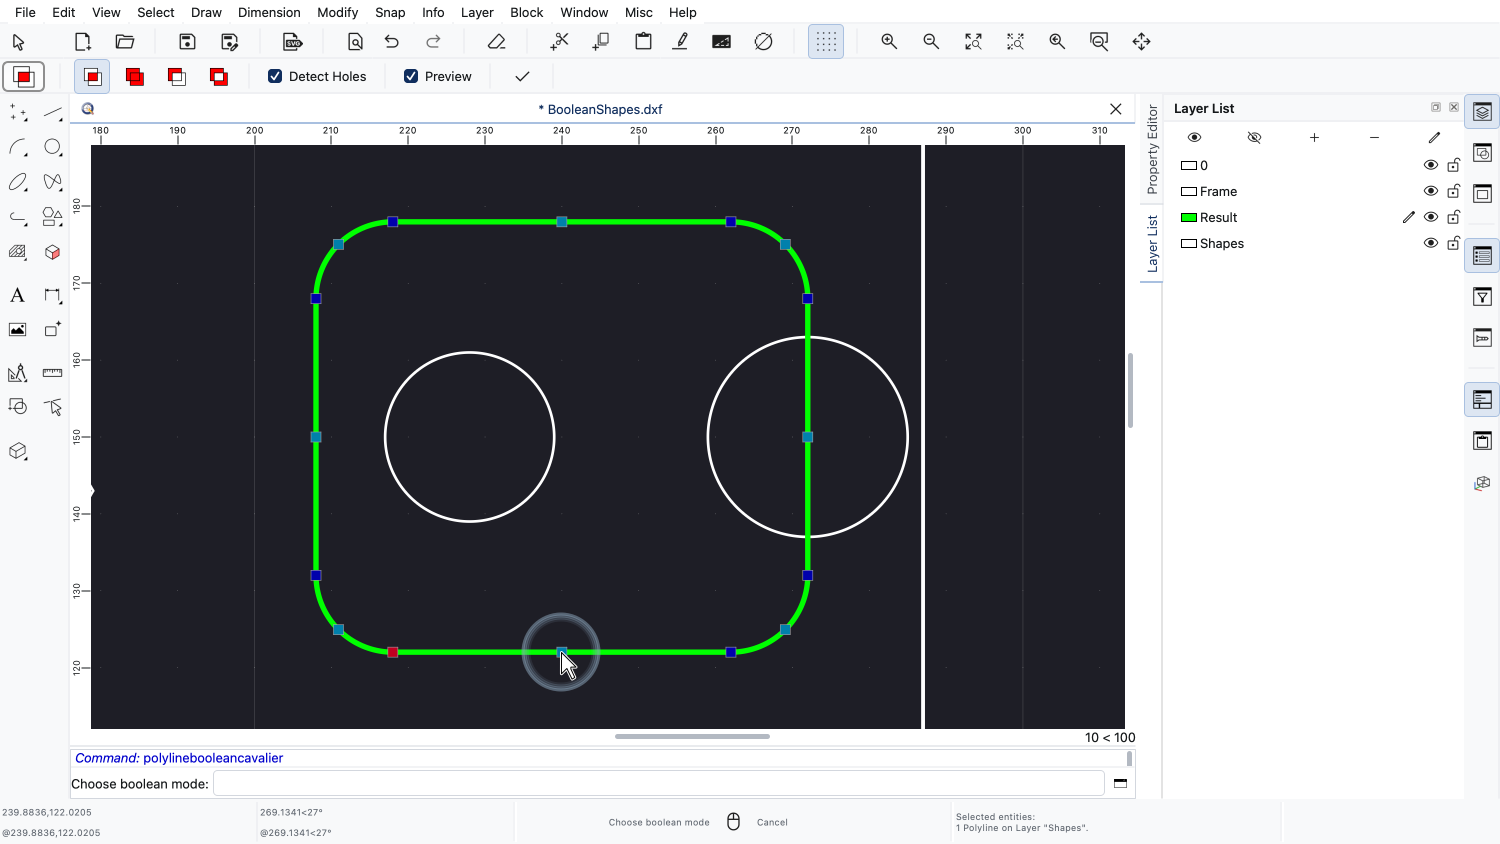
We start the tool again.
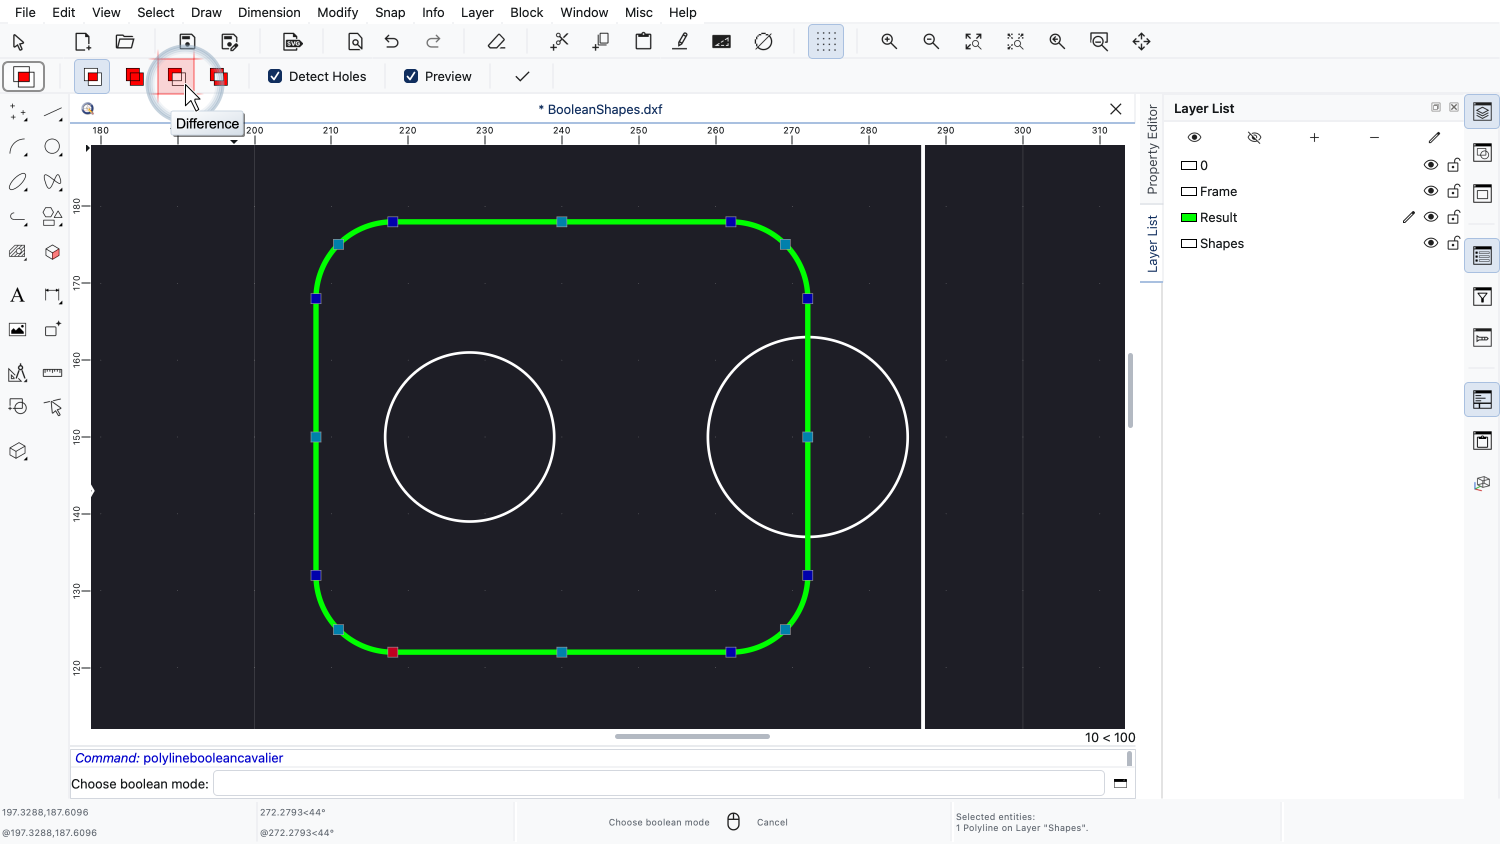
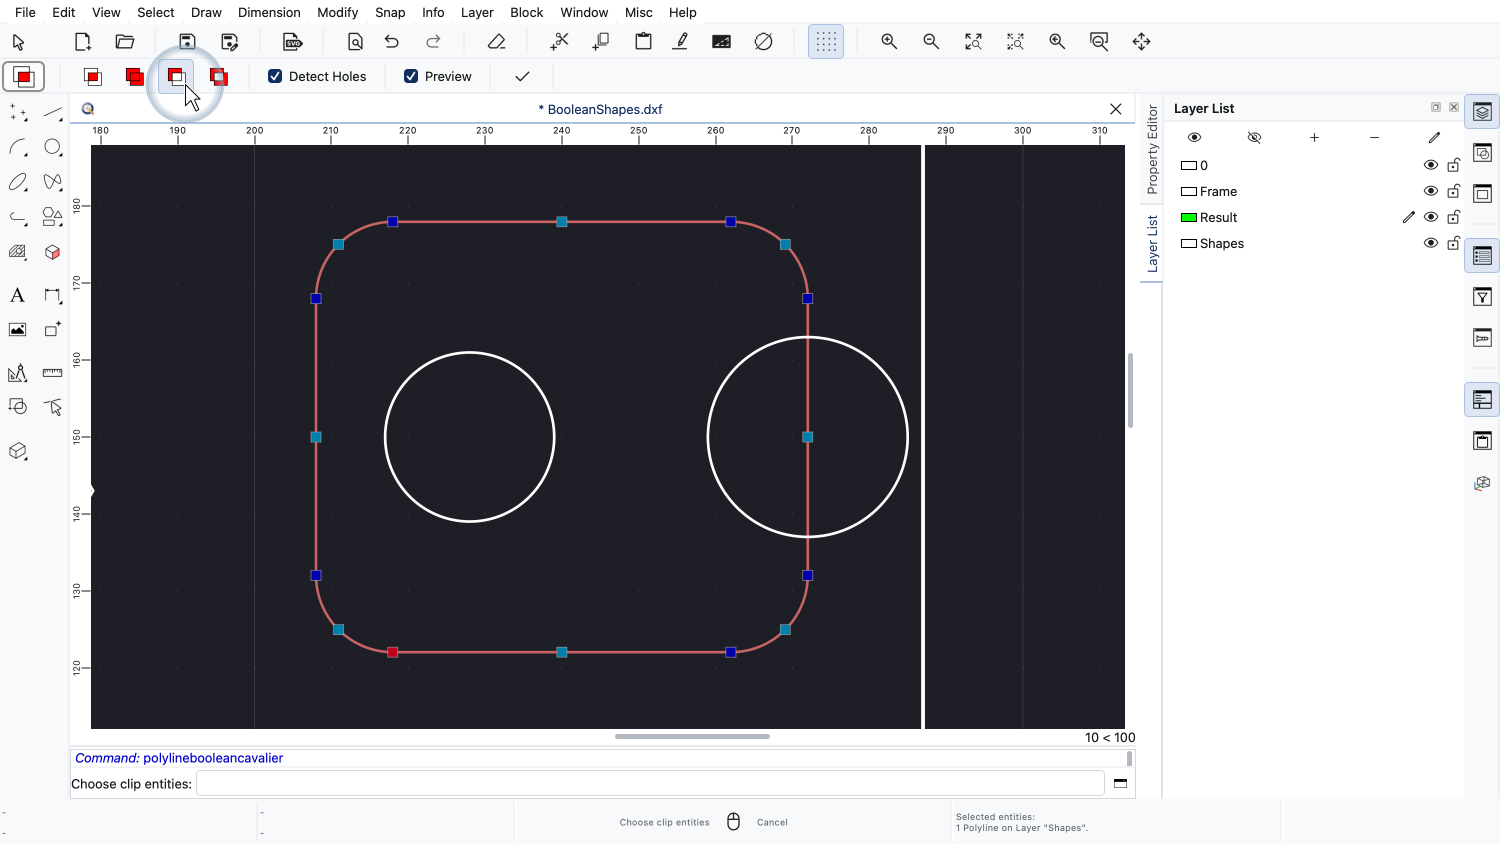
And we choose the difference operation.
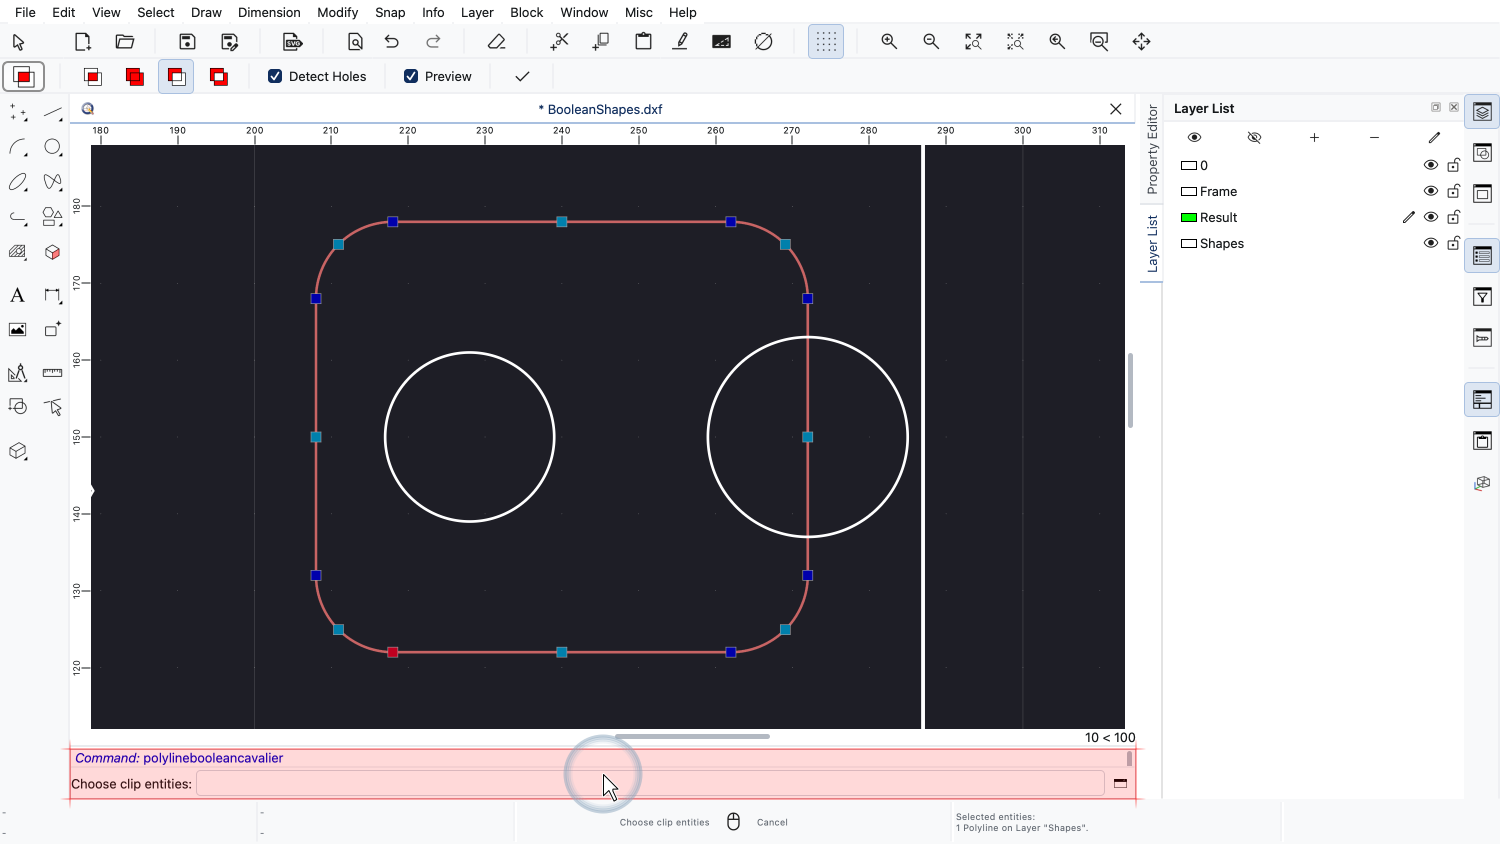
QCAD now asks us to choose the clip entities: the shapes that are subtracted.
A clip shape can be a closed entity of its own such as a circle, a full ellipse, a closed polyline or a closed spline or a collection of lose entities that form a closed shape.
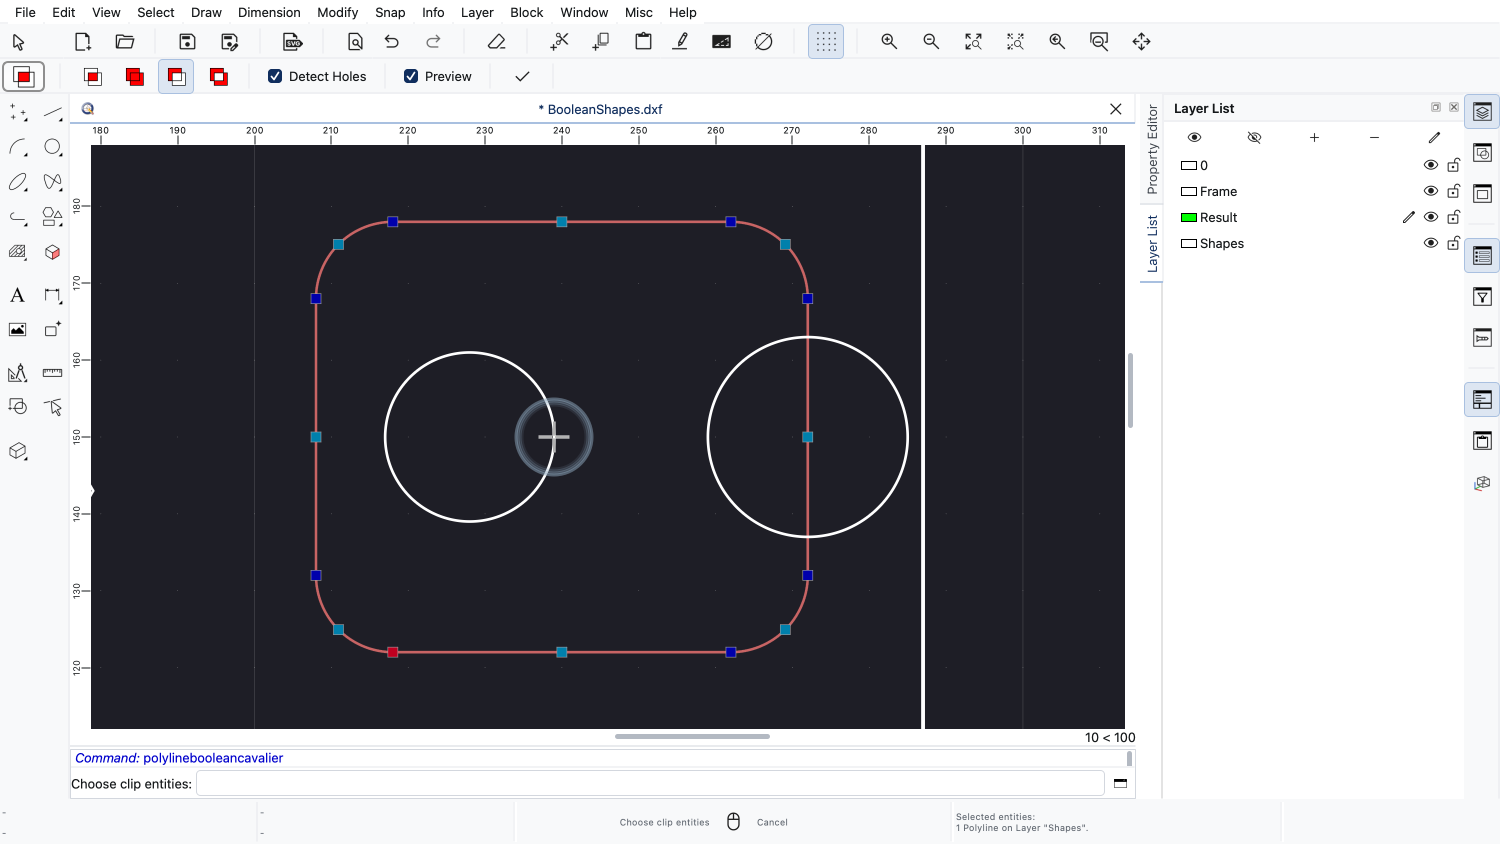
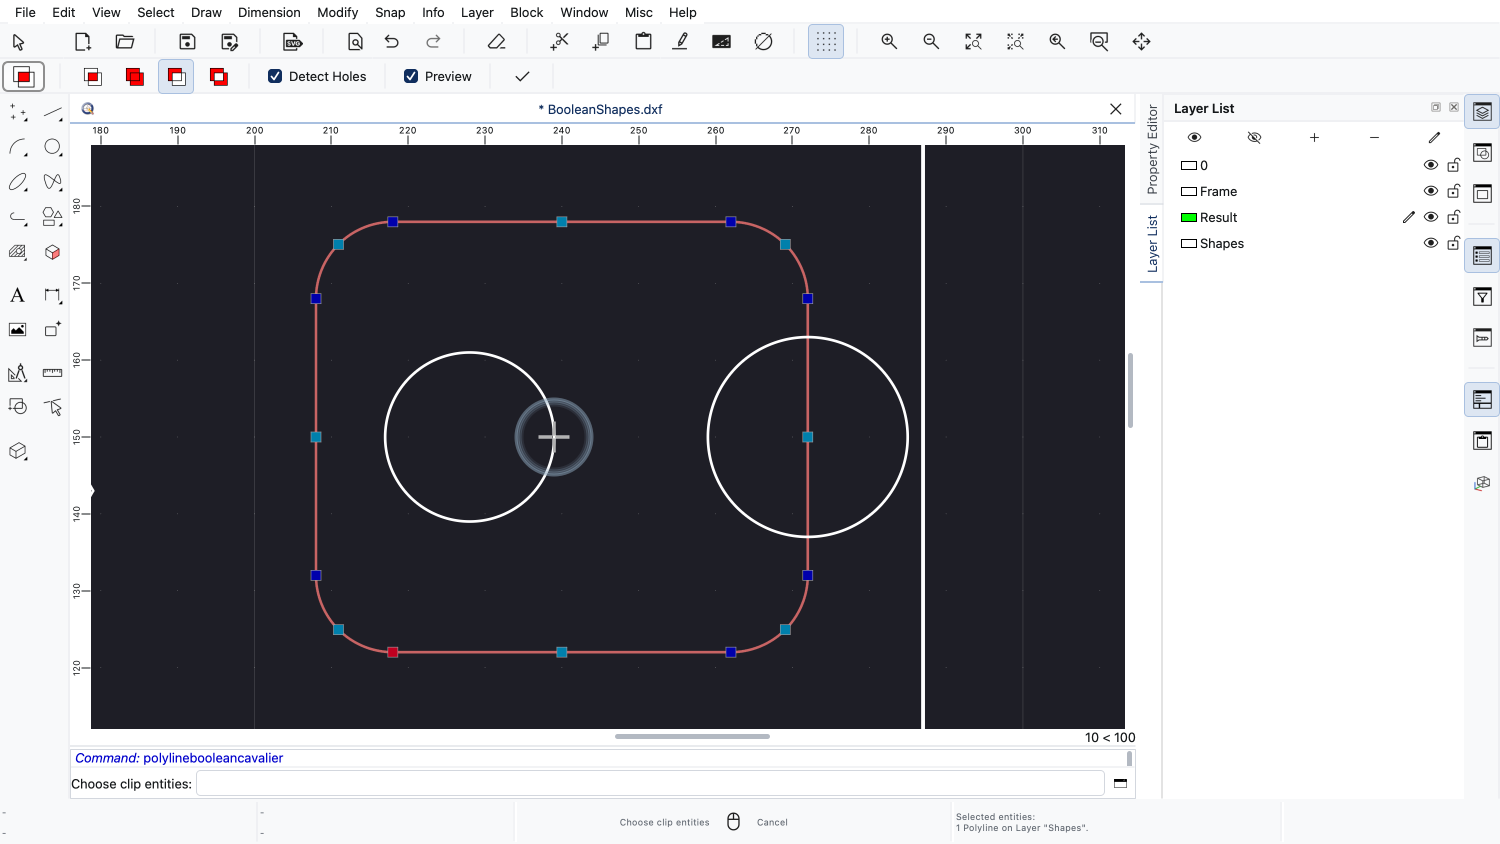
We click the first circle.
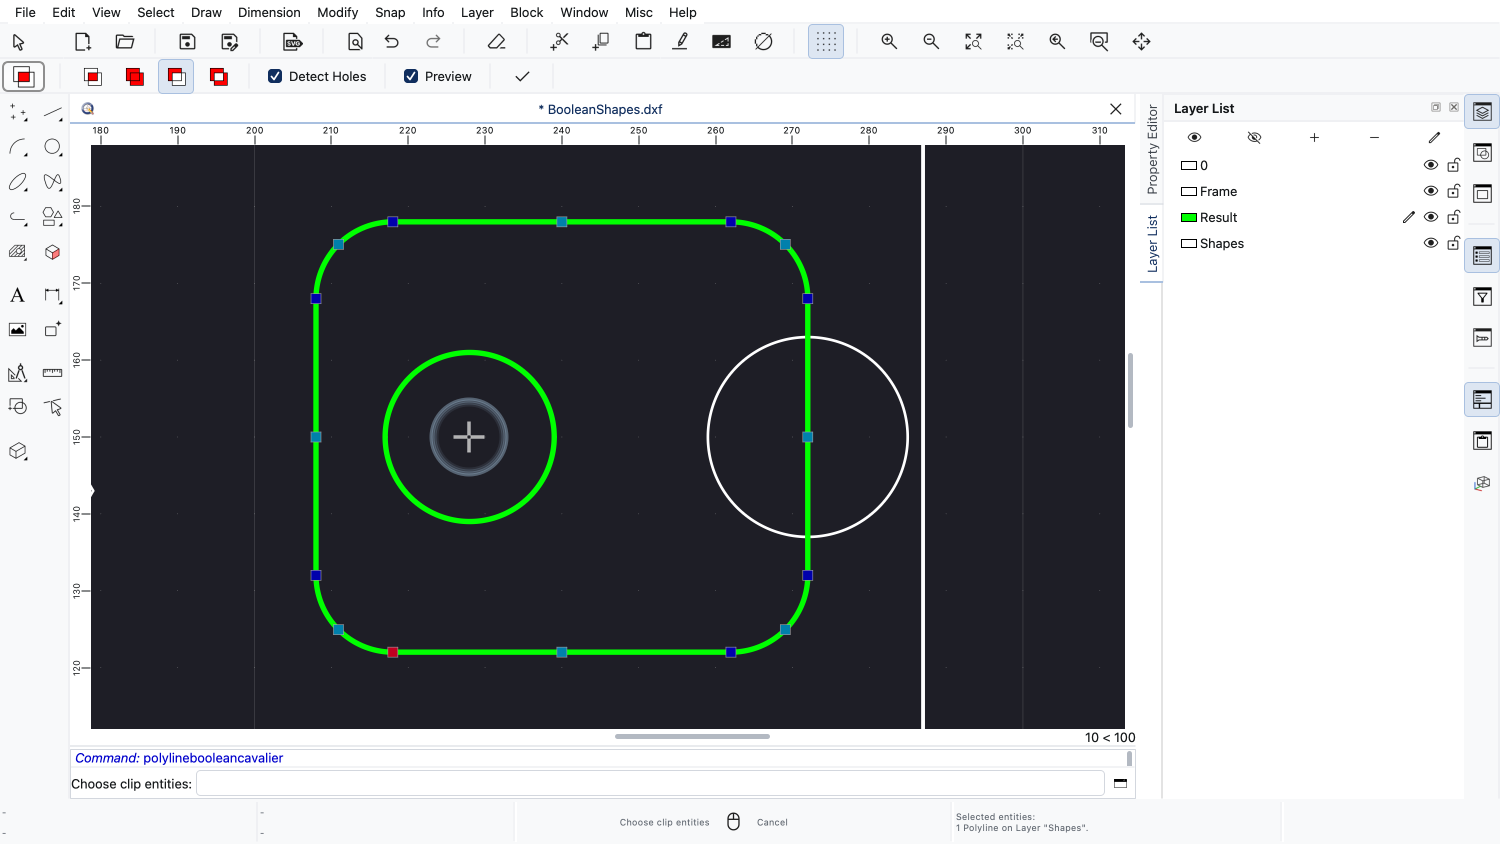
The preview shows the plate with a hole where the circle was.
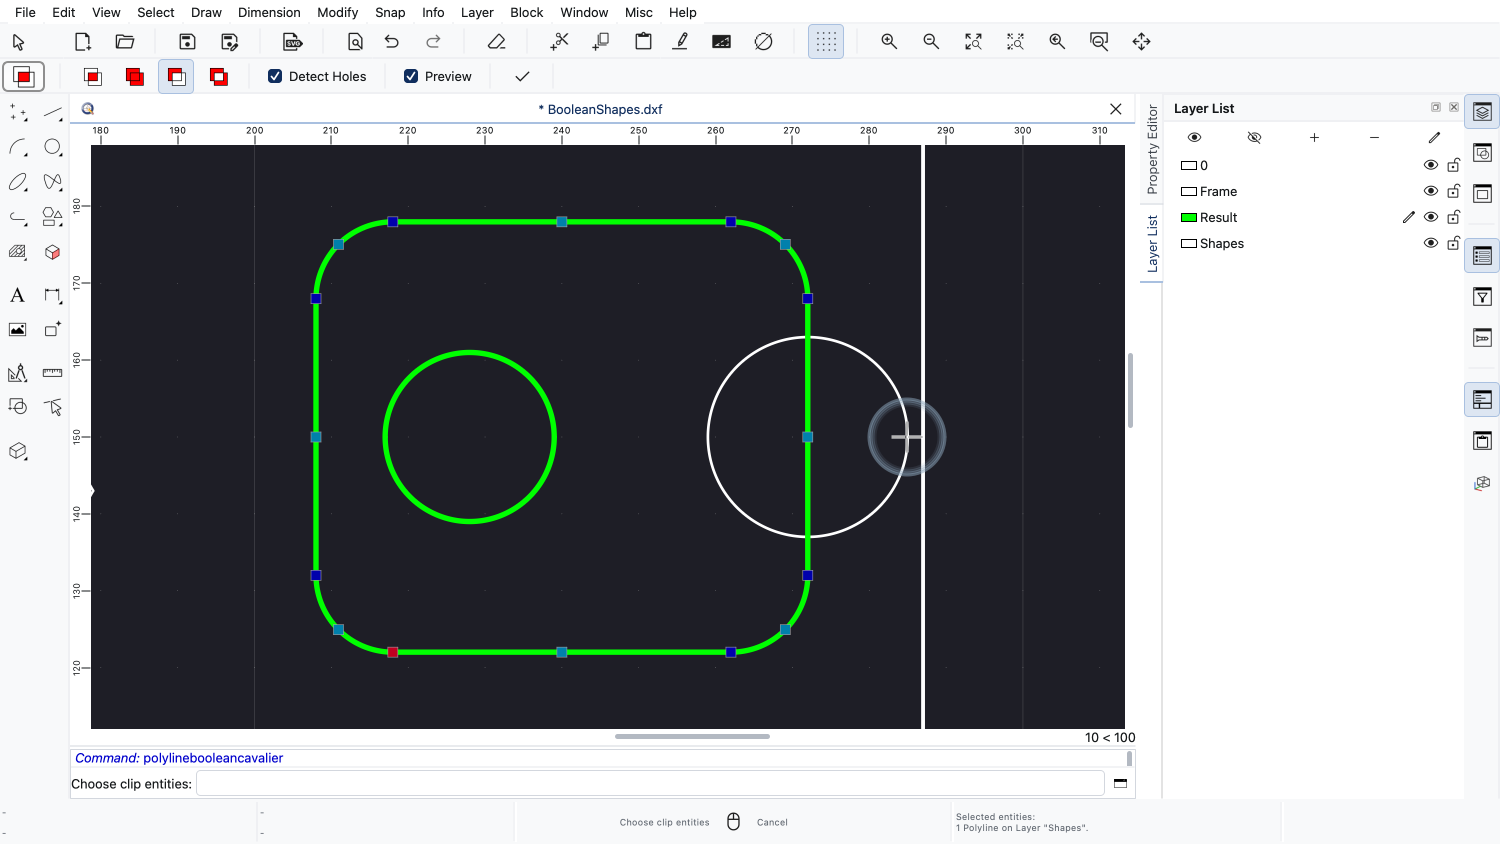
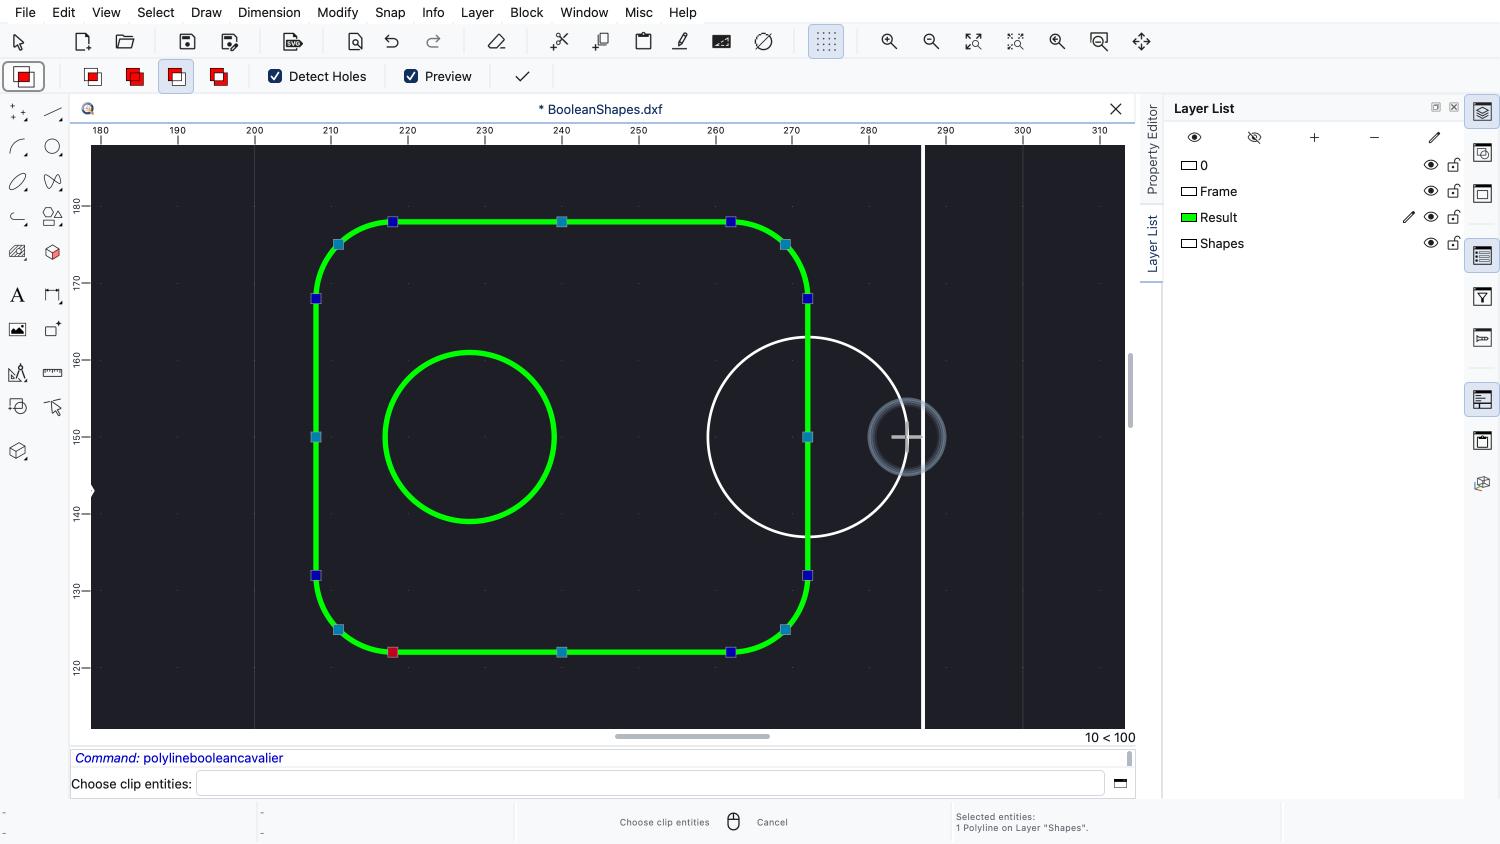
We can pick as many clip entities as we like, so we add the second circle as well.
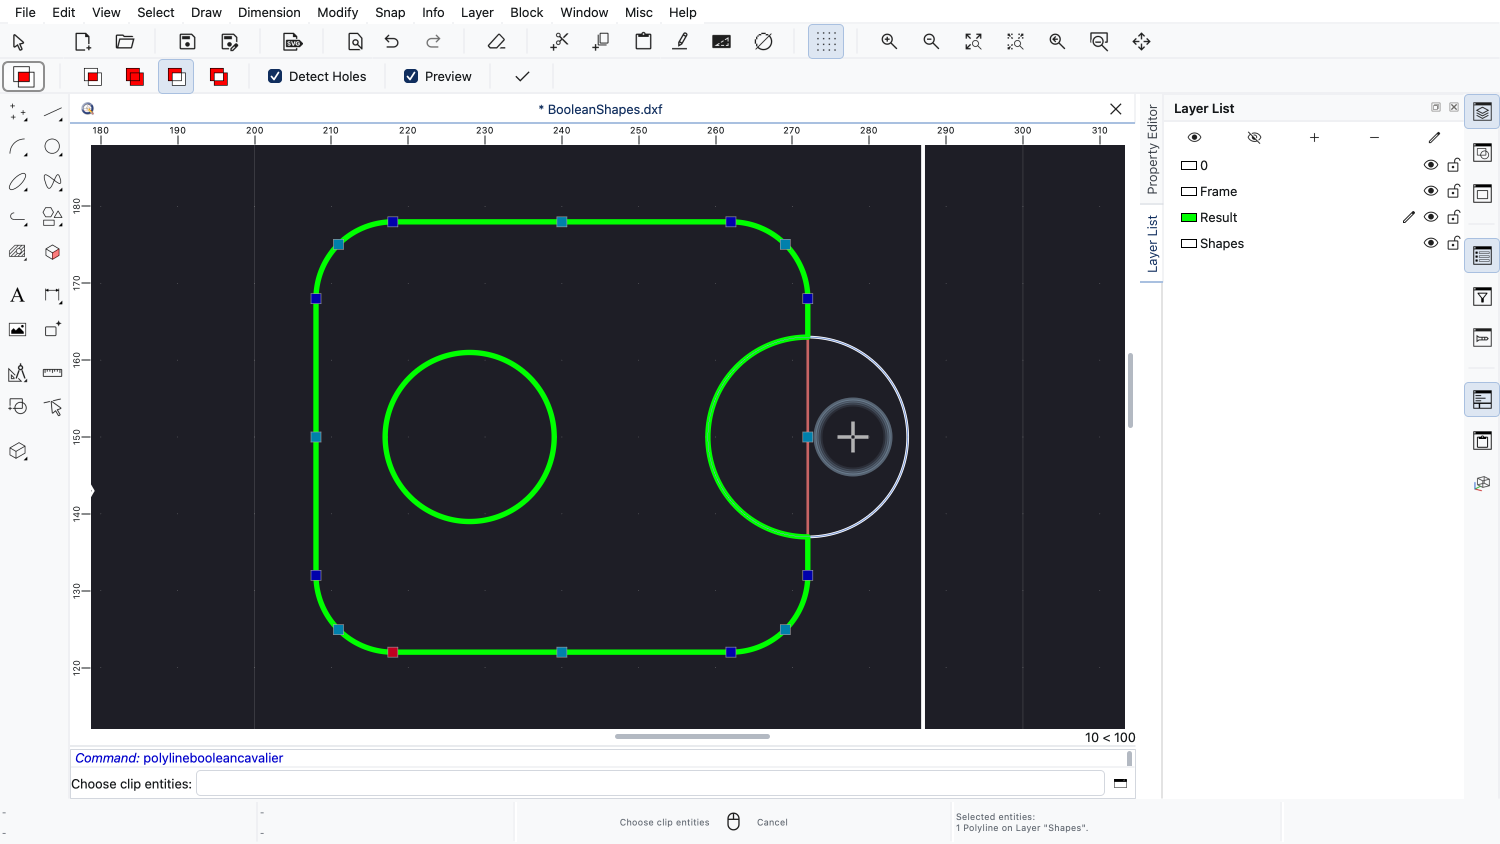
This circle reaches beyond the edge of the plate and therefore cuts a notch out of its side.
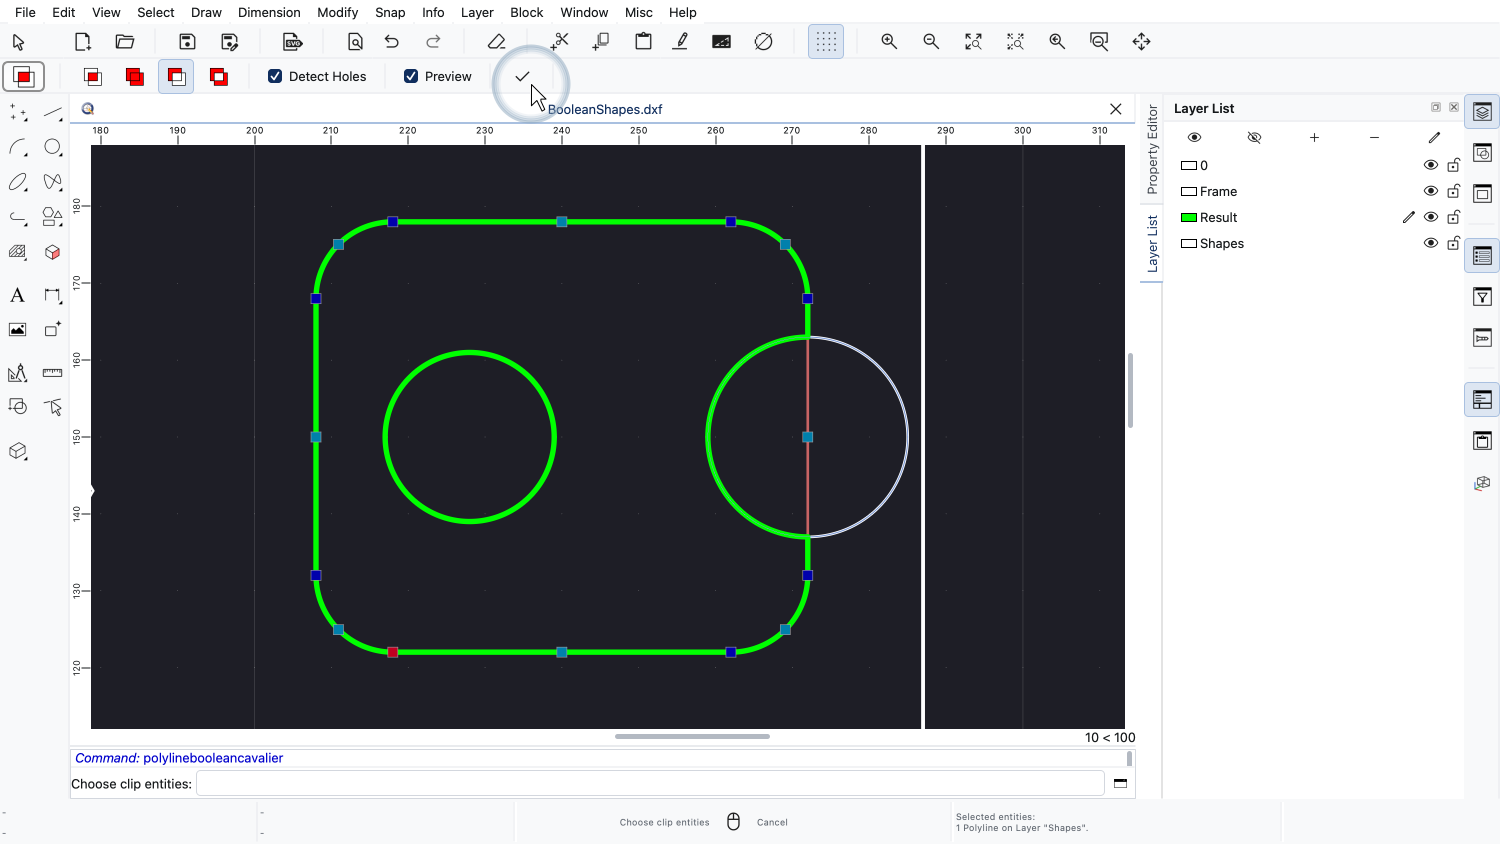
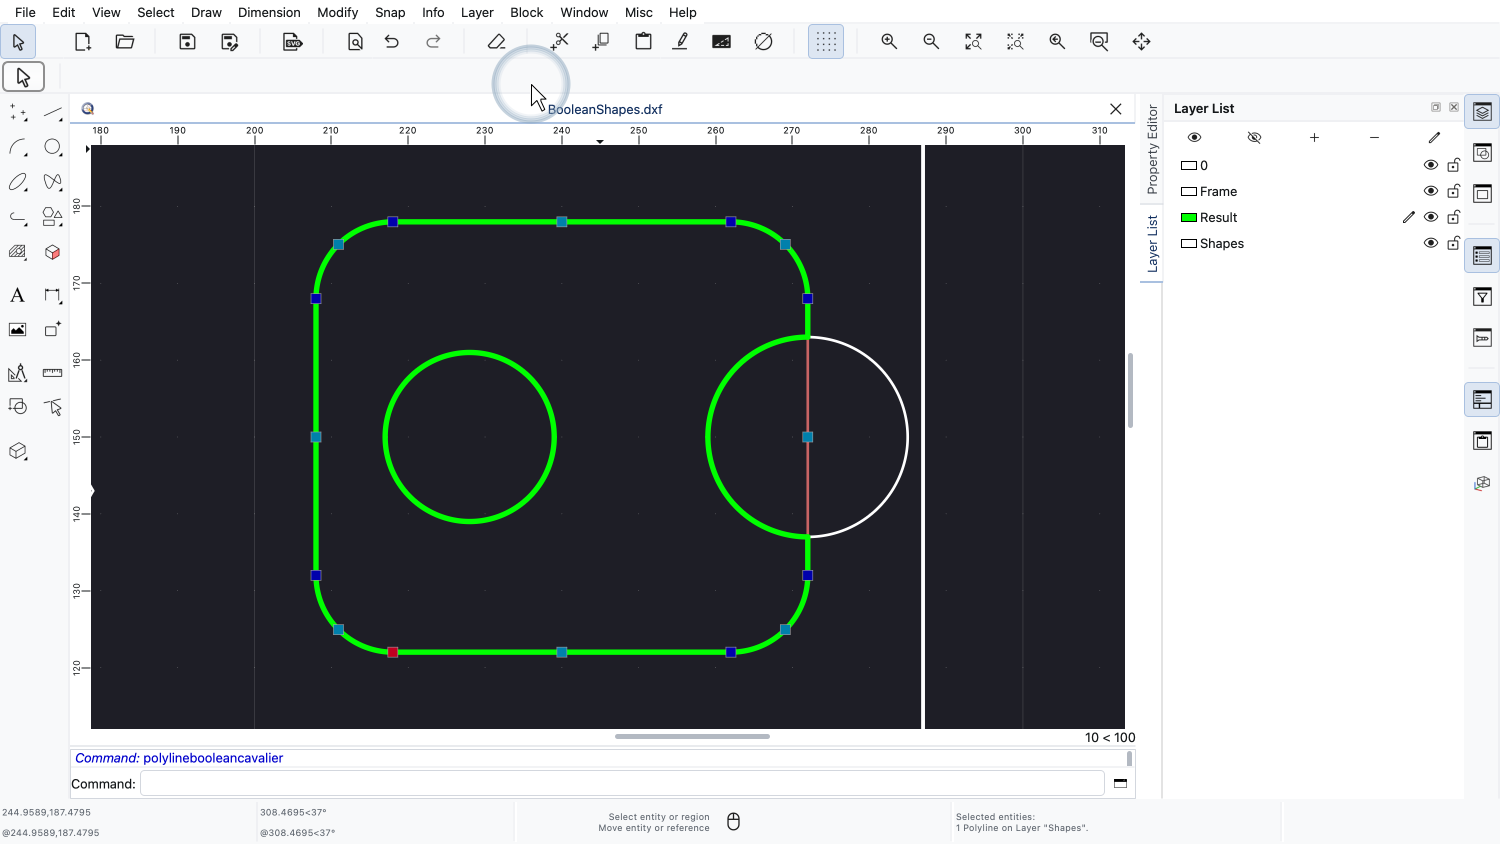
We apply the operation.
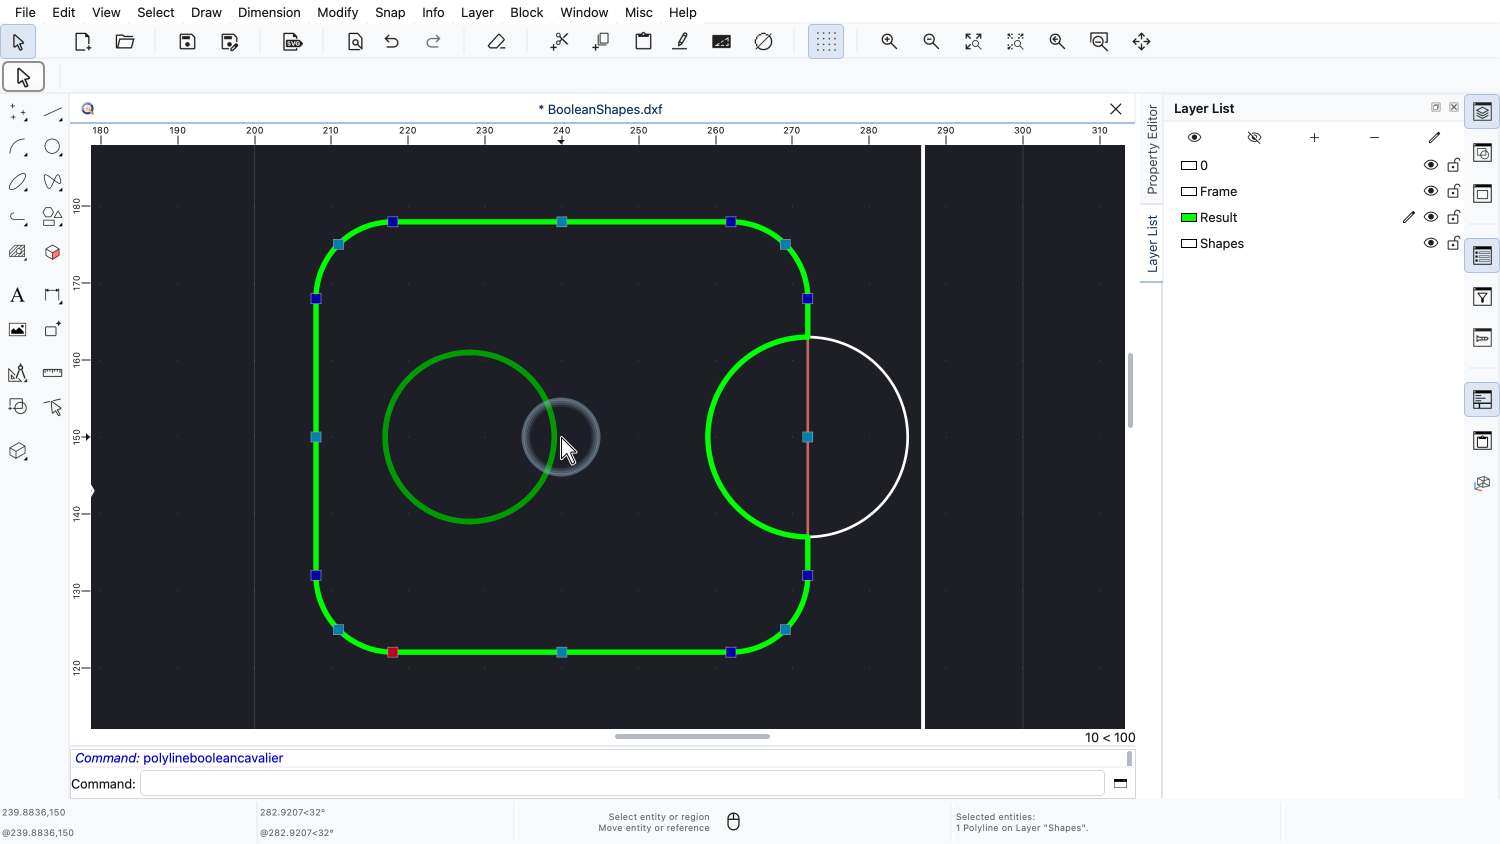
The result consists of two polylines: the outline of the plate with its notch, and the circular hole inside it.
A hole is always a polyline of its own, since a polyline cannot have a hole.
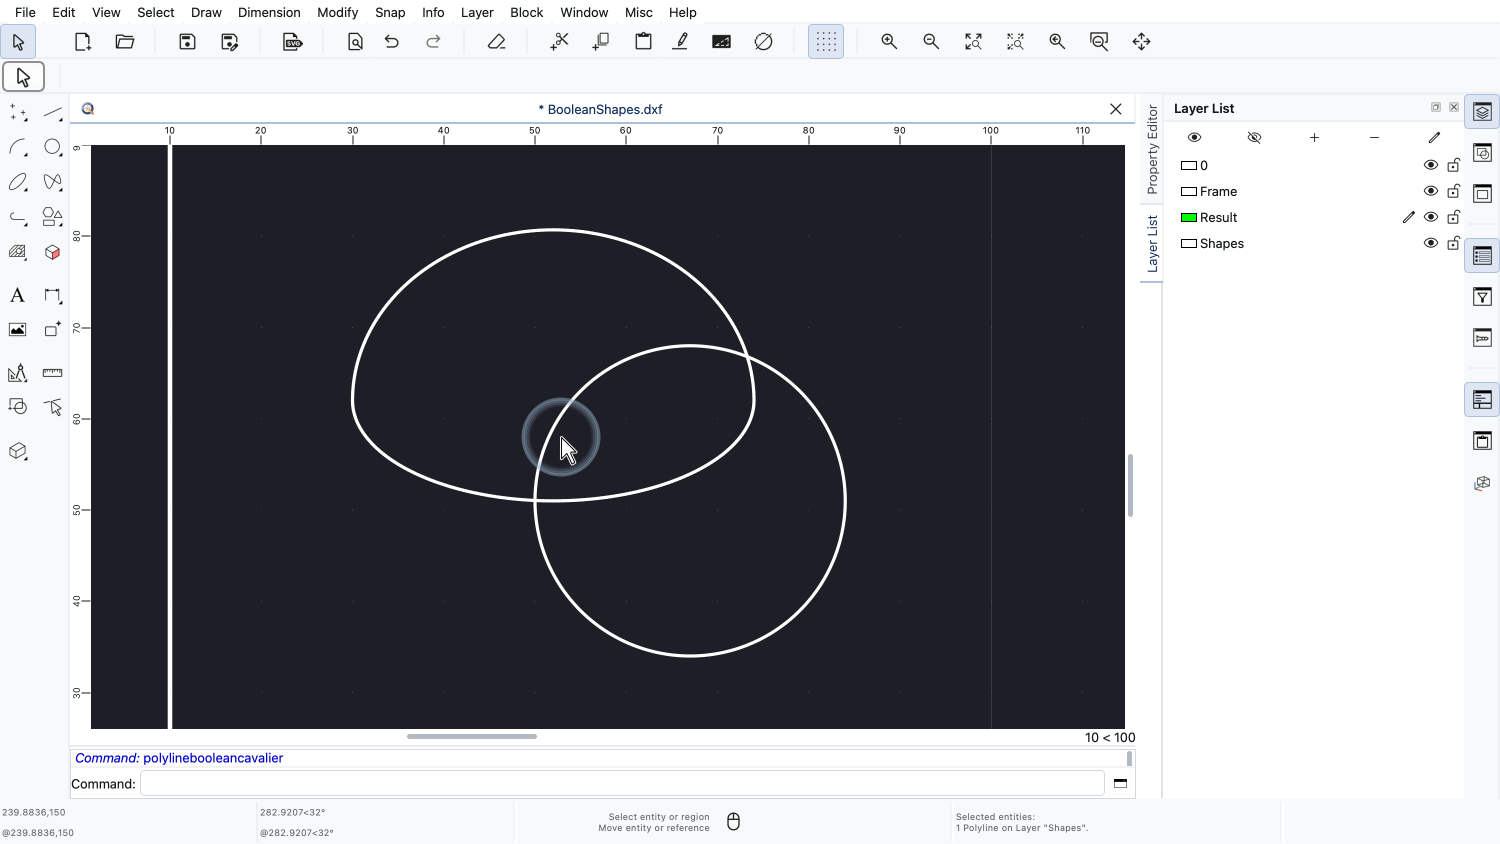
The fourth operation is the exclusive or, or XOR for short.
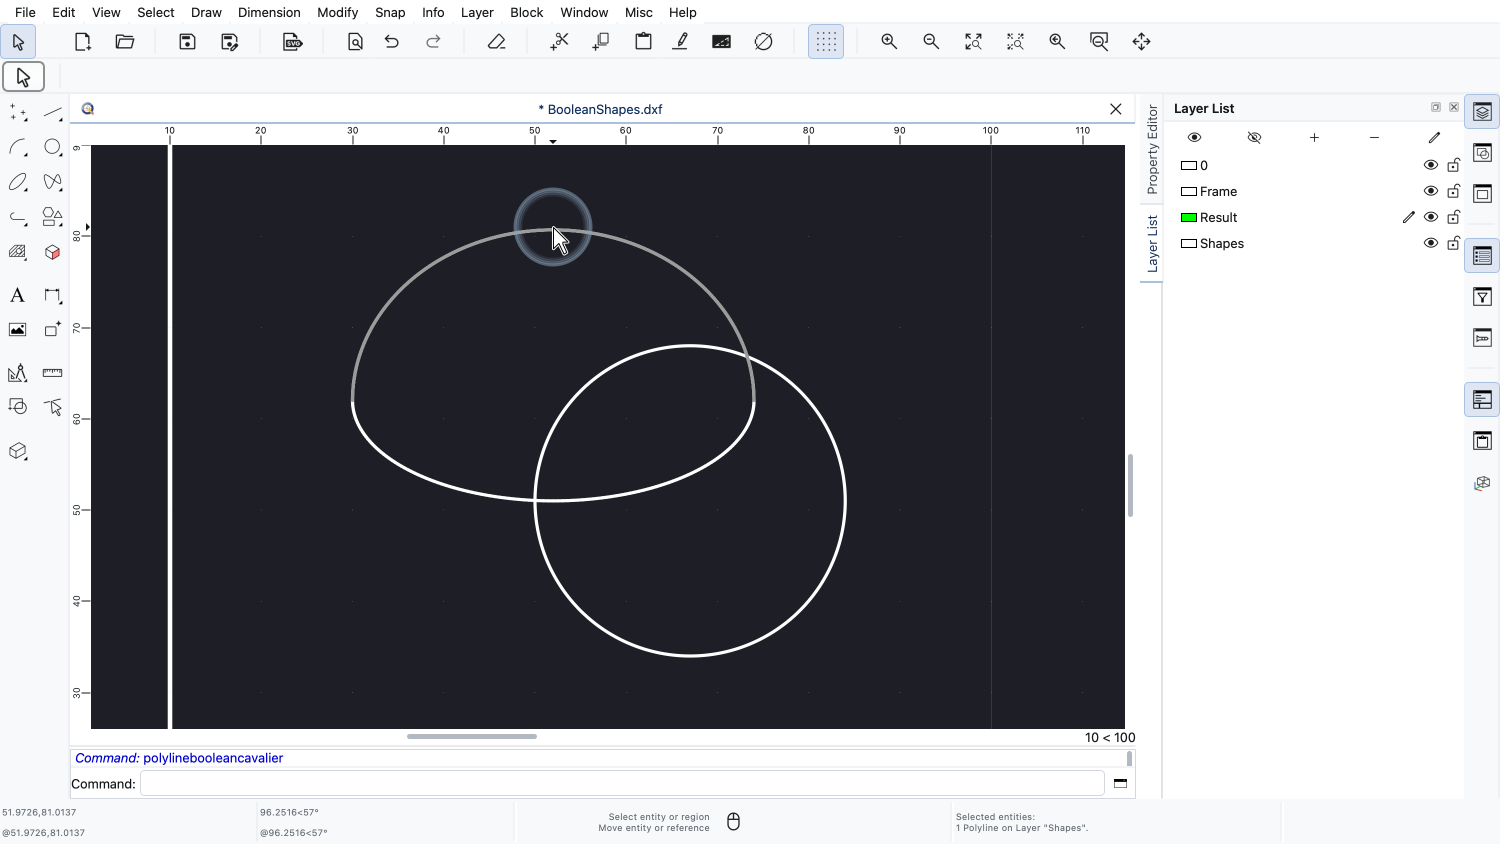
The shape on the left is made of two ellipse arcs with different ratios.
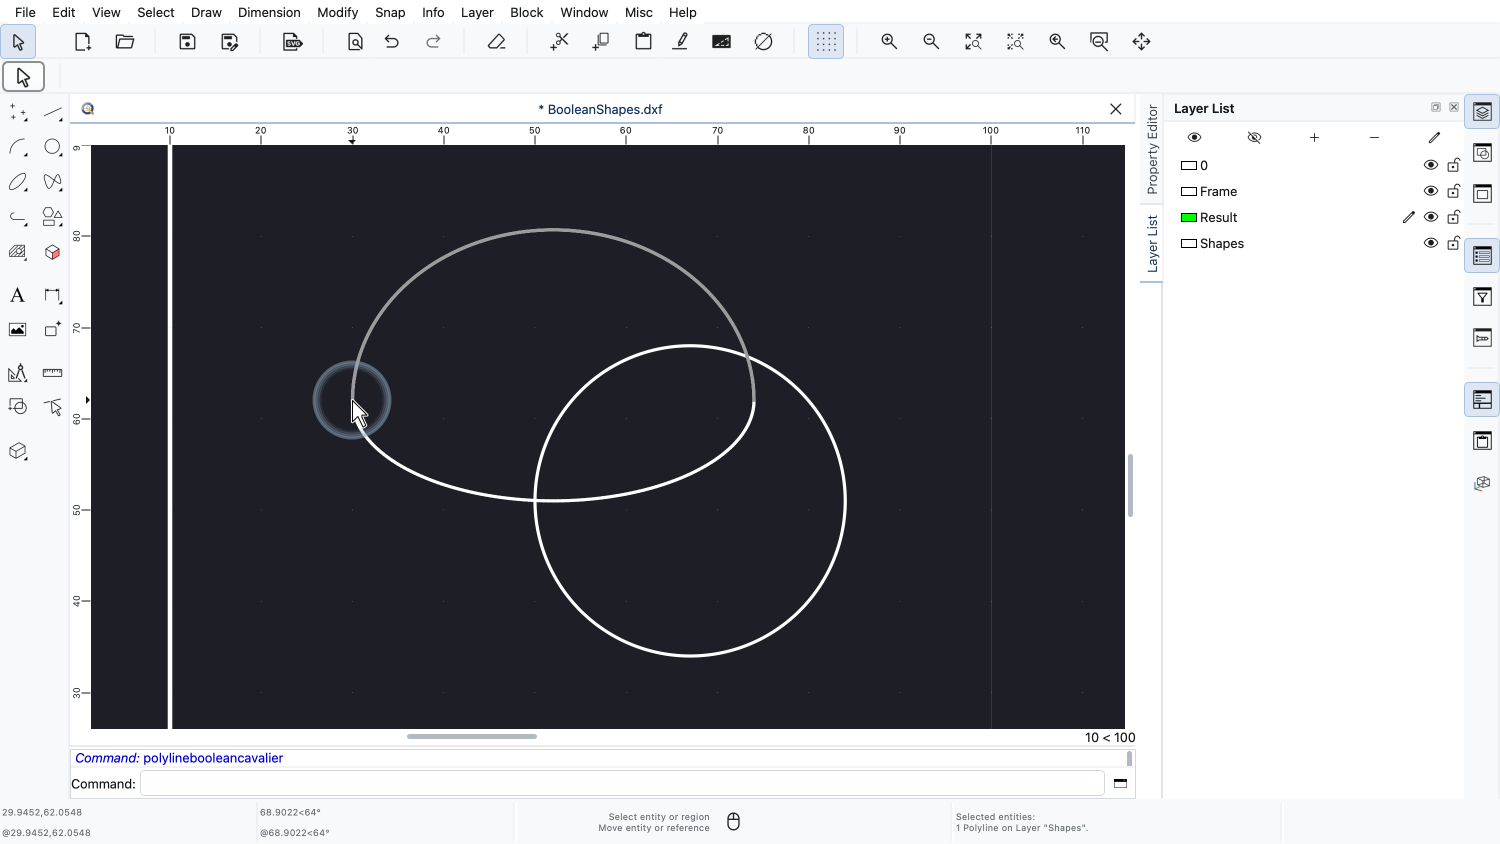
Two entities are enough here, because their endpoints meet and form a closed contour.
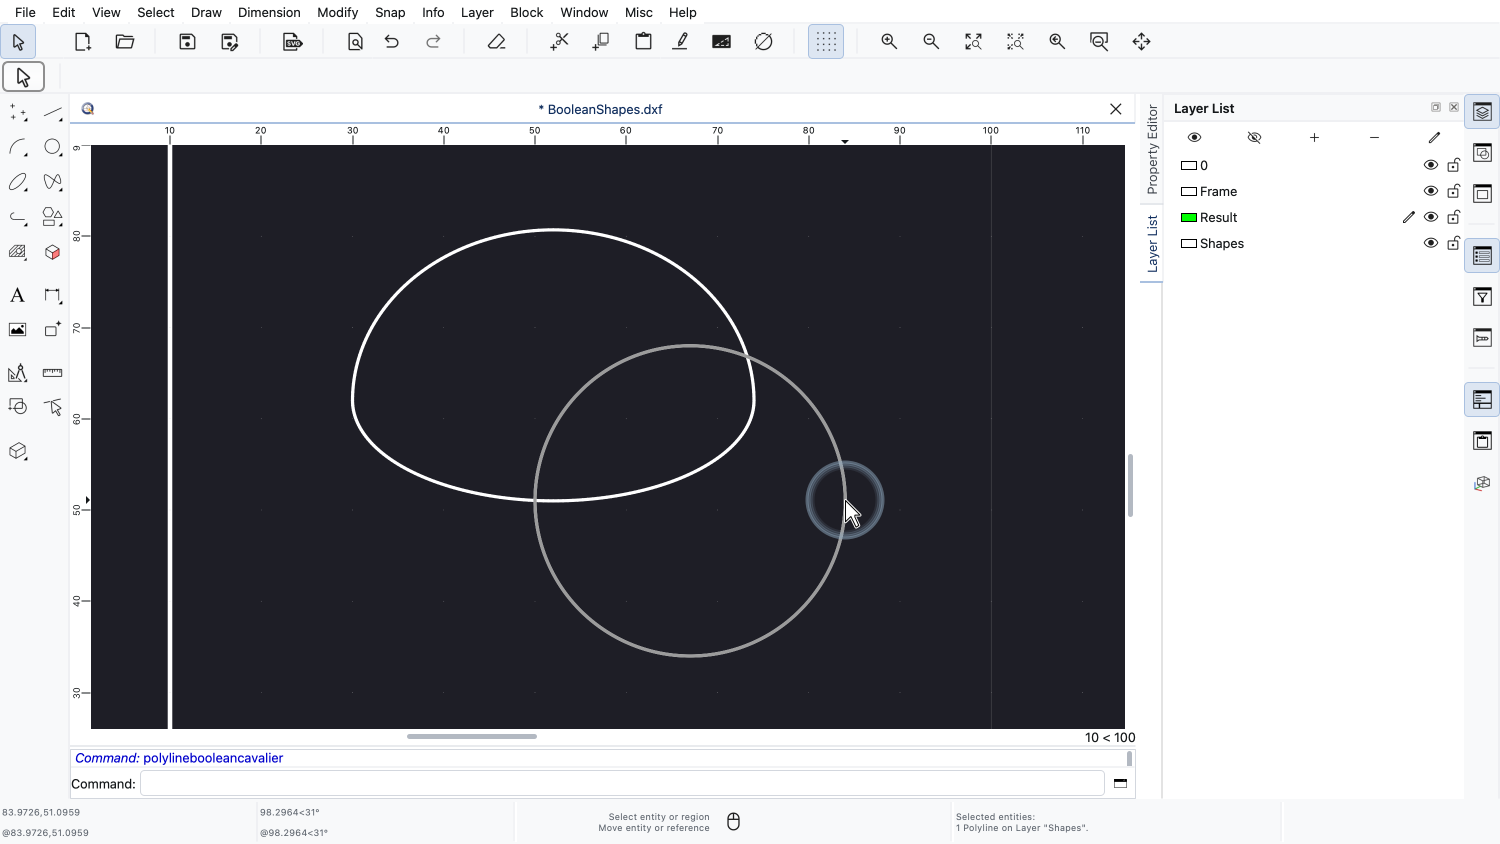
The shape on the right is a simple circle.
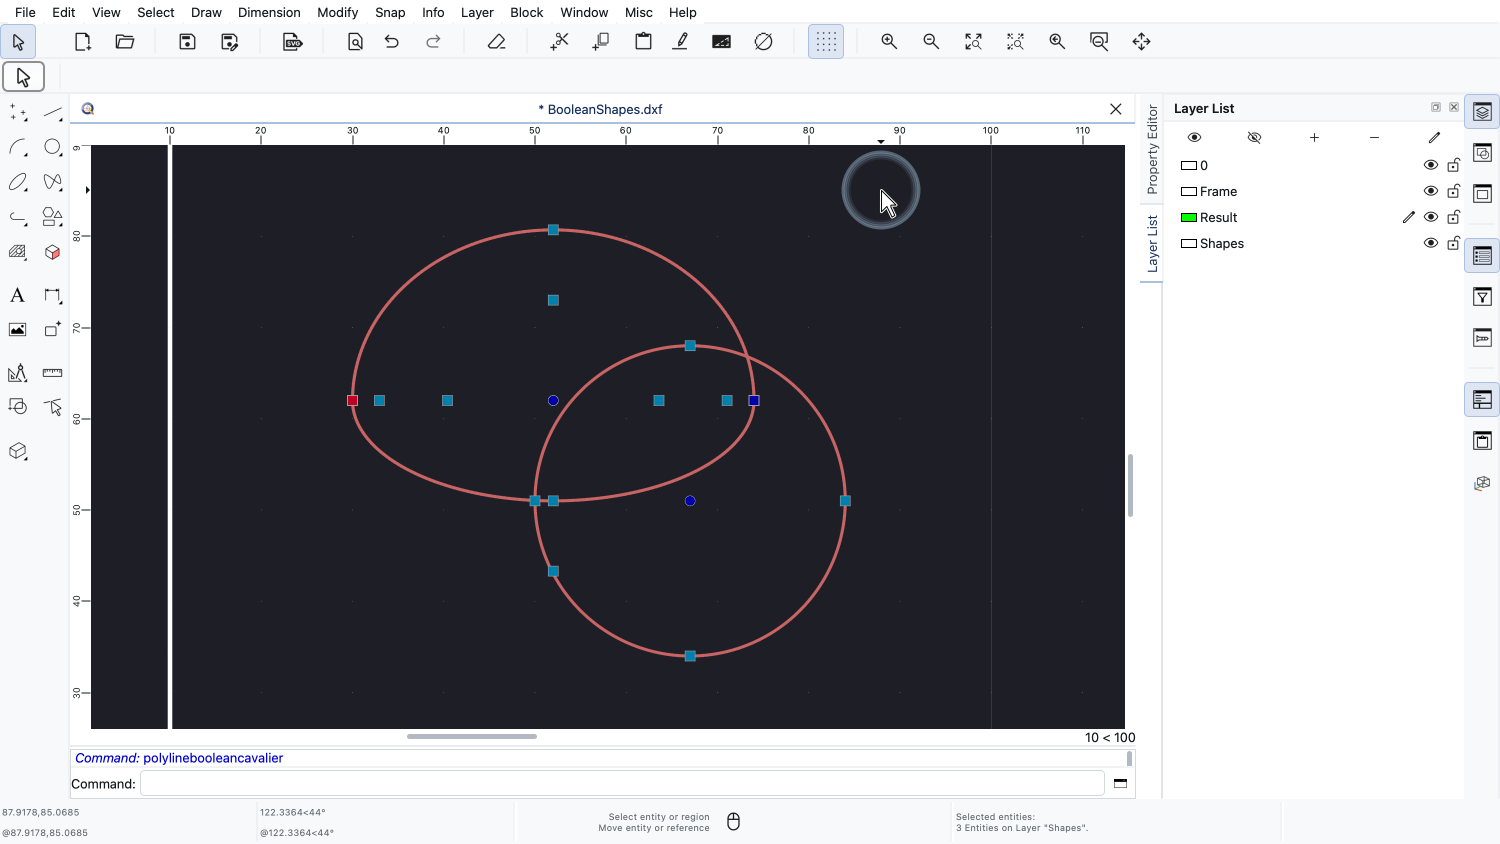
We select both shapes.
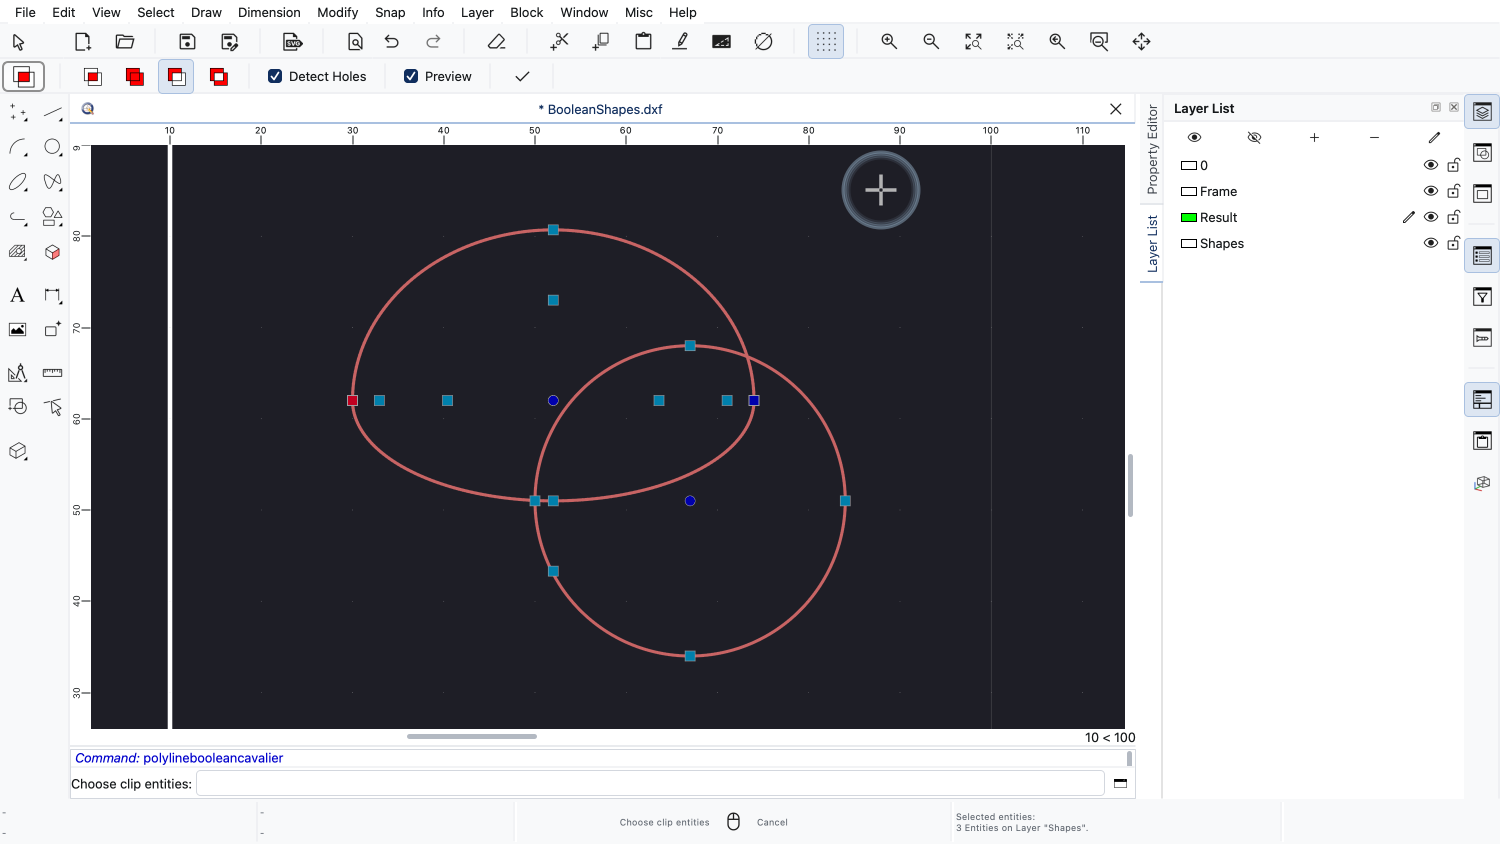
And we start the tool.
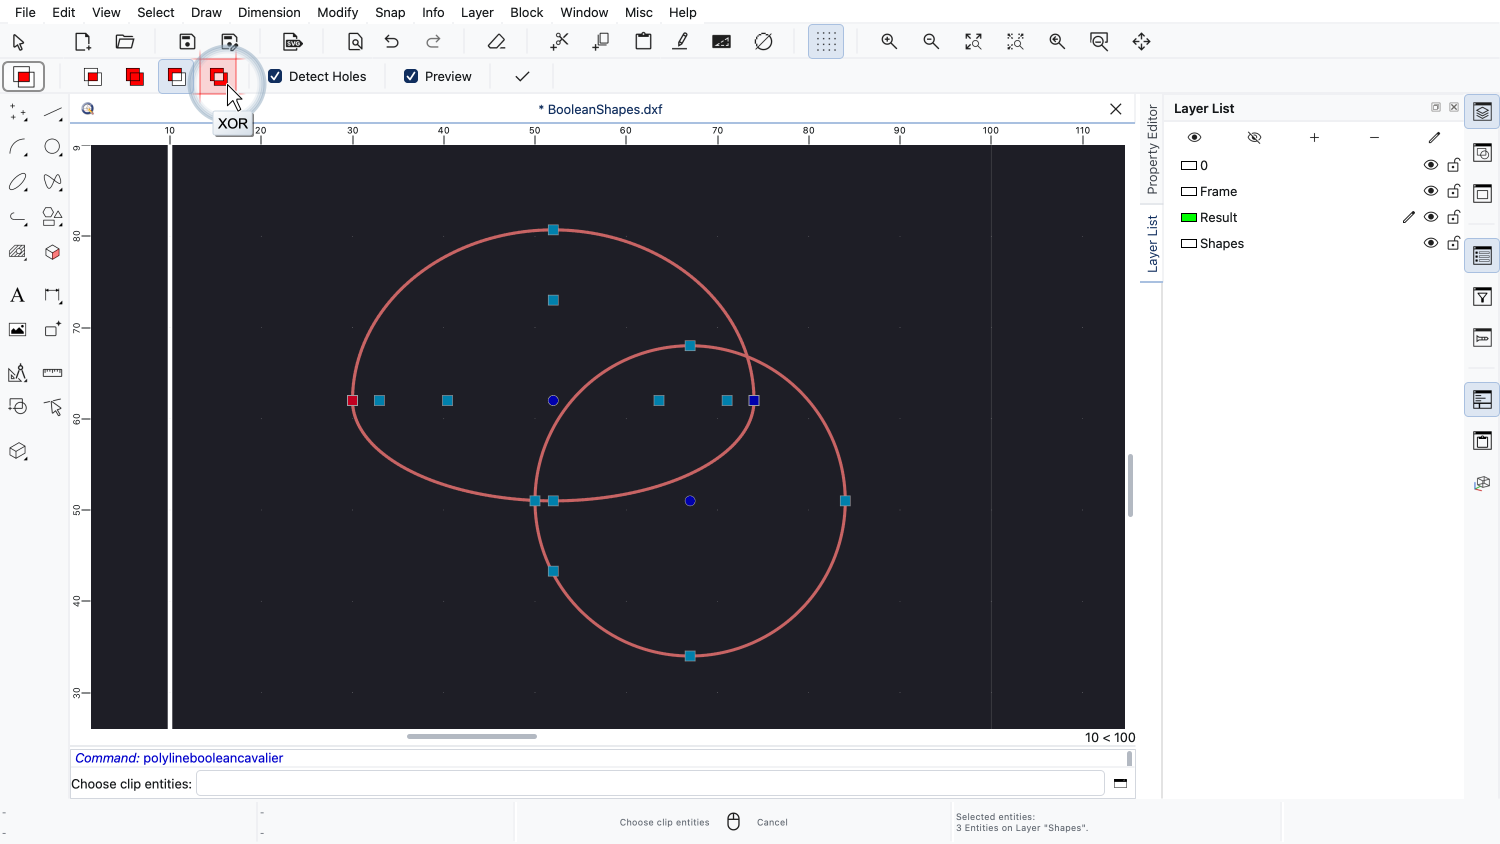
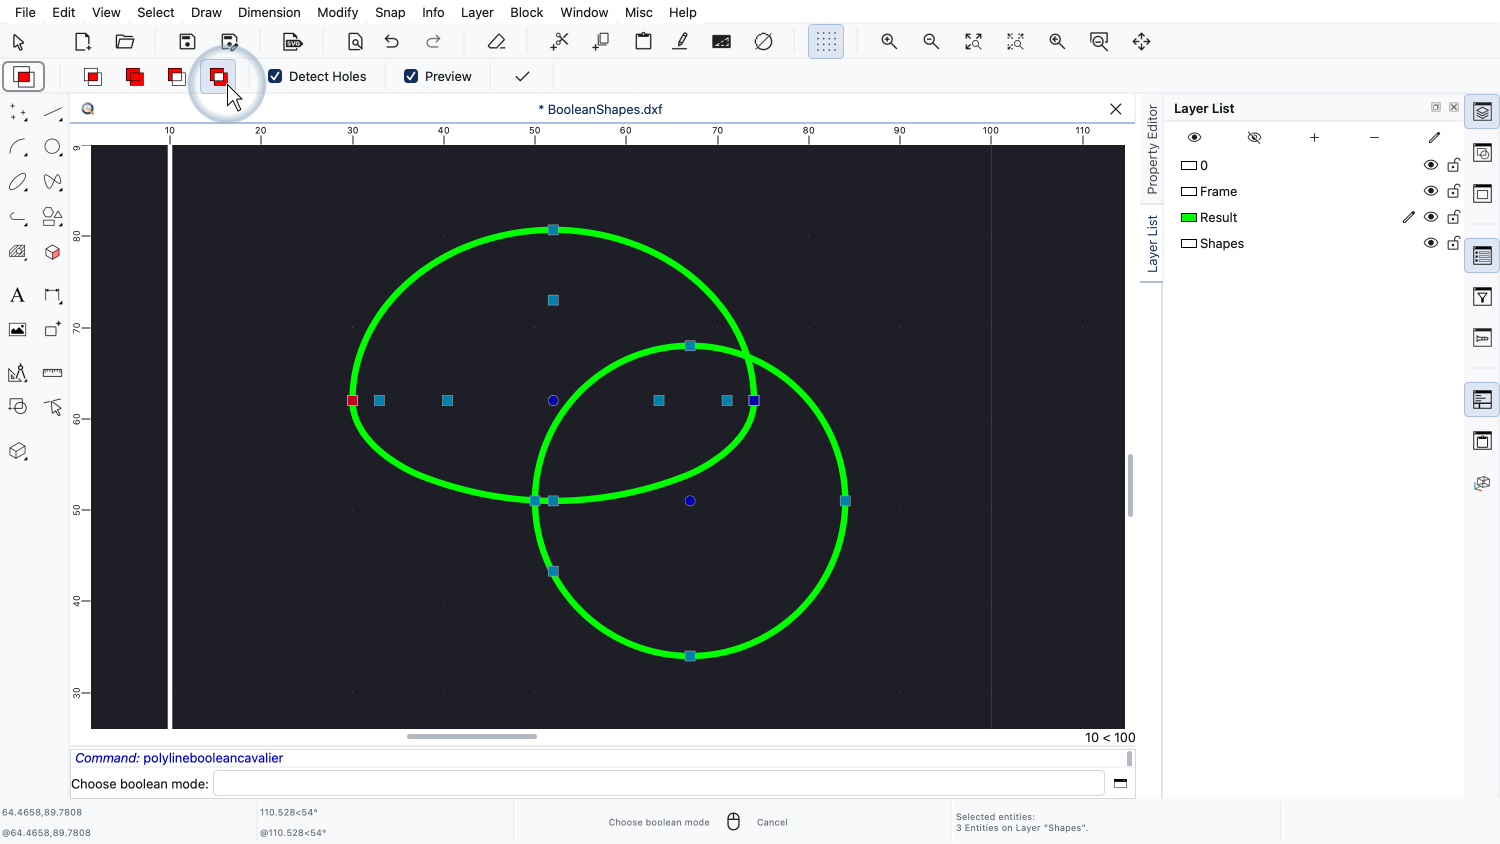
This time, we choose XOR.
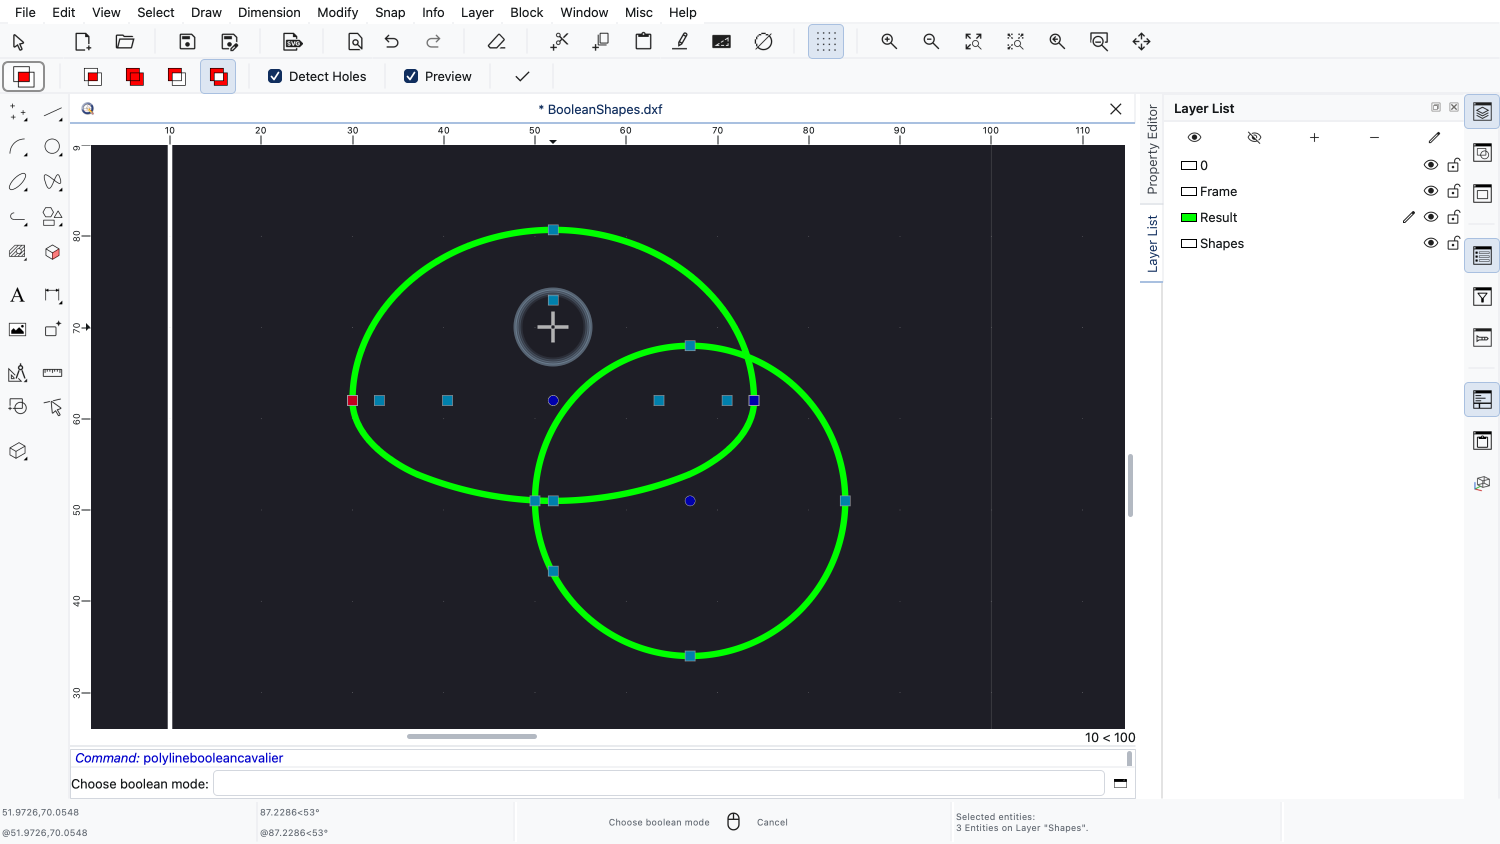
XOR keeps everything that is covered by exactly one of the shapes.
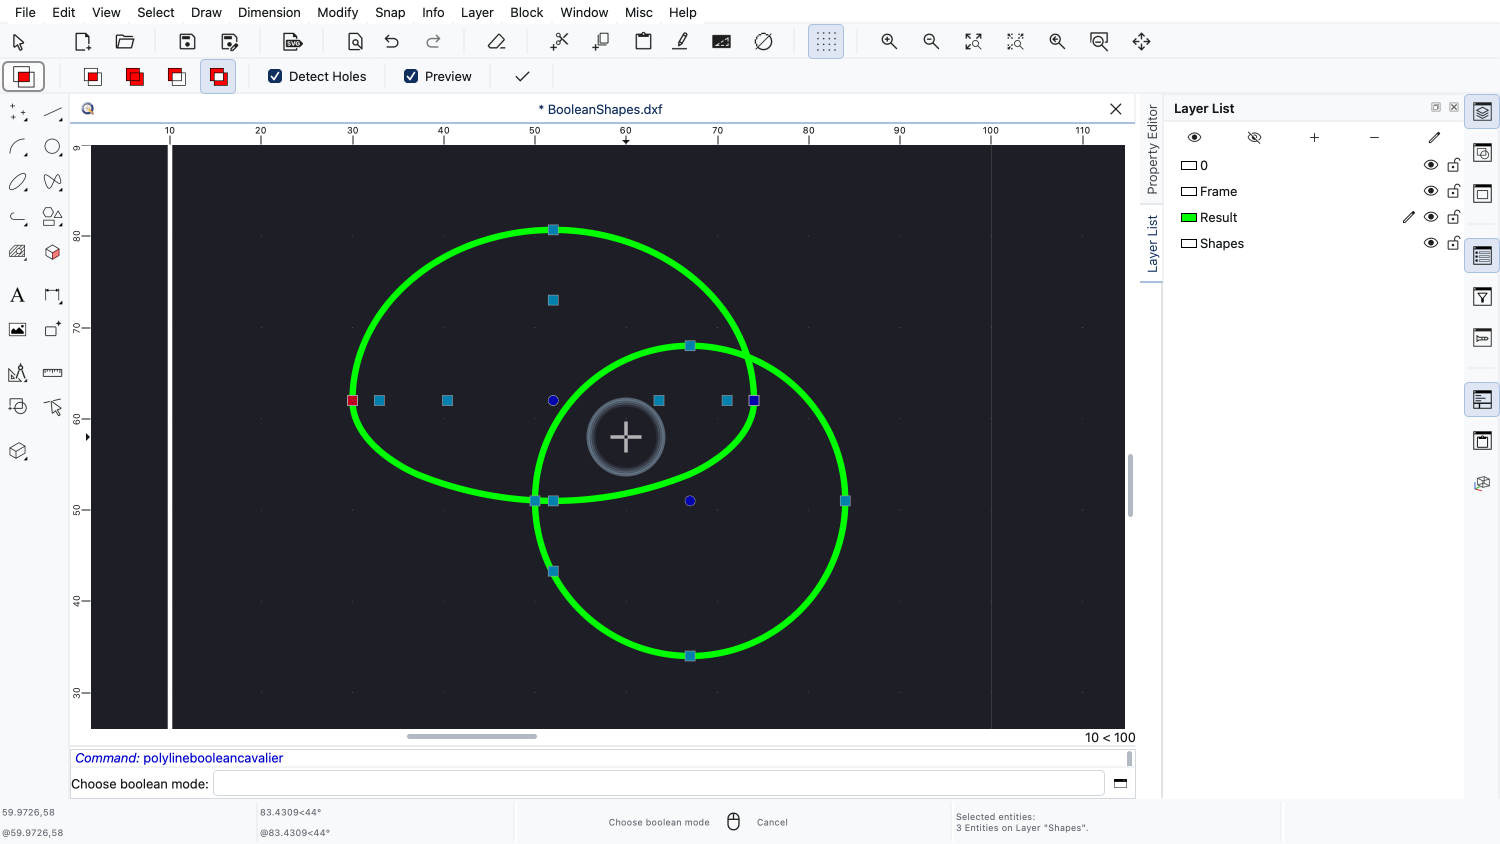
The area where the two shapes overlap is removed.
In other words, XOR is the union minus the intersection.
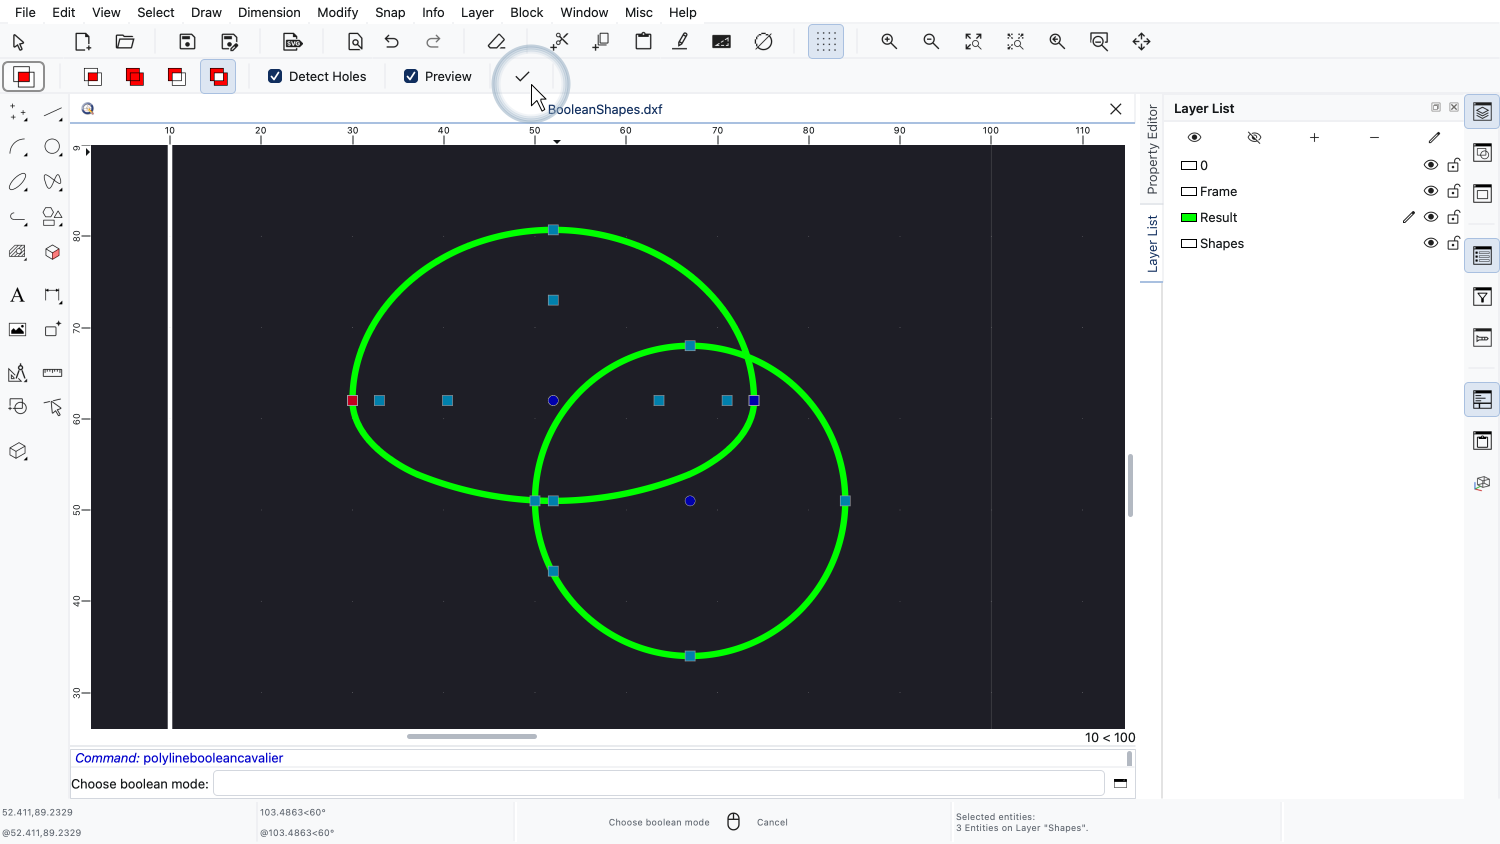
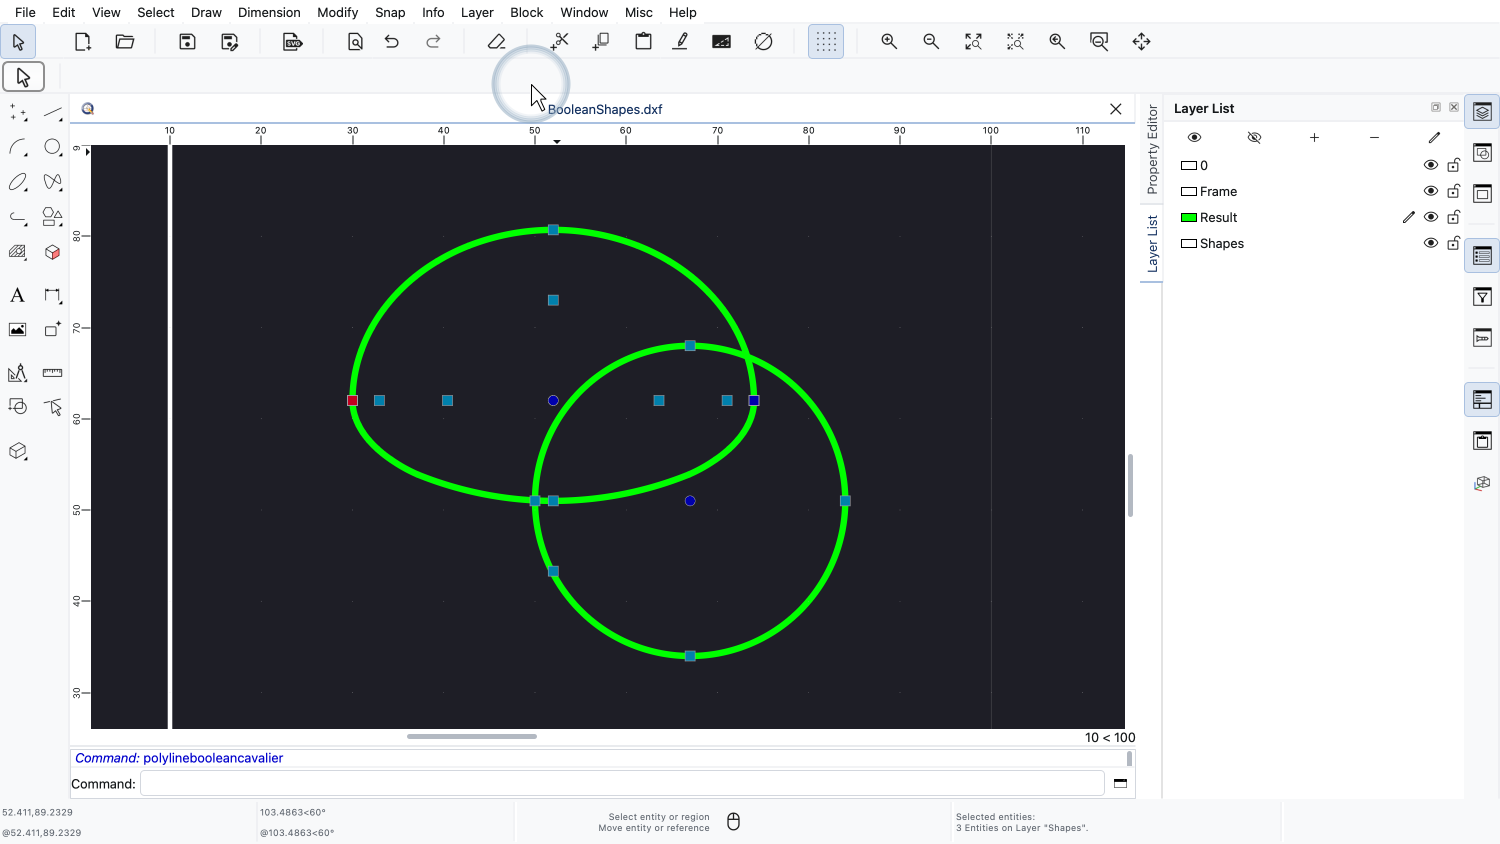
We apply the operation.
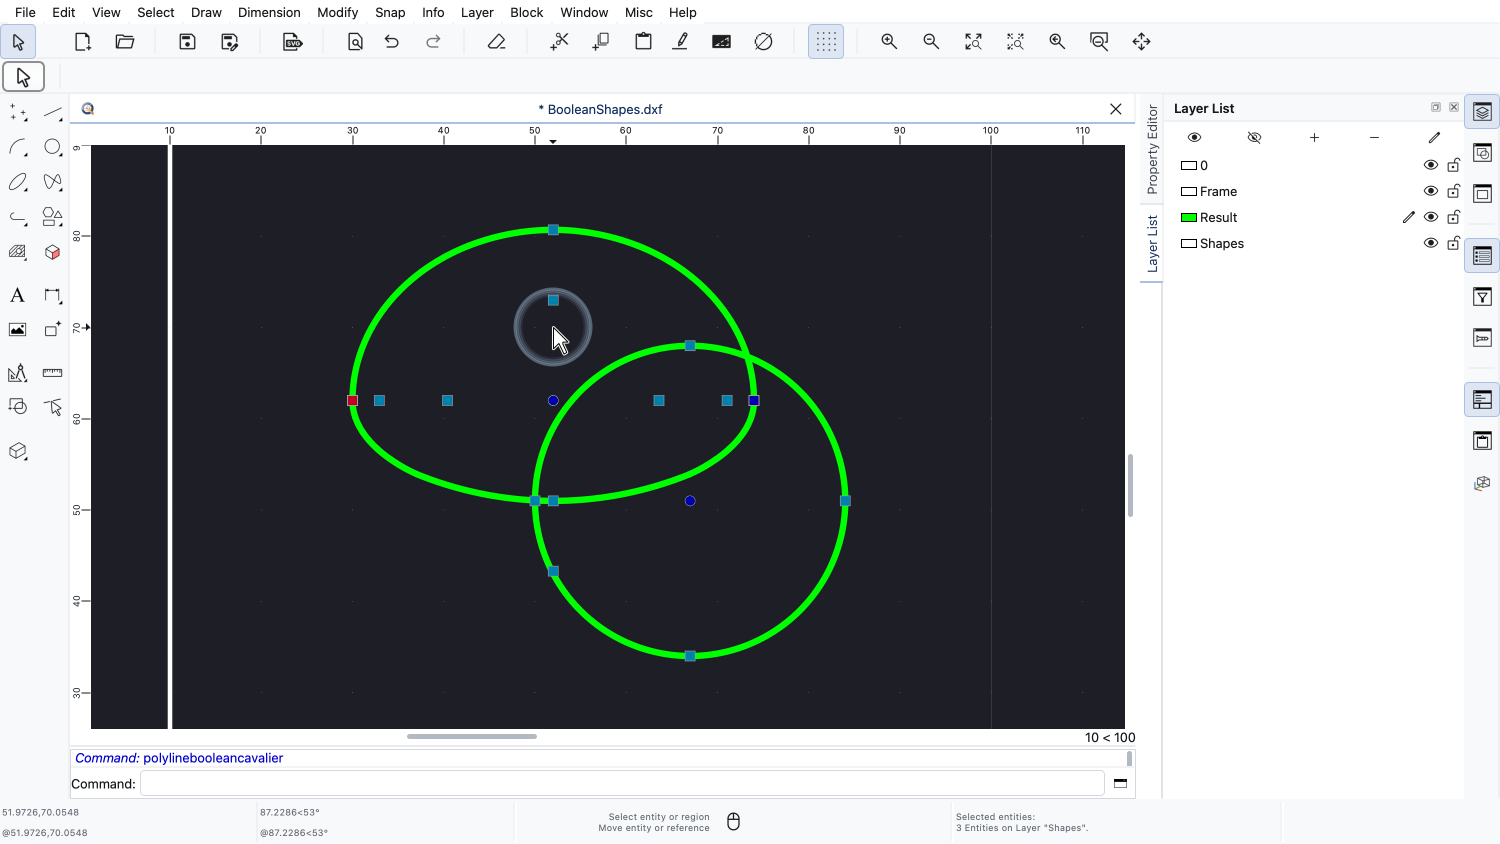
At first glance, the result looks just like the two shapes we started with.
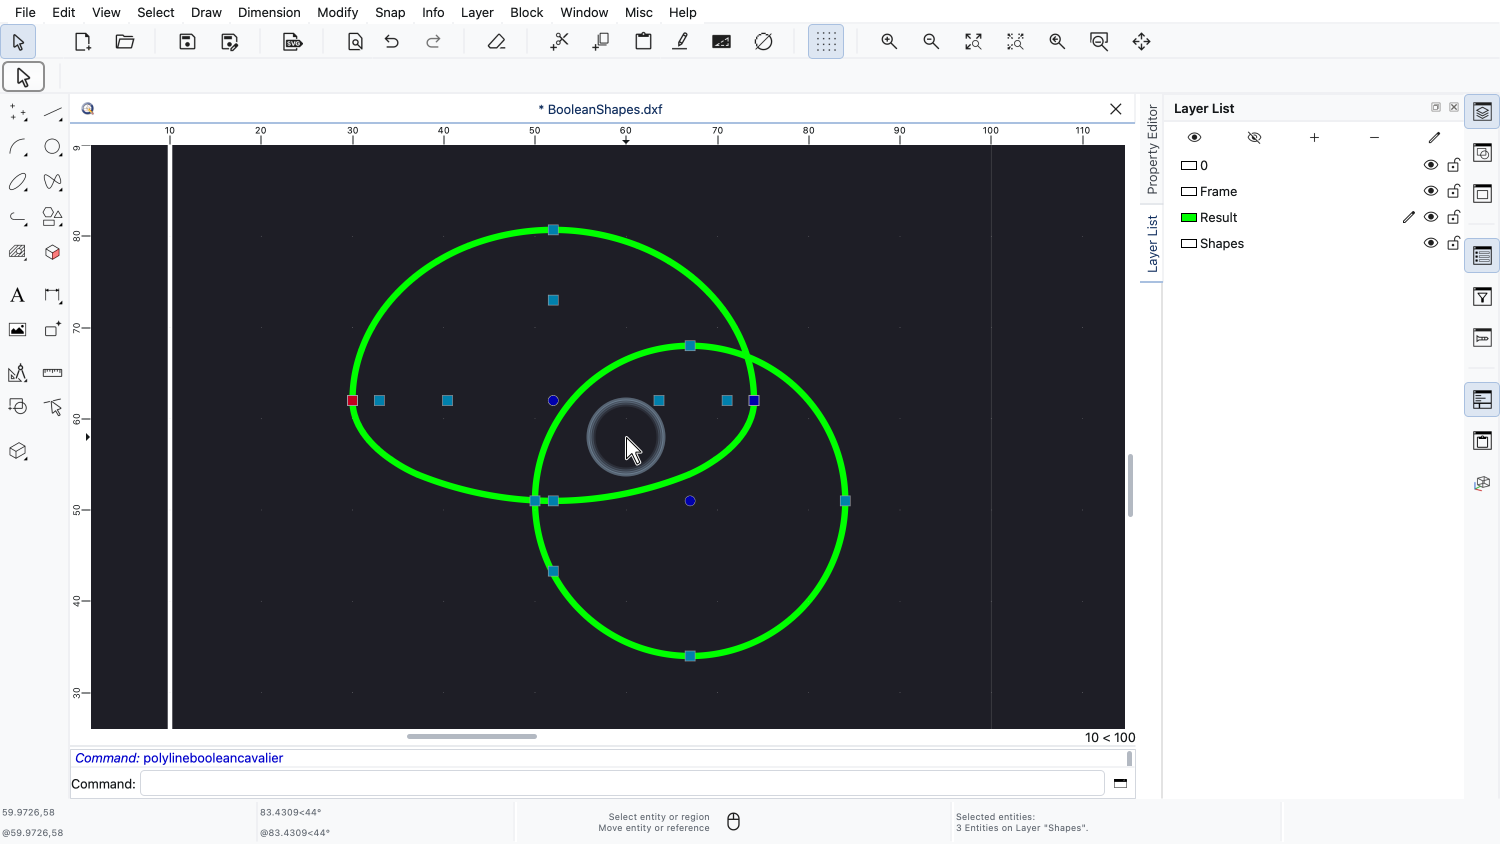
This is no coincidence: XOR cuts both shapes apart where they intersect each other.
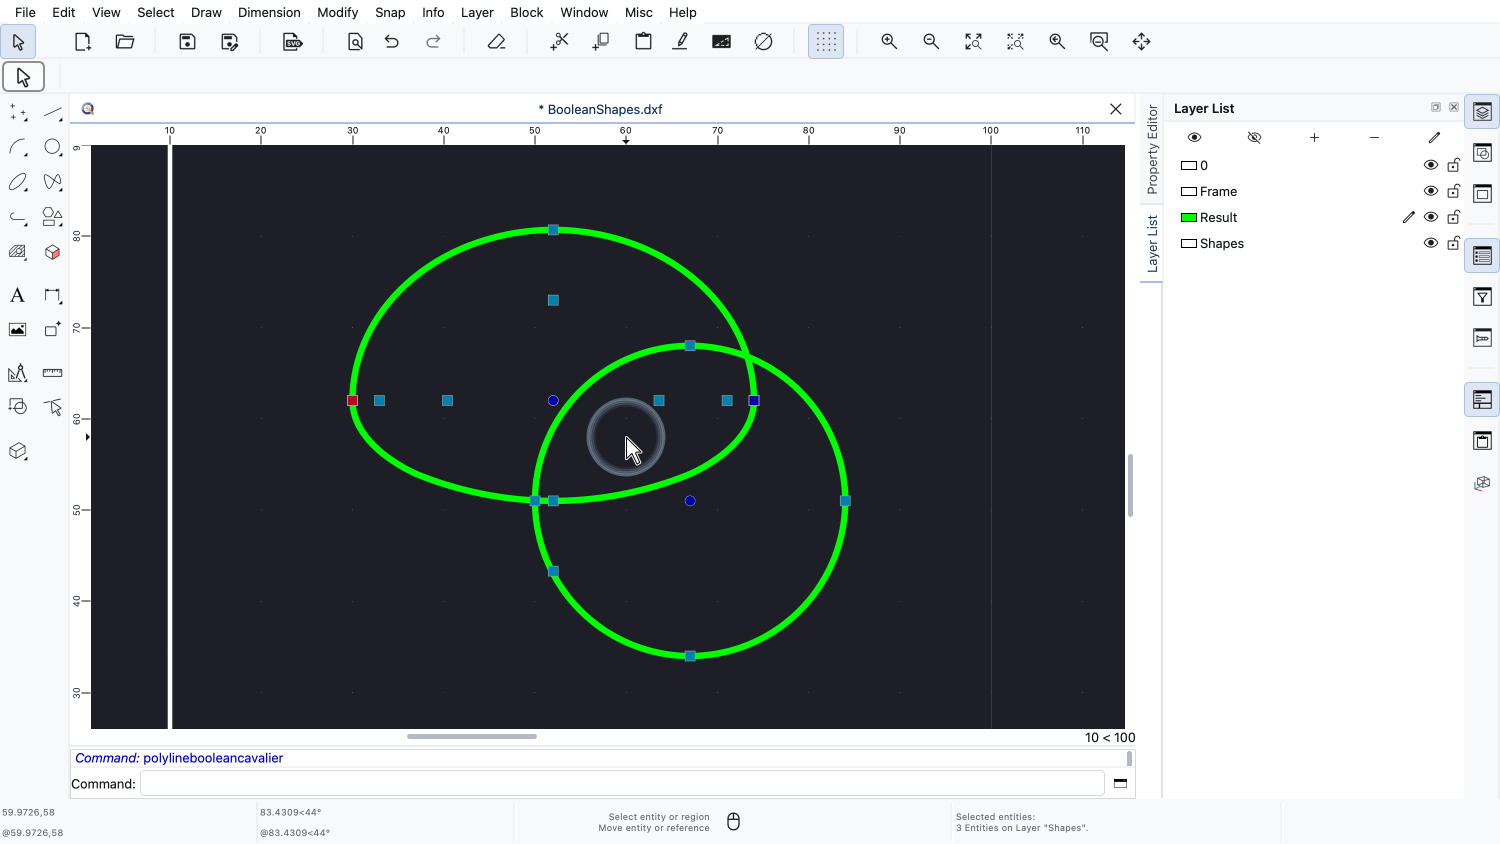
The result therefore consists of two separate closed polylines: the part that belongs only to the first shape, and the part that belongs only to the second one.
We will see this more clearly at the end of this tutorial, when we look at the results on their own.
Finally, we look at shapes that contain holes and islands.
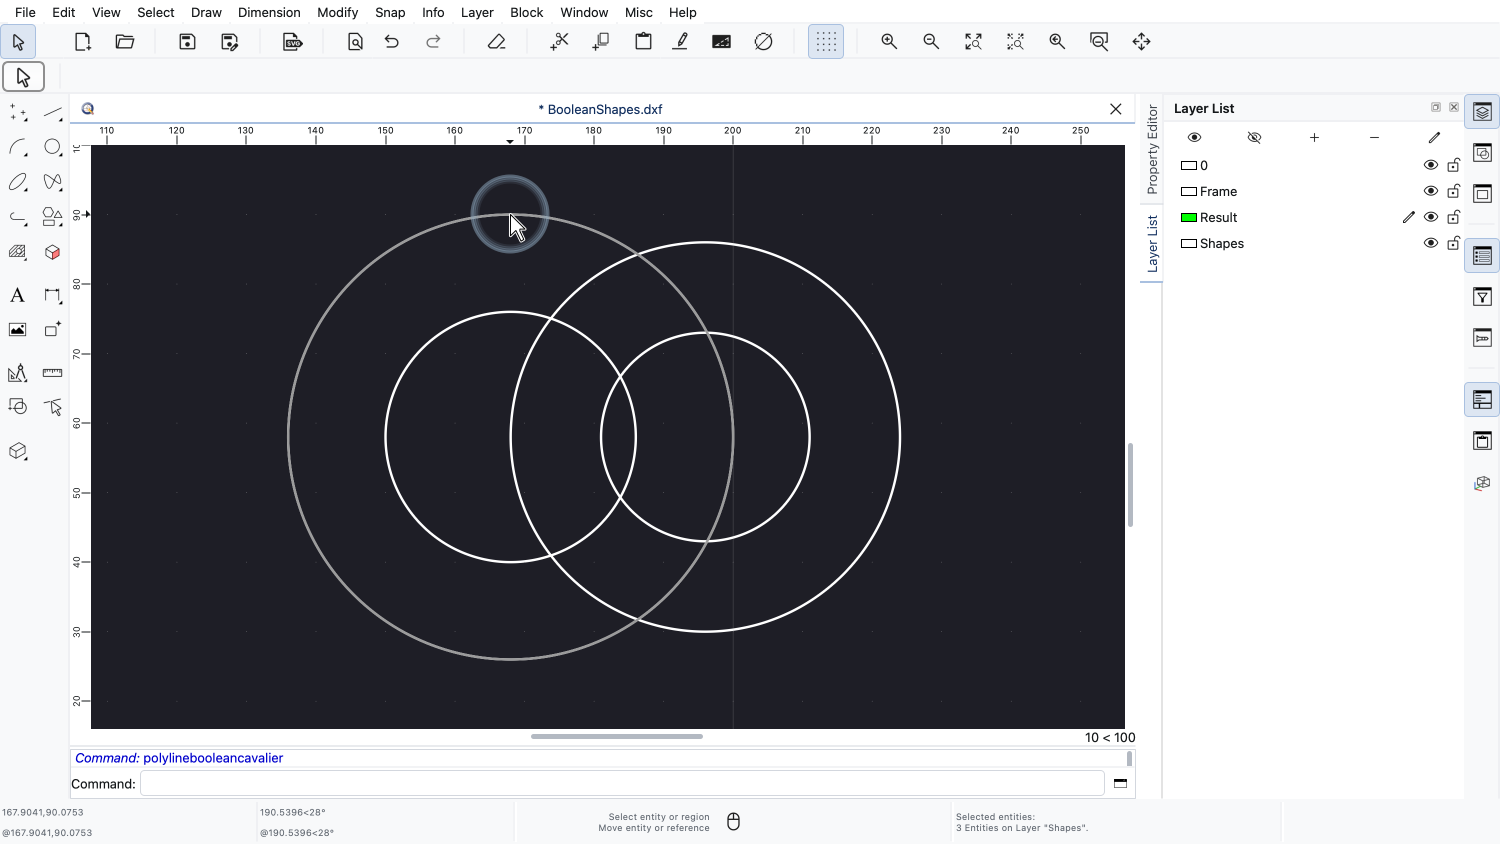
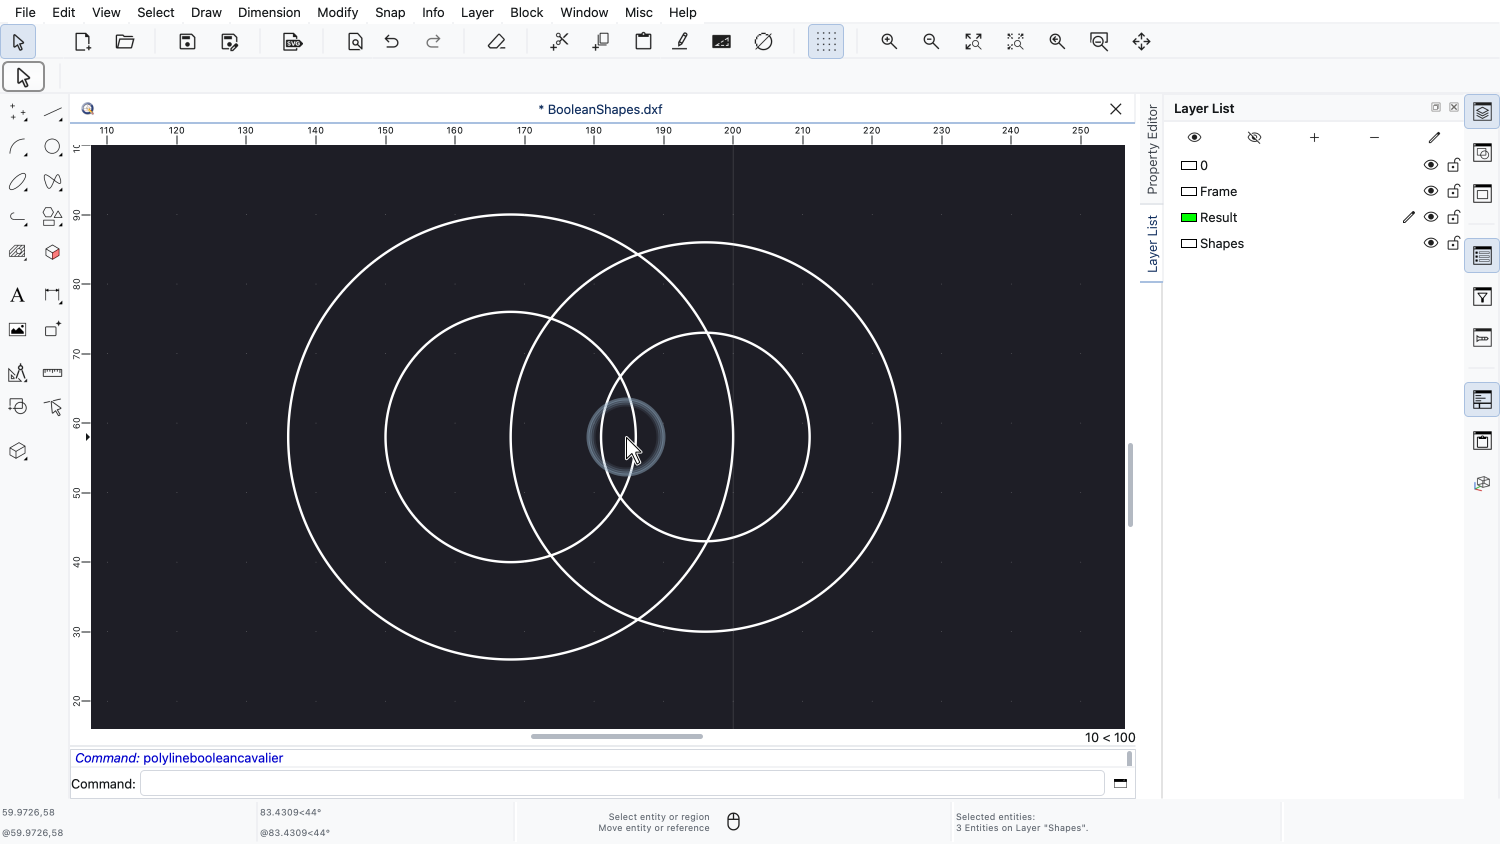
This example shows two overlapping rings.
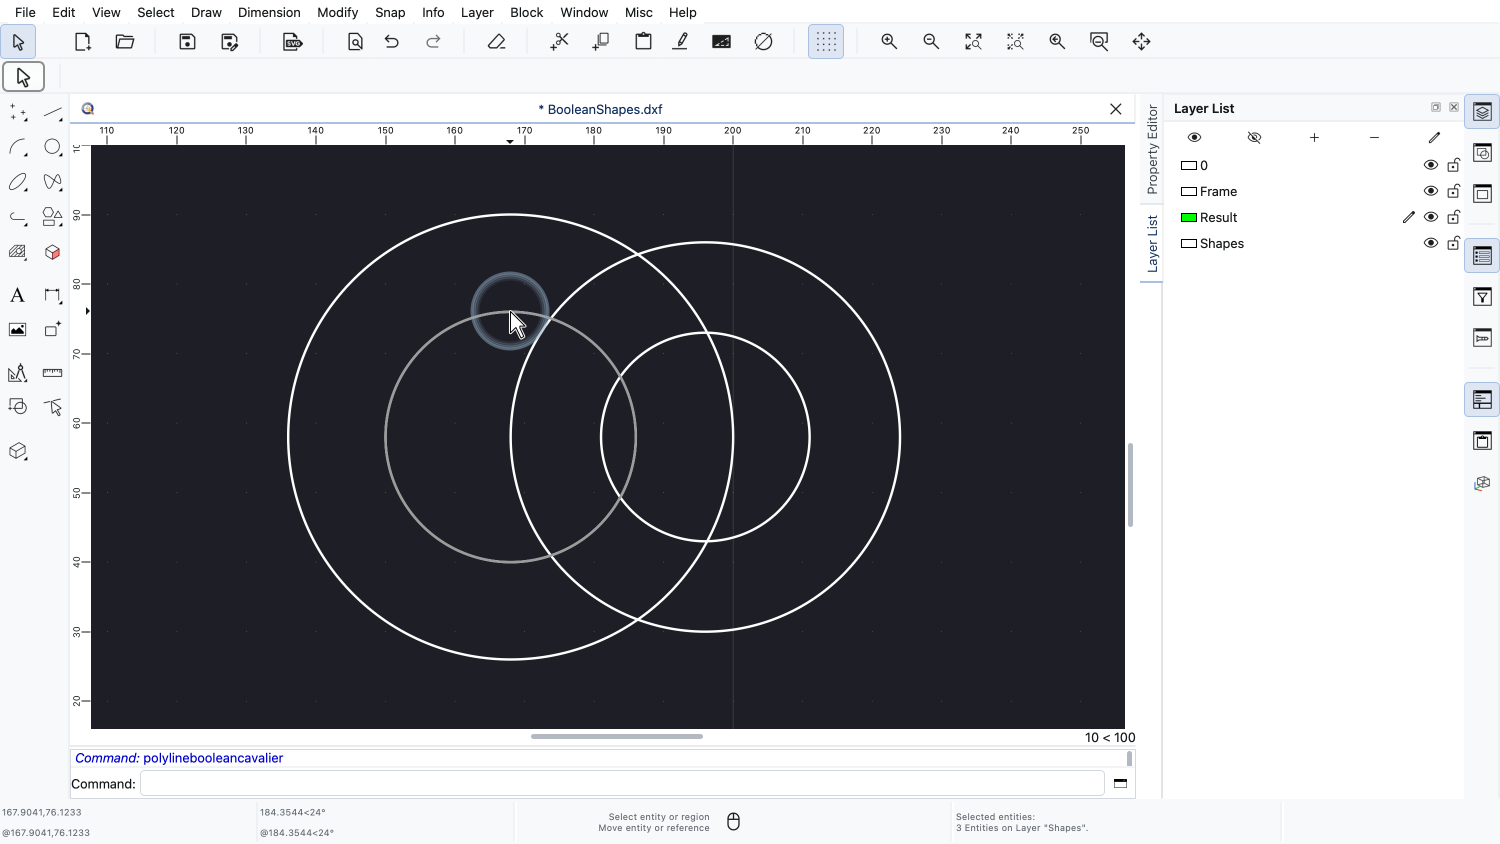
Each ring is made of an outer and an inner circle.
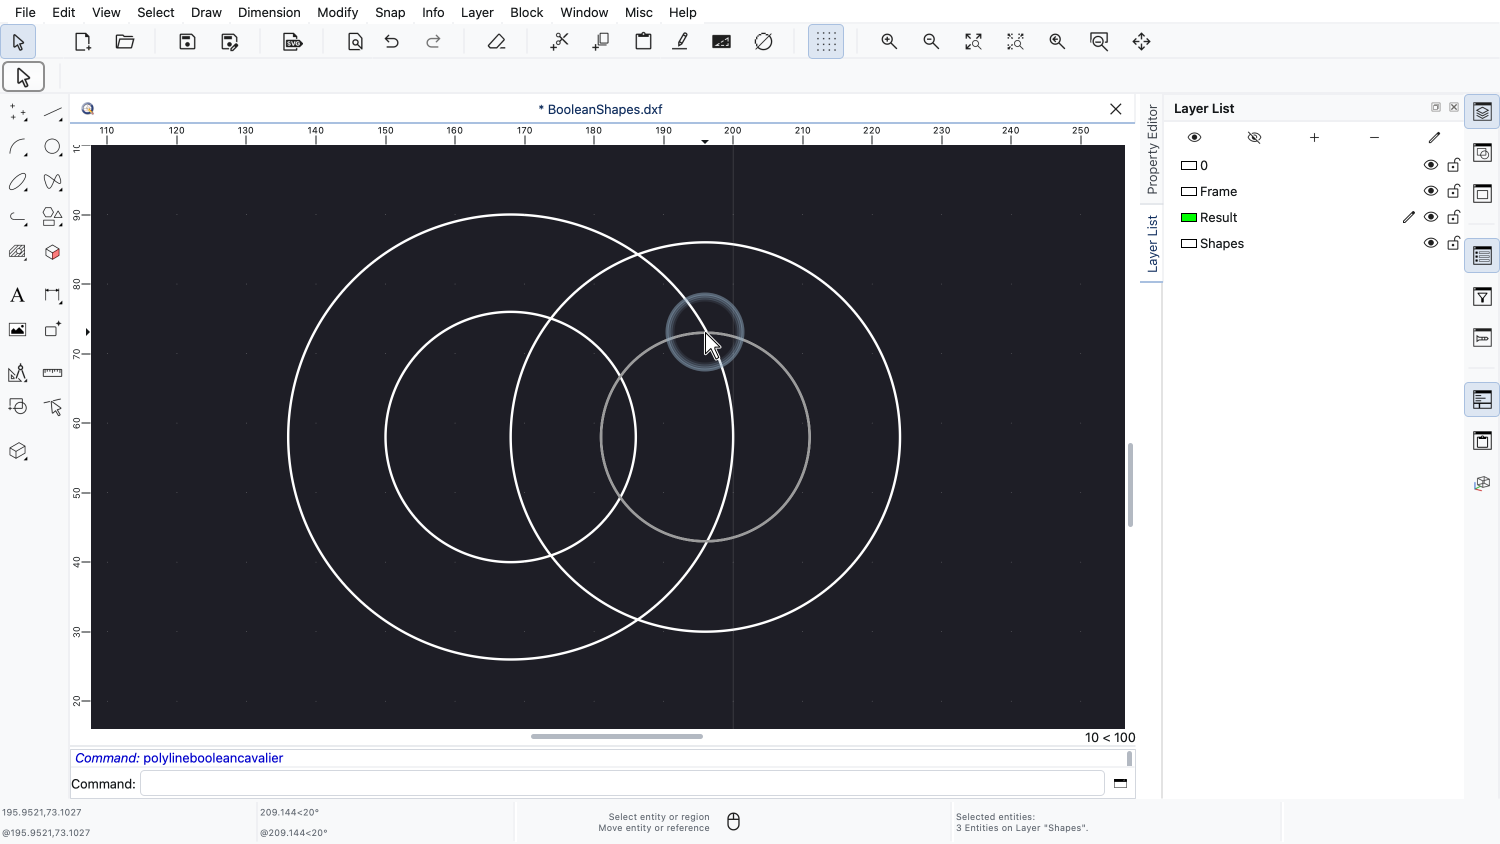
The inner circles are holes: they are inside another contour and therefore cut an opening into it.
A contour inside a hole would be an island again, which counts as material.
QCAD analyses how the contours are nested inside each other and handles any number of such levels.
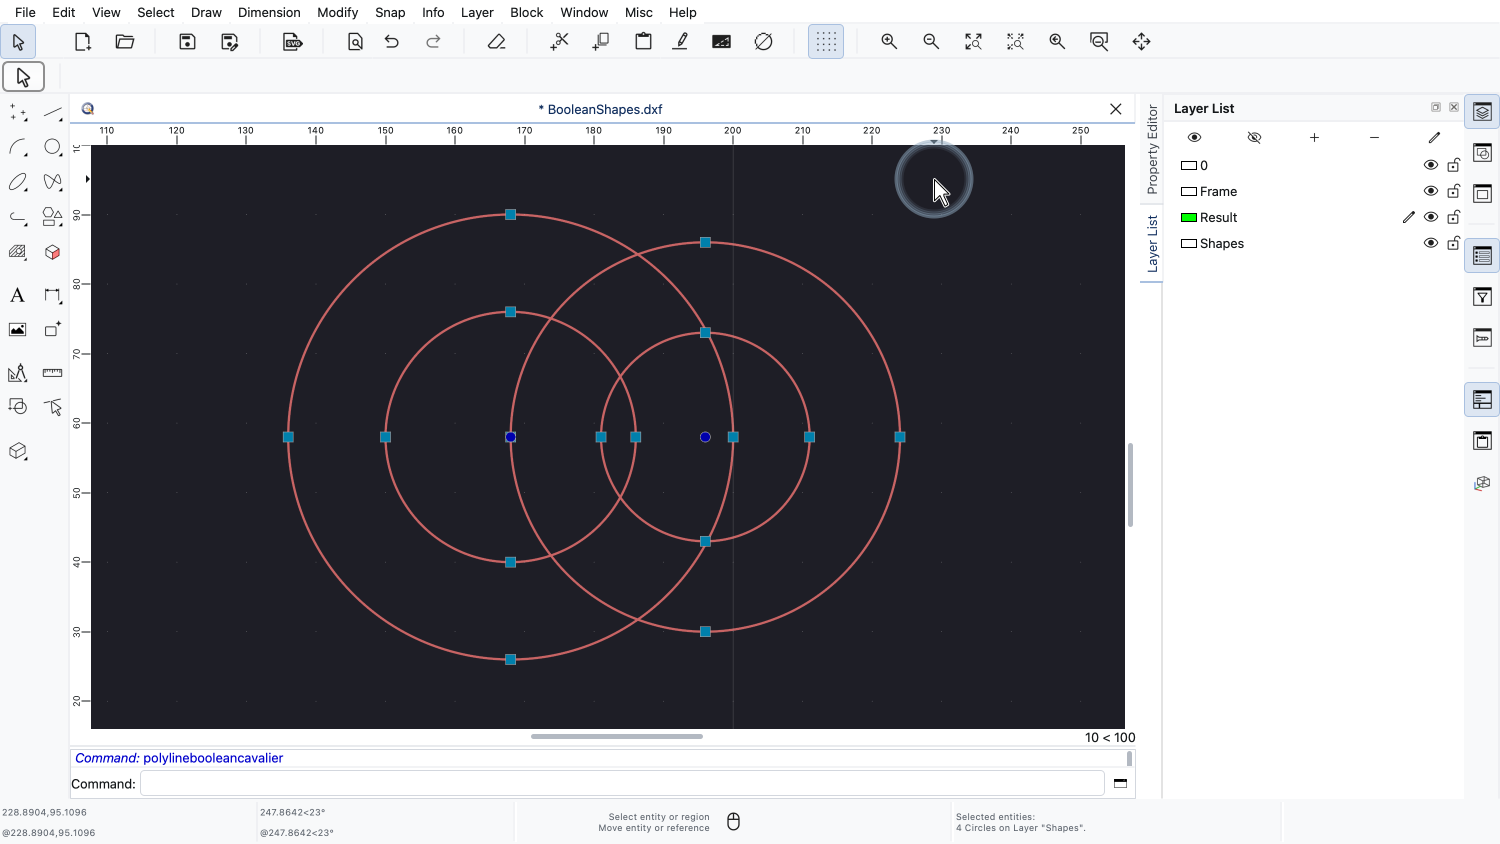
We select all four circles.
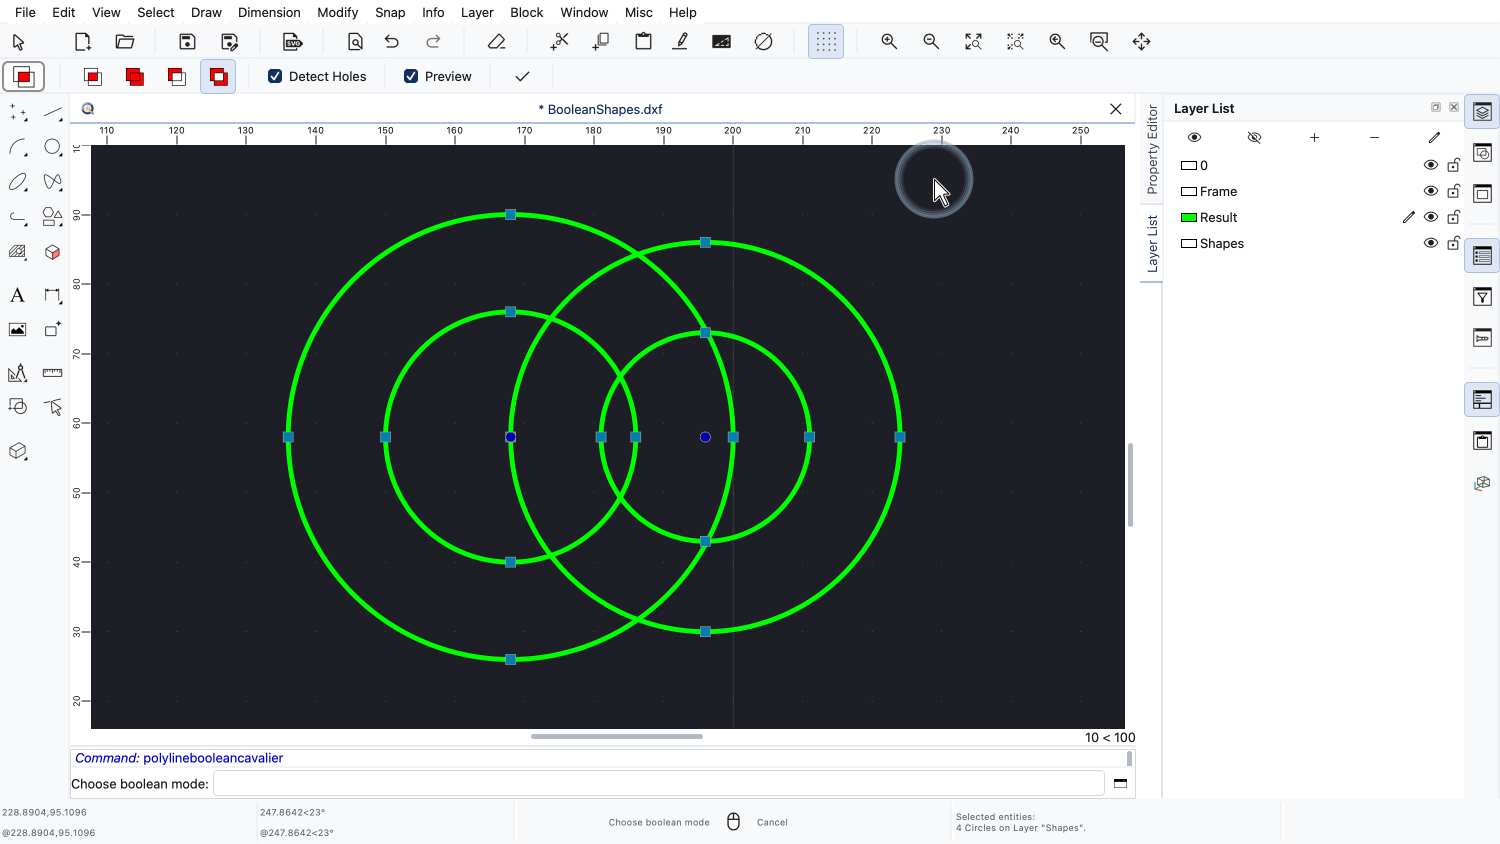
And we start the tool once more.
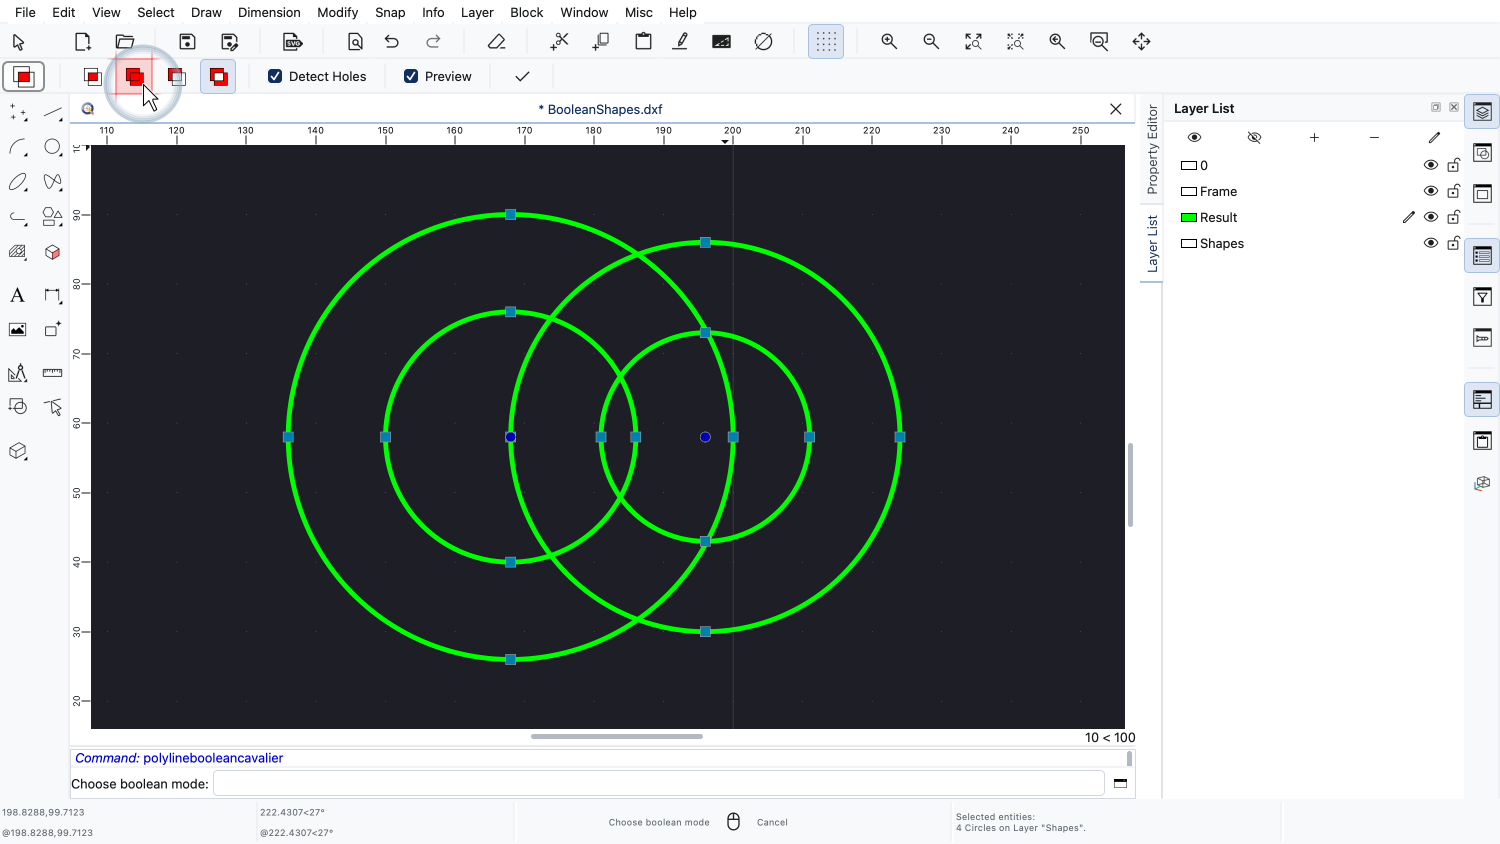
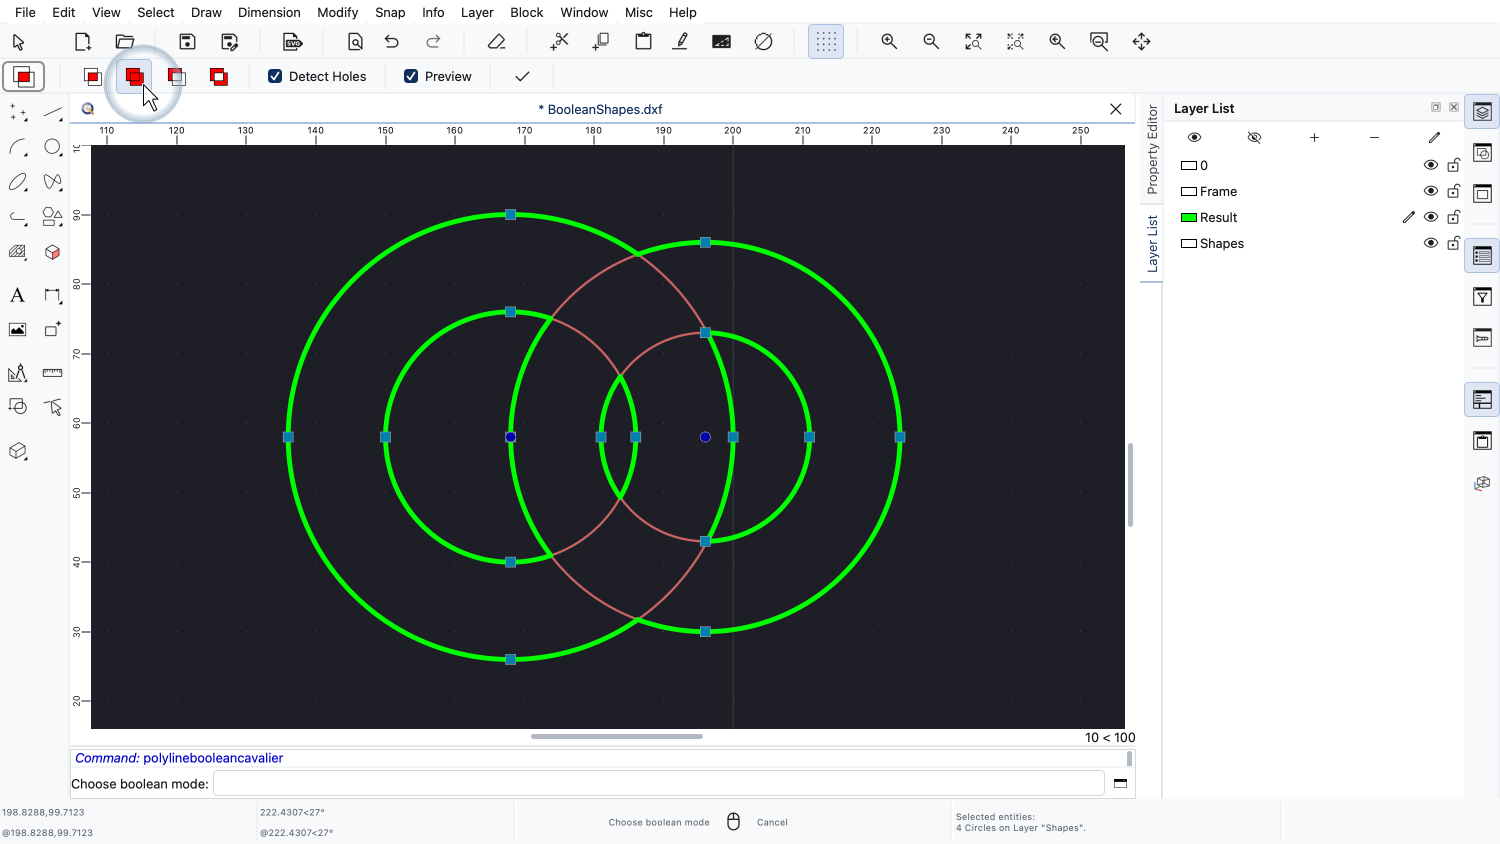
We want to add the two rings together, so we choose union.
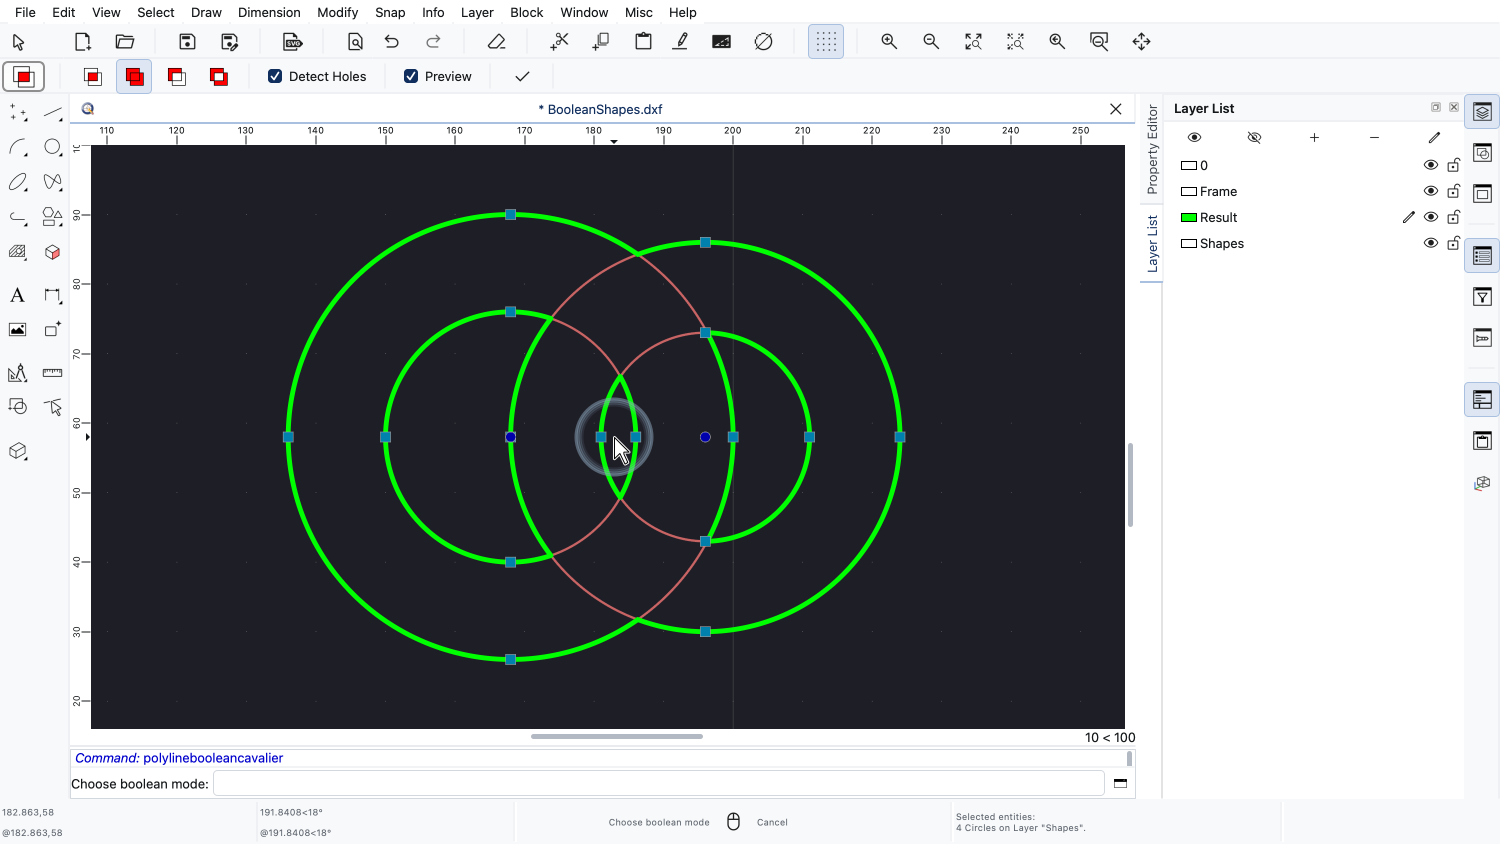
The preview shows the two rings merged into one shape with three holes.
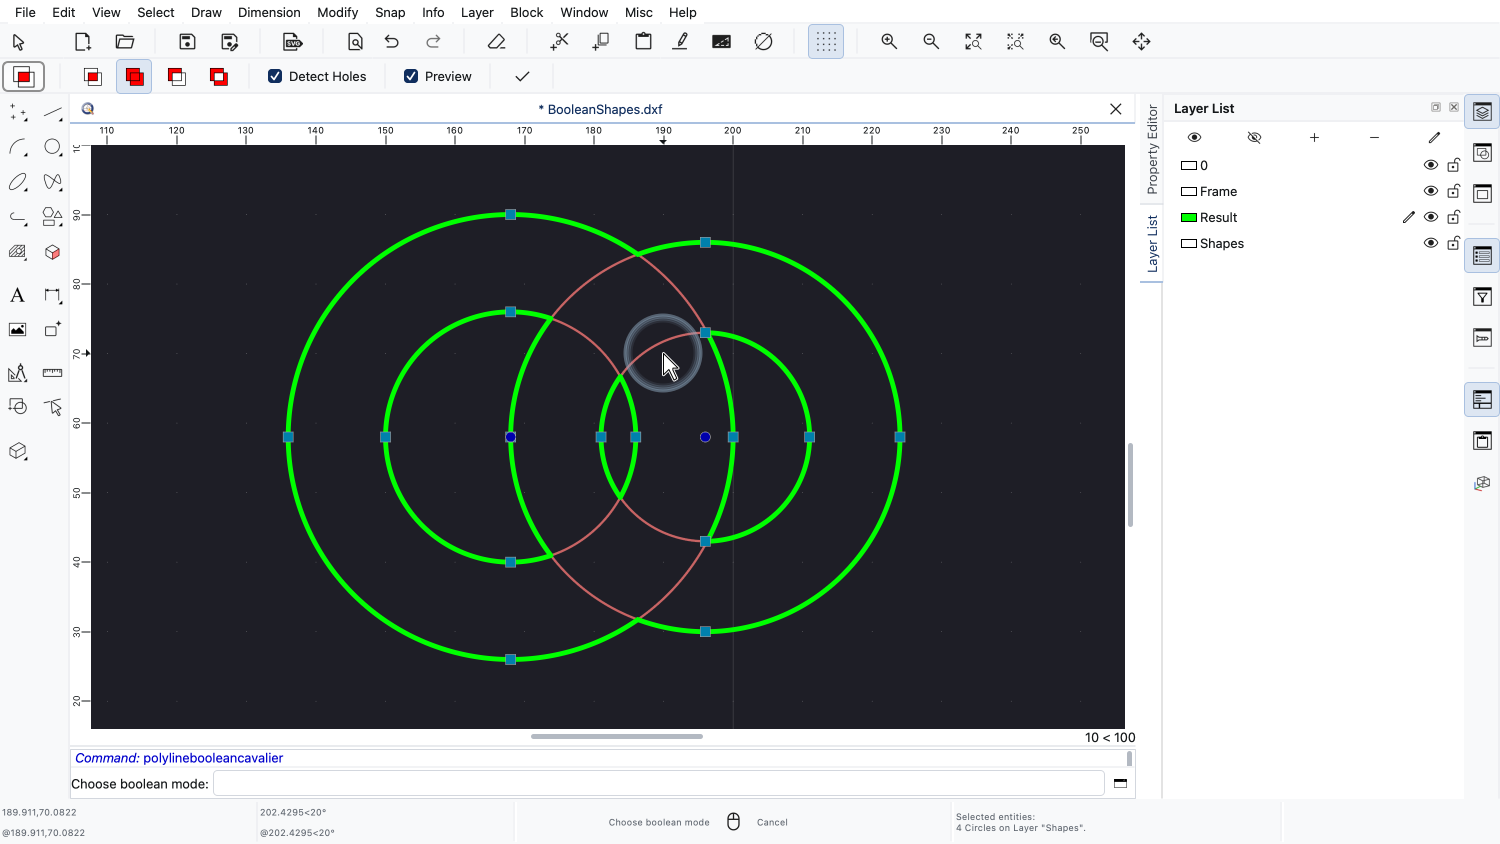
Each hole has been trimmed where the other ring covers it.
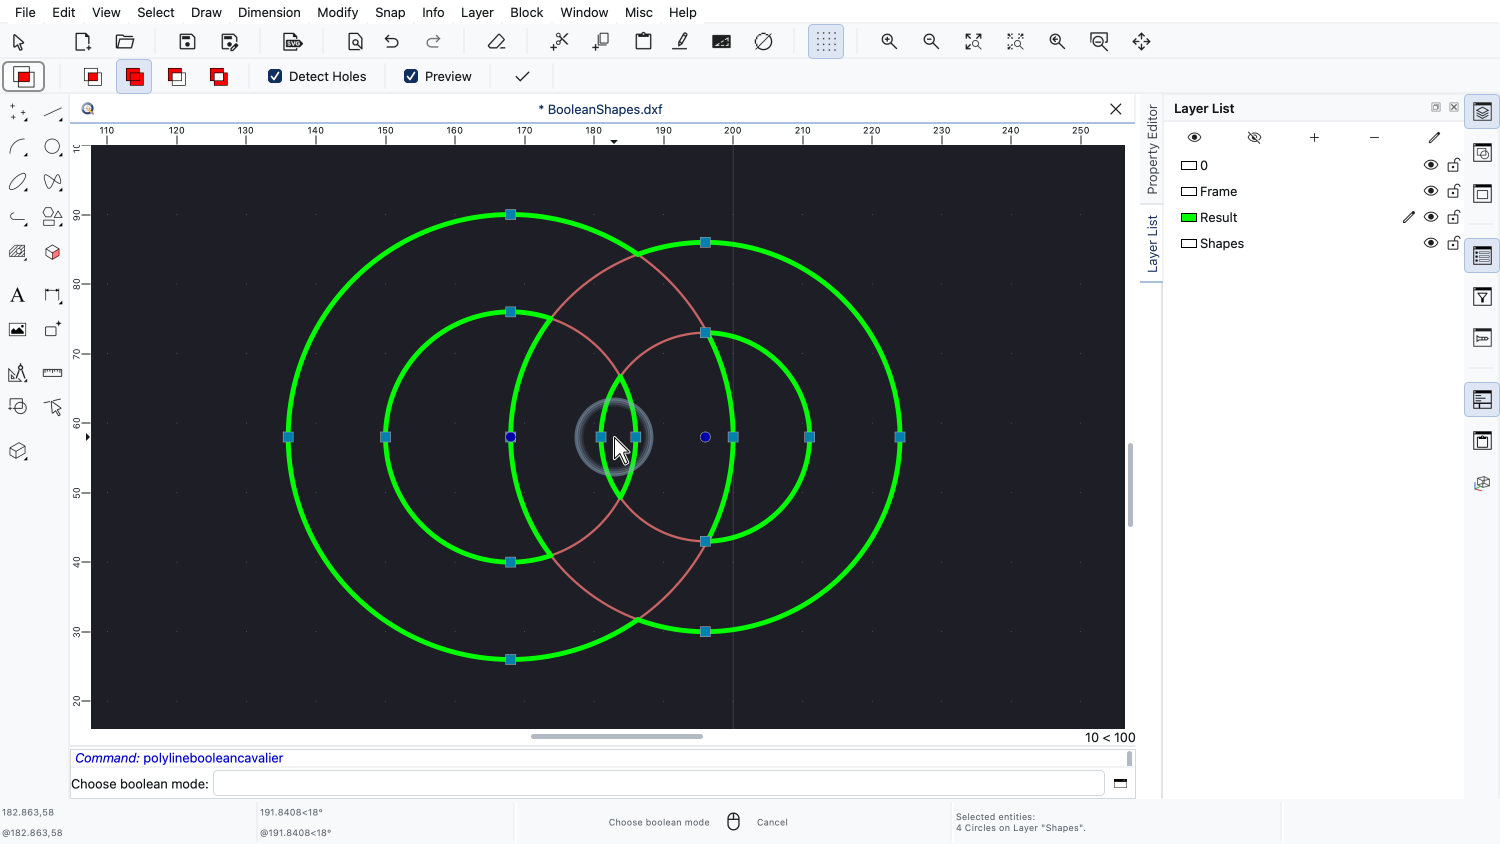
Where the two holes overlap, neither ring has any material, so a third, small hole remains in the middle.
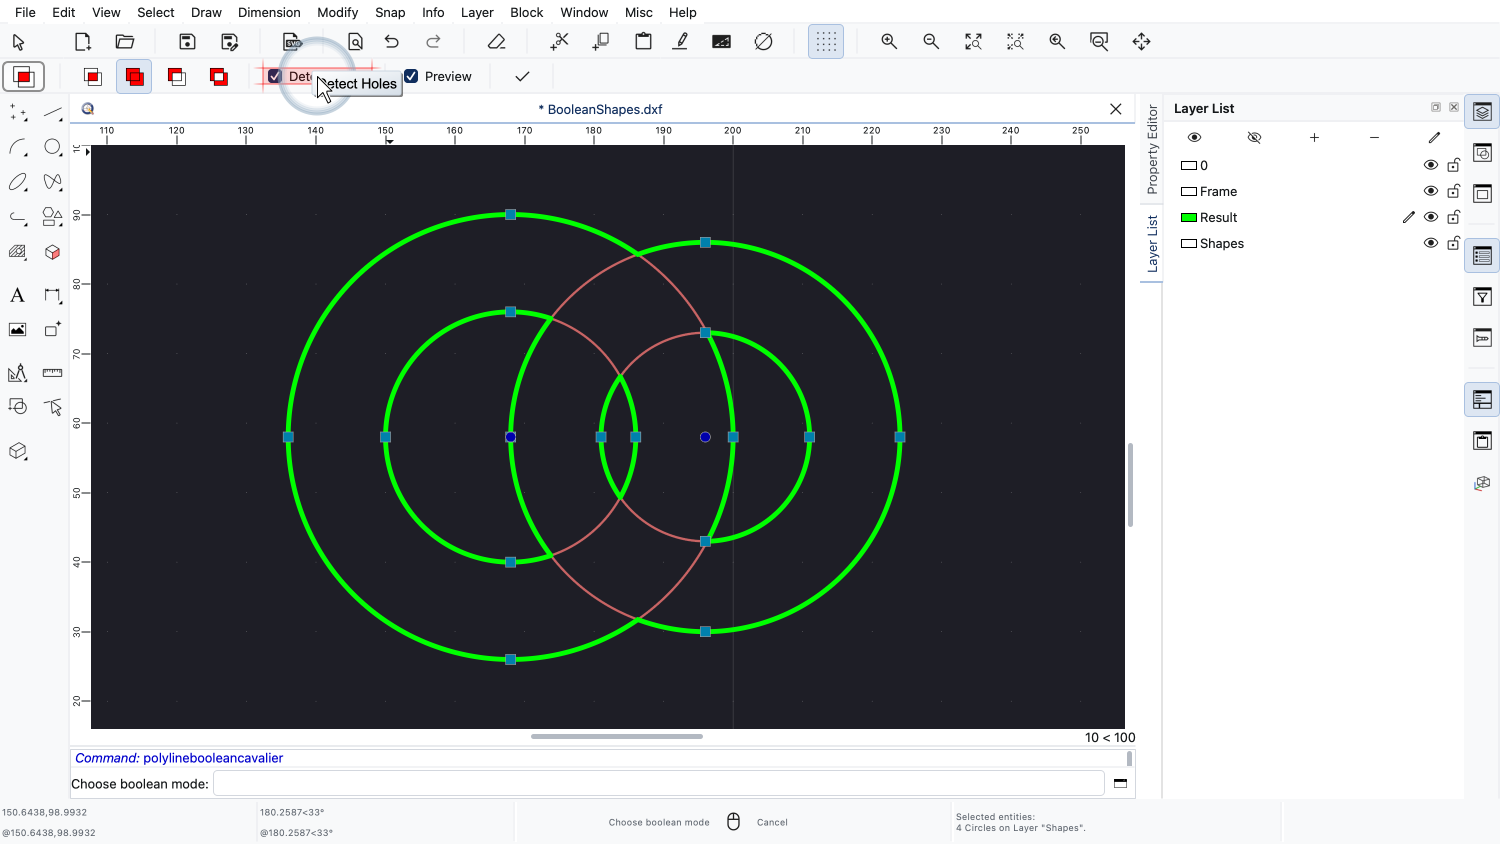
This detection of holes and islands can be switched off with this option.
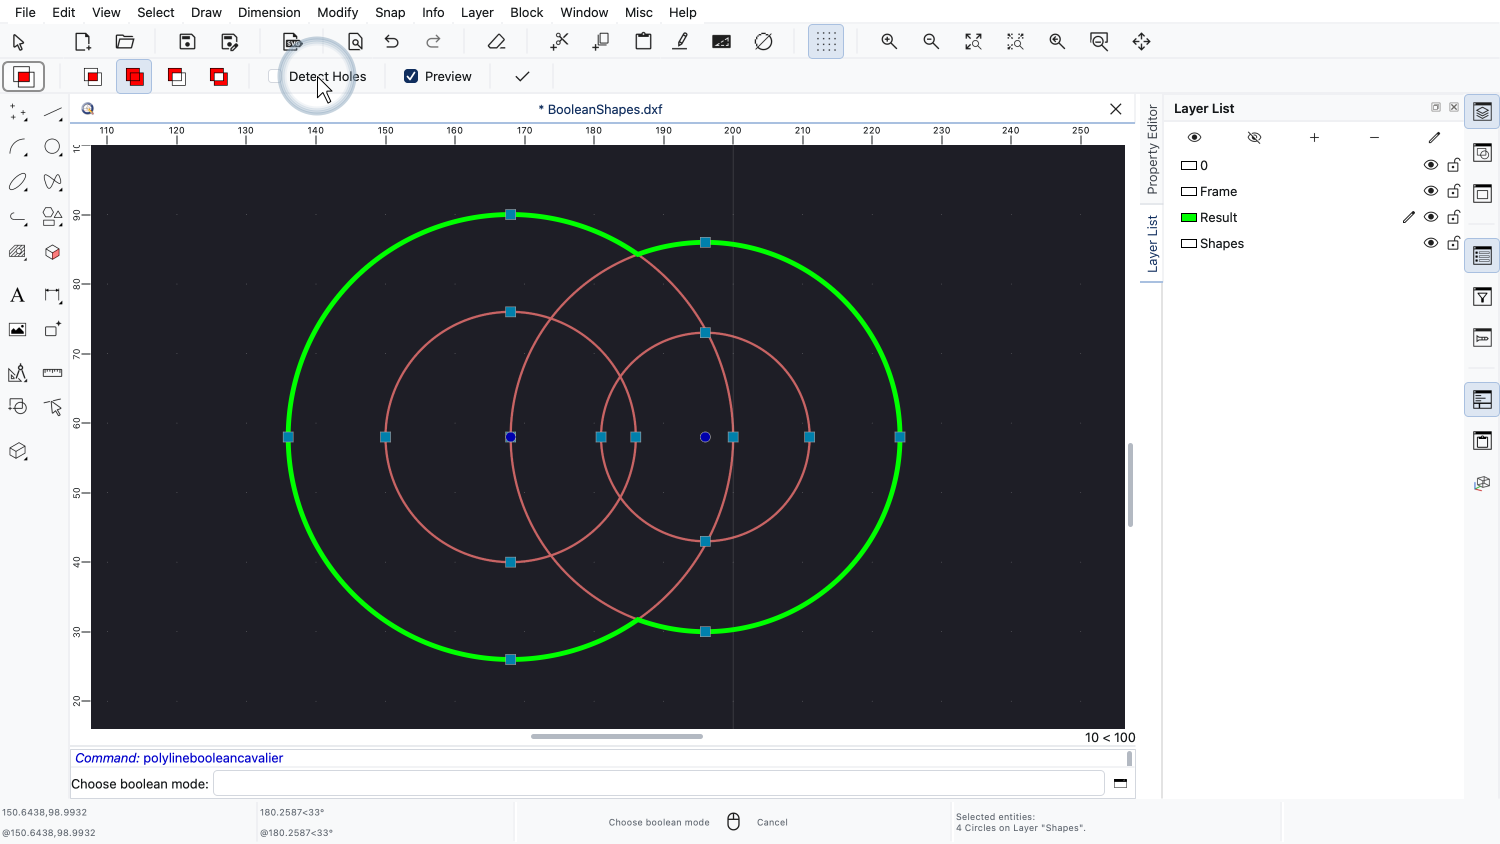
Let us see what happens without it.
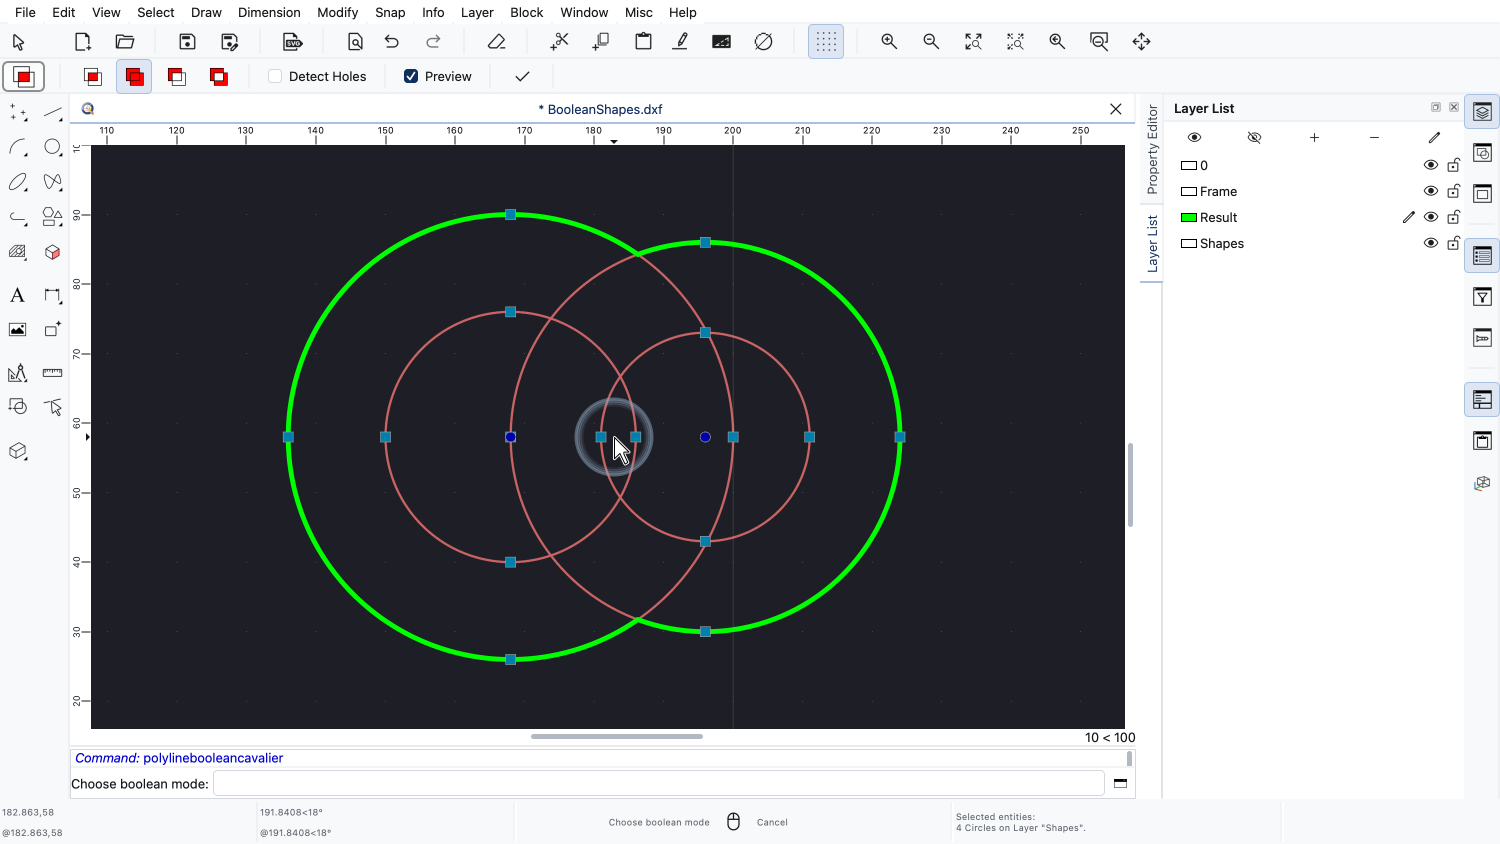
Now every circle is treated as a shape of its own, and the union of all four circles is one solid shape without any openings.
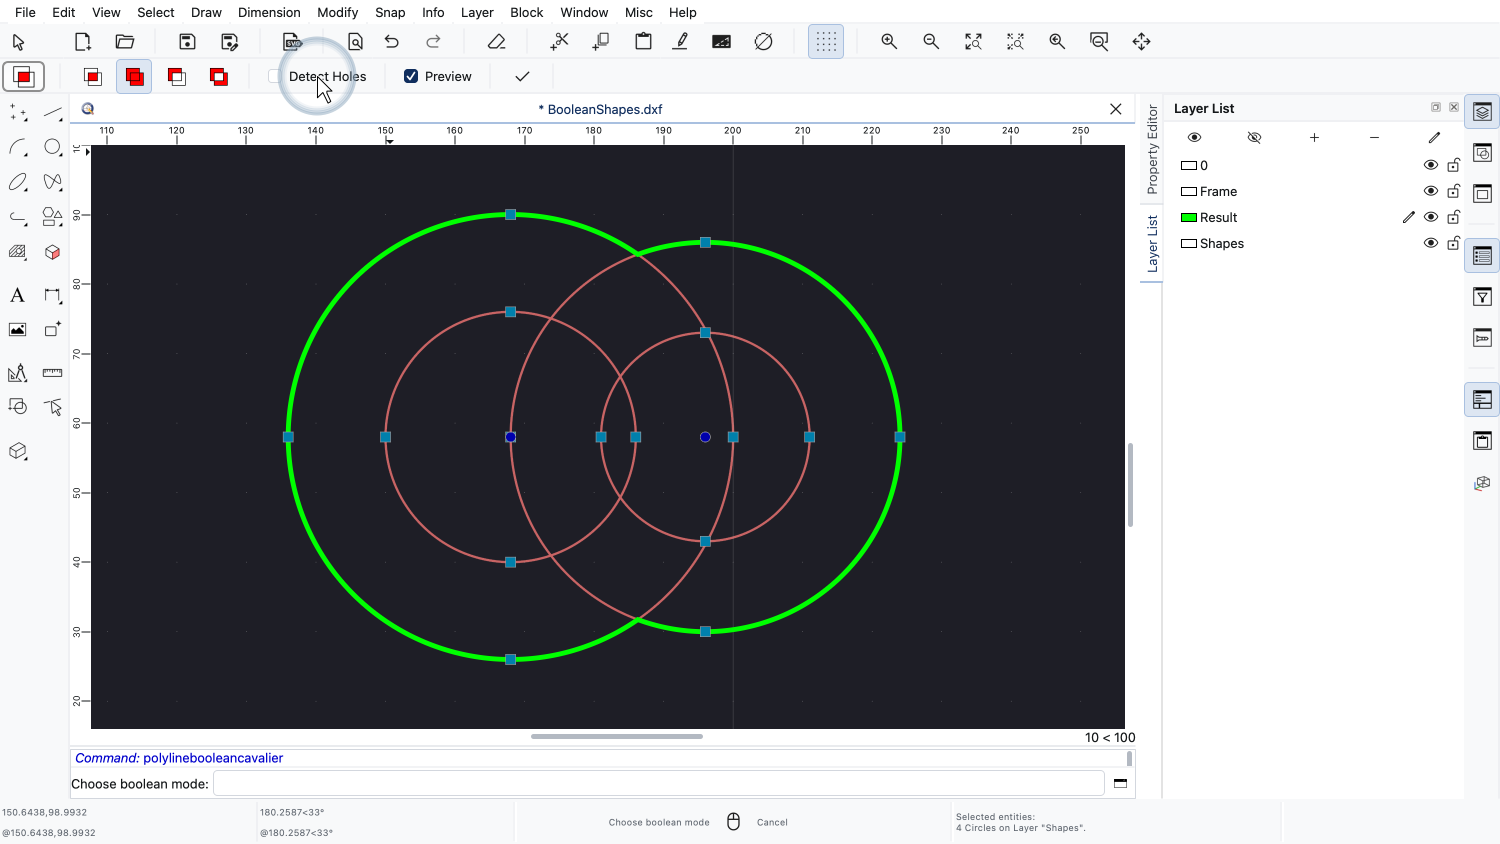
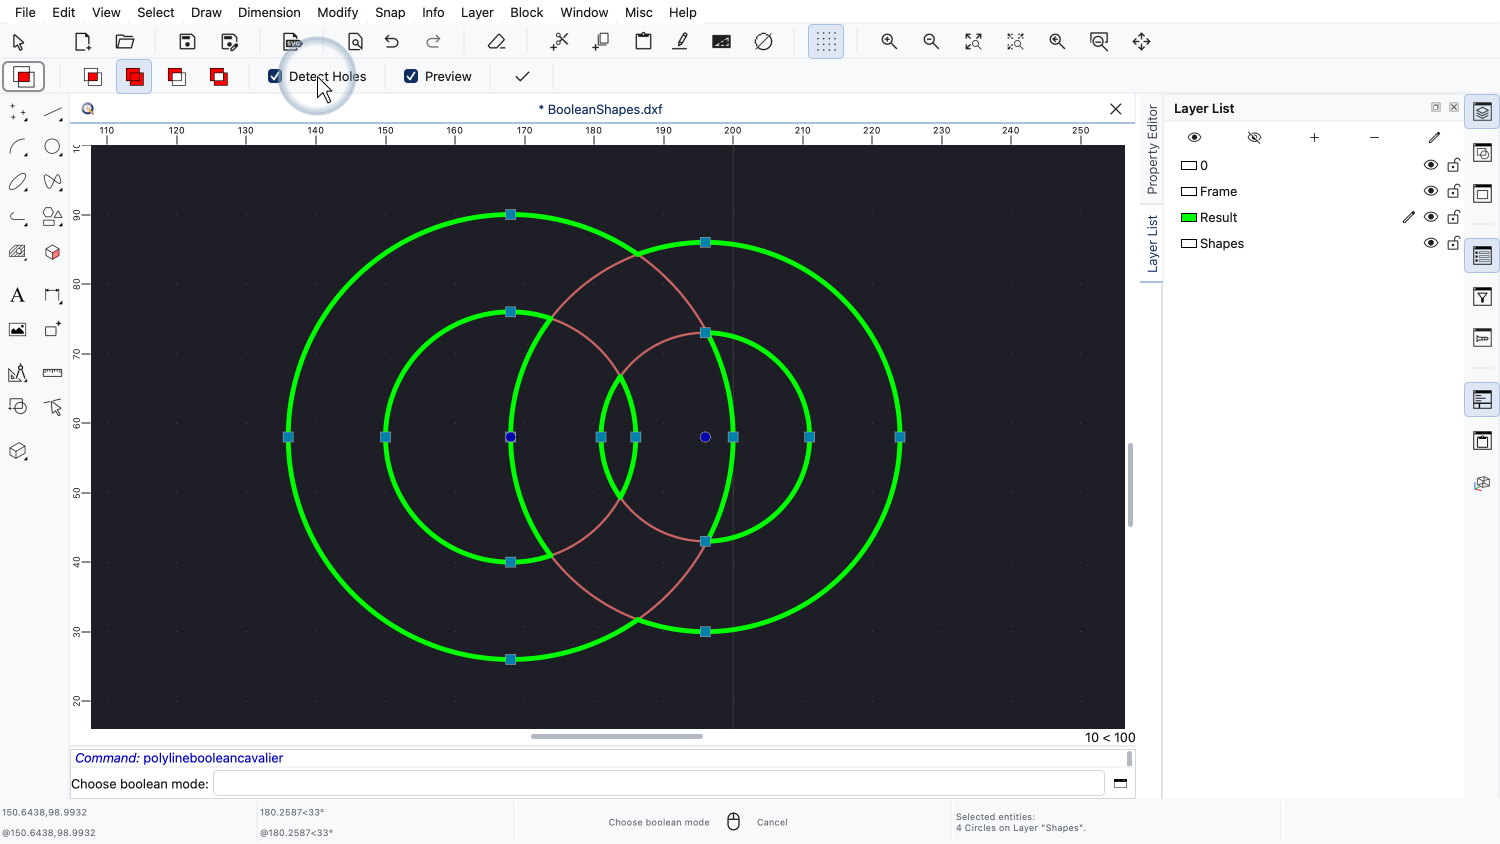
The holes are gone, so we switch the detection back on.
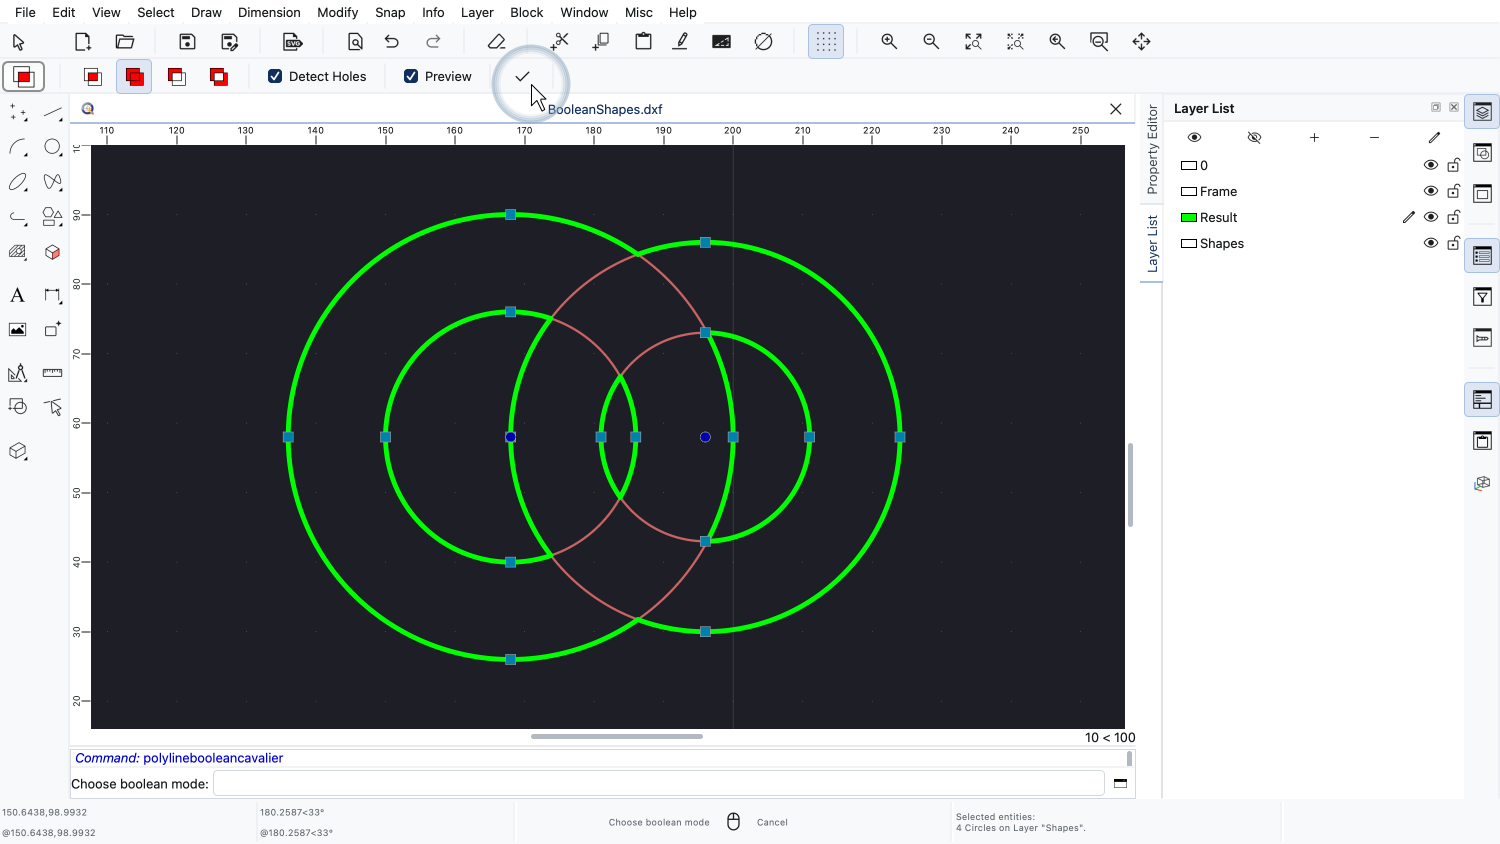
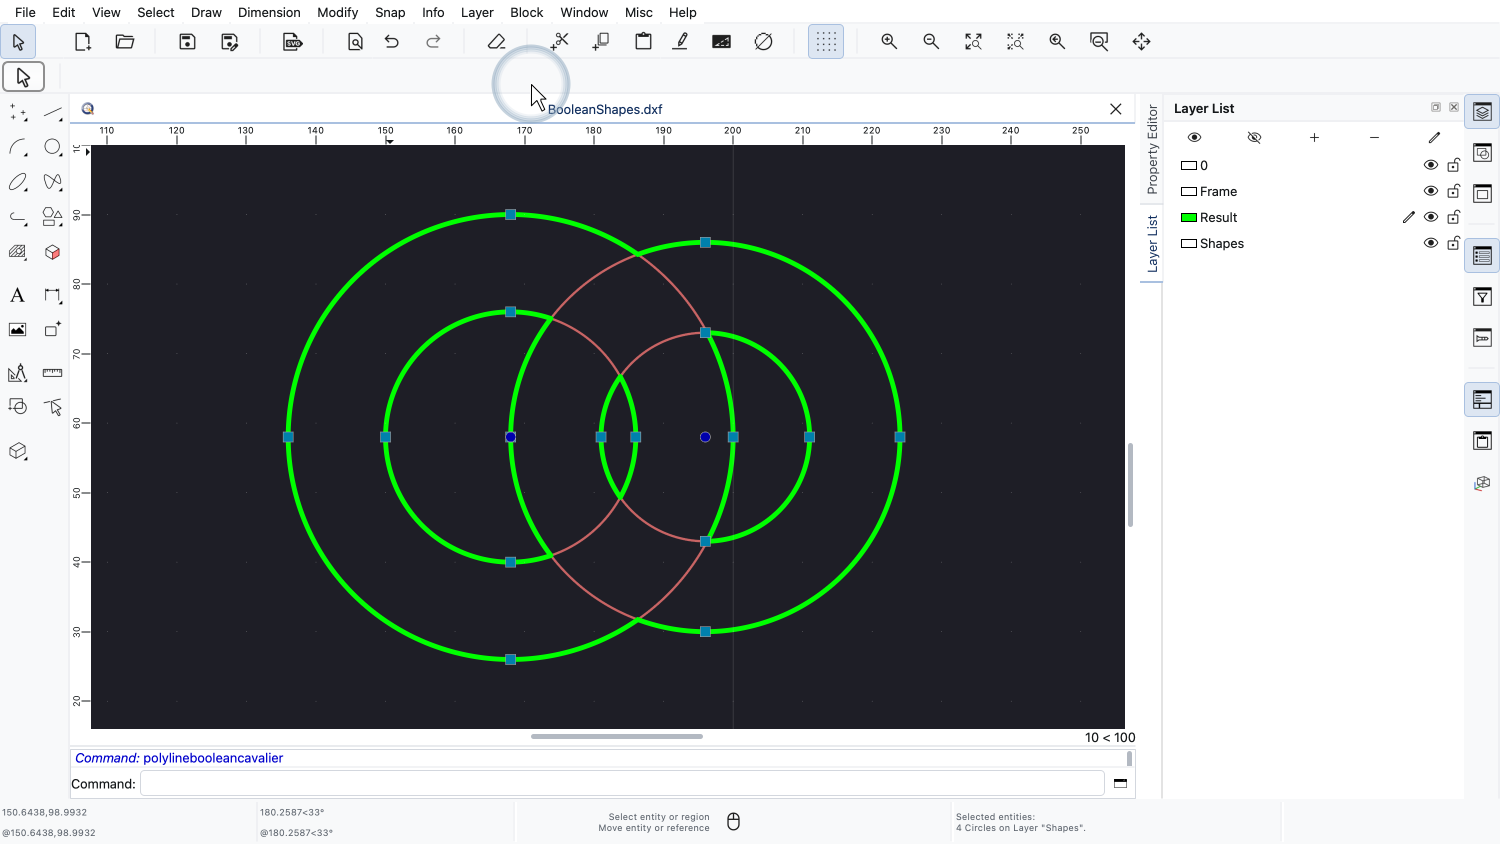
We apply the operation.
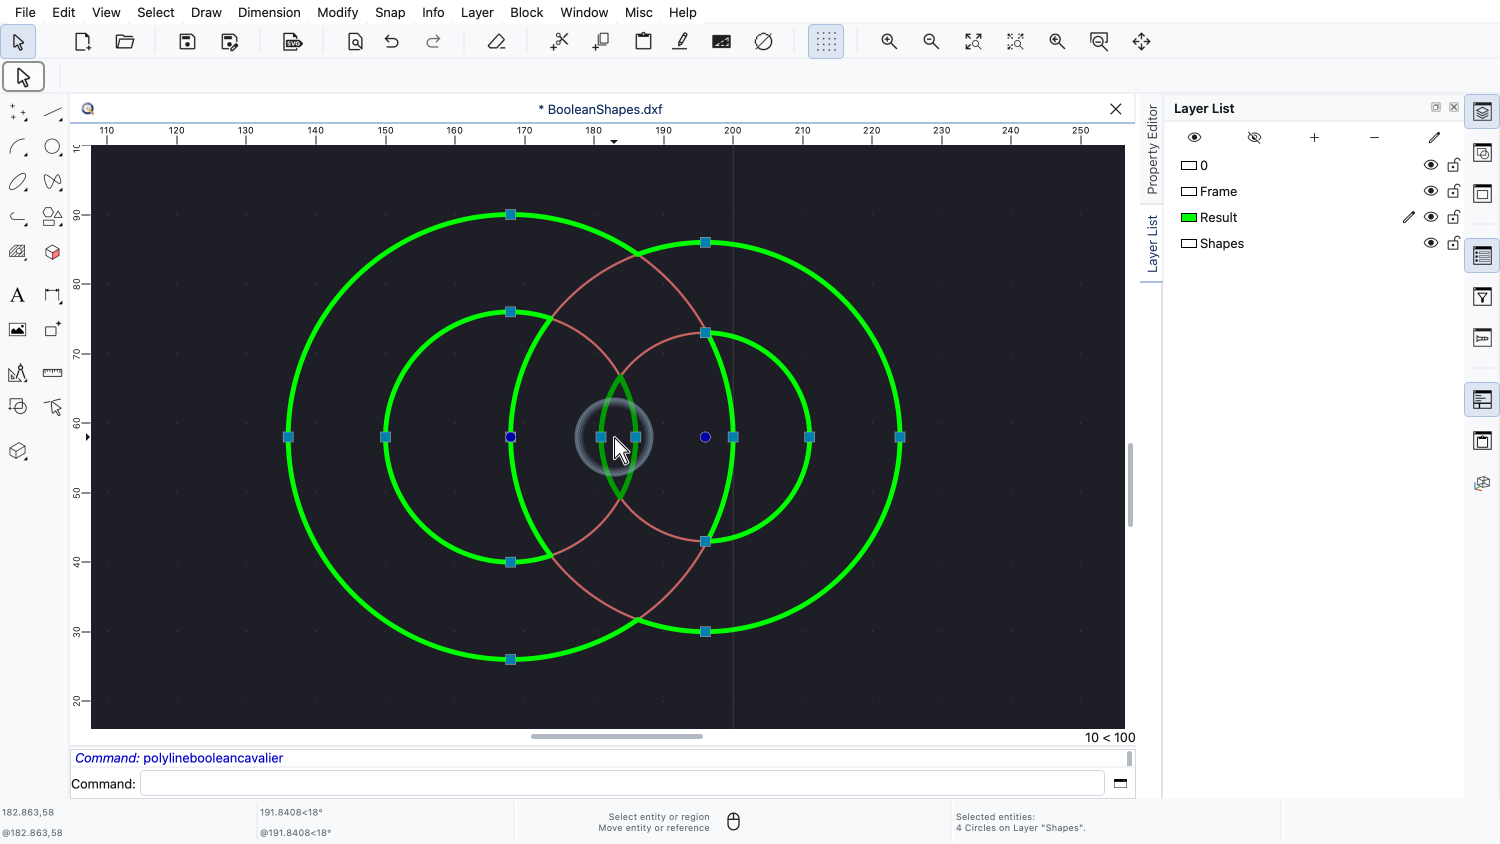
The result consists of four polylines: the outer contour and the three holes.
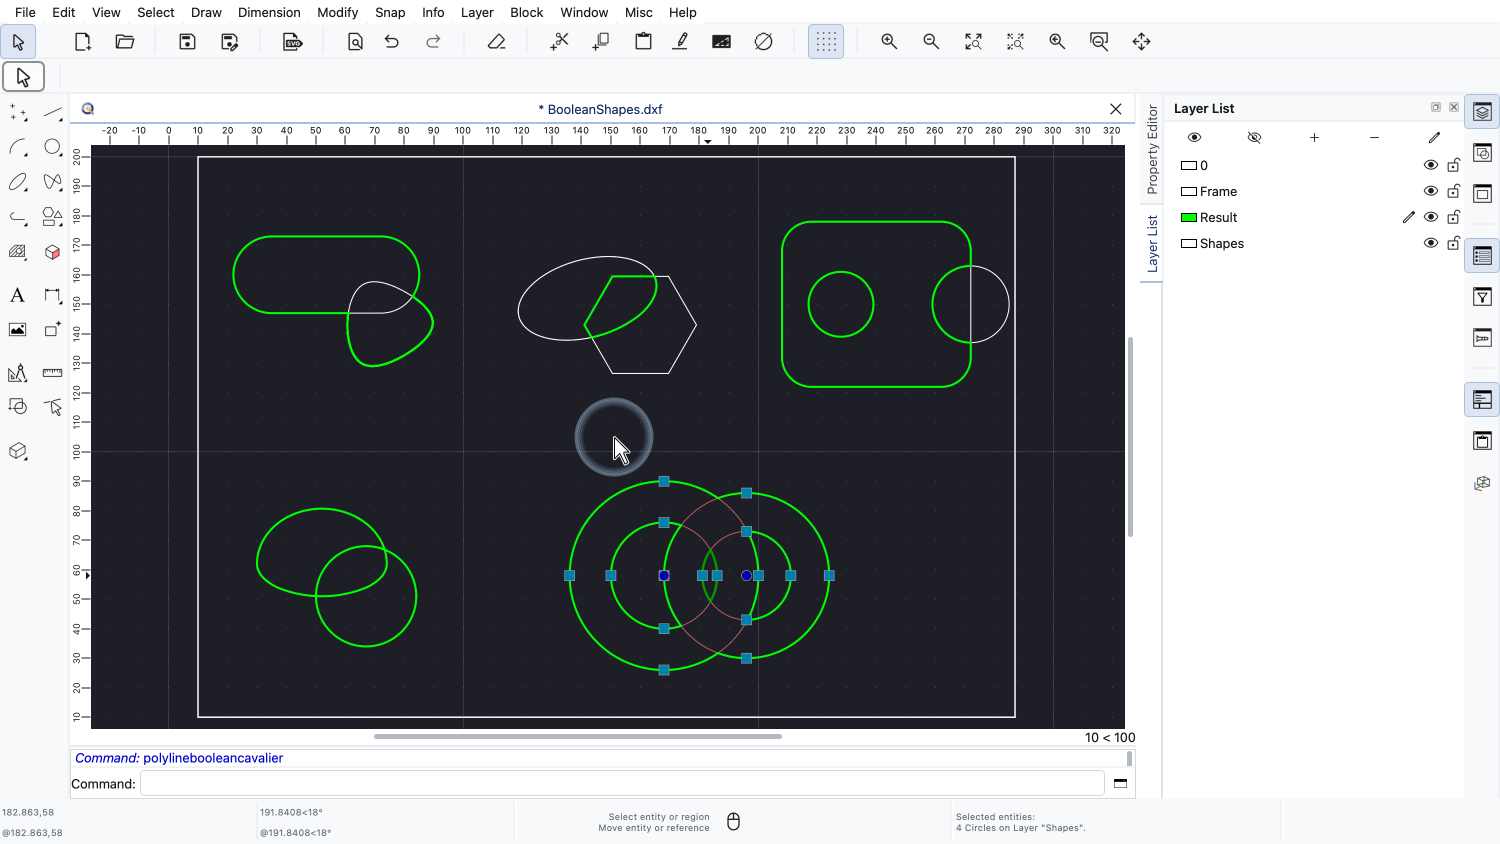
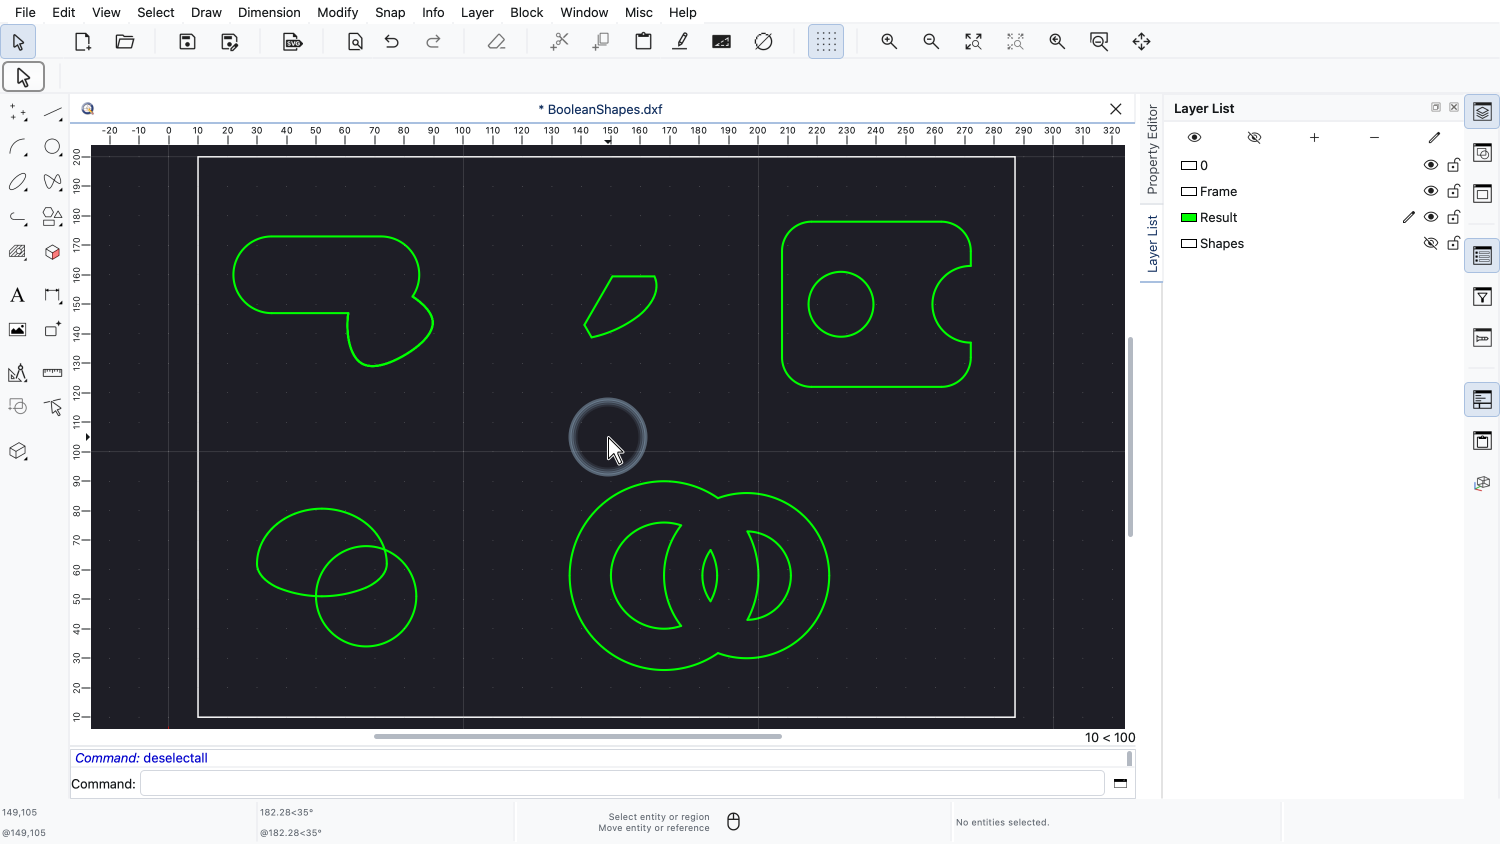
Let us have a look at all five results together.
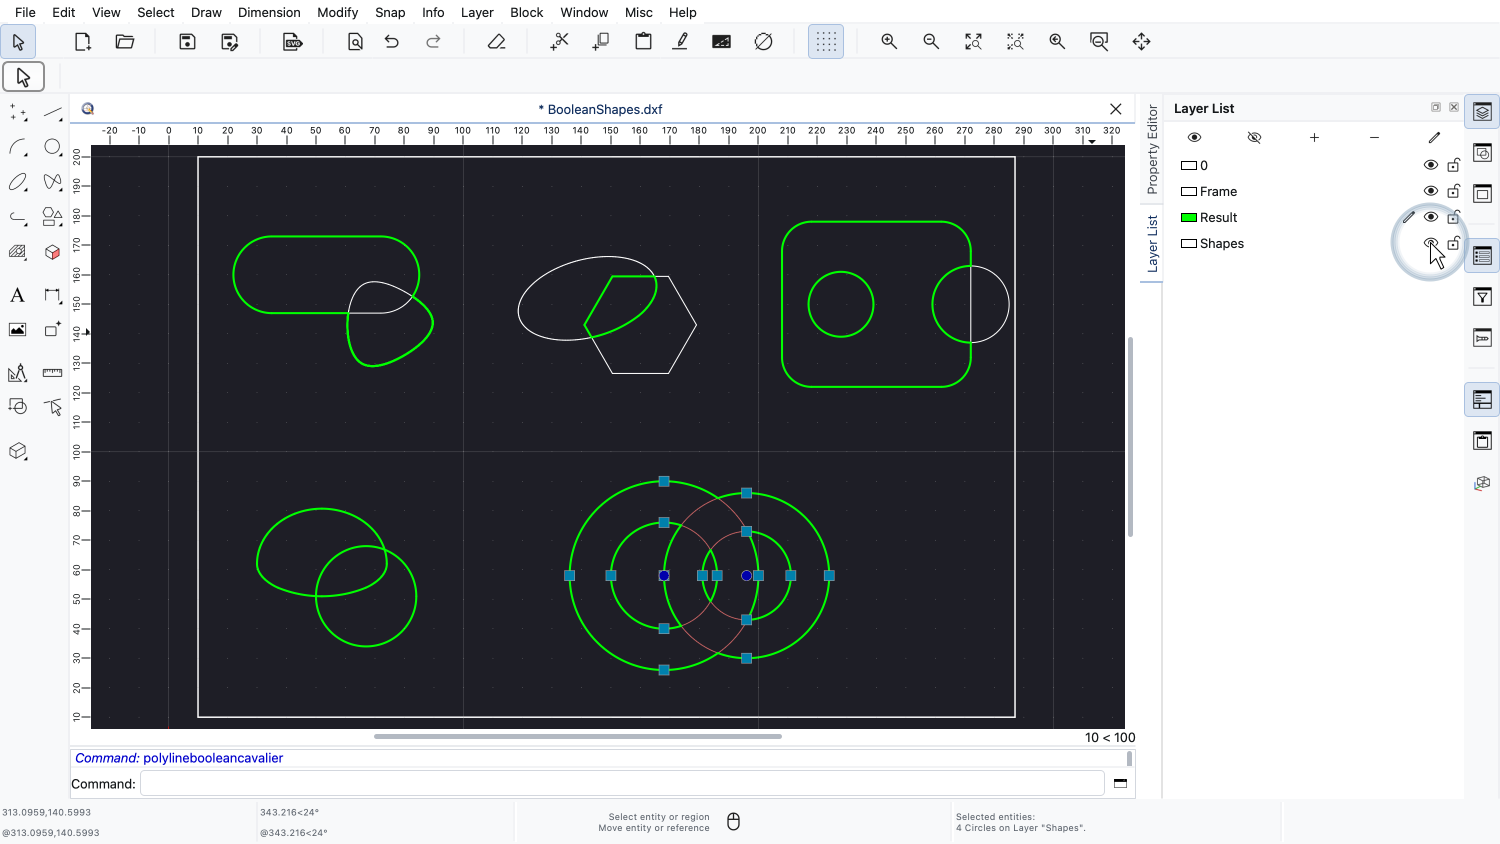
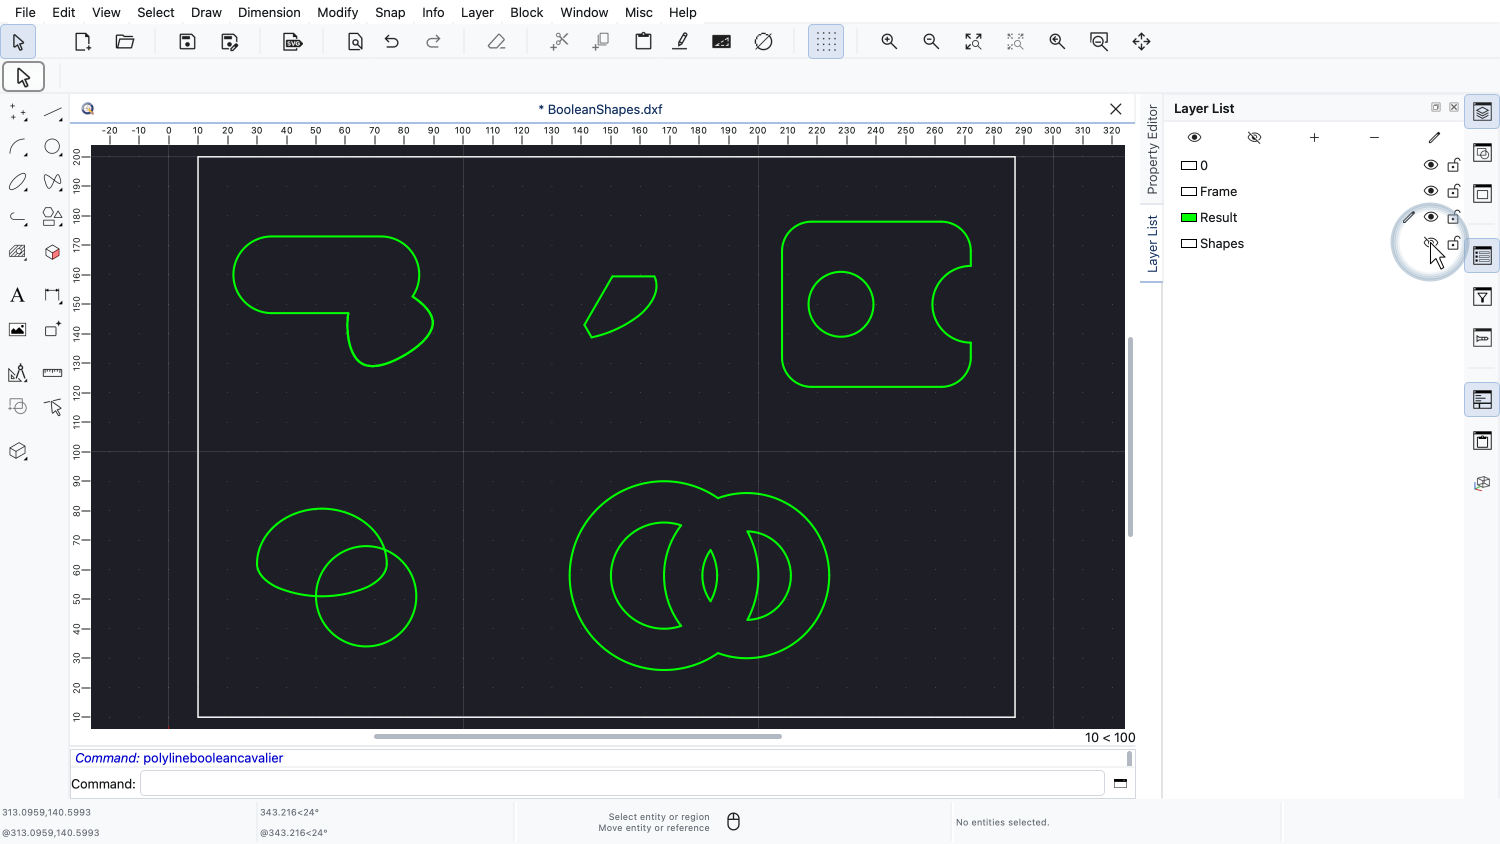
To see them without the original shapes, we simply switch off the layer Shapes.
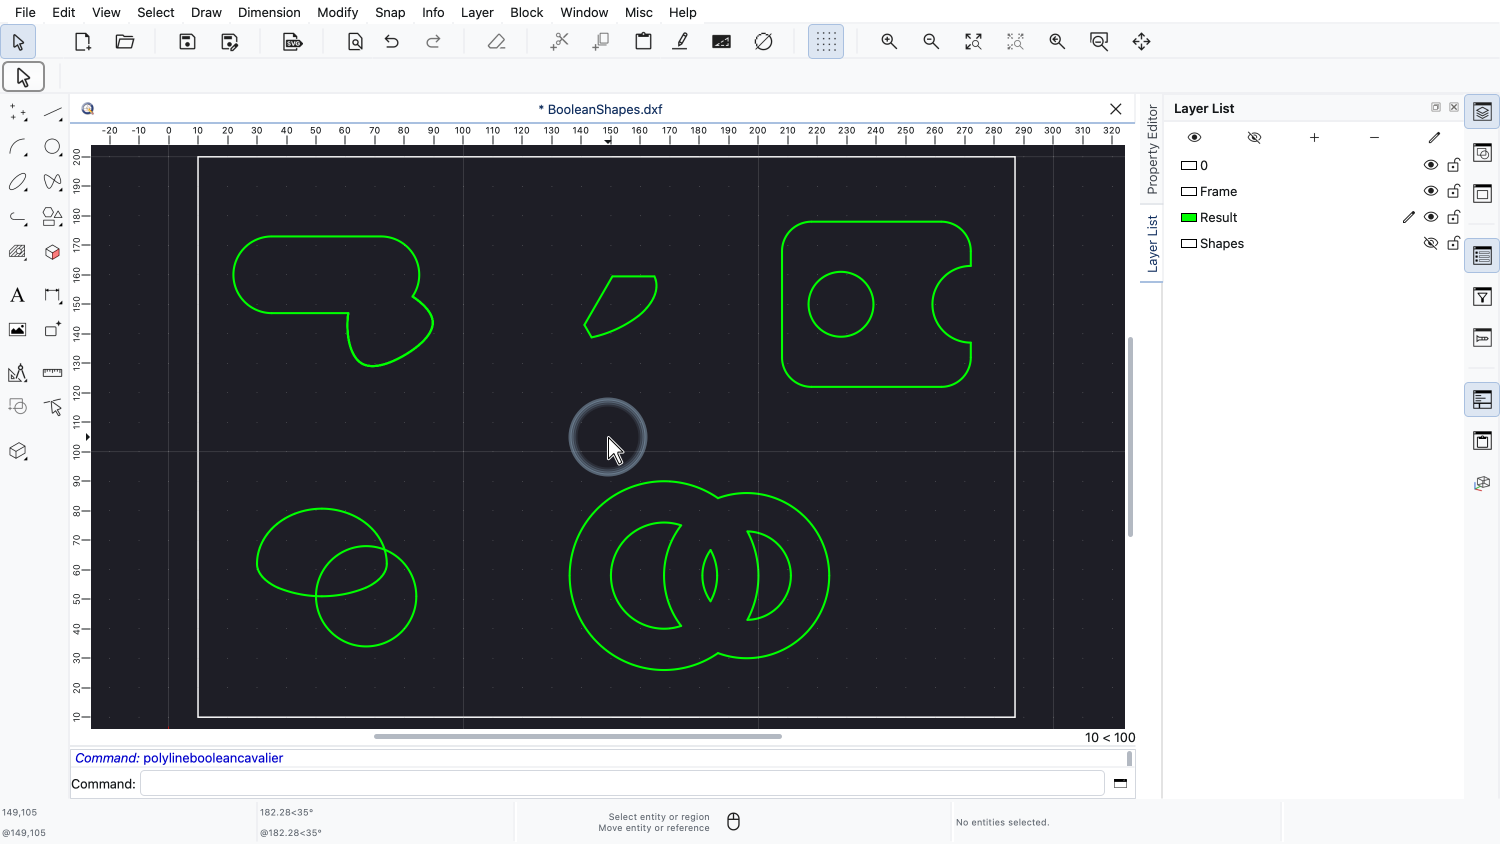
Only the results of our boolean operations are left.
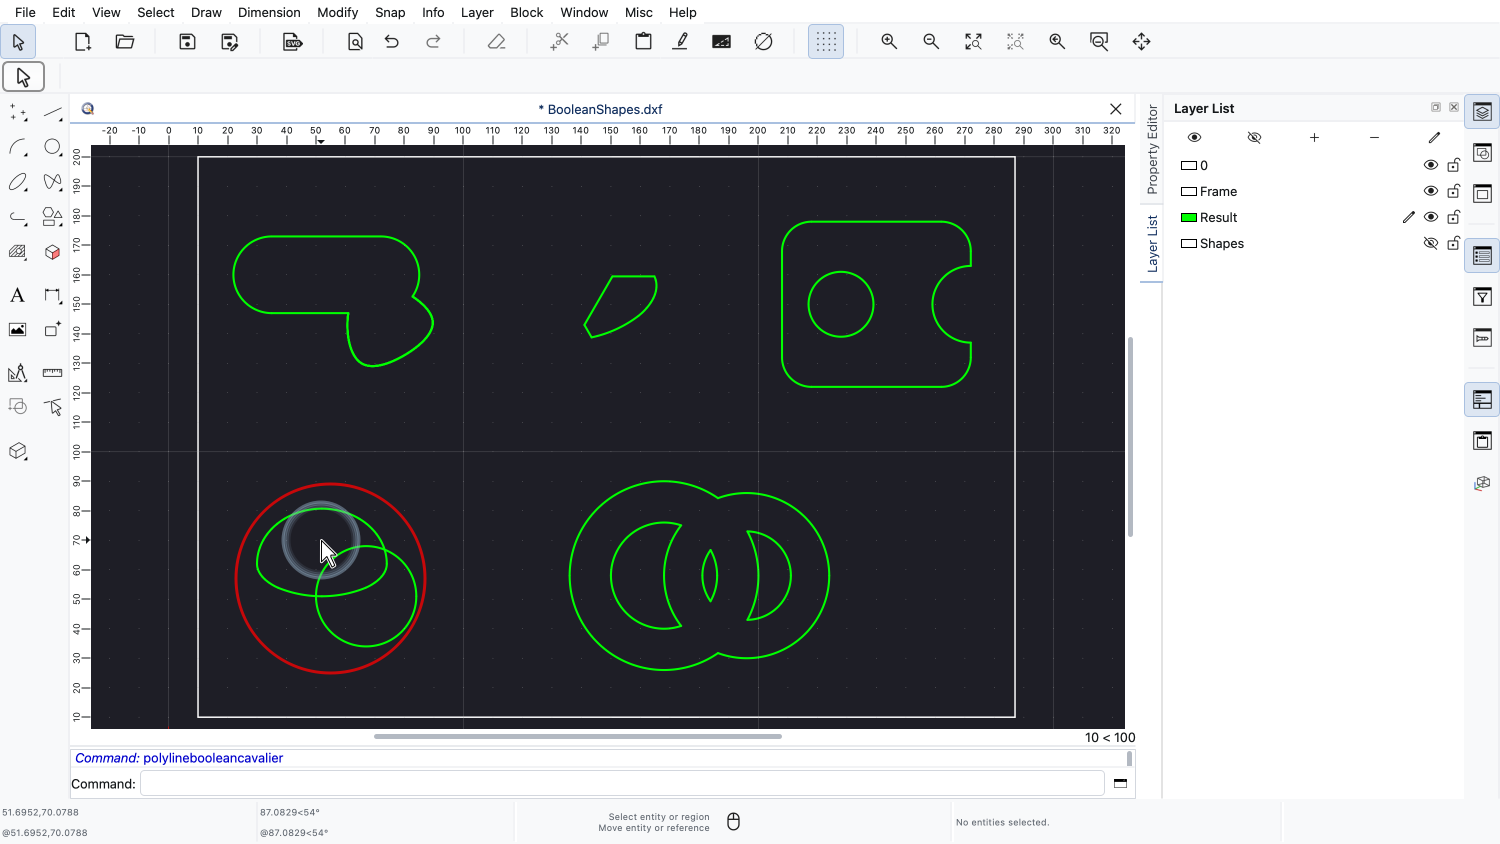
Now we can also see the two pieces of our XOR operation clearly.
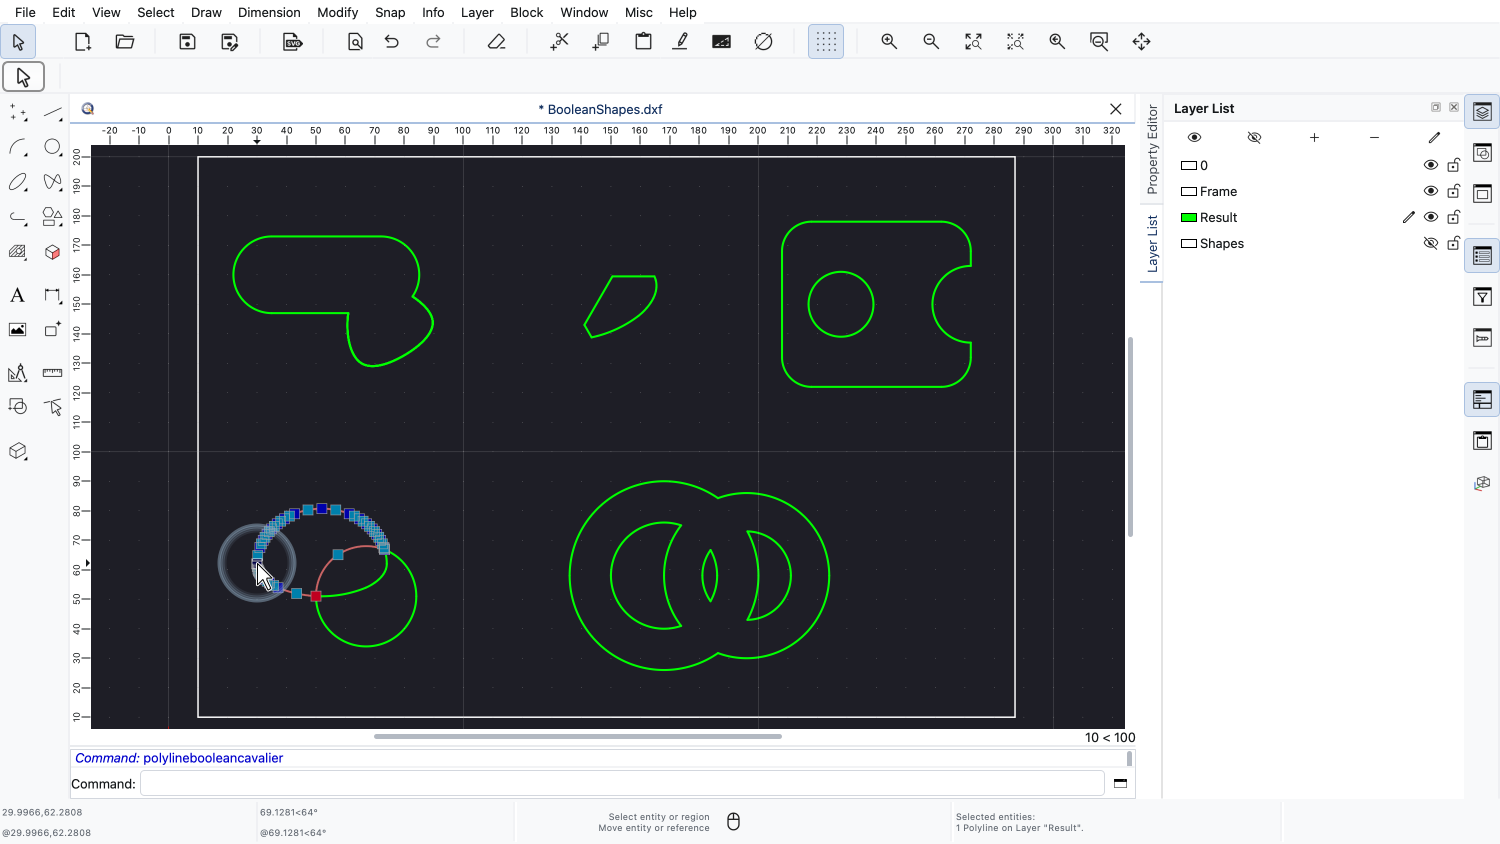
When we select the first piece, we can see its shape: the egg with a bite taken out where the circle overlapped it.
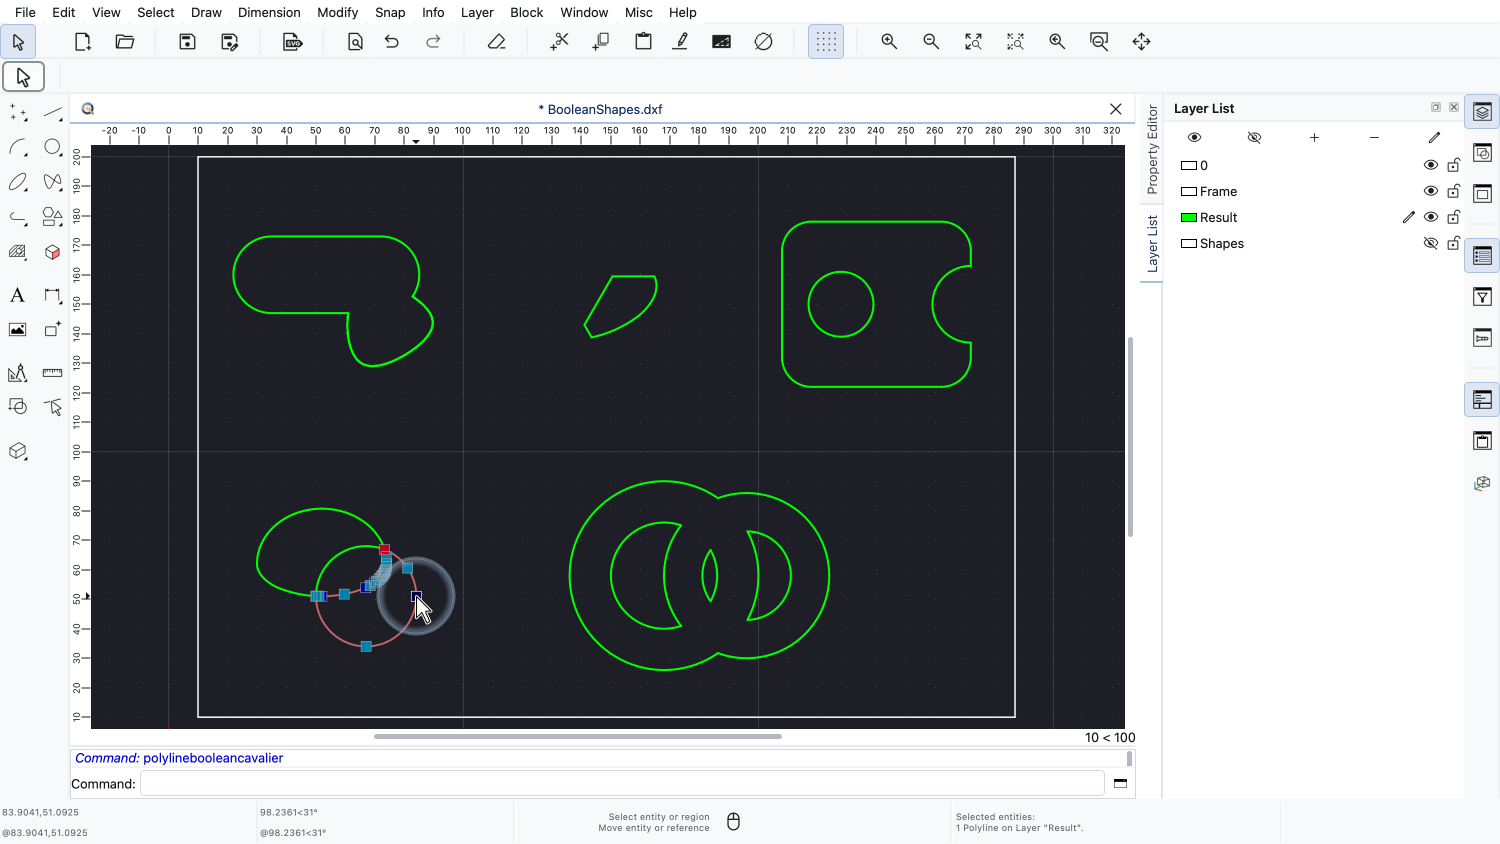
The second piece is what is left of the circle, with the curved edge of the egg cut into it.
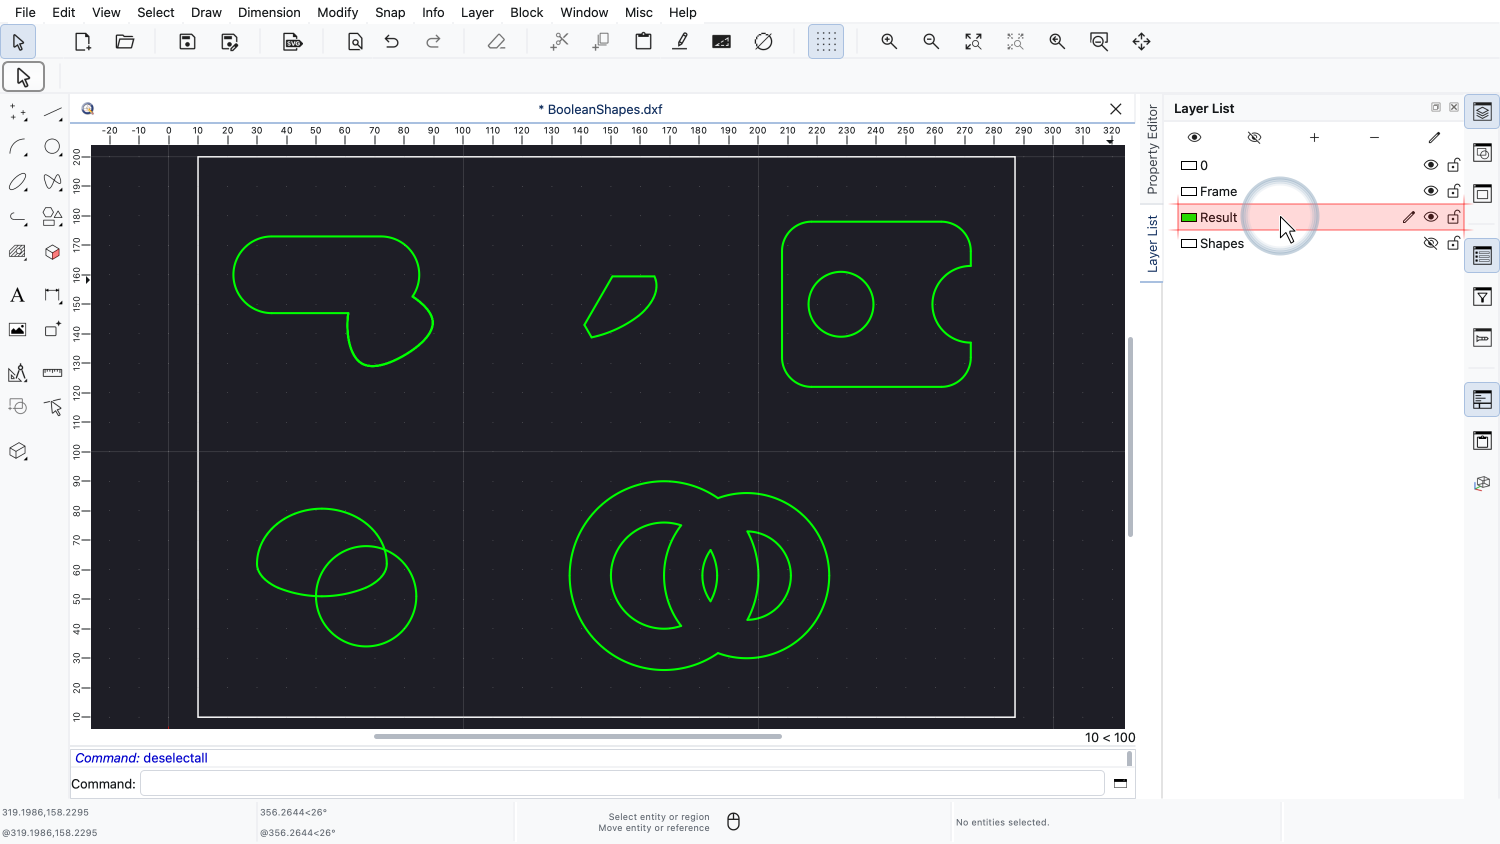
They were all created on the layer Result, because that was the current layer while we worked.
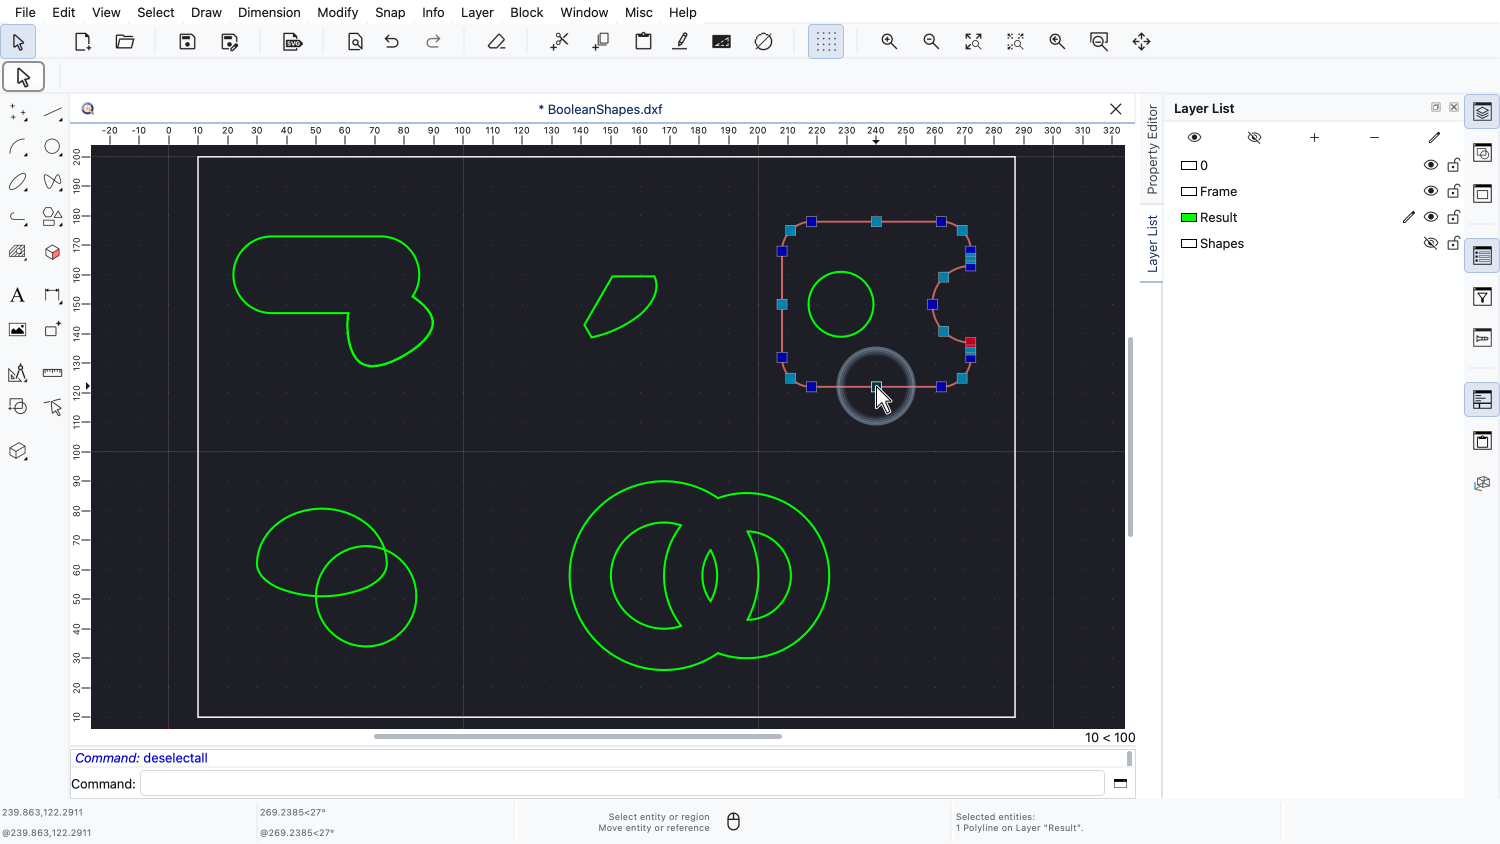
We select one of the results to look at it in the property editor.
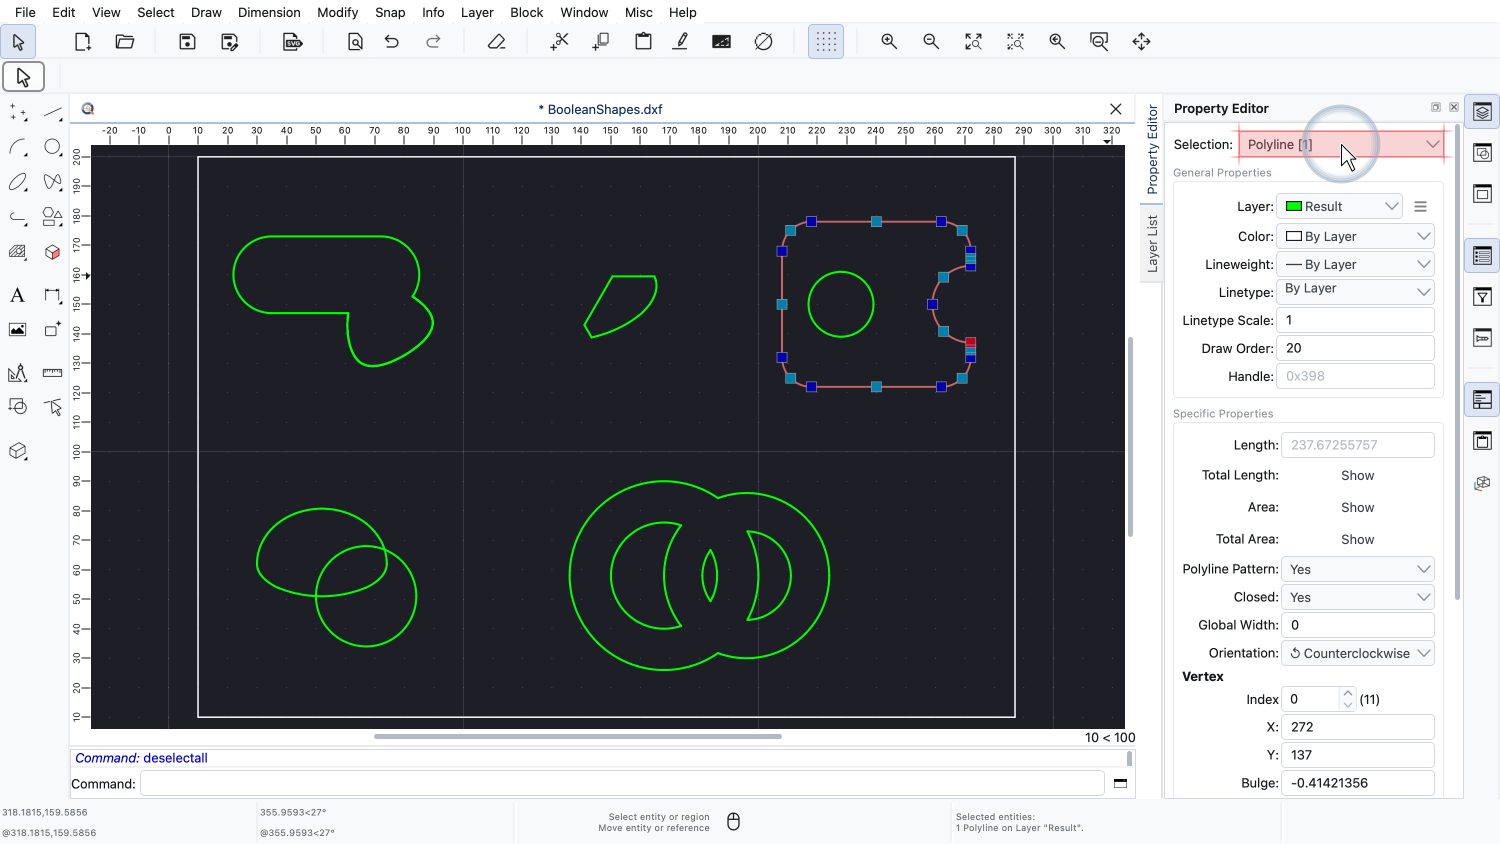
The property editor confirms that the result is an ordinary polyline.
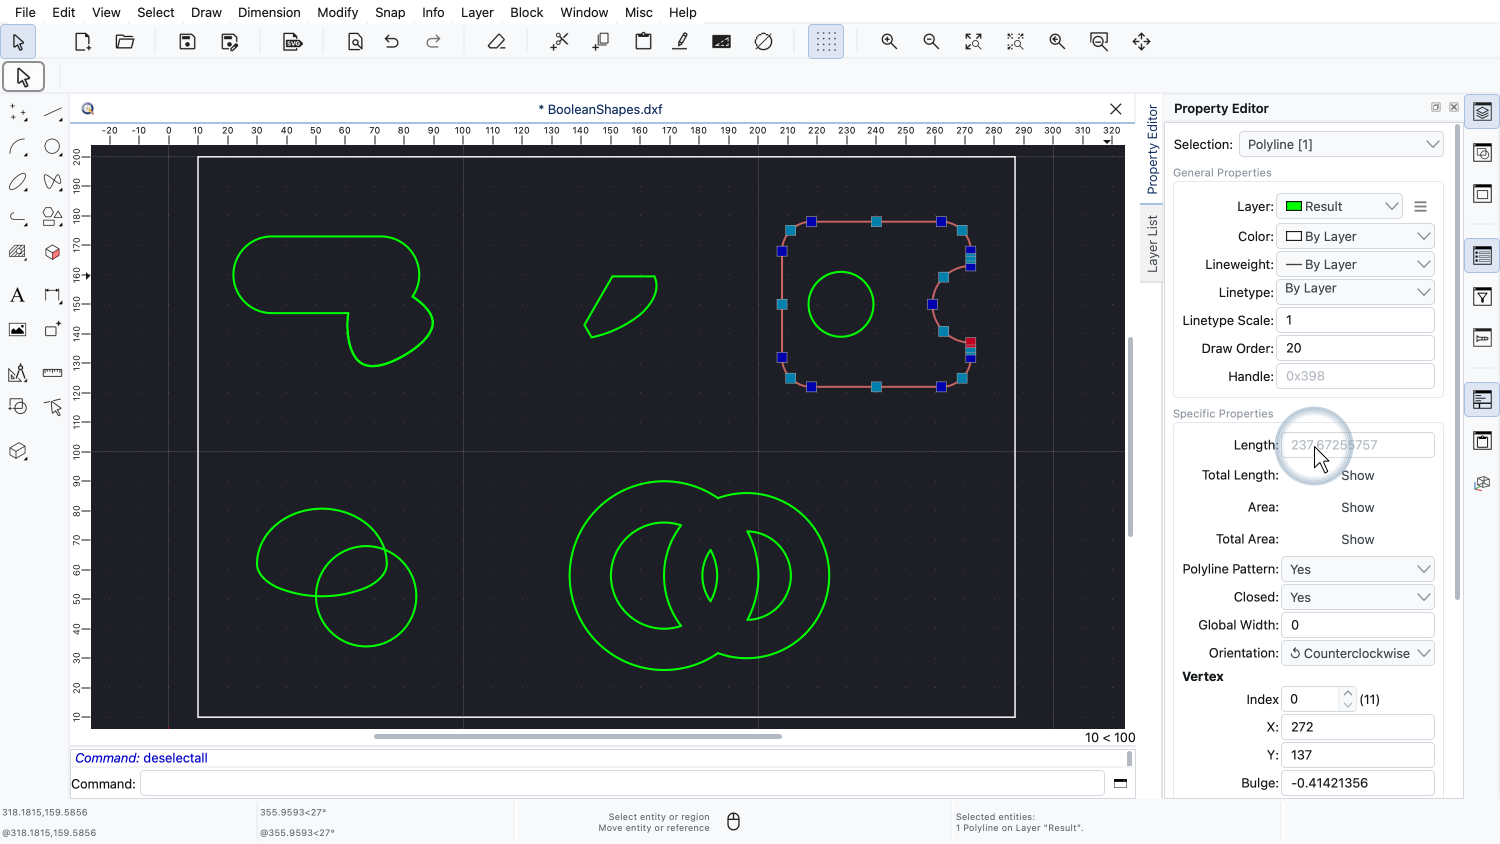
It is closed, and it can be edited with all the usual polyline tools.
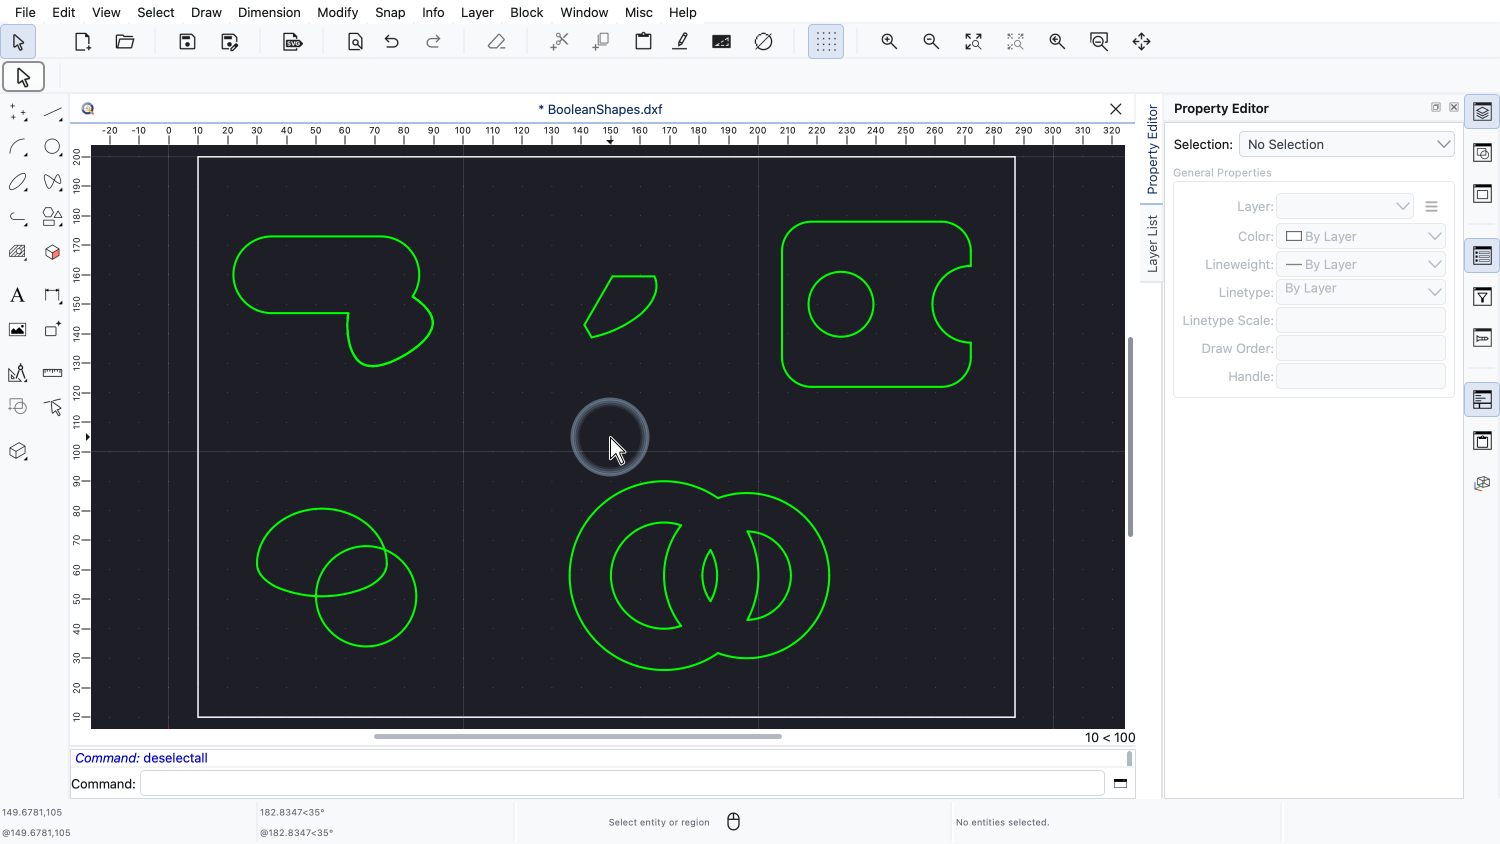
Boolean operations can of course also be applied to such a result again, to build up more complex shapes step by step.
You should now know how to combine closed shapes with union, intersection, difference and XOR.
Remember that all contours have to be closed and that the original shapes are always kept.
Be sure to practice this with your own QCAD installation.
Thank you for watching this QCAD tutorial.